Vagrant+VirtualBoxでLAMP環境を構築する自分用備忘録です。
以下のサイトを参考にさせて頂いています。
Vagrant+VirtualBoxでLAMP環境構築をする
大体が同じですが、MySQLではなく標準のmariaDBでCentOS7の7.5を使用し、ちょこちょこ追加等しています。
環境について
以下のような環境を想定しています。
-
ホスト
- OS:Windows7 64bit
- VirtualBox 5.2.22 (2018/11/26時点 最新)
- Vagrant 2.2.1 (2018/11/26時点 最新)
-
ゲストOS
- CentOS7.5
- MariaDB 5.5.6
- Apache 2.4.6
VirtualBoxのインストール
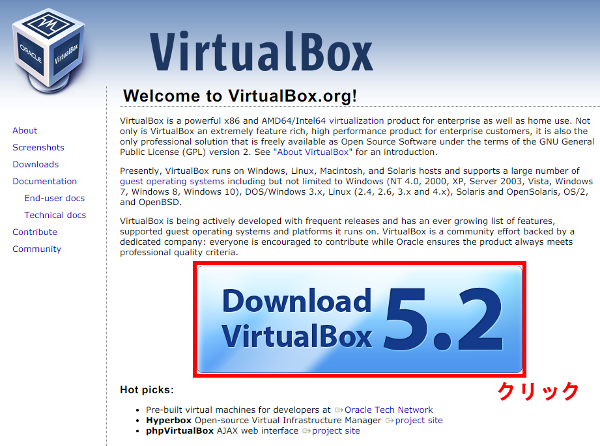
上記VirtualBoxの公式ページのど真ん中にある「Download VirtualBox 5.2」をクリックしダウンロードのページへ移動します。
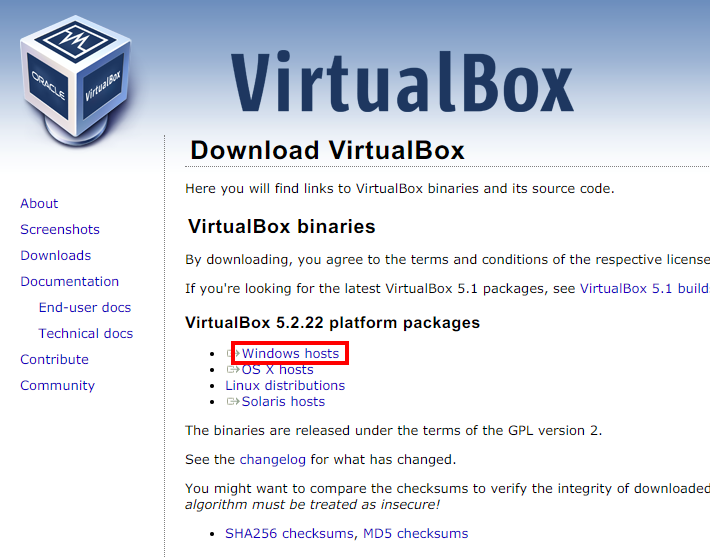
Windows7 64bit版に環境を構築するので、「Windows hosts」をクリックするとインストーラのダウンロードが始まります。ダウンロードが完了したら実行します。
基本的にインストール時の設定は何も触る必要はないと思います。
「Next」で次へ
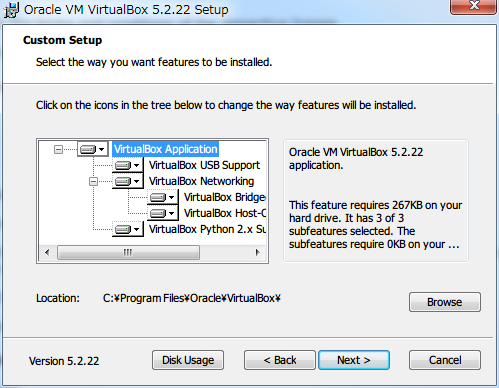
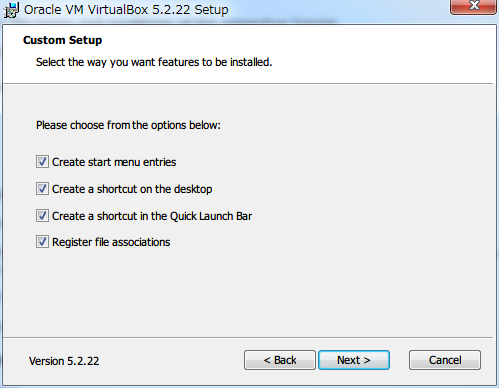
インストールするフォルダを変えたい場合は「Browse」ボタンでインストールフォルダを変更して下さい。特にインストールする項目は変えなくてもいいと思いますが、変えたい人はインストールメニューの所を適宜いじって下さい。
「次へ」。
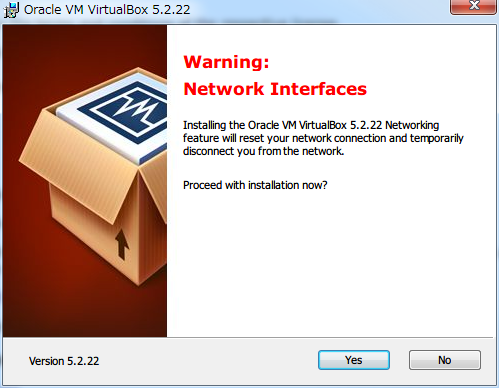
インストールを始めるとネットワーク接続がリセットされて切れるという警告です。何か作業中の場合は中断して置いた方が良いでしょう。問題がなければ「Yes」をクリックして次の画面へ進みます。
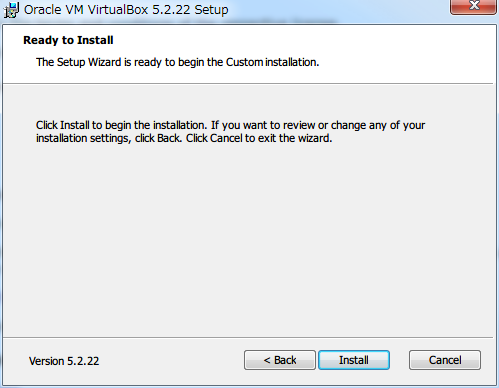
インストール開始前の最終確認です。問題がなければ「Install」をクリックしてインストールを開始します。
インストール中...
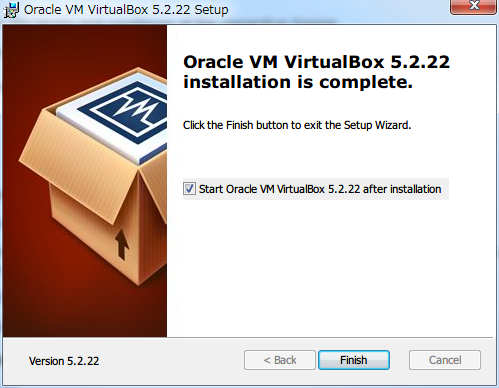
インストール完了です。VagrantからVirtualBoxを操作するため、基本的にはVirtualBoxの操作は行わないので、「Start Oracle VM VirtualBox 5.2.22 after installation」のチェックは外して「Finish」をクリックしてインストールを完了します。
Vagrantのインストール
Vagrantのダウンロードページに行きます。
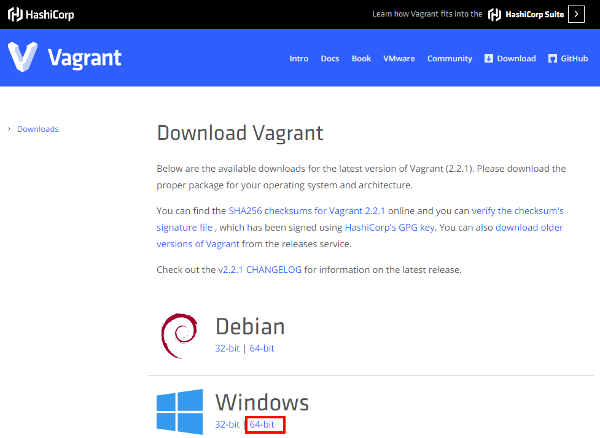
Windowsのロゴの部分にある「64-bit」のリンクをクリックして、セットアップモジュールをダウロードし、実行します。
「Next」クリック。
「I accept the terms in the License Agreement」にチェックを入れて「Next」をクリック。
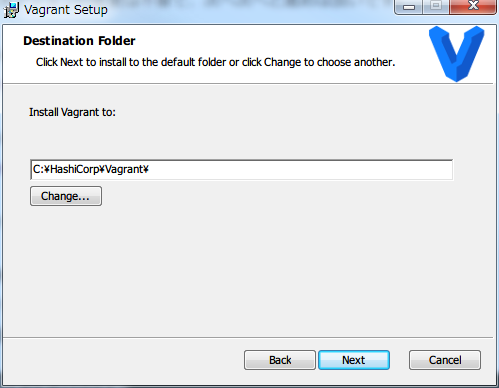
インストールするフォルダを変更する場合は「Change...」をクリックしてフォルダを変更して「Next」をクリック、変更しない場合はそのまま「Next」をクリック。
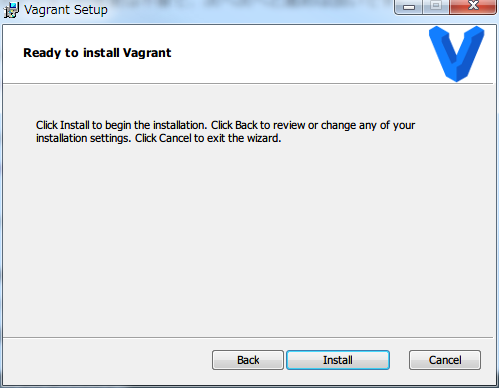
「Install」をクリック。
インストール中...
インストール完了、「Finish」をクリック。
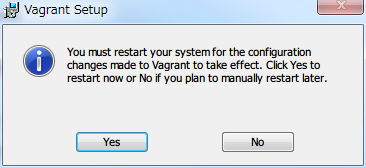
再起動を要求されるので、すぐに再起動をする場合は「Yes」、後で再起動する場合は「No」をクリック。
再起動しないとうまく動かない場合がある為、これ以降の作業は再起動後に行って下さい。
Vagrant用にフォルダを作成
Vagrant用にフォルダを作成します。場所と名前は任意でいいですが、日本語は余り使わない方が無難だと思います。
C:\Users\ユーザ名>mkdir c:\vagrant
C:\Users\ユーザ名>cd /d c:\vagrant
c:\vagrant>
上記コマンドでvagrant用のフォルダに移動するので、Vagrantfileを作成します。
Vagrantfile作成
c:\vagrant>vagrant init "bento/centos-7.5"
A `Vagrantfile` has been placed in this directory. You are now
ready to `vagrant up` your first virtual environment! Please read
the comments in the Vagrantfile as well as documentation on
`vagrantup.com` for more information on using Vagrant.
c:\vagrant>
これで、Vagrantfileが出来たのでそのVagrantfileを編集します。
  # Create a private network, which allows host-only access to the machine
  # using a specific IP.
config.vm.network "private_network", ip: "192.168.33.10" ←コメントになっているので#を外す
これで、Vagrantfileの編集は終わったのでVagrantを起動します。
c:\vagrant>vagrant up
Bringing machine 'default' up with 'virtualbox' provider...
==> default: Box 'bento/centos-7.5' could not be found. Attempting to find and i
nstall...
    default: Box Provider: virtualbox
    default: Box Version: >= 0
==> default: Loading metadata for box 'bento/centos-7.5'
    default: URL: https://vagrantcloud.com/bento/centos-7.5
==> default: Adding box 'bento/centos-7.5' (v201808.24.0) for provider: virtualb
ox
    default: Downloading: https://vagrantcloud.com/bento/boxes/centos-7.5/versio
ns/201808.24.0/providers/virtualbox.box
    default: Download redirected to host: vagrantcloud-files-production.s3.amazo
naws.com
    default: Progress: 59% (Rate: 702k/s, Estimated time remaining: 0:03:32))
            ・・・(中略)・・・
c:\vagrant>
最初は仮想マシンのイメージをダウンロードしてくるため、時間が掛かります。
ダウンロードが終わって起動するまでしばらく待ちます。
仮想マシンへ接続
コマンドプロンプトが帰ってきたら、起動した仮想マシンへSSH接続します。
c:\vagrant>vagrant ssh
[vagrant@localhost ~]$ ←コマンドプロンプトが変わって仮想PCに接続した事が分かる
以降LAMP環境の構築を行っていきます。
リポジトリを追加
CentOS7は標準ではPHP5.x系が入ってしまうため、PHP7.2をインストールするためにリポジトリを追加します。
epelパッケージの追加
[vagrant@localhost ~]$ sudo yum -y install epel-release.noarch
Loaded plugins: fastestmirror
            ・・・(中略)・・・
Installed:
  epel-release.noarch 0:7-11

Complete!
[vagrant@localhost ~]$
常にepelが有効にならないように、/etc/yum.repos.d/epel.repoの内容を編集します。
[epel]
name=Extra Packages for Enterprise Linux 7 - $basearch
#baseurl=http://download.fedoraproject.org/pub/epel/7/$basearch
metalink=https://mirrors.fedoraproject.org/metalink?repo=epel-7&arch=$basearch
failovermethod=priority
enabled=0    ←enabled=1を0に変更して保存
remiパッケージのインストール
[vagrant@localhost ~]$ sudo rpm -Uvh http://rpms.famillecollet.com/enterprise/remi-release-7.rpm
Retrieving http://rpms.famillecollet.com/enterprise/remi-release-7.rpm
warning: /var/tmp/rpm-tmp.DK8gr1: Header V4 DSA/SHA1 Signature, key ID 00f97f56:
 NOKEY
Preparing...                          ################################# [100%]
Updating / installing...
   1:remi-release-7.5-2.el7.remi      ################################# [100%]
[vagrant@localhost ~]$
同じく、常に有効にならないように/etc/yum.repos.d/remi.repoを編集する
[remi]
name=Remi's RPM repository for Enterprise Linux 7 - $basearch
#baseurl=http://rpms.remirepo.net/enterprise/7/remi/$basearch/
#mirrorlist=https://rpms.remirepo.net/enterprise/7/remi/httpsmirror
mirrorlist=http://cdn.remirepo.net/enterprise/7/remi/mirror
enabled=0 ←enabled=1を0に変更して保存
Apacheをインストール
[vagrant@localhost ~]$ sudo yum -y install httpd
            ・・・(中略)・・・
Installed:
  httpd.x86_64 0:2.4.6-80.el7.centos.1

Dependency Installed:
  apr.x86_64 0:1.4.8-3.el7_4.1                  apr-util.x86_64 0:1.5.2-6.el7
  httpd-tools.x86_64 0:2.4.6-80.el7.centos.1    mailcap.noarch 0:2.1.41-2.el7

Complete!
[vagrant@localhost ~]$
Apacheの自動起動設定
[vagrant@localhost ~]$ sudo systemctl enable httpd
Created symlink from /etc/systemd/system/multi-user.target.wants/httpd.service to /usr/lib/systemd/system/httpd.service.
[vagrant@localhost ~]$
これで、次回起動時自動的にhttpdが起動するようになります。
Apacheの起動
[vagrant@localhost ~]$ sudo systemctl start httpd
手動で起動する場合は上記コマンドになります。また、手動でシャットダウンする場合は以下のコマンドです。
[vagrant@localhost ~]$ sudo systemctl stop httpd
mariaDBインストール
[vagrant@localhost ~]$ sudo yum -y install mariadb-server mariadb-devel
Loaded plugins: fastestmirror
Loading mirror speeds from cached hostfile
            ・・・(中略)・・・
Complete!
[vagrant@localhost ~]$
mariaDBバージョン確認
[vagrant@localhost ~]$ mysql --version
mysql  Ver 15.1 Distrib 5.5.60-MariaDB, for Linux (x86_64) using readline 5.1
mariaDB設定
- 以下の設定を行います。
- 文字コードのデフォルトをUTF-8に設定。
- デフォルトのデータベースタイプをInnoDBに設定。
- InnoDBのデータやインデックスをファイルを分割
- デフォルトの照合順序をutf8_generic_ciに設定。
- クライアント、コマンドのデフォルト文字コードをUTF-8に設定。
/etc/my.cnf.d/server.cnfをviで編集
[vagrant@localhost ~]$ sudo vi /etc/my.cnf.d/server.cnf
# this is only for the mysqld standalone daemon
[mysqld]
default-storage-engine = InnoDB   ←追加
innodb_file_per_table   ←追加
character-set-server = utf8   ←追加
collation-server = utf8_general_ci  ←追加

[mysql]
default-character-set = utf8  ←追加

[client]
default-character-set = utf8  ←追加
mariaDB起動
[vagrant@localhost ~]$ sudo systemctl start mariadb
[vagrant@localhost ~]$
mariaDB自動起動設定
[vagrant@localhost ~]$ sudo systemctl enable mariadb
Created symlink from /etc/systemd/system/multi-user.target.wants/mariadb.service
 to /usr/lib/systemd/system/mariadb.service.
[vagrant@localhost ~]$
mariaDB初期設定
[vagrant@localhost ~]$ sudo mysql_secure_installation

NOTE: RUNNING ALL PARTS OF THIS SCRIPT IS RECOMMENDED FOR ALL MariaDB
      SERVERS IN PRODUCTION USE!  PLEASE READ EACH STEP CAREFULLY!

In order to log into MariaDB to secure it, we'll need the current
password for the root user.  If you've just installed MariaDB, and
you haven't set the root password yet, the password will be blank,
so you should just press enter here.

Enter current password for root (enter for none): ←rootパスワード入力(空Enter入力)
OK, successfully used password, moving on...

Setting the root password ensures that nobody can log into the MariaDB
root user without the proper authorisation.

Set root password? [Y/n] ←空Enter入力
New password: ←任意のDB管理者(root)用パスワードを入力
Re-enter new password: ←管理者用パスワード再入力(確認)
Password updated successfully!
Reloading privilege tables..
 ... Success!


By default, a MariaDB installation has an anonymous user, allowing anyone
to log into MariaDB without having to have a user account created for
them.  This is intended only for testing, and to make the installation
go a bit smoother.  You should remove them before moving into a
production environment.

Remove anonymous users? [Y/n] ←空Enter入力
 ... Success!

Normally, root should only be allowed to connect from 'localhost'.  This
ensures that someone cannot guess at the root password from the network.

Disallow root login remotely? [Y/n] ←空Enter入力
 ... skipping.

By default, MariaDB comes with a database named 'test' that anyone can
access.  This is also intended only for testing, and should be removed
before moving into a production environment.

Remove test database and access to it? [Y/n] ←空Enter入力
 - Dropping test database...
 ... Success!
 - Removing privileges on test database...
 ... Success!

Reloading the privilege tables will ensure that all changes made so far
will take effect immediately.

Reload privilege tables now? [Y/n] ←空Enter入力
 ... Success!

Cleaning up...

All done!  If you've completed all of the above steps, your MariaDB
installation should now be secure.

Thanks for using MariaDB!
[vagrant@localhost ~]$
mariaDB接続確認
[vagrant@localhost ~]$ mysql -u root -p
Enter password: ←mariaDB管理者用パスワード入力
Welcome to the MariaDB monitor.  Commands end with ; or \g.
Your MariaDB connection id is 9
Server version: 5.5.60-MariaDB MariaDB Server

Copyright (c) 2000, 2018, Oracle, MariaDB Corporation Ab and others.

Type 'help;' or '\h' for help. Type '\c' to clear the current input statement.

MariaDB [(none)]>
上記mariaDBのコマンドプロンプトが出れば接続OK。quitでmariaDBプロンプトを抜けられます。
PHP7.2のインストール
mcryptが必要なのでmcryptを先にインストールします。
[vagrant@localhost ~]$ sudo yum -y --enablerepo=epel install libmcrypt
            ・・・(中略)・・・
Complete!
[vagrant@localhost ~]$
次に、PHP7.2をインストールします。
[vagrant@localhost ~]$ sudo yum -y --enablerepo=epel,remi,remi-php72 install php
             ・・・(中略)・・・
Complete!
[vagrant@localhost ~]$
PHPバージョン確認
[vagrant@localhost ~]$ php -v
PHP 7.2.12 (cli) (built: Nov  6 2018 16:40:25) ( NTS )
Copyright (c) 1997-2018 The PHP Group
Zend Engine v3.2.0, Copyright (c) 1998-2018 Zend Technologies[vagrant@localhost ~]$
php.iniの設定
念のためバックアップを取っておくといいかもしれません。
[vagrant@localhost ~]$ cp -p /etc/php.ini /etc/php.ini.org
php.iniを設定していきます。各設定項目は行が離れているので、適宜検索して下さい。
また、「←」以降の文章はコメントなので入力する必要はありません念のため・・。
[vagrant@localhost ~]$ sudo vi /etc/php.ini

expose_php = Off ←OnからOffに変更(PHPのバージョンを非表示にする)
post_max_size = 20M ← POSTデータの最大サイズを8M→20Mに変更
upload_max_filesize = 20M ←アップロードの最大サイズも20Mに変更
date.timezone = "Asia/Tokyo" ←タイムゾーンの設定を東京に設定
;マルチバイト文字列の設定(各設定は行頭に;が入ってコメントになっているので外す)
mbstring.language = Japanese ←マルチバイト処理で使用される言語のデフォルトを日本語に設定
mbstgring.internal_encoding = UTF-8 ←内部文字のエンコードをUTF-8に設定。
mbstring.http_input = UTF-8 ←HTTP通信時の入力文字コードをUTF-8に設定
mbstring.http_output = pass ←HTTP出力文字コードの自動変換を行わない
mbstring.encoding_translation = On ←文字コードの自動変換を有効にする(文字化けなどが発生した場合はOffに戻す)
mbstring.detect_order = auto ←文字コード自動検出の優先順位を自動にする。自動にした場合UTF-8が最初に選択される。
mbstring.substitute_character = none ←コードとして変換出来ない文字がある場合に、代替の文字を出力しないようにする。
既にApache httpdが動作している場合は再起動してphpの設定を反映させます。
[vagrant@localhost ~]$ sudo systemctl restart httpd
HTTPD動作確認
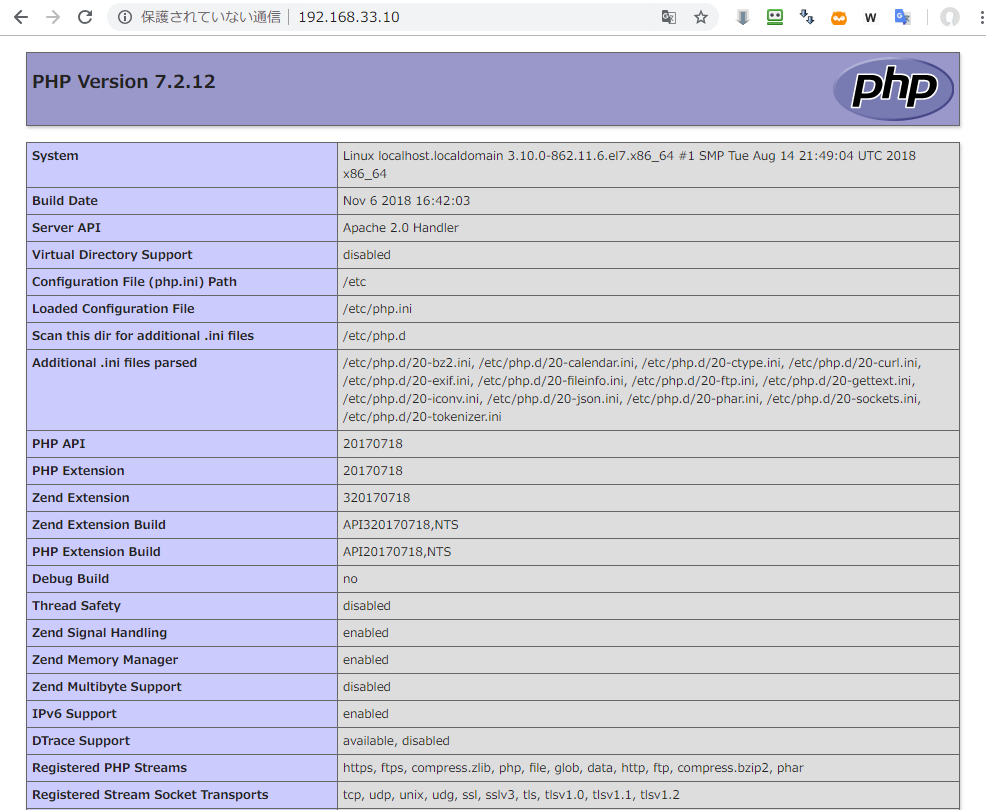
[vagrant@localhost ~]$ sudo vi /var/www/html/index.php

<?php phpinfo(); ?> ←1行目に左記を追加して保存

[vagrant@localhost ~]$
VagrantFileの編集の所で編集したように、仮想マシンのIPアドレスは192.168.33.10になっています。
httpdが起動している状態で、ブラウザから上記IPアドレスを入力してファイルにアクセスしてみます。以下のような画面が出ればOKです。
以上ですが、VSCode + xdebugの設定などをしてデバッグできるようにするとより便利になるでしょう。そのあたりは色々他の方も書かれているのでそちらの方を参考にしてください。(元々備忘のためなので・・)