実装編
Azure Notification Hubs から Push通知を受け取るiOS/Androidのアプリを実装していきます。
iOS アプリケーションの作成
-
Xcodeで、iOS プロジェクトを作成
-
Xcodeのメニューから[File]->[New]->[Project...]を選択
-
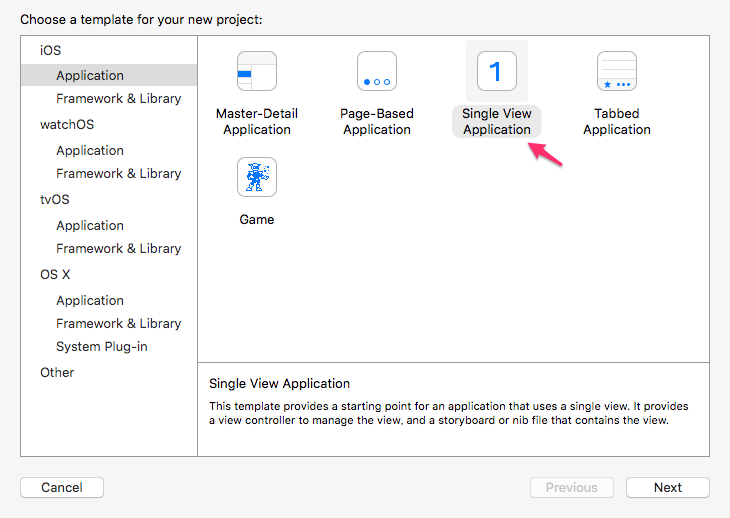
[Single View Application]を選択し、[Next]をクリック
-
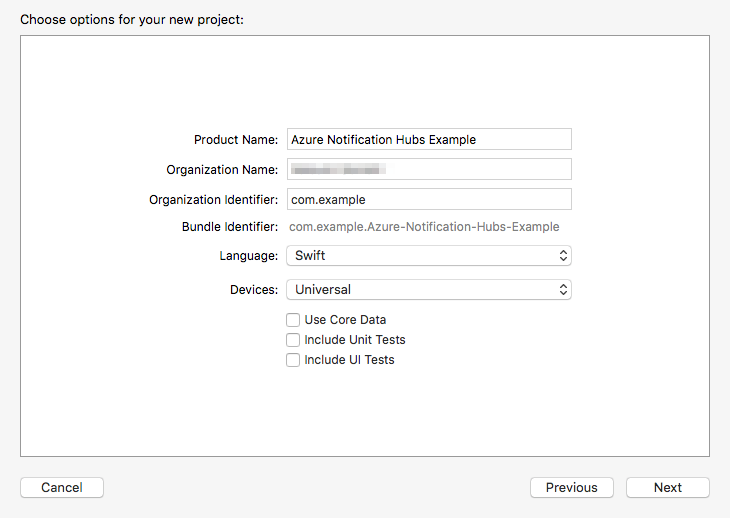
[Product Name][Organization Name]等を入力し、[Next]をクリック
-
[TARGETS]でターゲットの[Bundle Identifier]を。Apple Developerで作成したものに変更、Teamを選択

-
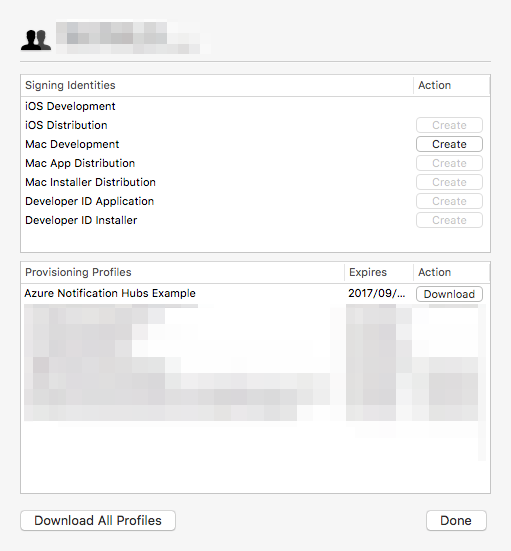
Provisioning Profileをダウンロード
-
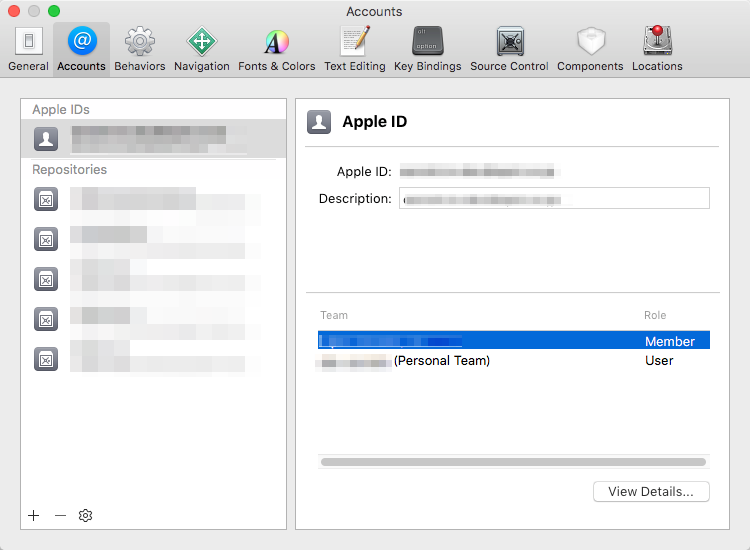
Xcodeのメニューから [Prefarences...]の[Accounts]を開く
-
[Apple ID]->[Team]を選択し、[View Details...]を開き、作成した Provisioning Profile をダウンロード
-
iOS 1.2.4 SDKの追加
-
ダウンロードしたAzure Mobile Services iOS SDK 1.2.4 を解凍

-
Xcodeのプロジェクトに、WindowsAzureMessaging.framework をドラッグアンドドロップ
-
[Destination]の[Copy items if needed]をチェックし、[Finish]をクリック
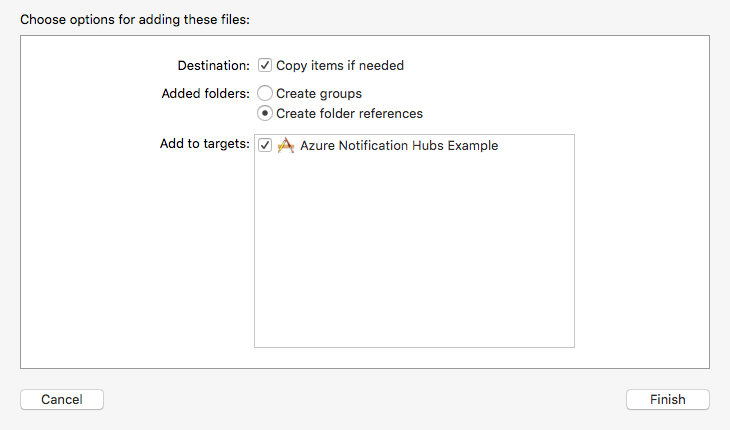
4. [WindowsAzureMessaging.framework]がプロジェクトに追加される
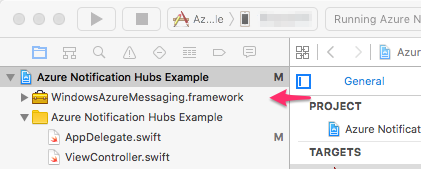
-
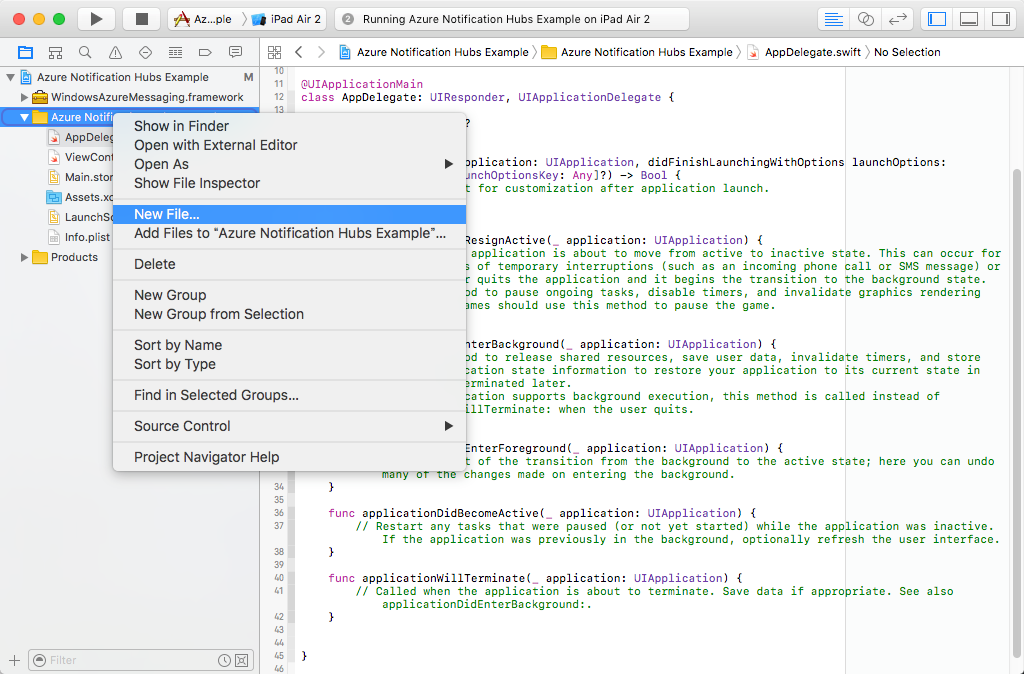
Swiftで[WindowsAzureMessaging.framework]を使用するために、[Objective-C Bridging Header]を追加
-
プロジェクト名と同じグループを右クリックし、[New File...]をクリック
-
[Header File]を選択し、[Next]をクリック

-
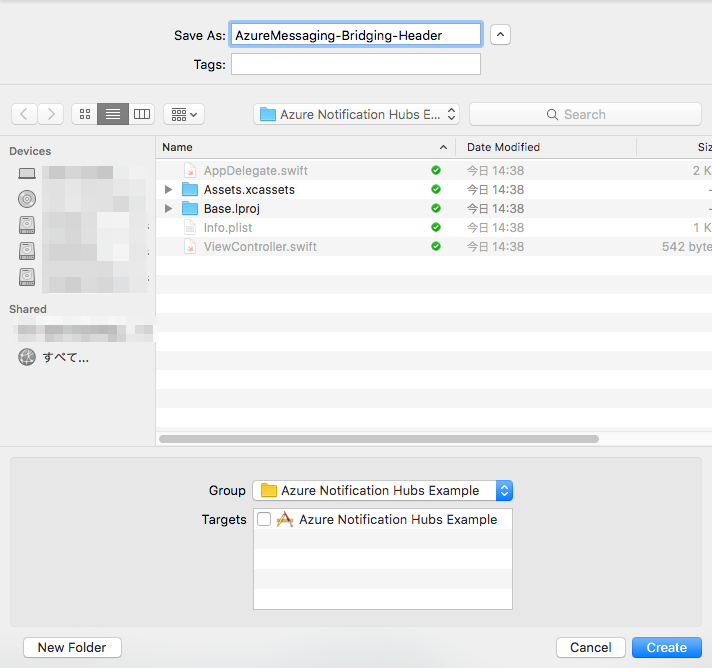
任意のファイル名でHeaderファイルを作成
-
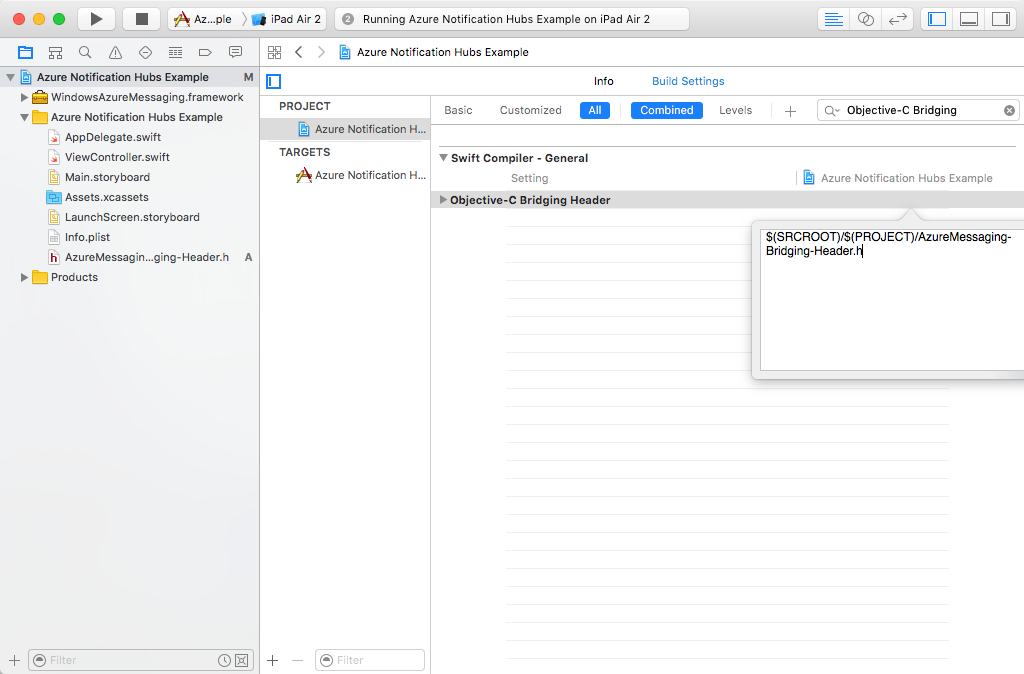
[PROJECT]を開き、[Build Settings]で、[Objective-C Bridging Header]を検索し、作成したHeaderファイルのパスを入力。変数を使用してパスを指定。
$(SRCROOT)/$(PROJECT)/AzureMessaging-Bridging-Header.h
-
Headerファイルに importを記述
```javascript
#ifndef AzureMessaging_Bridging_Header_h
#define AzureMessaging_Bridging_Header_h

#import "WindowsAzureMessaging/WindowsAzureMessaging.h"

#endif /* AzureMessaging_Bridging_Header_h */
```
-
AppDelegateに、APNsの実装を追加
1. application(_:didRegisterUserNotificationSettings:)に、APNsへ登録func application(application: UIApplication, didRegisterUserNotificationSettings notificationSettings: UIUserNotificationSettings) { // APNsへ登録 application.registerForRemoteNotifications() }
2. application(_:didRegisterForRemoteNotificationsWithDeviceToken:)で、APNsで発行される deviceTokenをNotificationHubへ登録
* SBNotificationHubのconnectionStringに、Notification Hubの[DefaultFullSharedAccessSignature]の文字列を指定、notificationHubPathに、Notification Hubの名前を指定
```swift
func application(application: UIApplication, didRegisterForRemoteNotificationsWithDeviceToken deviceToken: NSData) {
    // NotificationHubへ登録
    let hub = SBNotificationHub(
        connectionString: "Endpoint=sb://x.servicebus.windows.net/;SharedAccessKeyName=DefaultListenSharedAccessSignature;SharedAccessKey=...",
        notificationHubPath: "AzureNotificationHubsExample")
    hub.registerNativeWithDeviceToken(deviceToken, tags: nil) { (error) in
        if (error != nil) {
            print("Error registering for notifications.", error)
        } else {
            print("Success registering for notifications.", deviceToken)
        }
    }
}
```
3. application(_:didReceiveRemoteNotification:)で、APNsからPush通知されるメッセージを受け取り、アプリケーションがアクティブな場合にアラートダイアログを表示
```swift
func application(application: UIApplication, didReceiveRemoteNotification userInfo: [NSObject:AnyObject]) {
    switch (application.applicationState) {
    case UIApplicationState.Active:
        let alert = UIAlertController(title: "", message: userInfo.description, preferredStyle: .Alert)
        let defaultAction = UIAlertAction(title: "OK", style: .Cancel, handler: nil)
        alert.addAction(defaultAction)
        self.window?.rootViewController?.presentViewController(alert, animated: true, completion: nil)
    case UIApplicationState.Background, UIApplicationState.Inactive:
        print(userInfo.description)
    }
}
```
Android アプリケーションの作成
-
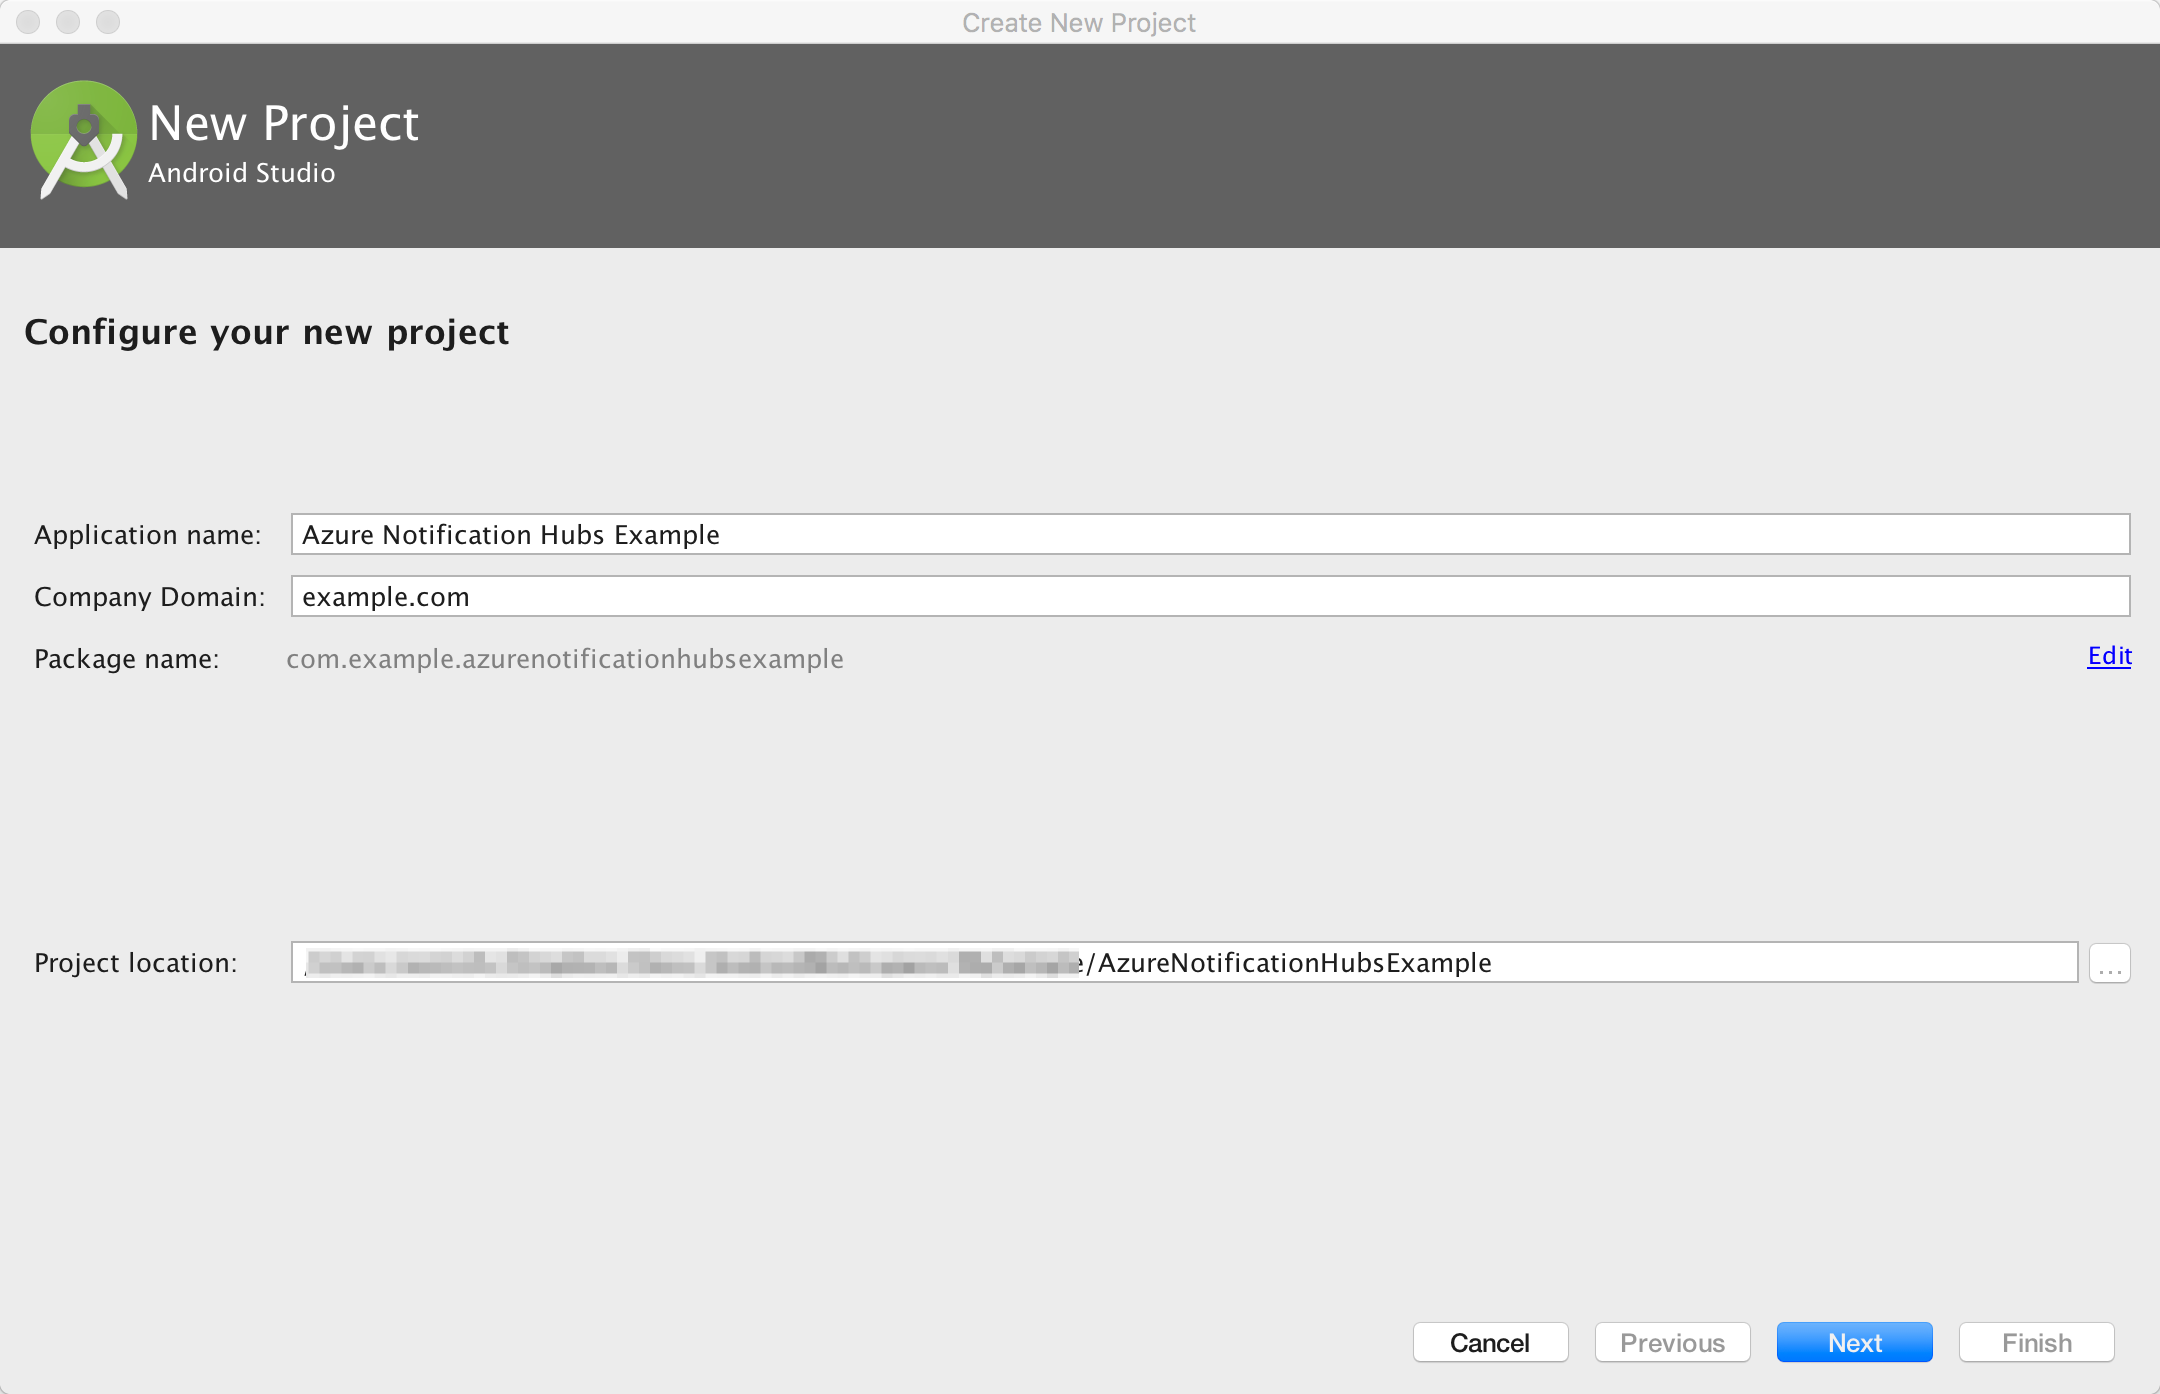
Android Studioで、アプリケーションを作成
- [Application Name][Company Domain][Project Location]を入力して[Next]をクリック
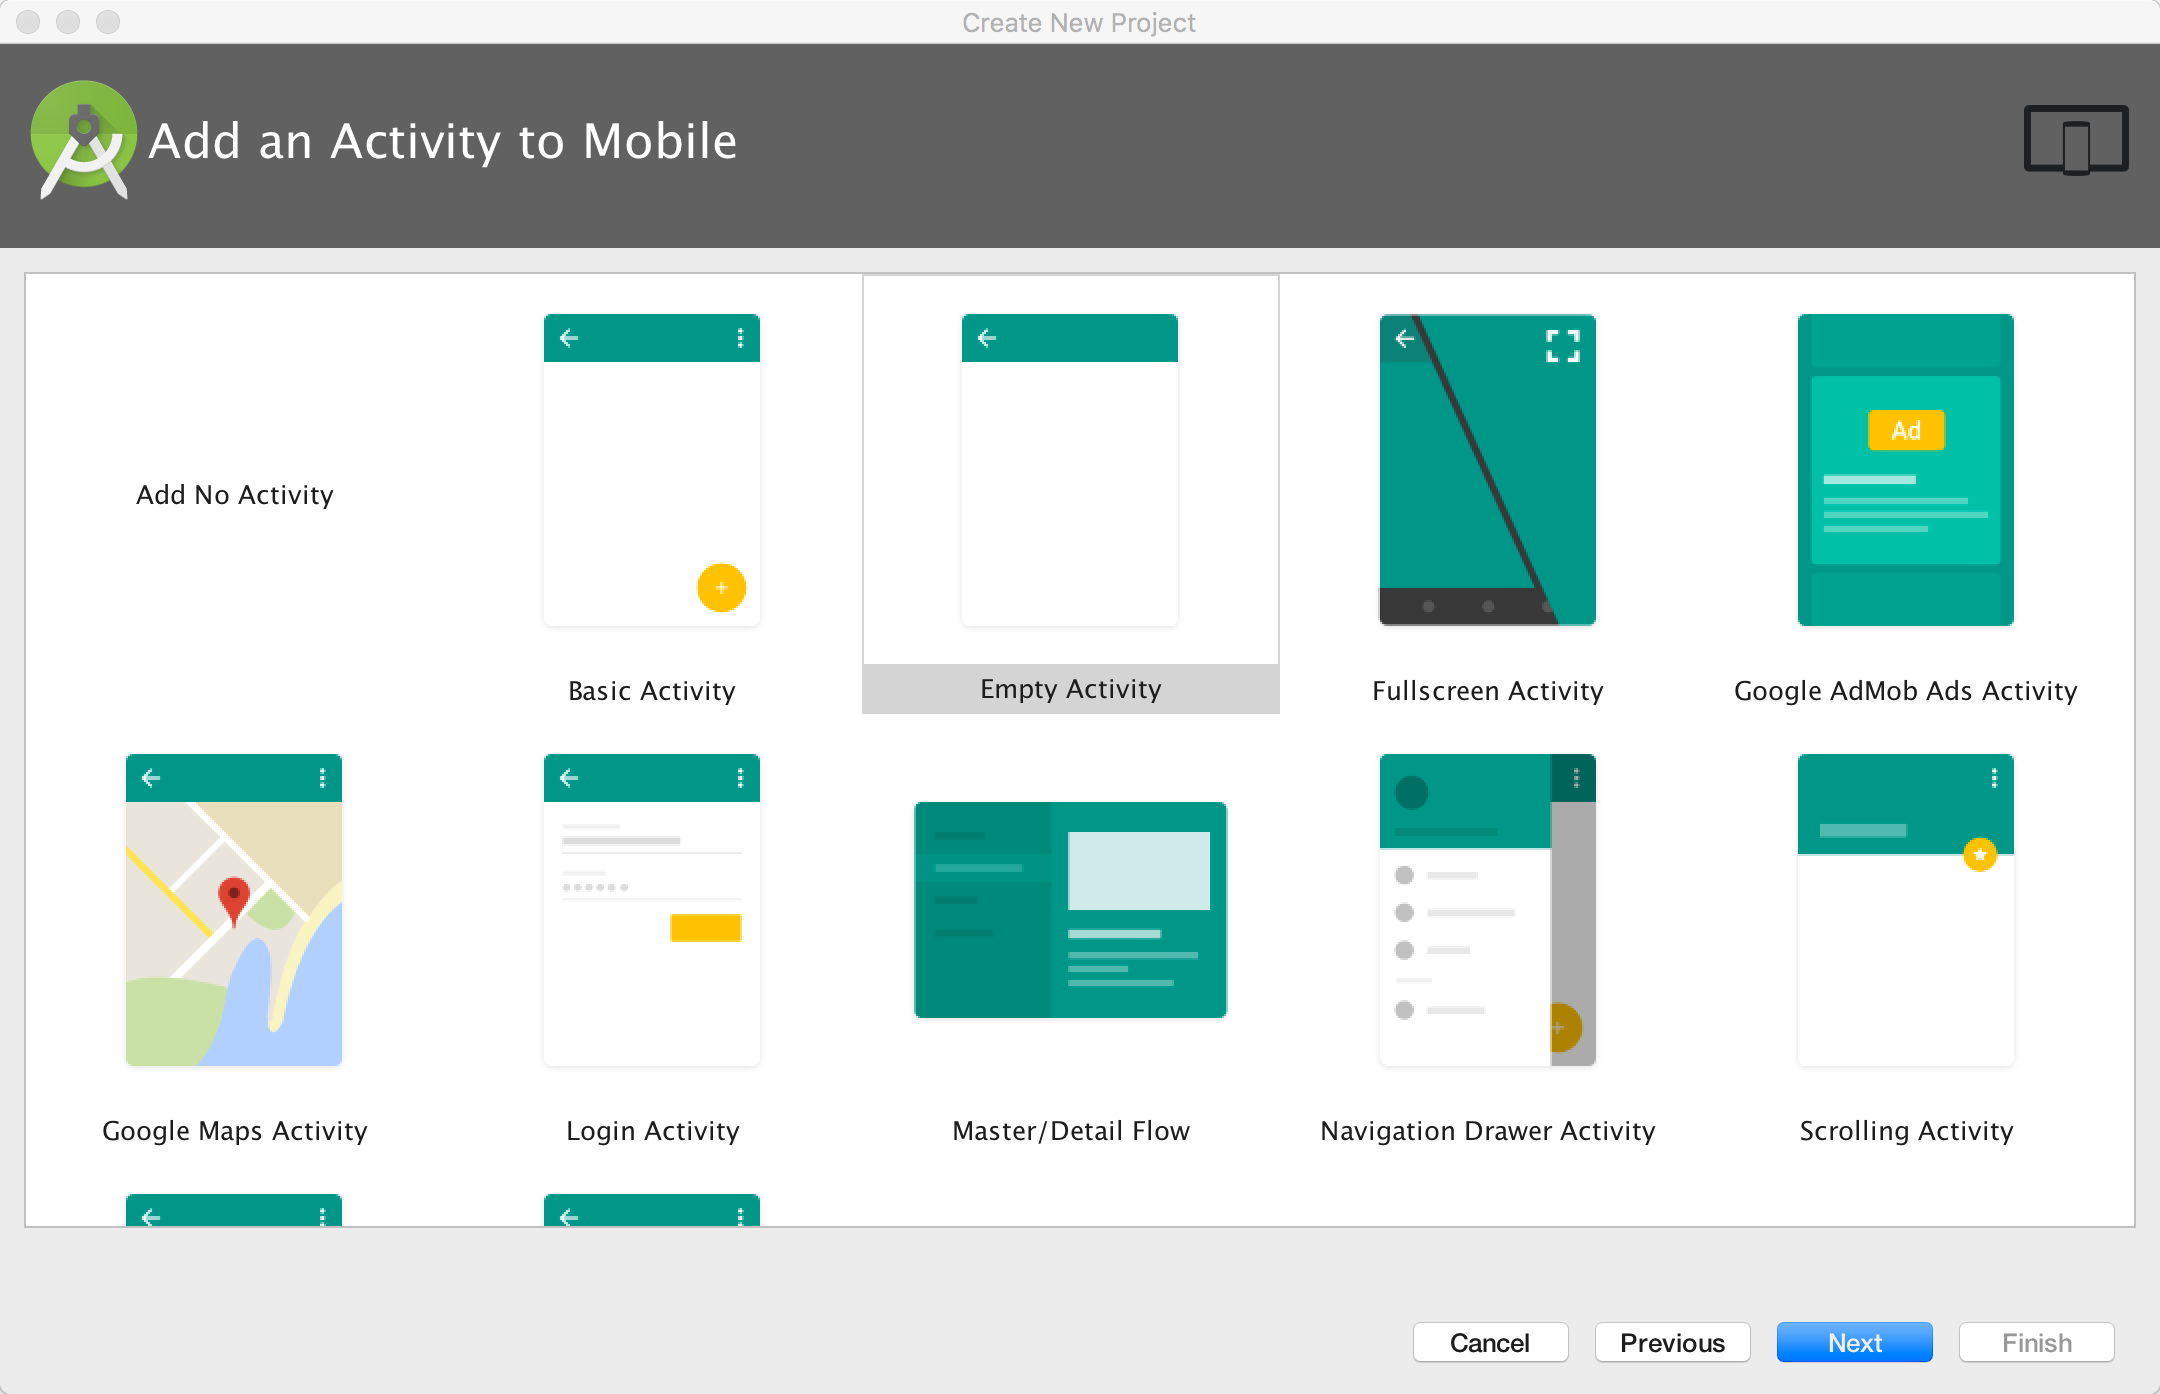
- [Empty Activity]を選択して[Next]をクリック
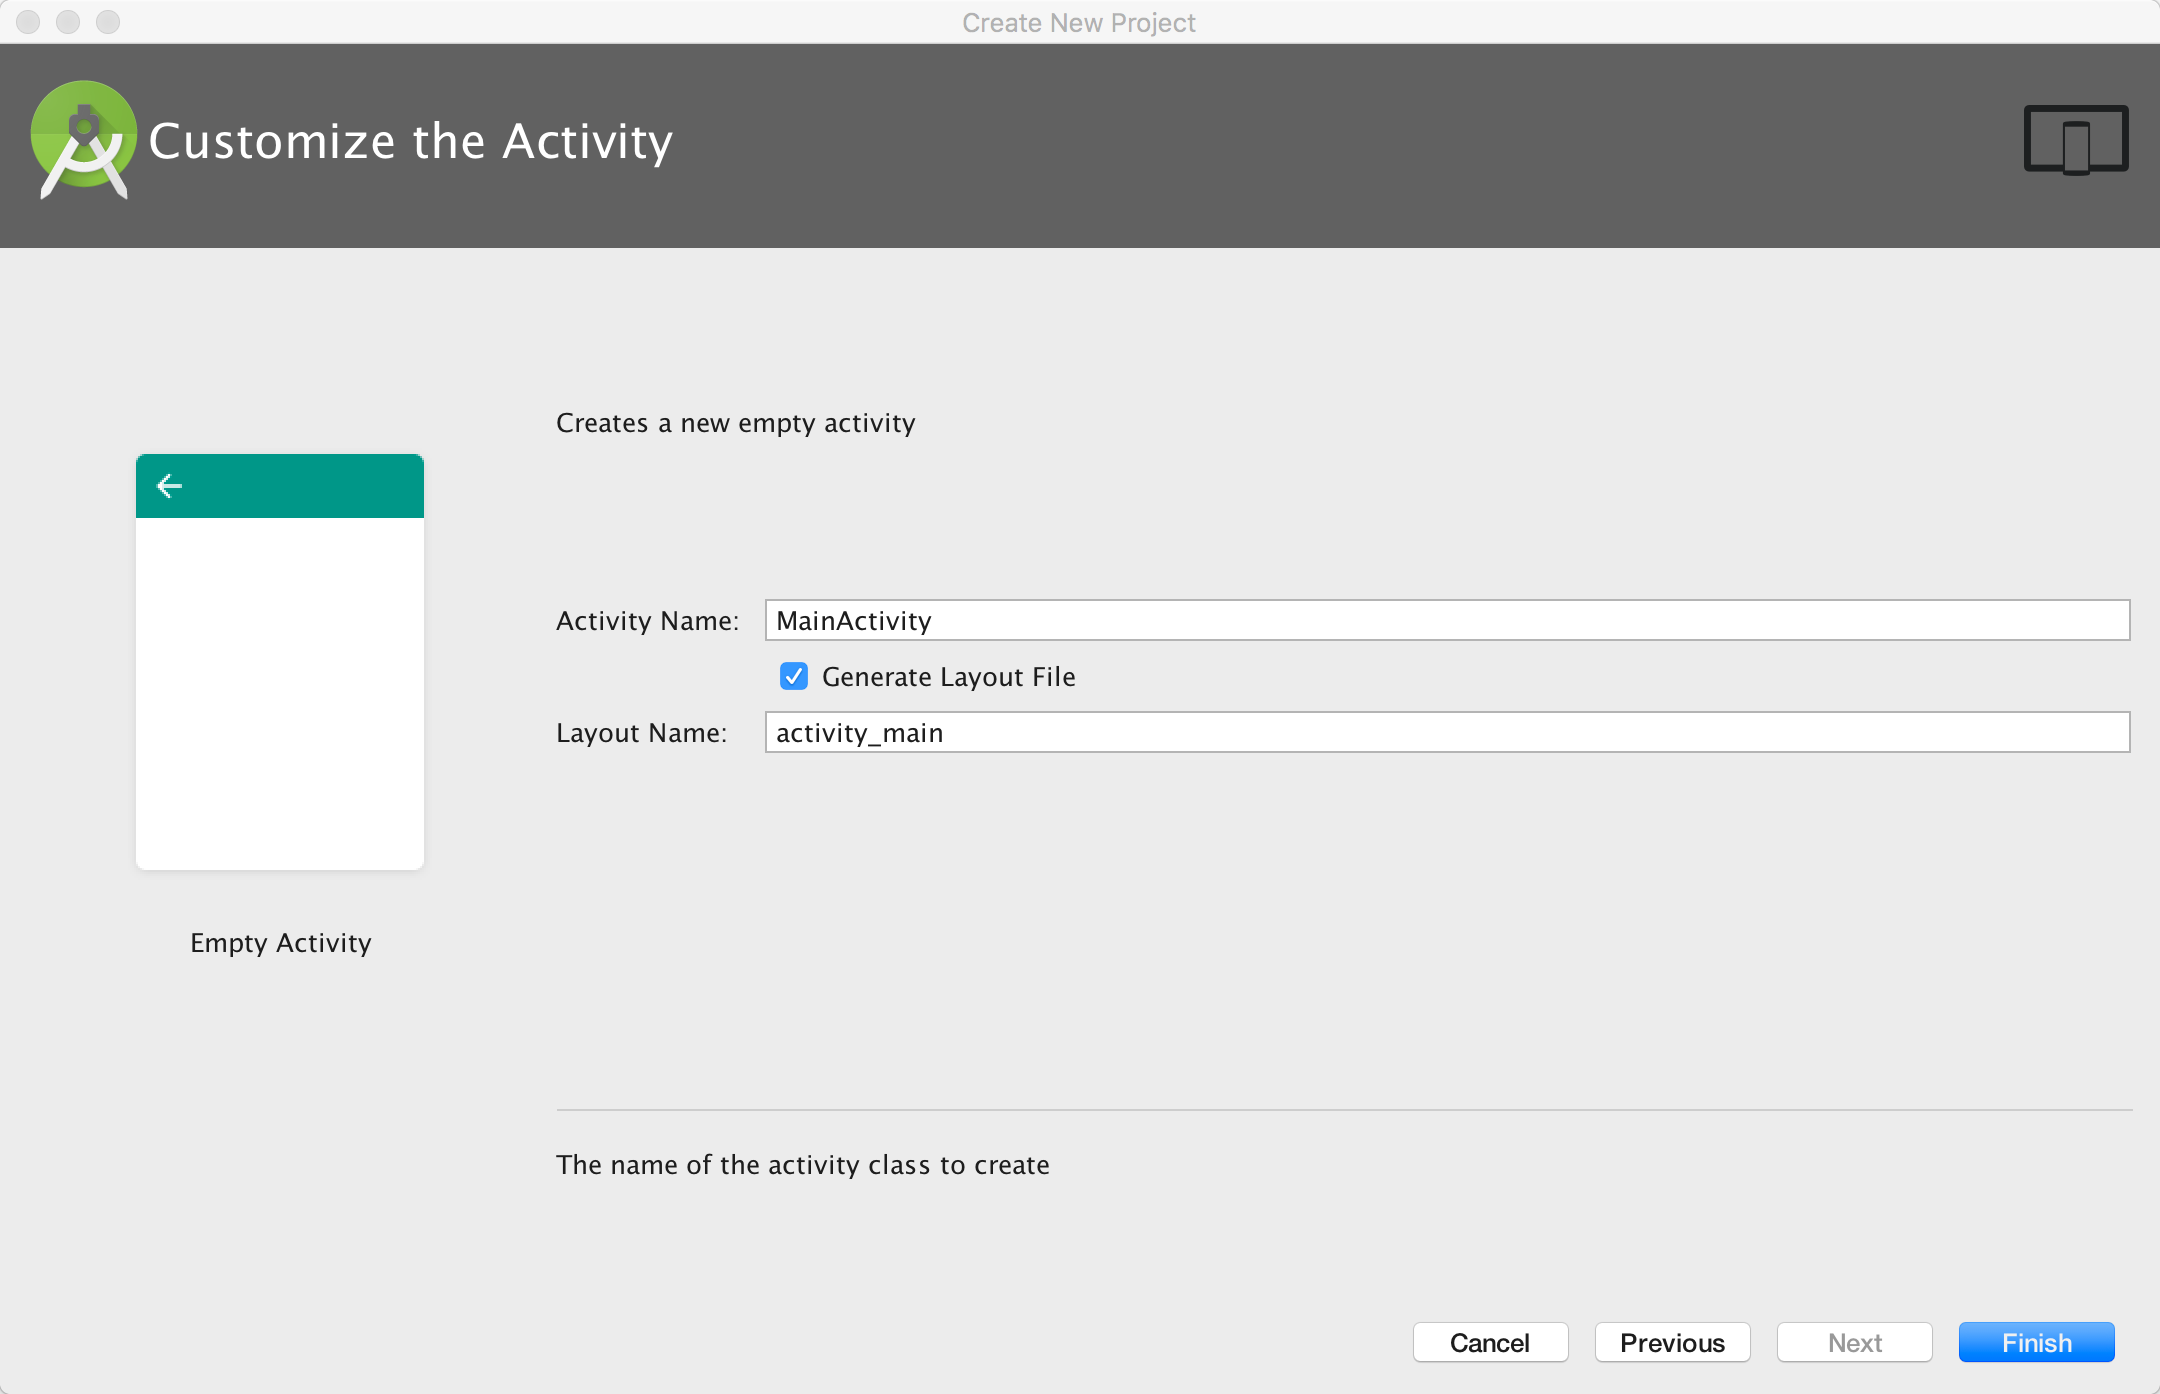
- [Activity Name]等はそのままで[Finish]をクリック
- [Application Name][Company Domain][Project Location]を入力して[Next]をクリック
-
Firebase Cloud Messaging Client SDKの設定
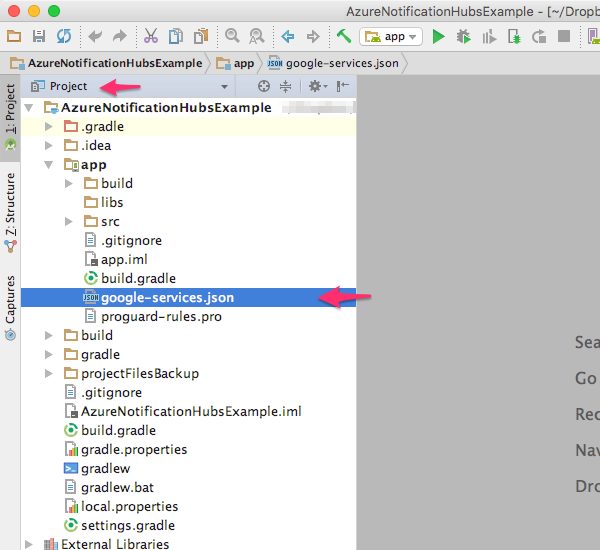
1. ダウンロードした google-services.json を追加。[Project]表示に切り替え、[app]モジュールの下にコピー
2. プロジェクトのbuild.gradleの変更buildscript { // ... dependencies { // ... classpath 'com.google.gms:google-services:3.0.0' } }
3. [app]モジュールのbuild.gradleの修正
```groovy
android {
// ...
}
dependencies {
// ...
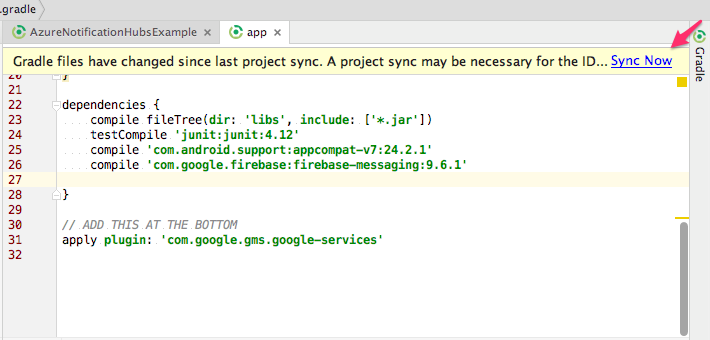
compile 'com.google.firebase:firebase-messaging:9.6.1'
}
// ADD THIS AT THE BOTTOM
apply plugin: 'com.google.gms.google-services'
```
4. GradleのSyncを行う
* gradleファイルの修正したためSyncを行う
* 通知の[Sync Now]をクリック
* もしくは、メニューの[File]->[Synchronize]をクリック
-
Azure Notification Hubs ライブラリの追加
1. [app]モジュールのbuild.gradeの dependencies にライブラリを追加dependencies { // ... compile 'com.microsoft.azure:notification-hubs-android-sdk:0.4@aar' compile 'com.microsoft.azure:azure-notifications-handler:1.0.1@aar' }
2. ライブラリのリポジトリの指定をrepositoriesに追加
```groovy
repositories {
    maven {
        url "http://dl.bintray.com/microsoftazuremobile/SDK"
    }
}
```
3. GradleのSyncを行う
4. エラーの解消
* 以下のエラーが発生する場合、AndroidManifest.xmlを修正する必要がある
```sh
Error:Execution failed for task ':app:processDebugManifest'.
> Manifest merger failed : Attribute application@icon value=(@mipmap/ic_launcher) from AndroidManifest.xml:7:9-43
	is also present at [com.microsoft.azure:azure-notifications-handler:1.0.1] AndroidManifest.xml:13:9-45 value=(@drawable/ic_launcher).
	Suggestion: add 'tools:replace="android:icon"' to <application> element at AndroidManifest.xml:5:5-18:19 to override.
```
* AndroidManifest.xmlを修正
  * manifestに ```xmlns:tools="http://schemas.android.com/tools"```を追加
  * applicationに ```tools:replace="android:icon"```を追加

```xml
<?xml version="1.0" encoding="utf-8"?>
<manifest xmlns:android="http://schemas.android.com/apk/res/android"
    xmlns:tools="http://schemas.android.com/tools"
    package="com.example.azure.nh.example">

<application
    tools:replace="android:icon"
```
5. メニューの[Build]->[Make Project]をクリックしビルドを行う
- Firebase Cloud Messaging(FCM) の登録の実装を追加
- FCMへ登録,tokenの取得と、Azure Notification Hubs への登録
-
FirebaseInstanceIdService を継承した Serviceクラスを作成
- FCMでTokenが更新されると onTokenRefresh() が呼び出される。
-
FirebaseInstanceId.getInstance().getToken()で、tokenを取得し、NotificationHubへ登録する。 - NotificationHubをnotificationHubPath にNotification Hubの[DefaultFullSharedAccessSignature]の文字列を指定、connectionStringに、Notification Hubの名前を指定して作成
- NotificationHub.register(pnsHandle); で、tokenを登録
- Registration.getRegistrationId(); で、NotificationHubのregistrationIdを取得
import com.google.firebase.iid.FirebaseInstanceIdService;

public class MyFirebaseInstanceIDService extends FirebaseInstanceIdService {

    private static final String TAG = MyFirebaseInstanceIDService.class.getSimpleName();

    @Override
    public void onTokenRefresh() {
        String refreshedToken = FirebaseInstanceId.getInstance().getToken();
        Log.d(TAG, "Refreshed token: " + refreshedToken);

        sendRegistrationToServer(refreshedToken);
    }

   private void sendRegistrationToServer(String refreshedToken) {
       NotificationHub hub = new NotificationHub(
               "AzureNotificationHubsExample",
               "Endpoint=sb://x.windows.net/;SharedAccessKeyName=DefaultListenSharedAccessSignature;SharedAccessKey=...",
               this);

       try {
           Registration registration = hub.register(refreshedToken);
           String registrationId = registration.getRegistrationId();

           Log.d(TAG, "Registration ID: " + registrationId);
       } catch (Exception e) {
           e.printStackTrace();
       }
   }
}
-
2. AndroidManifest.xmlに作成したServiceクラスを追加
 * ```<intent-filter>```に```<action android:name="com.google.firebase.INSTANCE_ID_EVENT"/>```を記述

    ```xml
         <application

            <!-- [firebase_iid_service] -->
            <service android:name=".MyFirebaseInstanceIDService">
                <intent-filter>
                    <action android:name="com.google.firebase.INSTANCE_ID_EVENT"/>
                </intent-filter>
            </service>

        </application>
    ```
- 通知を受け取る処理の実装を追加
- FirebaseMessagingService を継承した Serviceクラスを作成
-
onMessageReceived() でメッセージを受信
-
RemoteMessage.getData()で、ペイロードを取得し、Notificationに表示
public class MyFirebaseMessagingService extends FirebaseMessagingService {
    private static final String TAG = MyFirebaseMessagingService.class.getSimpleName();

    @Override
    public void onMessageReceived(RemoteMessage remoteMessage) {
        Log.d(TAG, "From: " + remoteMessage.getFrom());
        if (remoteMessage.getData().size() > 0) {
            Log.d(TAG, "Message data payload: " + remoteMessage.getData());

            notifyNotification(remoteMessage.getData().toString());
        }
    }

    private void notifyNotification(String messageBody) {

        NotificationCompat.Builder notificationBuilder = new NotificationCompat.Builder(this)
                .setContentTitle("FCM Message")
                .setContentText(messageBody);

        NotificationManager notificationManager =
                (NotificationManager) getSystemService(Context.NOTIFICATION_SERVICE);

        notificationManager.notify(0, notificationBuilder.build());
    }
}
-
- AndroidManifest.xmlに作成したServiceクラスを追加
-
<intent-filter>に<action android:name="com.google.firebase.MESSAGING_EVENT"/>を記述<application <!-- [firebase_service] --> <service android:name=".MyFirebaseMessagingService"> <intent-filter> <action android:name="com.google.firebase.MESSAGING_EVENT"/> </intent-filter> </service> </application>
-
Azure Notification Hubs から通知を送信
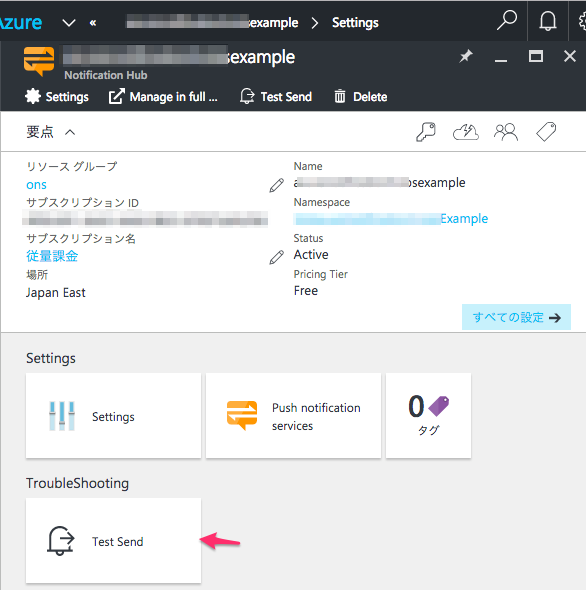
- Azure ポータル で、Notification Hubsを開く
- [Test Send]をクリック
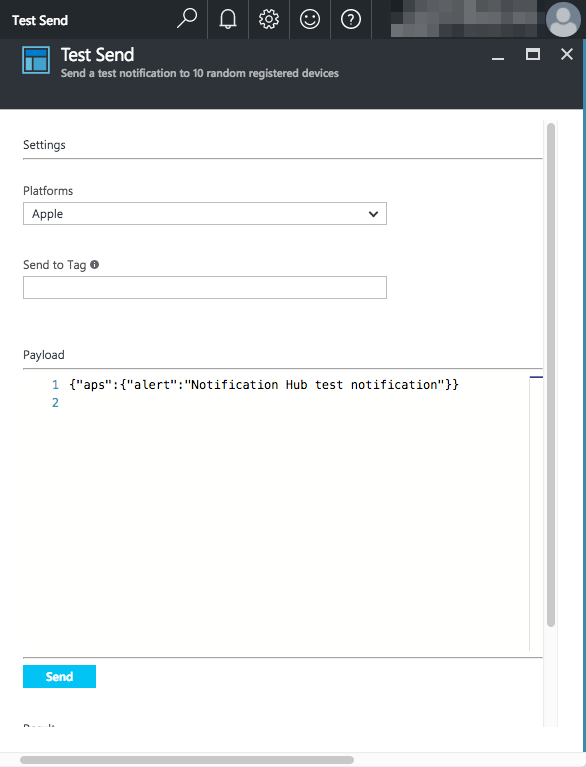
- [Platform]に[Apple]を選択し[Send]をクリック
- [Platform]に[Apple]を選択し[Send]をクリック
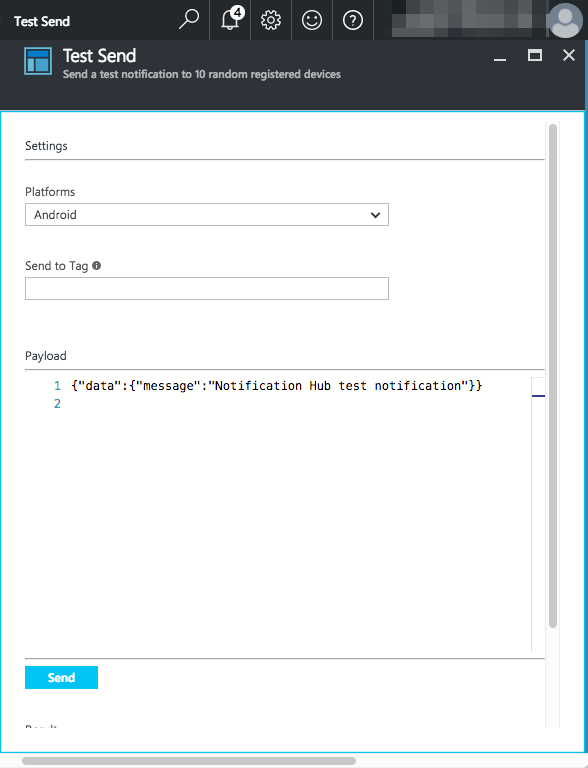
- [Send]の下に送信結果が表示される
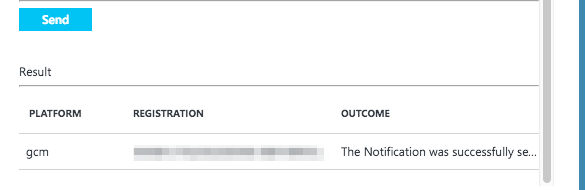
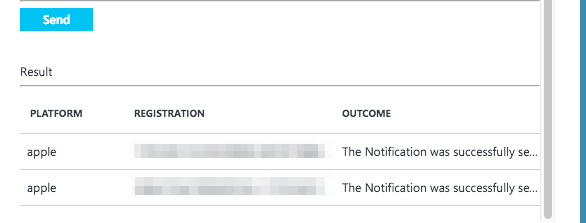
- iOS/Androidで通知を受け取れていることを確認
これれで、Azure Notification HubsからのPush通知をアプリケーションが受け取れるようになりました。
次は、配信編になります。