概要
EclipseでGradleのJavaプロジェクトを使う場合、プロジェクトを作成する方法がいくつかあります。各方法の違いが知りたかったので調査してみました。
プロジェクトの作り方を大別すると、コンソールからgradleコマンドで作成する方法と、Eclipseにプラグインを入れてメニューから作る方法に分かれるかと思います。さらに、Eclipseのプラグインは何種類かあるようなので、メジャーそうなのをためしています。
- 方法1:コンソールからgradleコマンドでプロジェクトを作成
- 方法2:Gradle IDE Packプラグインで、Eclipse上からプロジェクトを作成
- 方法3:Gradle (STS) Integration for Eclipseプラグインで、Eclipse上からプロジェクトを作成
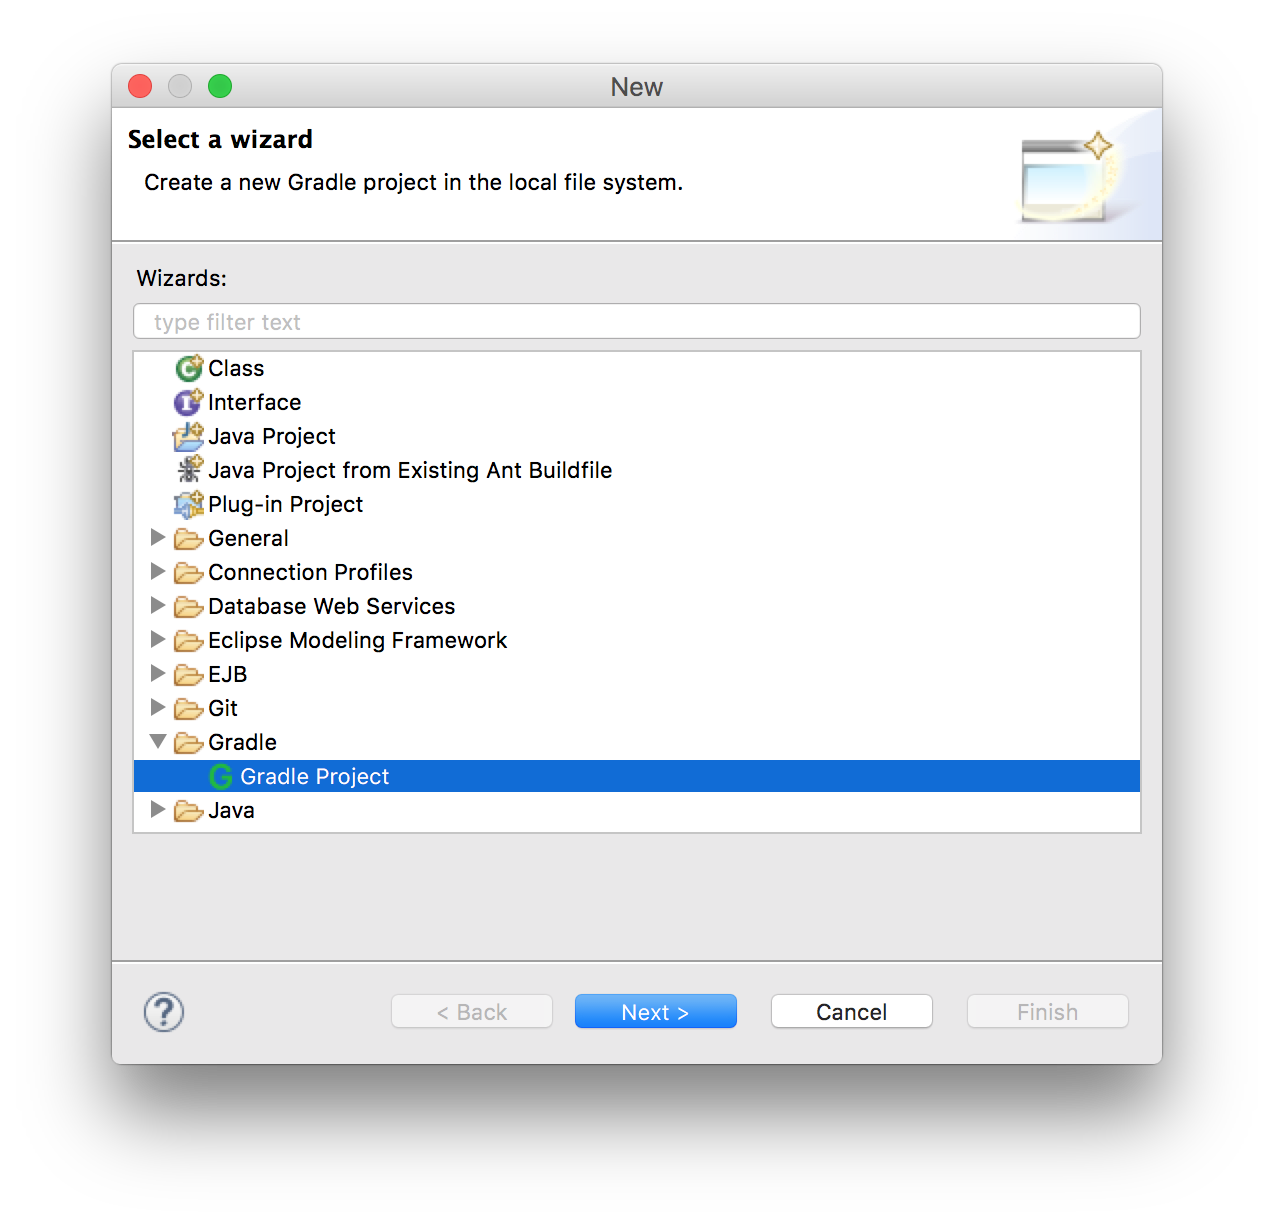
- 方法4:Eclipse公式のBuildshipプラグインで、Eclipse上からプロジェクトを作成
検証環境
- Mac
- java 1.8.0_65
- Gradle 2.12
- Eclipse Java EE IDE for Web Developers (Mars.2 Release (4.5.2))
各種インストール
方法1:コンソールからgradleコマンドでプロジェクトを作成
Gradleはあらかじめインストールされていて、gradleコマンドが使える状態にしておきます。
$ gradle --version
------------------------------------------------------------
Gradle 2.12
コンソールからJavaプロジェクトを作成します。今回は、create_gradle-cmdという名前で作りました。
mkdir create-gradle-cmd
cd create-gradle-cmd/
gradle init --type java-library
「gradle init --type java-library」でJavaのスケルトンプロジェクトが作成されます。
$ ls -la
total 40
drwxr-xr-x  3 grachro  wheel   102  3 21 21:32 .gradle
-rw-r--r--  1 grachro  wheel  1216  3 21 21:32 build.gradle
drwxr-xr-x  3 grachro  wheel   102  3 21 21:32 gradle
-rwxr-xr-x  1 grachro  wheel  4971  3 21 21:32 gradlew
-rw-r--r--  1 grachro  wheel  2404  3 21 21:32 gradlew.bat
-rw-r--r--  1 grachro  wheel   651  3 21 21:32 settings.gradle
drwxr-xr-x  4 grachro  wheel   136  3 21 21:32 src
build.gradleの「apply plugin: 'java'」の下に「apply plugin: 'eclipse'」を追加します。
apply plugin: 'java'
apply plugin: 'eclipse'
コンソールからgradleコマンドを実行します。
gradle eclipse
GradleのJavaプロジェクトにEclipse用のプロジェクトファイルが追加されます。
$ ls -la
total 56
drwxr-xr-x  12 grachro  wheel   408  3 21 21:45 .
drwxr-xr-x   4 grachro  wheel   136  3 21 21:32 ..
-rw-r--r--   1 grachro  wheel  1343  3 21 21:45 .classpath
drwxr-xr-x   3 grachro  wheel   102  3 21 21:32 .gradle
-rw-r--r--   1 grachro  wheel   360  3 21 21:45 .project
drwxr-xr-x   3 grachro  wheel   102  3 21 21:45 .settings
-rw-r--r--   1 grachro  wheel  1240  3 21 21:41 build.gradle
drwxr-xr-x   3 grachro  wheel   102  3 21 21:32 gradle
-rwxr-xr-x   1 grachro  wheel  4971  3 21 21:32 gradlew
-rw-r--r--   1 grachro  wheel  2404  3 21 21:32 gradlew.bat
-rw-r--r--   1 grachro  wheel   651  3 21 21:32 settings.gradle
drwxr-xr-x   4 grachro  wheel   136  3 21 21:32 src
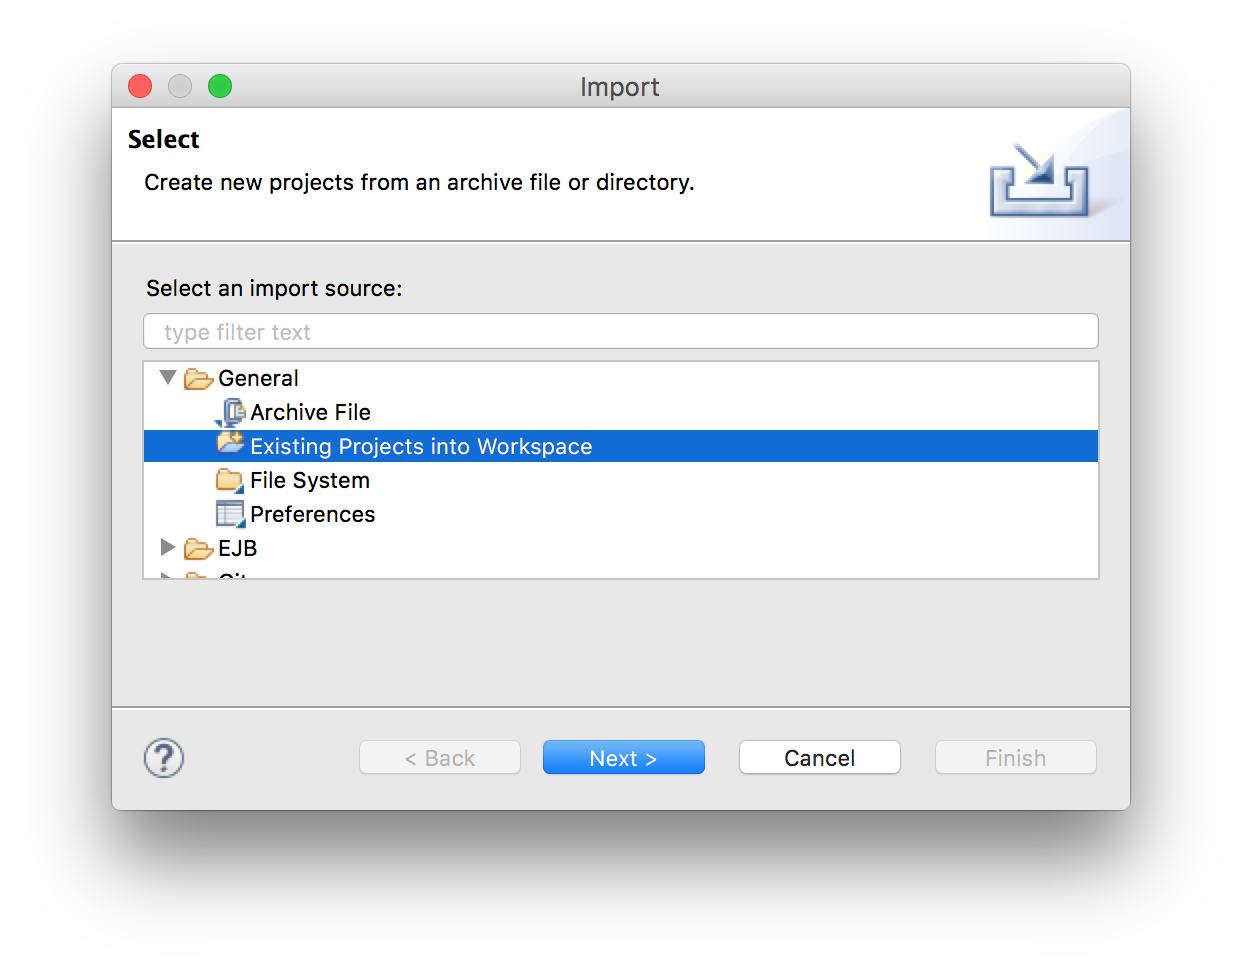
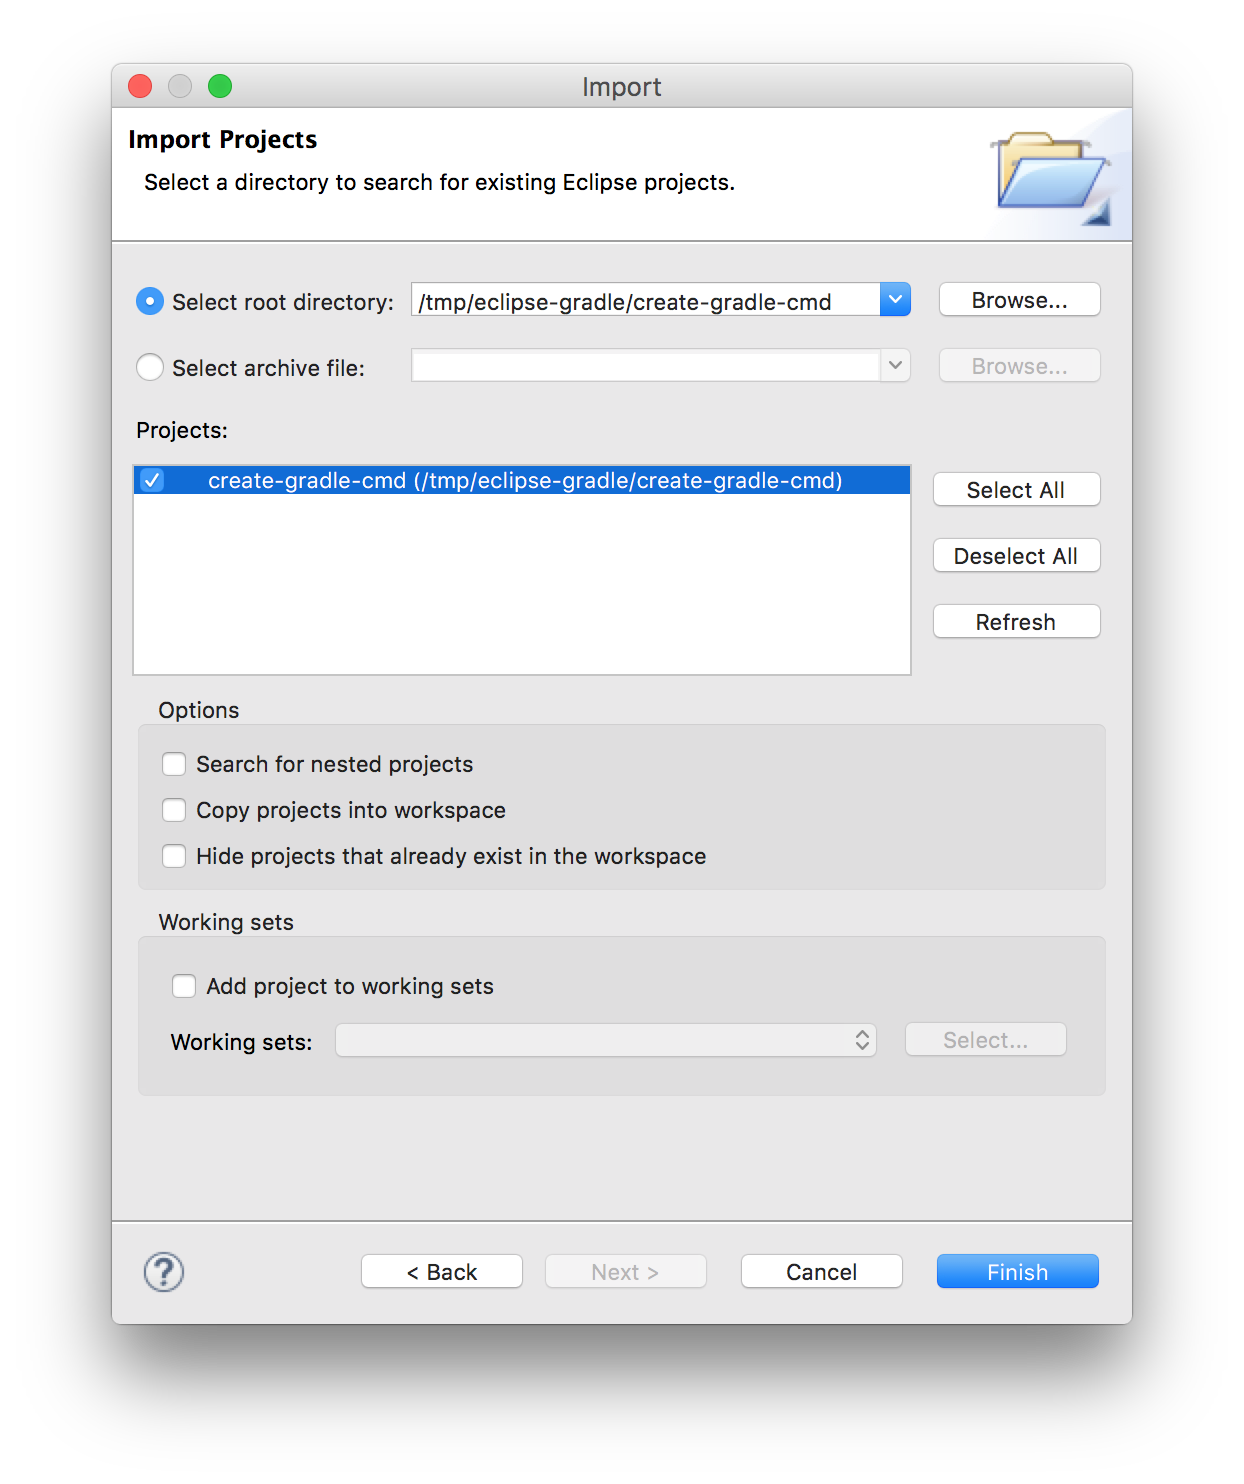
Eclipseを立ち上げてインポートします。
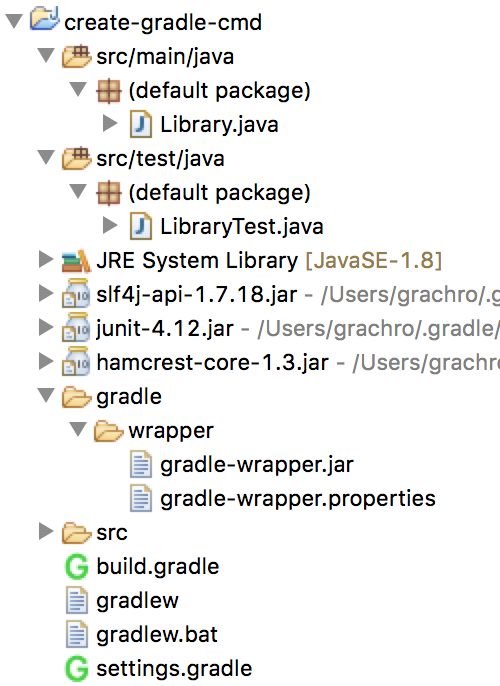
作成されたプロジェクト
/*
 * This build file was auto generated by running the Gradle 'init' task
 * by 'grachro' at '16/03/21 21:32' with Gradle 2.12
 *
 * This generated file contains a sample Java project to get you started.
 * For more details take a look at the Java Quickstart chapter in the Gradle
 * user guide available at https://docs.gradle.org/2.12/userguide/tutorial_java_projects.html
 */

// Apply the java plugin to add support for Java
apply plugin: 'java'
apply plugin: 'eclipse'

// In this section you declare where to find the dependencies of your project
repositories {
    // Use 'jcenter' for resolving your dependencies.
    // You can declare any Maven/Ivy/file repository here.
    jcenter()
}

// In this section you declare the dependencies for your production and test code
dependencies {
    // The production code uses the SLF4J logging API at compile time
    compile 'org.slf4j:slf4j-api:1.7.18'

    // Declare the dependency for your favourite test framework you want to use in your tests.
    // TestNG is also supported by the Gradle Test task. Just change the
    // testCompile dependency to testCompile 'org.testng:testng:6.8.1' and add
    // 'test.useTestNG()' to your build script.
    testCompile 'junit:junit:4.12'
}
方法2:Gradle IDE Packプラグインで、Eclipse上からプロジェクトを作成
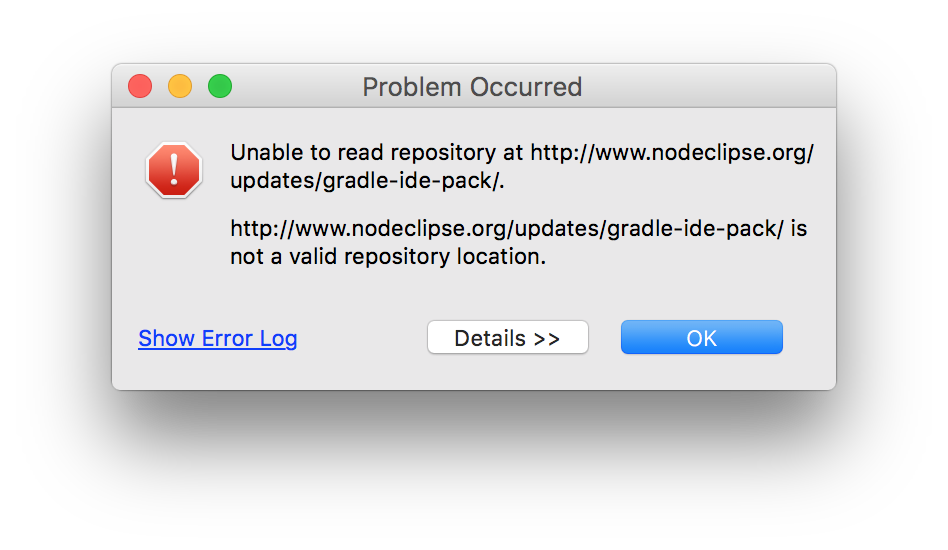
Nodeclipseが配布しているプラグインです。このプラグインが、「eclipse gradle プラグイン」とかでググった時に一番よく見かけます。

サーバーエラーでインストールできませんでした。
方法3:Gradle (STS) Integration for Eclipseプラグインで、Eclipse上からプロジェクトを作成
Pivotalが配布しているプラグインです。STSとあるので、本来はSpring Tool SuiteからGradleを使うことを想定されたプラグインなのかもしれません。
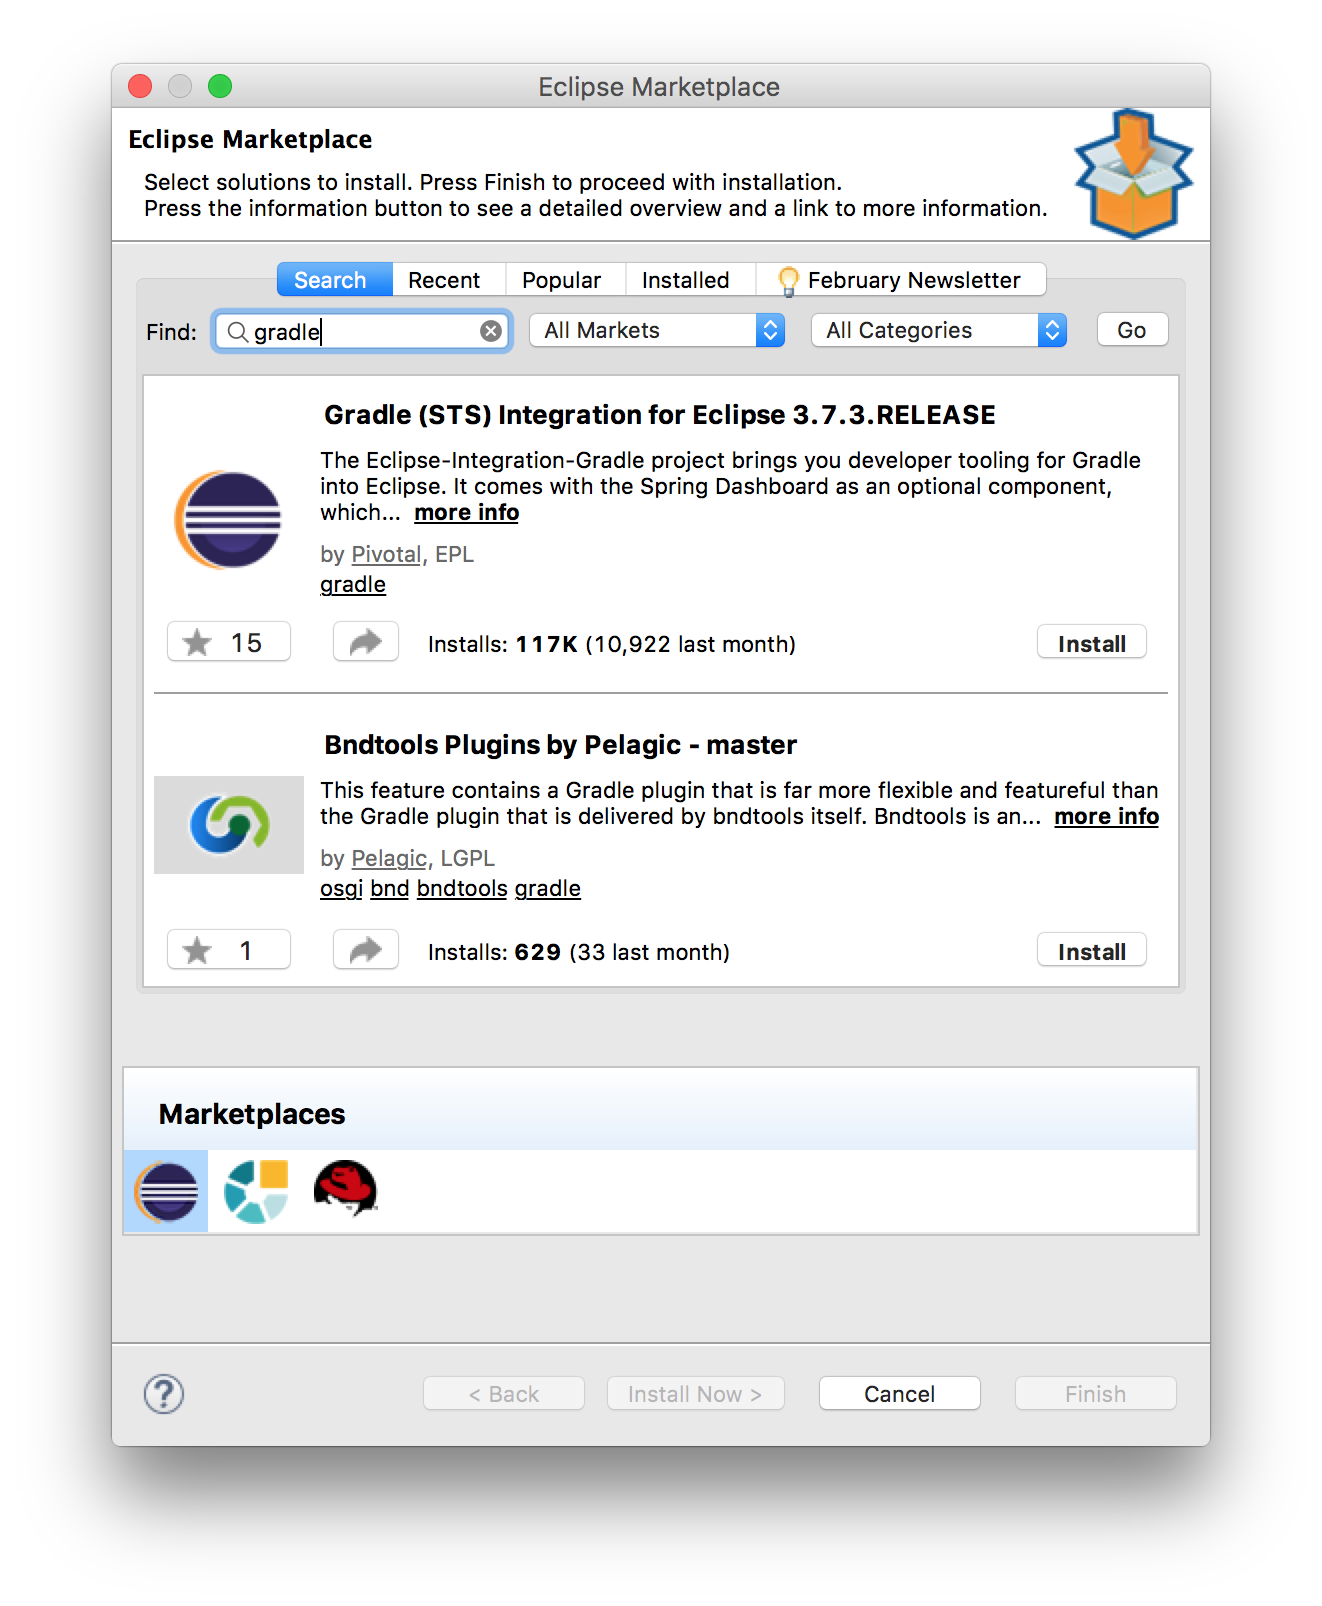
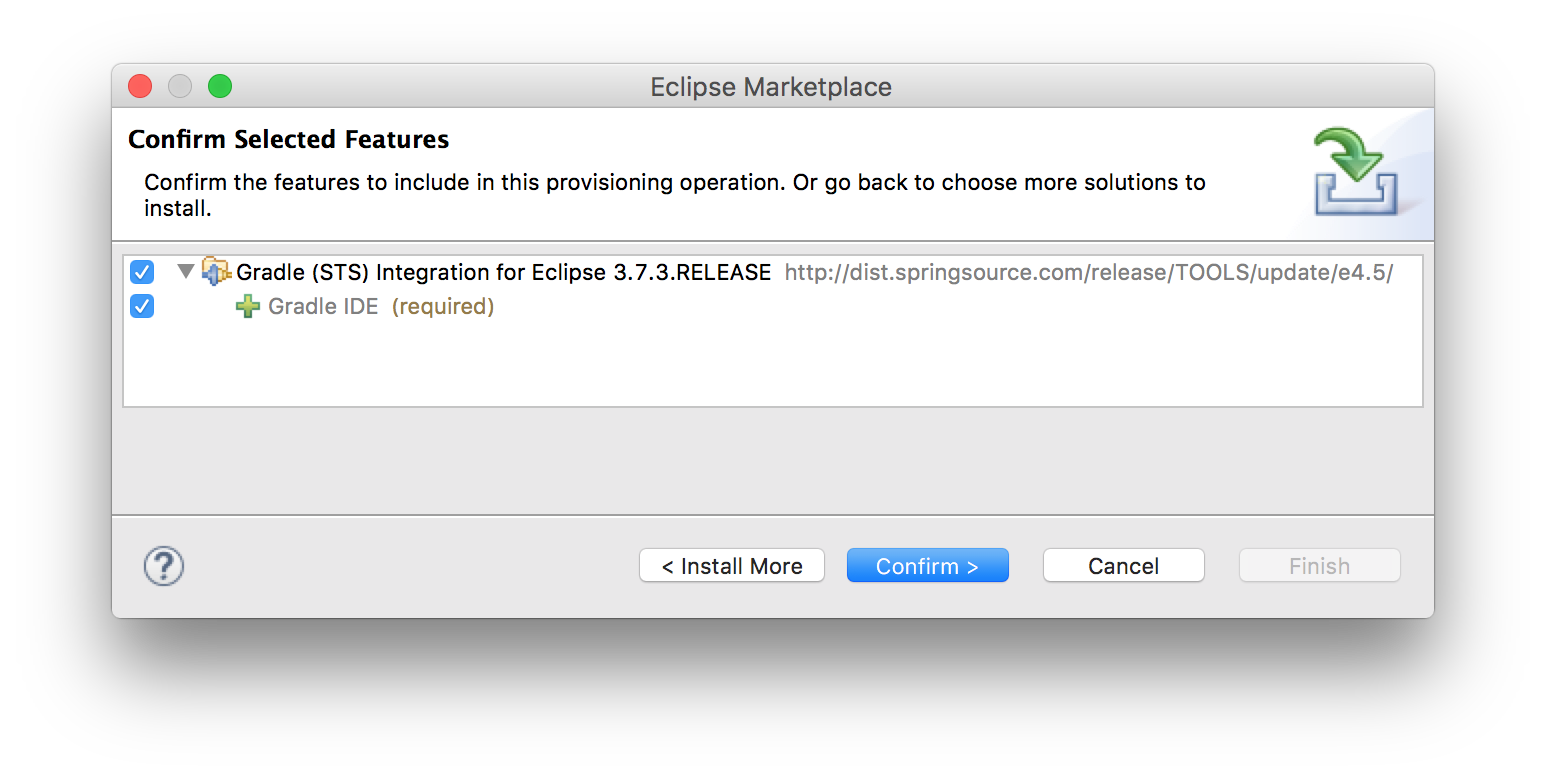
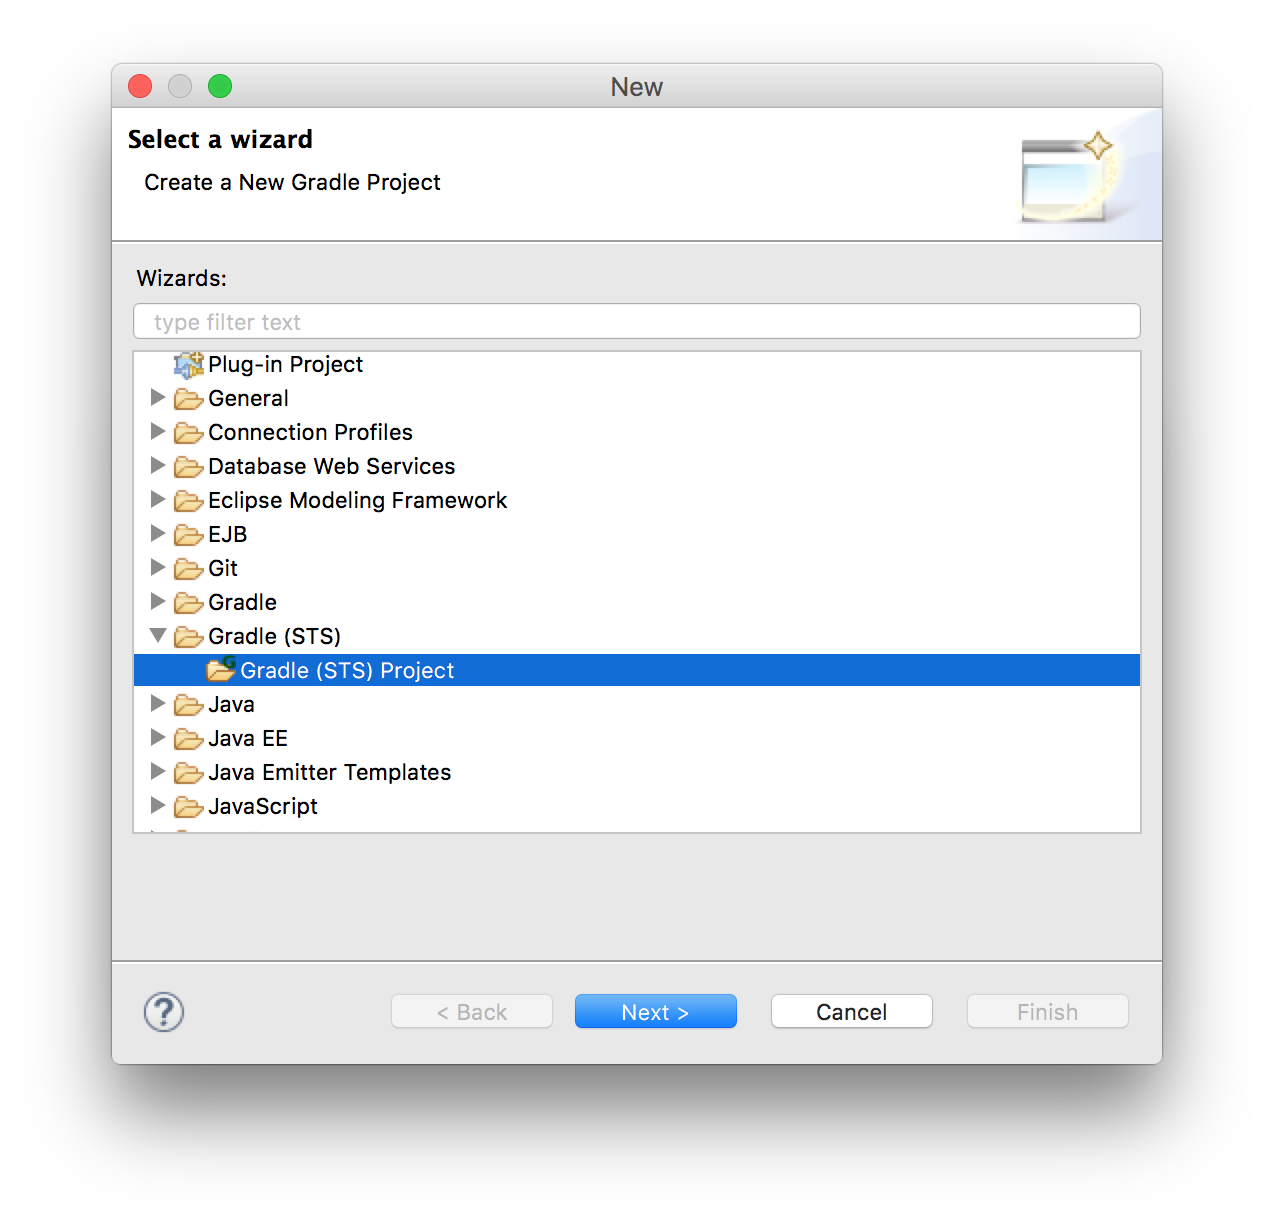
インストールが終わったらEclipseを再起動して、メニューからプロジェクトを作成します。今回は、create_stsという名前で作りました。
(「Gradle(STS)」メニューの上の「Gradle」メニューは、後述するBuildshipのメニューです。)

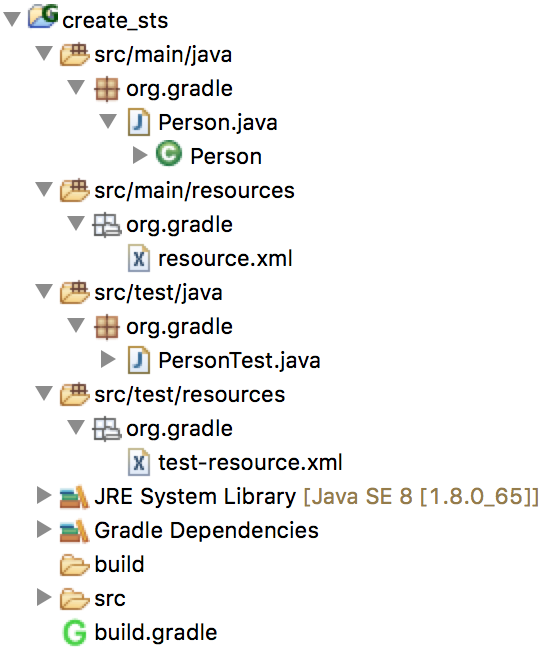
作成されたプロジェクト
apply plugin: 'java'
apply plugin: 'eclipse'

sourceCompatibility = 1.5
version = '1.0'
jar {
    manifest {
        attributes 'Implementation-Title': 'Gradle Quickstart',
                   'Implementation-Version': version
    }
}

repositories {
    mavenCentral()
}

dependencies {
    compile group: 'commons-collections', name: 'commons-collections', version: '3.2'
    testCompile group: 'junit', name: 'junit', version: '4.+'
}

test {
    systemProperties 'property': 'value'
}

uploadArchives {
    repositories {
       flatDir {
           dirs 'repos'
       }
    }
}
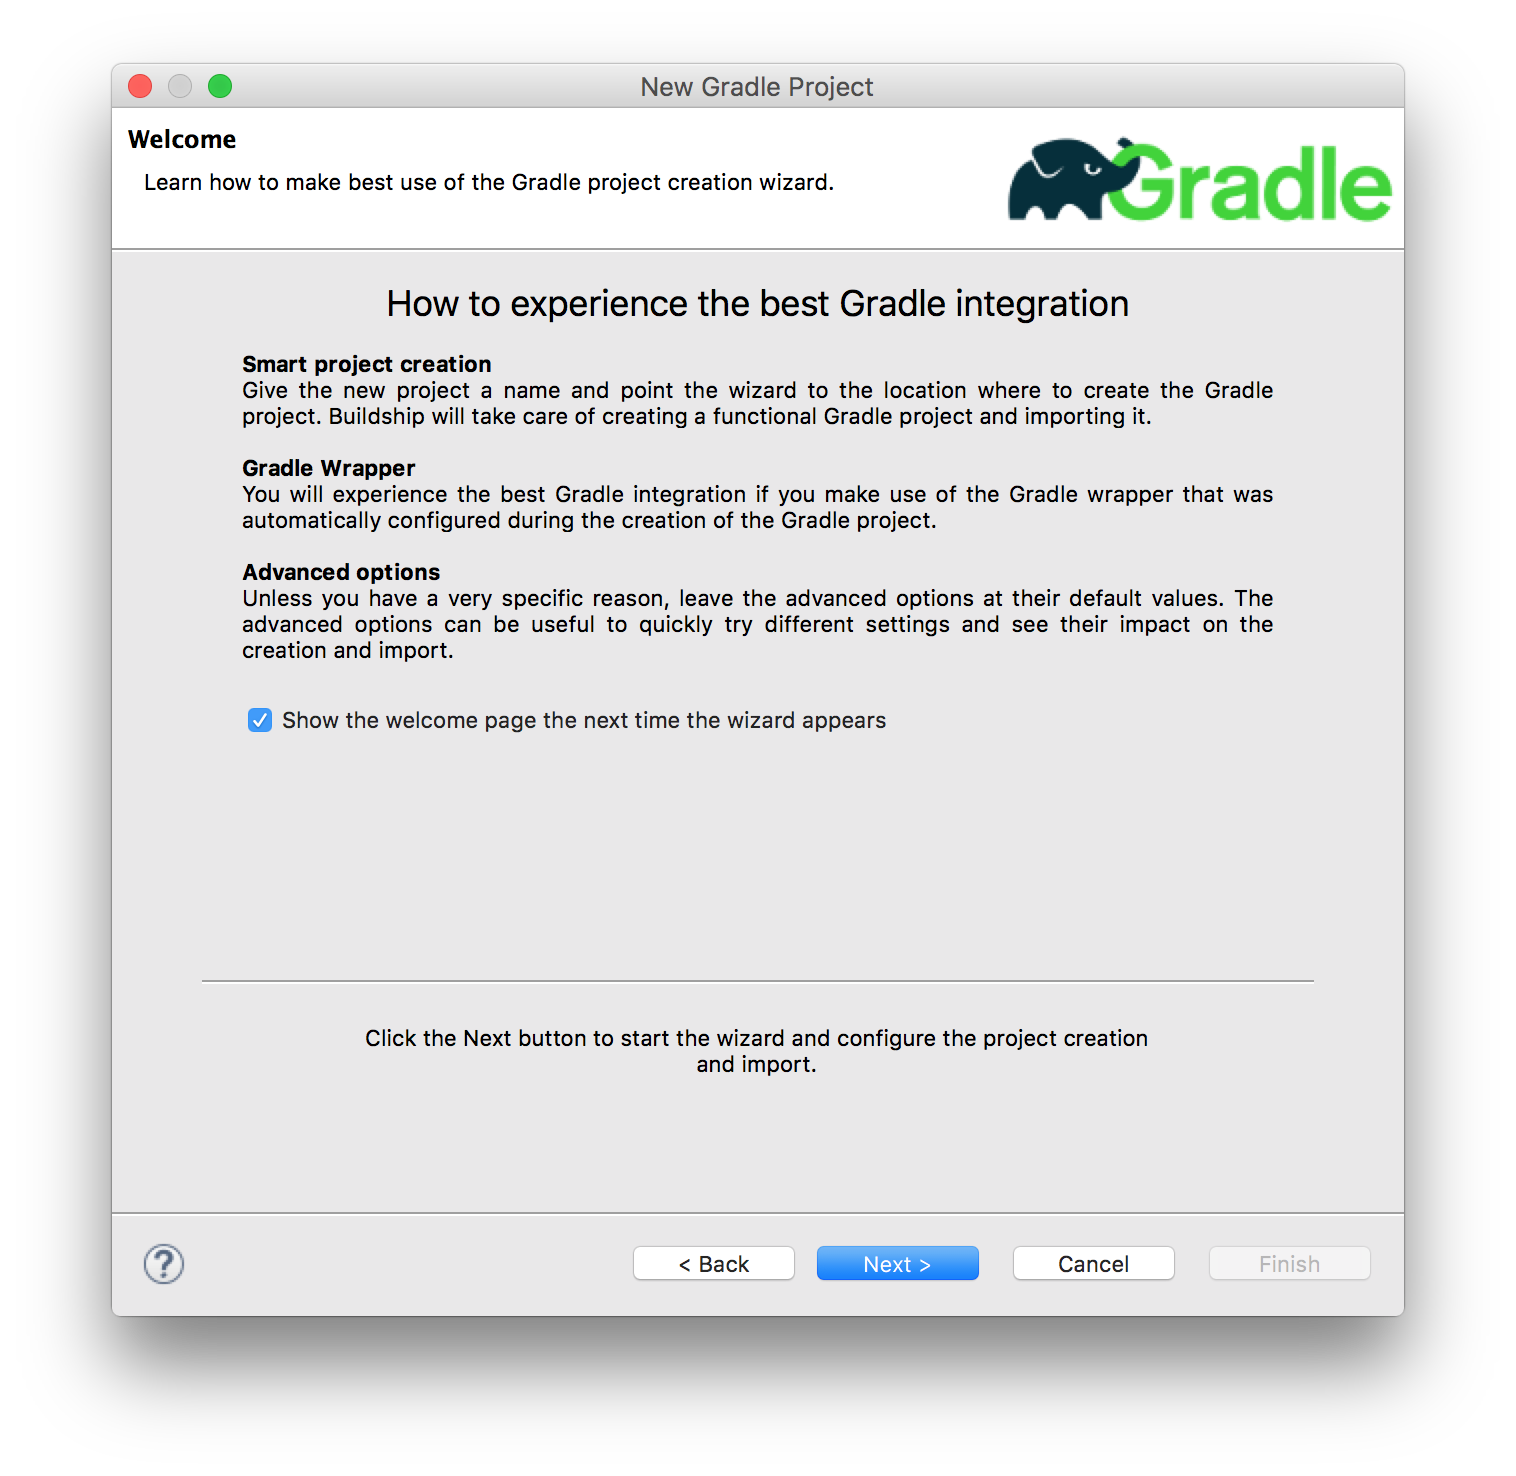
方法4:Eclipse公式のBuildshipプラグインで、Eclipse上からプロジェクトを作成
Install New SoftwareからBuildshipプラグインを探してインストールします。(マーケットプレイスからでも入れられると思います。)

インストールが終わったらEclipseを再起動して、メニューからプロジェクトを作成します。今回は、create_Buildshipという名前で作りました。

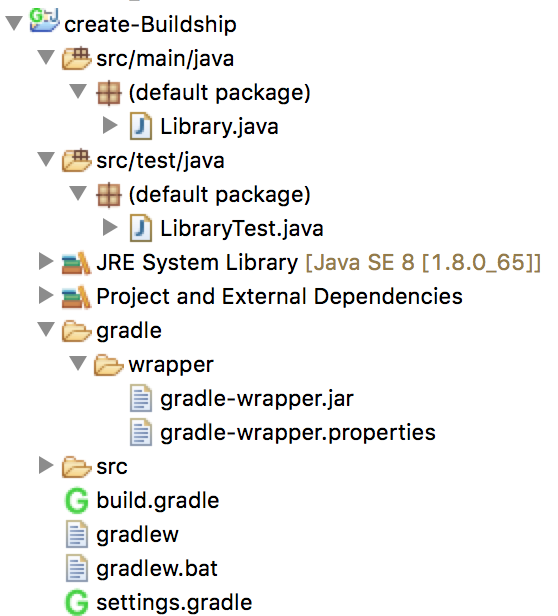
作成されたプロジェクト
/*
 * This build file was auto generated by running the Gradle 'init' task
 * by 'grachro' at '16/03/21 21:13' with Gradle 2.9
 *
 * This generated file contains a sample Java project to get you started.
 * For more details take a look at the Java Quickstart chapter in the Gradle
 * user guide available at https://docs.gradle.org/2.9/userguide/tutorial_java_projects.html
 */

// Apply the java plugin to add support for Java
apply plugin: 'java'

// In this section you declare where to find the dependencies of your project
repositories {
    // Use 'jcenter' for resolving your dependencies.
    // You can declare any Maven/Ivy/file repository here.
    jcenter()
}

// In this section you declare the dependencies for your production and test code
dependencies {
    // The production code uses the SLF4J logging API at compile time
    compile 'org.slf4j:slf4j-api:1.7.13'

    // Declare the dependency for your favourite test framework you want to use in your tests.
    // TestNG is also supported by the Gradle Test task. Just change the
    // testCompile dependency to testCompile 'org.testng:testng:6.8.1' and add
    // 'test.useTestNG()' to your build script.
    testCompile 'junit:junit:4.12'
}

}
各方法の比較結果
方法1:gradleコマンド
IDE上で全部済ませる手軽さに比べると若干面倒ですが、Gradleプロジェクト公式方法なので一番安心感があります。apply plugin: 'eclipse'の代わりに、'idea'にすると IntelliJ IDEA用の設定も作れるので、今後の応用も聞きます。
方法2:Gradle IDE Pack
一番メジャーだと思われるプラグインですが、サーバが落ちてたのでためせまんでした。Eclipseのプラグインを入れるときにはありがちです。
(日を改めてチャレンジするかも。 2016/3/28追記: 追加検証しました。)
方法3:Gradle (STS) Integration for Eclipse
他の方法と大きく違う点は、gradlew、gradlew.bat、settings.gradleの3ファイルが無いことです。その他細かい点では、他の方法だとJavaのコンパイルレベルがIDEのディフォルトを使うのに対し、STSでは1.5が指定されています。
dependenciesのライブラリには、特にSpring系のものが無い代わりに、なぜかcommons-collectionsがディフォルトで定義されていました。また、org.gradle.Personクラスが作られています。Springフレームワークを使うには便利な状態なのかもしれません。
方法4:Buildshipプラグイン
Eclipseプロジェクトが配布しているプラグインなので、Eclipseから使うには一番手軽です。作成されたプロジェクトの構成は、gradleコマンドで作成した場合とほぼ同じです。
gradleコマンドとBuildshipプラグインの違い
- Buildshipの方には、apply plugin: 'eclipse'が設定されていない
- Buildshipの方が、dependenciesで指定しているライブラリのバージョンが古い(EclipseのプラグインのアップデートはGradleのアップデート後になるはずなので、今後も仕方ないかも。)
- gradleコマンドが作成する設定はEclipseの従来のJavaプロジェクトの設定をシミュレートしているのに対し、Buildshipの方はgradle.prefsとorg.eclipse.buildship.core.prefsという新しい設定ファイルを作成している。
- 依存するjarファイルが、Buildshipの方はProject and External Dependensies変数にまとまっているのに対し、gradleコマンド方は各jarが直接Build Pathに追加されている(そのためProjectツリーが煩雑になる)。
github
今回作成したプロジェクトの詳細はgithubで見れます。
2016/3/28追記
Gradle IDE Packプラグインも比較できました。
EclipseのGradleプロジェクト作成方法比較(追補編)