はじめに
Ruby でサーバーレスアプリケーションを実装できるフレームワーク、 Jets。Rails ライクに使える、サーバーレスアプリケーションに入門しやすそうなフレームワークです。
日本国内の情報はまだまだ少ないですが、個人的にはかなりアツいフレームワークだと考えています。 先日以下のような検証記事を書きました。これからもっと検証を進めていく予定です。
Ruby 製サーバーレスフレームワークの Jets を検証してみたら、Rails ライクに使えていい感じだった
そんな Jets ですが、データベースを MySQL や PostgreSQL といった RDB だけではなく、Key-Value-Store である DynamoDB も使えるようです。
この記事では、Jets のドキュメントに則って、DynamoDB をデータベースとして使う場合について検証してみました。
検証環境情報
- Mac OS X 10.13.6
- HomeBrew 1.8.6
- ruby 2.5.1
- Jets 1.4.5
- nodejs v9.11.2
- Java version 100
検証の概要
以下について検証します。
ローカル環境において、DynamoDB を設定し、Jets アプリケーションの console から DynamoDB テーブルに CRUD 操作する
検証手順
Jets アプリケーション新規作成
まず、サンプルとなる Jets アプリケーションを新規作成します。
jets new jets-dynamodb-sandbox
cd jets-dynamodb-sandbox
dynamodb-local インストール・起動確認
次に、ローカル環境で DynamoDB を使えるよう、dynamodb-local をインストールします。
brew cask install dynamodb-local
インストールできたら、dynamodb-local を起動しましょう。成功すると、8000 番ポートで起動していることが確認できます。
dynamodb-local

Initializing DynamoDB Local with the following configuration:
Port:  8000
InMemory:  false
DbPath:  null
SharedDb:  false
shouldDelayTransientStatuses:  false
CorsParams:  *
dynamodb-admin インストール・起動確認
dynamodb-local で作成したテーブルの内容を確認しやすくするため、dynamodb-local 用の GUI ツール、dynamodb-admin をインストールします。
npm install dynamodb-admin -g
dynamodb-admin のエンドポイントを環境変数で設定し、dynamodb-admin を起動します。
export DYNAMO_ENDPOINT=http://localhost:8000
dynamodb-admin

dynamodb-admin listening on http://localhost:8001 (alternatively http://0.0.0.0:8001)
http://localhost:8001 にアクセスすると、dynamodb-admin の画面が表示されます。
Jets アプリケーション DynamoDB 接続設定確認
dynamodb-local の設定ができたら、Jets アプリケーションにおける DynamoDB 接続設定を確認します。
config/dynamodb.yml をエディタで開きます。
development:
  table_namespace: <%= Jets.config.table_namespace %>
  # More examples:
  # table_namespace: demo-dev

  endpoint: http://localhost:8000
  # comment out if want to test with real dynamodb
  # on AWS. You can also set the DYNAMODB_ENDPOINT environment variable.
  # You can also are actually deploying a development environment is to
  # change bin/server and export DYNAMODB_ENDPOINT=http://localhost:8000 at the top
  # there.
development 以下の endpoint が http://localhost:8000 となっています。
今回はdynamodb-local をポート番号を変更せず、デフォルトのまま利用しているので、特に変更は不要です。
もしdynamodb-local のポート番号を変更して起動している場合は、変更したポート番号に修正してください。
DynamoDB テーブル マイグレーションファイル作成
それでは Jets アプリケーション用に、DynamoDB テーブルのマイグレーションファイルを作成しましょう。
今回は posts というテーブルを作成します。
以下コマンドでマイグレーションファイルを作成します。
jets dynamodb:generate create_posts

Migration file created: ./dynamodb/migrate/20190105131708-create_posts_migration.rb.

To run:
  jets dynamodb:migrate ./dynamodb/migrate/20190105131708-create_posts_migration.rb
作成されたマイグレーションファイルは以下の通りです。ActiveRecord のマイグレーションファイルと似ていますね。
class CreatePostsMigration < Dynomite::Migration
  def up
    create_table :posts do |t|
      t.partition_key "id:string:hash" # required
      t.provisioned_throughput(5) # sets both read and write, defaults to 5 when not set

      # Instead of using partition_key and sort_key you can set the
      # key schema directly also
      # t.key_schema([
      #     {attribute_name: "id", :key_type=>"HASH"},
      #     {attribute_name: "created_at", :key_type=>"RANGE"}
      #   ])
      # t.attribute_definitions([
      #   {attribute_name: "id", attribute_type: "N"},
      #   {attribute_name: "created_at", attribute_type: "S"}
      # ])

      # other ways to set provisioned_throughput
      # t.provisioned_throughput(:read, 10)
      # t.provisioned_throughput(:write, 10)
      # t.provisioned_throughput(
      #   read_capacity_units: 5,
      #   write_capacity_units: 5
      # )
    end
  end
end
マイグレーション実行
紹介されているコマンドをそのまま使い、マイグレーションを実行しましょう。
jets dynamodb:migrate ./dynamodb/migrate/20190105131708-create_posts_migration.rb

Running database migrations
DynamoDB Table: posts Status: ACTIVE
実行後、dynamodb-admin をリフレッシュしてみると、テーブルが作成されているのが確認できます。
Post モデル作成
DynamoDB のテーブル、 posts に対応した Post モデルを作成します。
Post モデルの継承元クラスですが、今回は ApplicationRecord ではなく、 Dynomite::Item として作成します。
Dynomite は、ActiveRecord ライクに DynamoDB を操作できるラッパーとなる gem です。
Dynomite は、Jets と同じ作者 tongueroo さんが開発しています。
class Post < Dynomite::Item
end
DynamoDB テーブルへの CRUD 操作確認
ここまでで、最低限の設定は完了しました。
いよいよ Jets アプリケーション上で、DynamoDB テーブルにアイテムが作成できるか確認します。
Jets アプリケーションのコンソールを開きます。
jets console
Create
Jets アプリケーションのコンソール上で、Post モデルのアイテムを作成してみます。
post = Post.new(id: "myid", title: "my title")
post.replace

{"id"=>"b83c4d4b6fd7af91a7f44bc8df7d17d2ac63a76a", :id=>"myid", :title=>"my title", "created\_at"=>"2019-01-05T04:32:15Z", "updated\_at"=>"2019-01-05T04:32:15Z"}
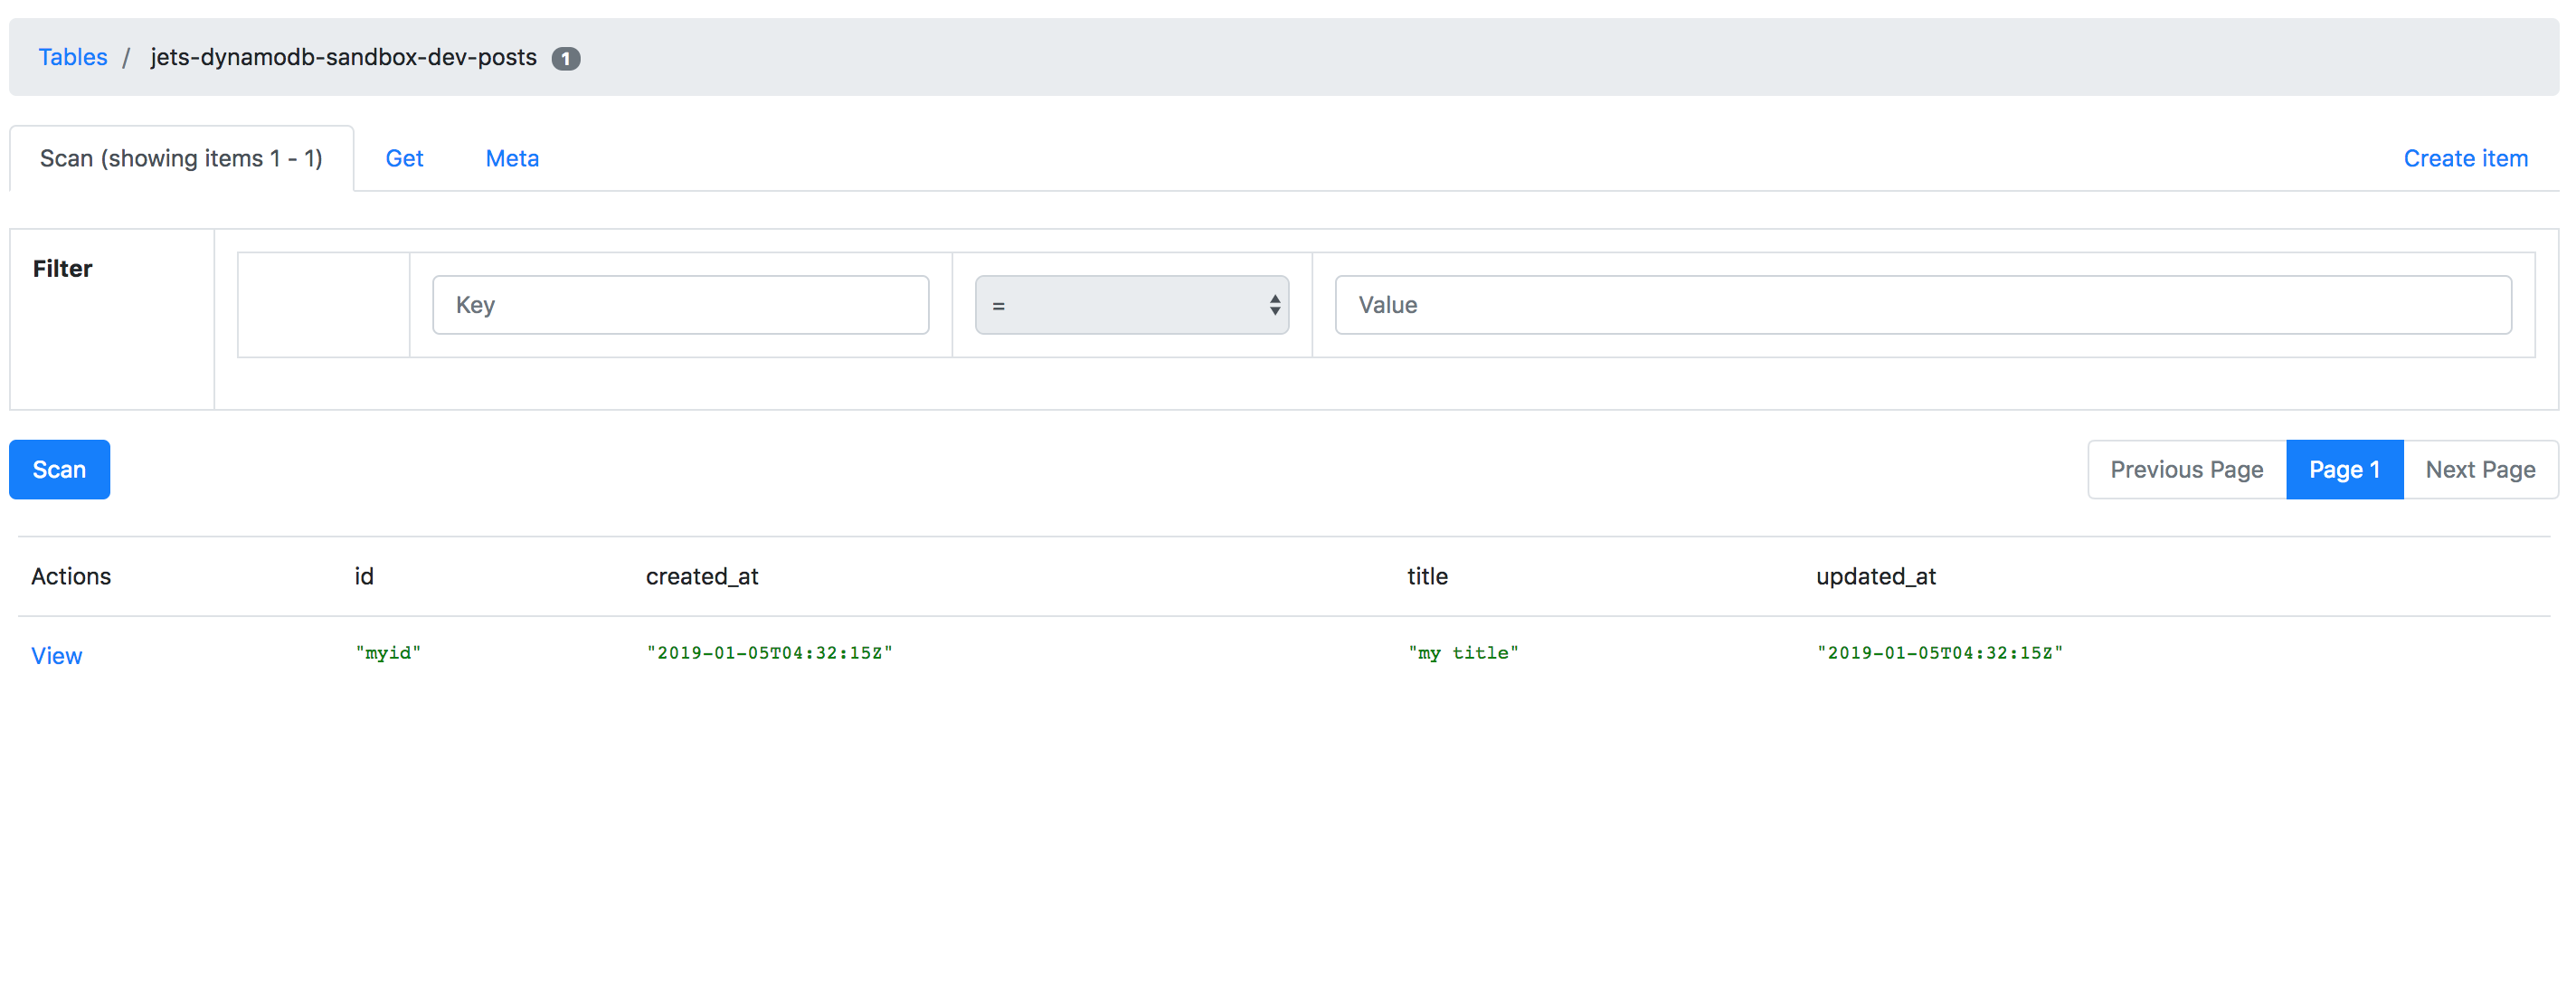
コマンド実行後、再度 dynamodb-admin の画面をリフレッシュして確認すると、テーブルにアイテムが作成されているのが確認できます。
Read
作成したアイテムは、find メソッドで検索できます。
post_found = Post.find('myid')

<Post:0x00007fc07120ec00 @attrs={"created_at"=>"2019-01-05T09:40:27Z", "id"=>"myid", "title"=>"hoge", "updated_at"=>019-01-05T09:40:27Z"}>
Update
作成したアイテムにおいて、アイテムの内容全体を更新する場合は、作成時と同様 replace メソッドを使います。
post = Post.new(id: 'myid', title: 'title updated')
post.replace

{"id"=>"90f716a63f24c3099135c202184ec8b37f25e737", :id=>"myid", :title=>"title updated", "created_at"=>"2019-01-05T10:10:40Z", "updated_at"=>"2019-01-05T10:10:40Z"}
作成したアイテムに新たな属性を追加したい場合は、attrs メソッドで新たな属性を追加し、replace メソッドを実行します。
post_updated = Post.find('myid')
post_updated.attrs(content: 'hogehoge')
post.replace

{"id"=>"90f716a63f24c3099135c202184ec8b37f25e737", :id=>"myid", :title=>"title updated", "created_at"=>"2019-01-05T10:10:40Z", "updated_at"=>"2019-01-05T10:10:40Z", "content"=>"hogehoge"}
Delete
アイテムを削除する場合は、delete メソッドを実行します。
post_deleted = Post.delete('myid')

# <struct Aws::DynamoDB::Types::DeleteItemOutput attributes=nil, consumed_capacity=nil, item_collection_metrics=nil>
こちらで検証は以上です!
おわりに
今まで DynamoDB といった KVS なデータストレージに触れる機会はあまりなかったのですが、Jets を使うと実際に動かしながら試すことができて良さそうだなと思いました。
DynamoDB への操作もまだまだ基本的な操作のみしかしていないので、動かしながら基本的な概念も確認していきたいと考えています。
また別途、Jets アプリケーションの画面から、DynamoDB テーブルへの操作も試してみたいと思います。


