はじめに
僕は tmux をペイン分割して開発しているのですが、毎回手動でペイン分割するのを面倒に感じていました。
この記事では手始めに tmux のペイン分割と簡単なコマンド実行を設定ファイルに記載し、そこから実行する方法を試してみました。
目標
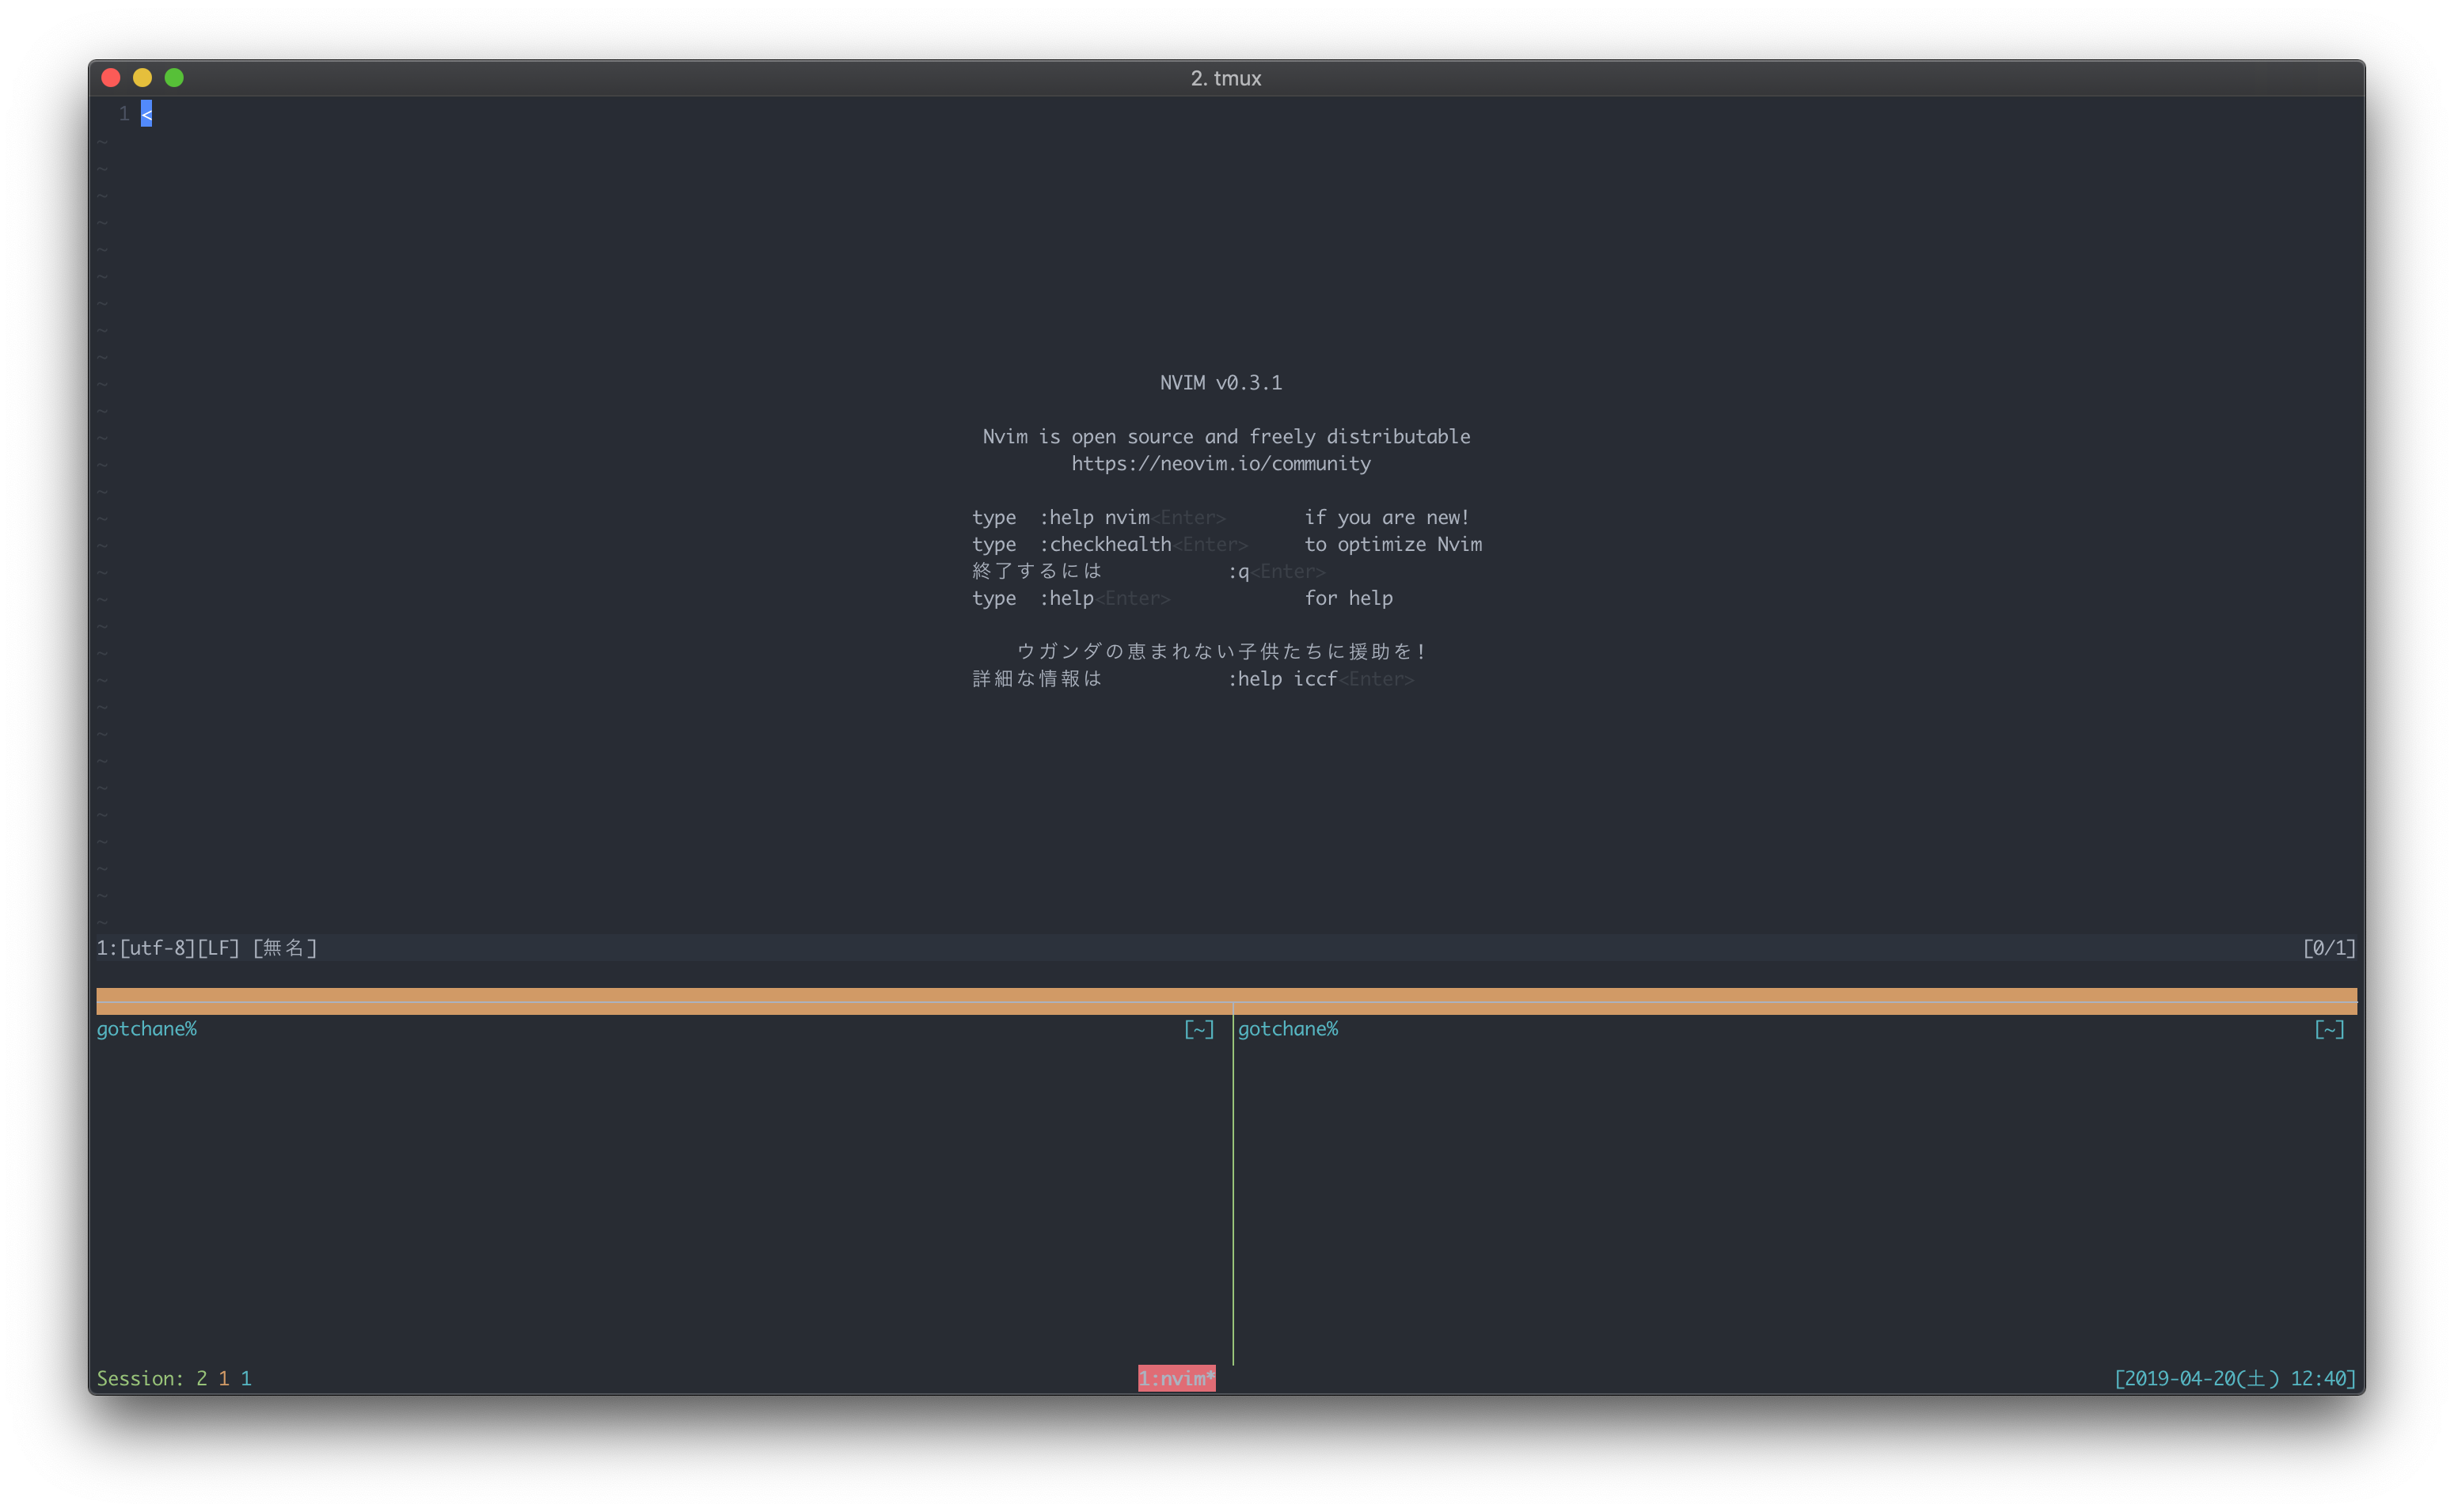
以下のようなのペイン分割を目標にします。
- 上下に分割
- 下半分のペインを左右に分割
- 上ペインで nvim 起動
手順
tmux 起動時設定ファイル準備
まず、tmux 起動時の設定ファイルを作成します。名前は何でも良いのですが、 ~/.tmux.session.conf としました。
それぞれの設定内容は以下になります。それぞれのコマンドは、man tmux でマニュアルから確認しました。
# ペイン1を上下に分割
splitw -d -t 1
# ペイン1(上ペイン)の縦幅をリサイズ
resize-pane -t 1 -D 10
# ペイン1 でコマンド実行
send-keys -t 1 nvim C-m
# ペイン2(下ペイン) を左右に分割
splitw -h -d -t 2
エイリアス設定
.bashrc や .zshrc に、上記で準備した設定ファイルを読み込んで tmux を起動させるコマンドをエイリアス設定します。
今回はエイリアス名を tmuxg としました。
alias tmuxg='tmux new-session \; source-file ~/.tmux.session.conf'
動作確認
最後にエイリアス設定したコマンドで、tmux がペイン分割された状態で起動できるか確認します。
$ tmuxg
おわりに
今回はペイン分割のみでしたが、毎回手動でペイン分割していたときに比べるとだいぶ楽になりました。
まだ初歩的なことしかしていないので、より便利にできるよう調べてみようと思います。
