利用リンク一覧
Personality Insights
personality-insights-nodejs
https://github.com/watson-developer-cloud/personality-insights-nodejs
The official command line client for Cloud Foundry
http://docs.cloudfoundry.org/cf-cli
step0:Bluemix アカウントの作成
Bluemix アカウントでログインするため、無料のBluemix トライアル・アカウントの作成が必要です。
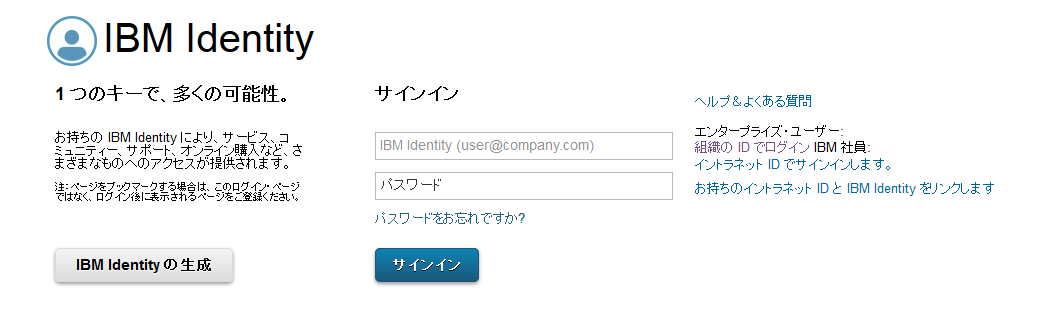
①:すでにIBM IDをお持ちの場合、
ここで登録しみてよう
※イメージ
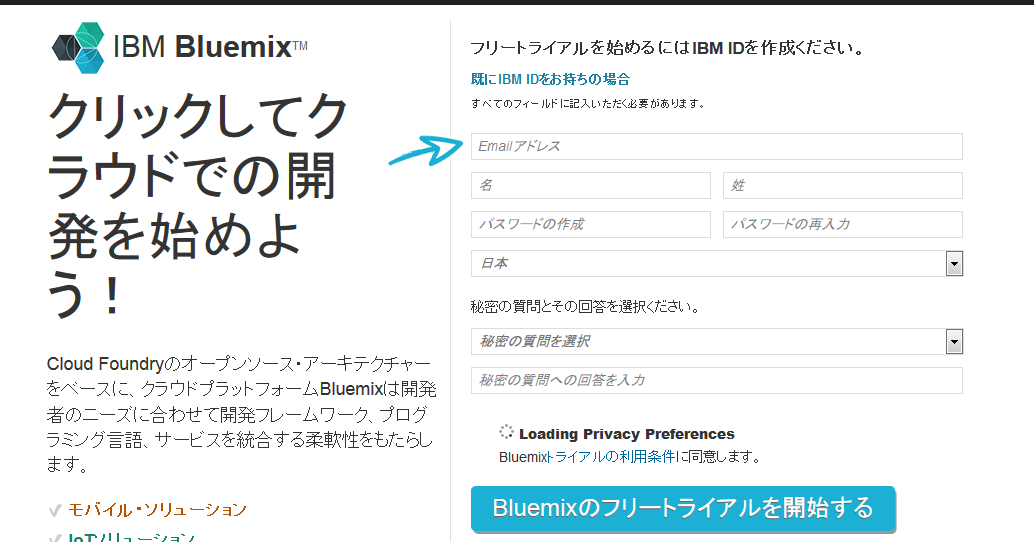
②:IBM IDを持っていない場合
下記のリンクで登録しみてよう
リンク1
※リンク1のイメージ
リンク2
※リンク2のイメージ

※上記リンクの区別はわかりません。。。
※事前にインストールしてください
・Install Node.js and npm
https://nodejs.org/en/
・Install Git.
https://git-scm.com/
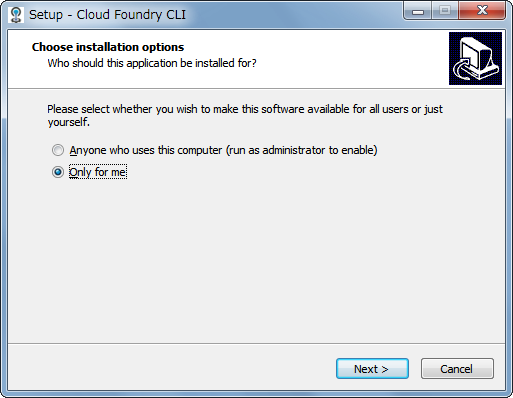
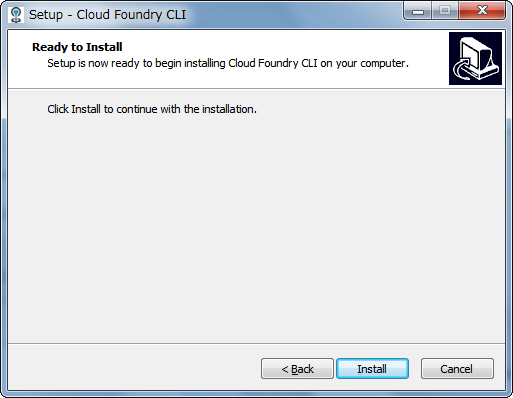
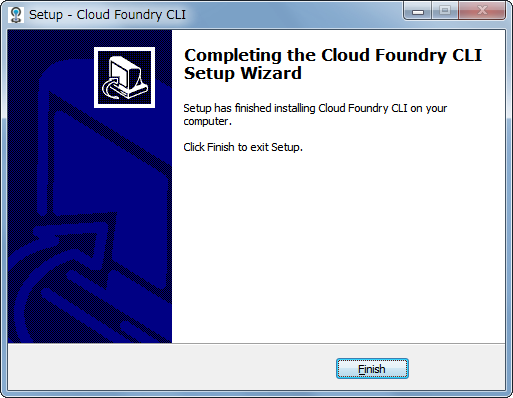
※option:CLIのインストール
1.Installerをdownloadする
http://docs.cloudfoundry.org/cf-cli
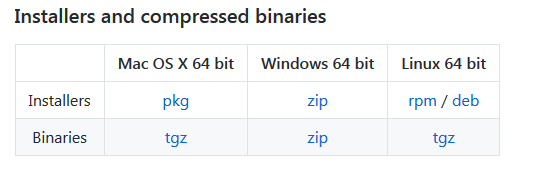
→windows環境なので、Windows 64 bit Installersをdownloadしました。
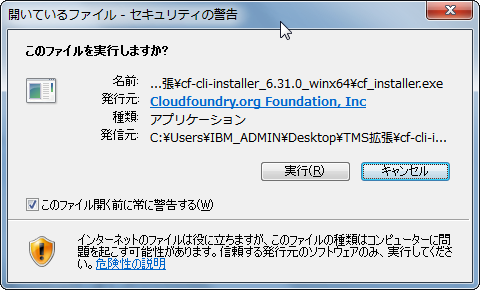
2.「cf-cli-installer_6.31.0_winx64.zipというファイルを展開します。
3.「cf_installer.exe」を実行します。
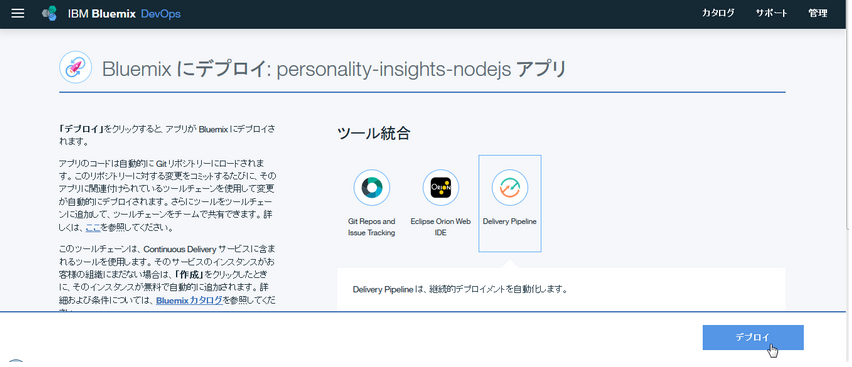
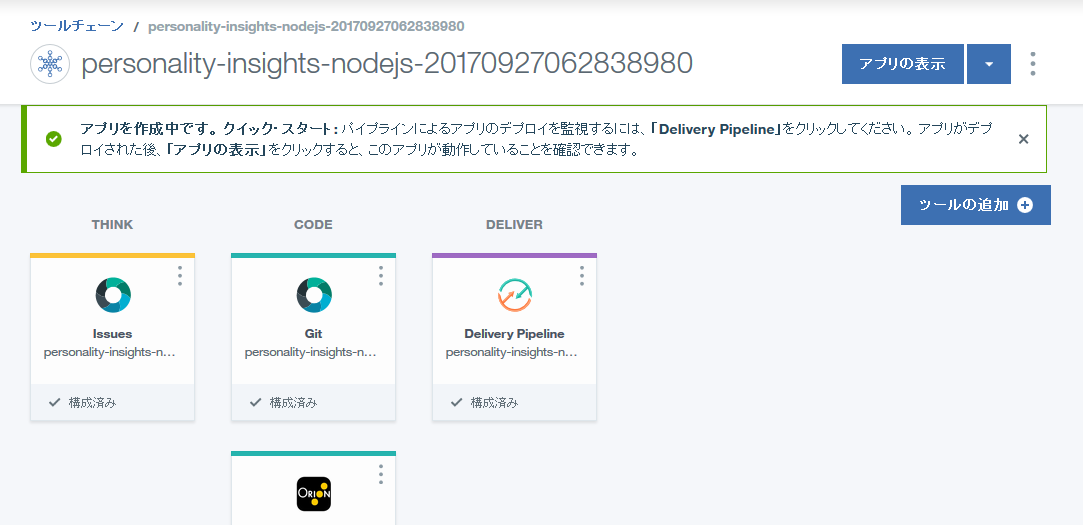
step1:アプリをdeployします。
①アプリをdeployします。
ここに押してから、personality-insights-nodejsを自動的にBluemixにdeployすることができます。

■Git
②clone repository
git clone git@git.ng.bluemix.net:[bluemixユーザー名]/personality-insights-nodejs-20170927062838980.git
例:
$ pwd
/c/Users/work
$ git clone git@git.ng.bluemix.net:[bluemixユーザー名]/personality-insights-nodejs-20170927062838980.git
Cloning into 'personality-insights-nodejs-20170927062838980'...
remote: Counting objects: 1930, done.
remote: Compressing objects: 100% (800/800), done.
remote: Total 1930 (delta 1091), reused 1930 (delta 1091)
Receiving objects: 100% (1930/1930), 7.70 MiB | 1.63 MiB/s, done.
Resolving deltas: 100% (1091/1091), done.
Checking out files: 100% (107/107), done.
$ ls
personality-insights-nodejs-20170927062838980/ →このアプリ名が表示できましたら、OKです!
③manifest.yml ファイルの編集
1.Atomなどの任意エディターを開く
※Atom
Link:https://atom.io/
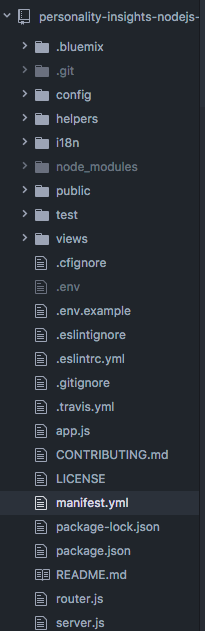
2.「personality-insights-nodejs-20170927062838980」アプリをAtomに導入する

Atomの左側プロジェクト一覧で↑が表示できたら、OKです!
汎用:
applications:
- services:
- my-service-instance
name: <application-name>
command: npm start
path: .
memory: 512M
具体例:
※[name]の命名はuniqueです。
※URL: pitest.mybluemix.net になっています。
applications:
- services:
  - my-service-instance
  name: pitest
  command: npm start
  path: .
  memory: 512M
④環境変数の変更
1.command line toolを使って、Bluemixに接続します。
cf api https://api.ng.bluemix.net
cf login
cf login -o [Bluemixアカウントメールアドレス] -s [Bluemixアカウント名] -sso
2.[Personality Insights][service_url]サービスにアクセスします。
$ cf create-service personality_insights lite my-pi-service
 [Bluemixアカウントメールアドレス] としてサービス・インスタンス my-pi-service を組織   [Bluemixアカウントメールアドレス] / スペース [Bluemixアカウント名]内に作成しています...
  OK
$ cf create-service-key my-pi-service myKey
 [Bluemixアカウントメールアドレス]としてサービス・インスタンス my-pi-service のサービス・キー myKey を作成しています...
 OK
$ cf service-key my-pi-service myKey
 [Bluemixアカウントメールアドレス]としてサービス・インスタンス my-pi-service のキー myKey を取得しています...
{
 "password": "abcdefghijklmn",
 "url": "https://gateway.watsonplatform.net/personality-insights/api",
 "username": "abcdefg-hijkl-mnop-qrst-uvwxyzabcdefg"
}
3.下記のコマンドを利用して、.env.example をコピーして、.env ファイルを生成します。
$ cd /c/Users/work

$ cp .env.example .env
⑤アプリを起動します。
npm install
npm start