NCMBのSwift SDKを使ってカレンダーアプリを作ります。予定を登録したり、カレンダーコンポーネント(FSCalendar)を使って予定を表示できるというアプリです。
まず最初の記事では画面の説明とSDKの導入までを進めます。
コードについて
今回のコードはNCMBMania/swift-calendar-appにアップロードしてあります。実装時の参考にしてください。
利用技術について
今回は次のような組み合わせになっています。
- Swift 5.7.1
- WenchaoD/FSCalendar: A fully customizable iOS calendar library, compatible with Objective-C and Swift
- NCMB Swift SDK
仕様について
今回はNCMBのID/パスワード認証を利用しています。カレンダー表示についてはFSCalendarを利用し、アプリはSwiftUIで作成しています。
利用する機能について
カレンダーアプリで利用するNCMBの機能は次の通りです。
- 会員管理
- ID/パスワード認証
- データストア
- 予定の登録・更新・削除
- 予定の検索
画面について
今回は以下の5つのViewがあります。
ContentView
メインのViewです。認証状態によってログイン画面とカレンダー画面を出し分けています。
struct ContentView: View {
    @State var isLogin: Bool = NCMBUser.currentUser != nil
    var body: some View {
        // ログイン判定
        if isLogin {
            // ログイン済みの場合
            CalendarView();
        } else {
            // 未ログインの場合
            LoginView(isLogin: $isLogin);
        }
    }
}
LoginView
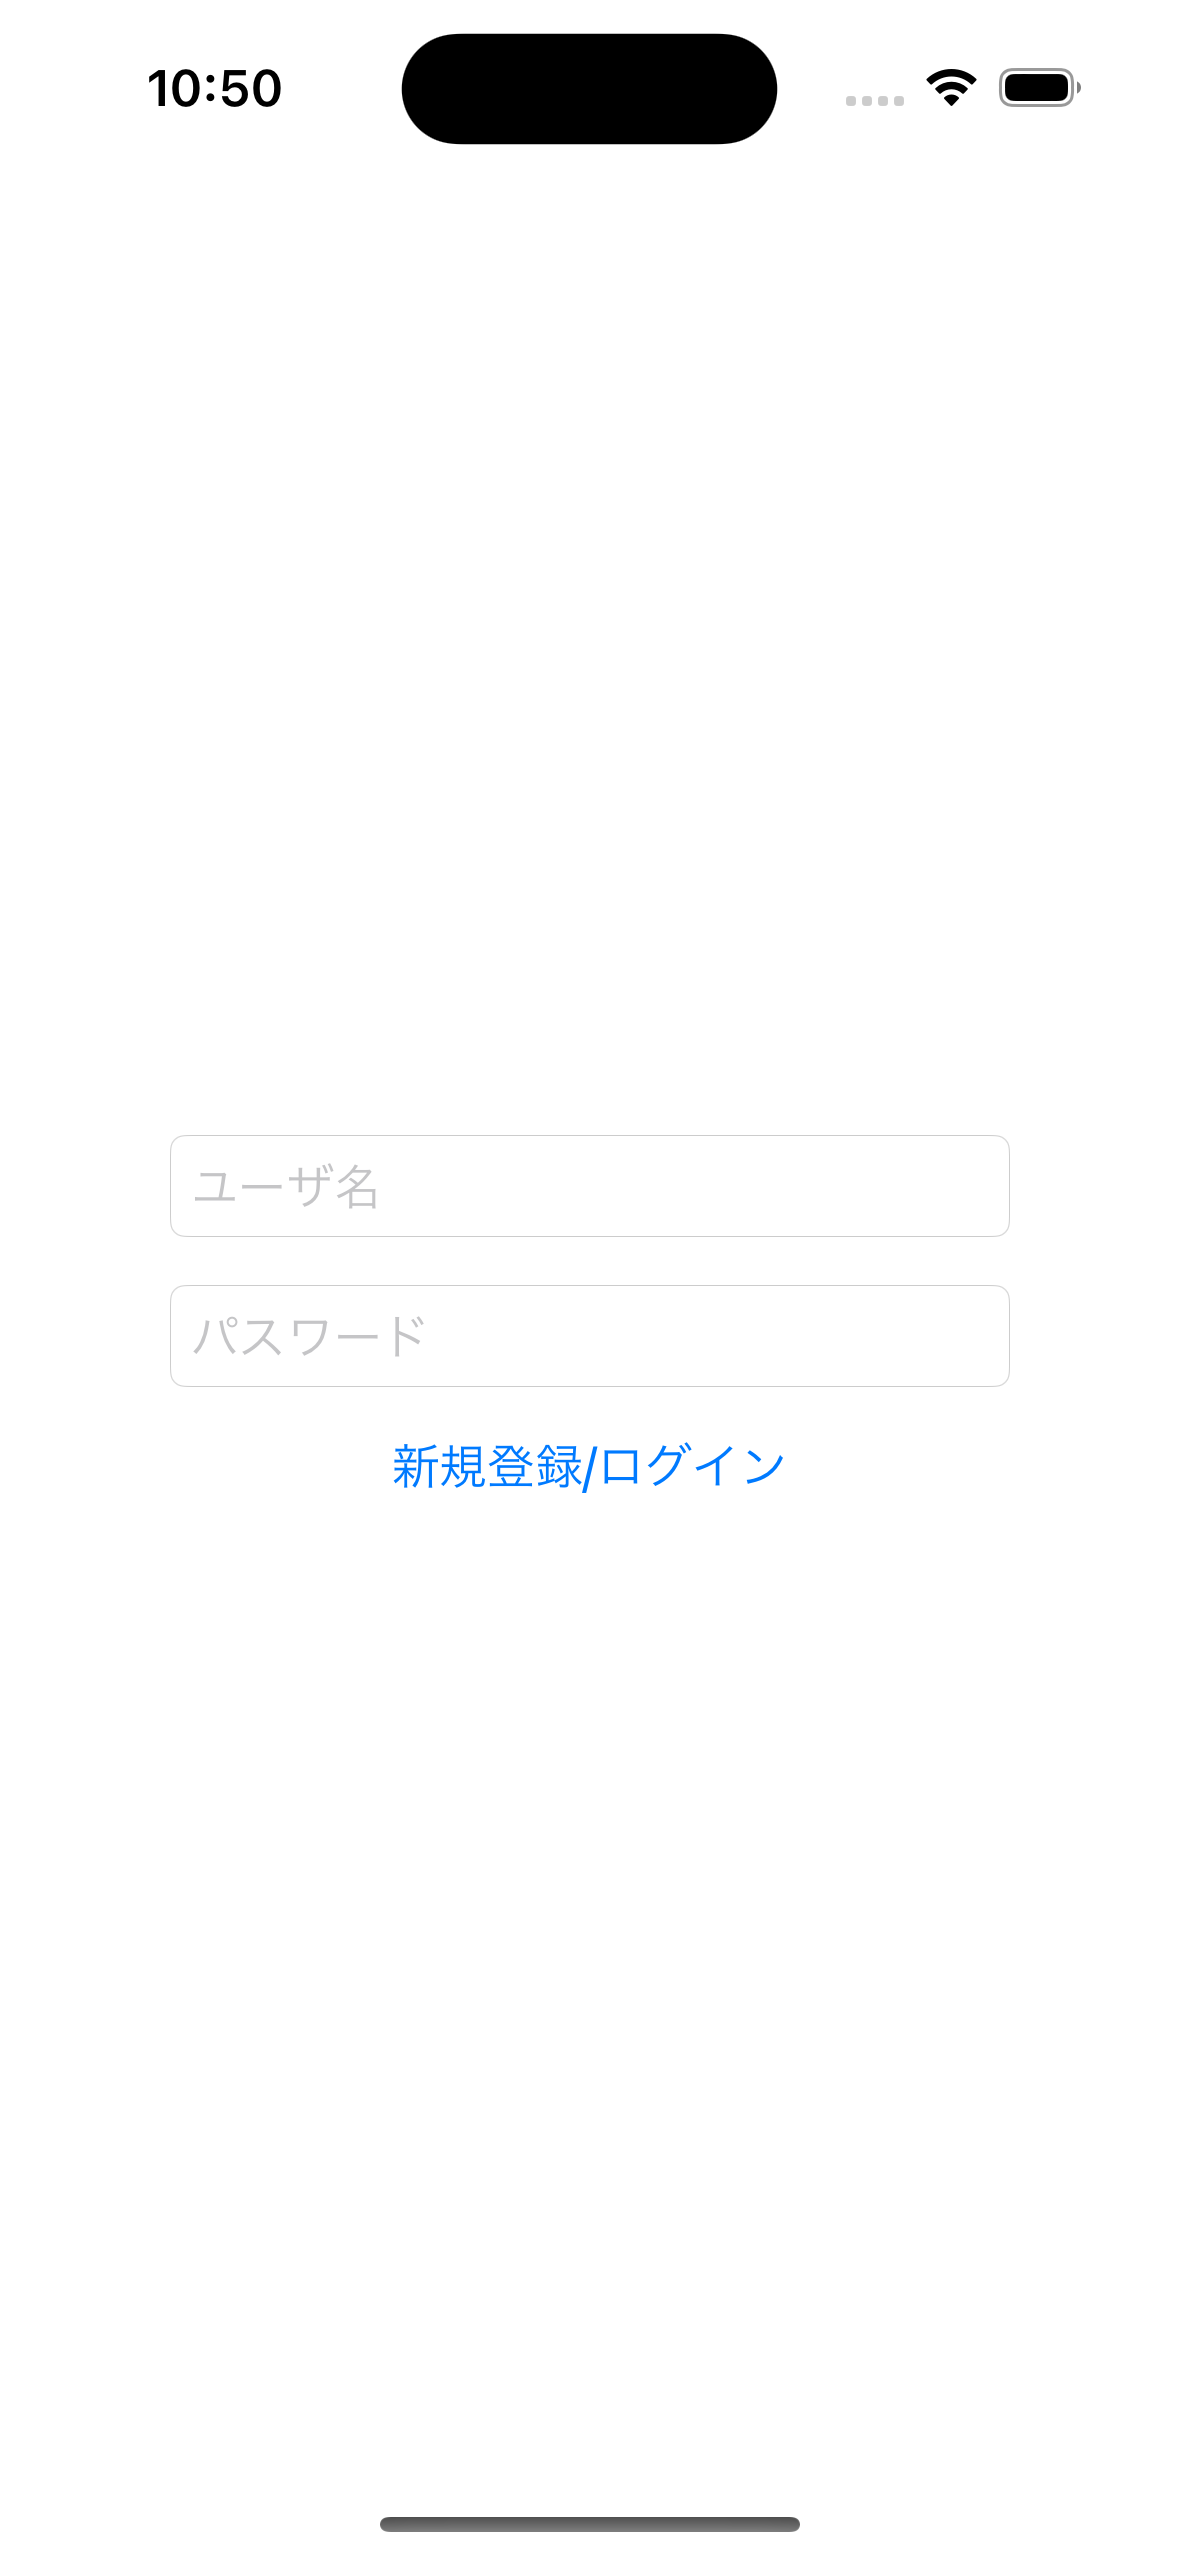
認証を行うViewです。認証状態をContentViewにフィードバックしています。
struct LoginView: View {
    // 入力用
    @State private var userName: String = ""
    @State private var password: String = ""
    // レスポンス用
    @Binding var isLogin: Bool

    var body: some View {
        VStack(spacing: 16) {
            TextField("ユーザ名", text: $userName)
                .textFieldStyle(RoundedBorderTextFieldStyle())
                .frame(maxWidth: 280)
            SecureField("パスワード", text: $password)
                .textFieldStyle(RoundedBorderTextFieldStyle())
                .frame(maxWidth: 280)
            Button(action: {
                _signUpOrLogin()
            }, label: {
                Text("新規登録/ログイン")
            })
        }
    }

    // ユーザー登録またはログインを行う処理
    func _signUpOrLogin() -> Void {
			// 省略
    }
}
CalendarView
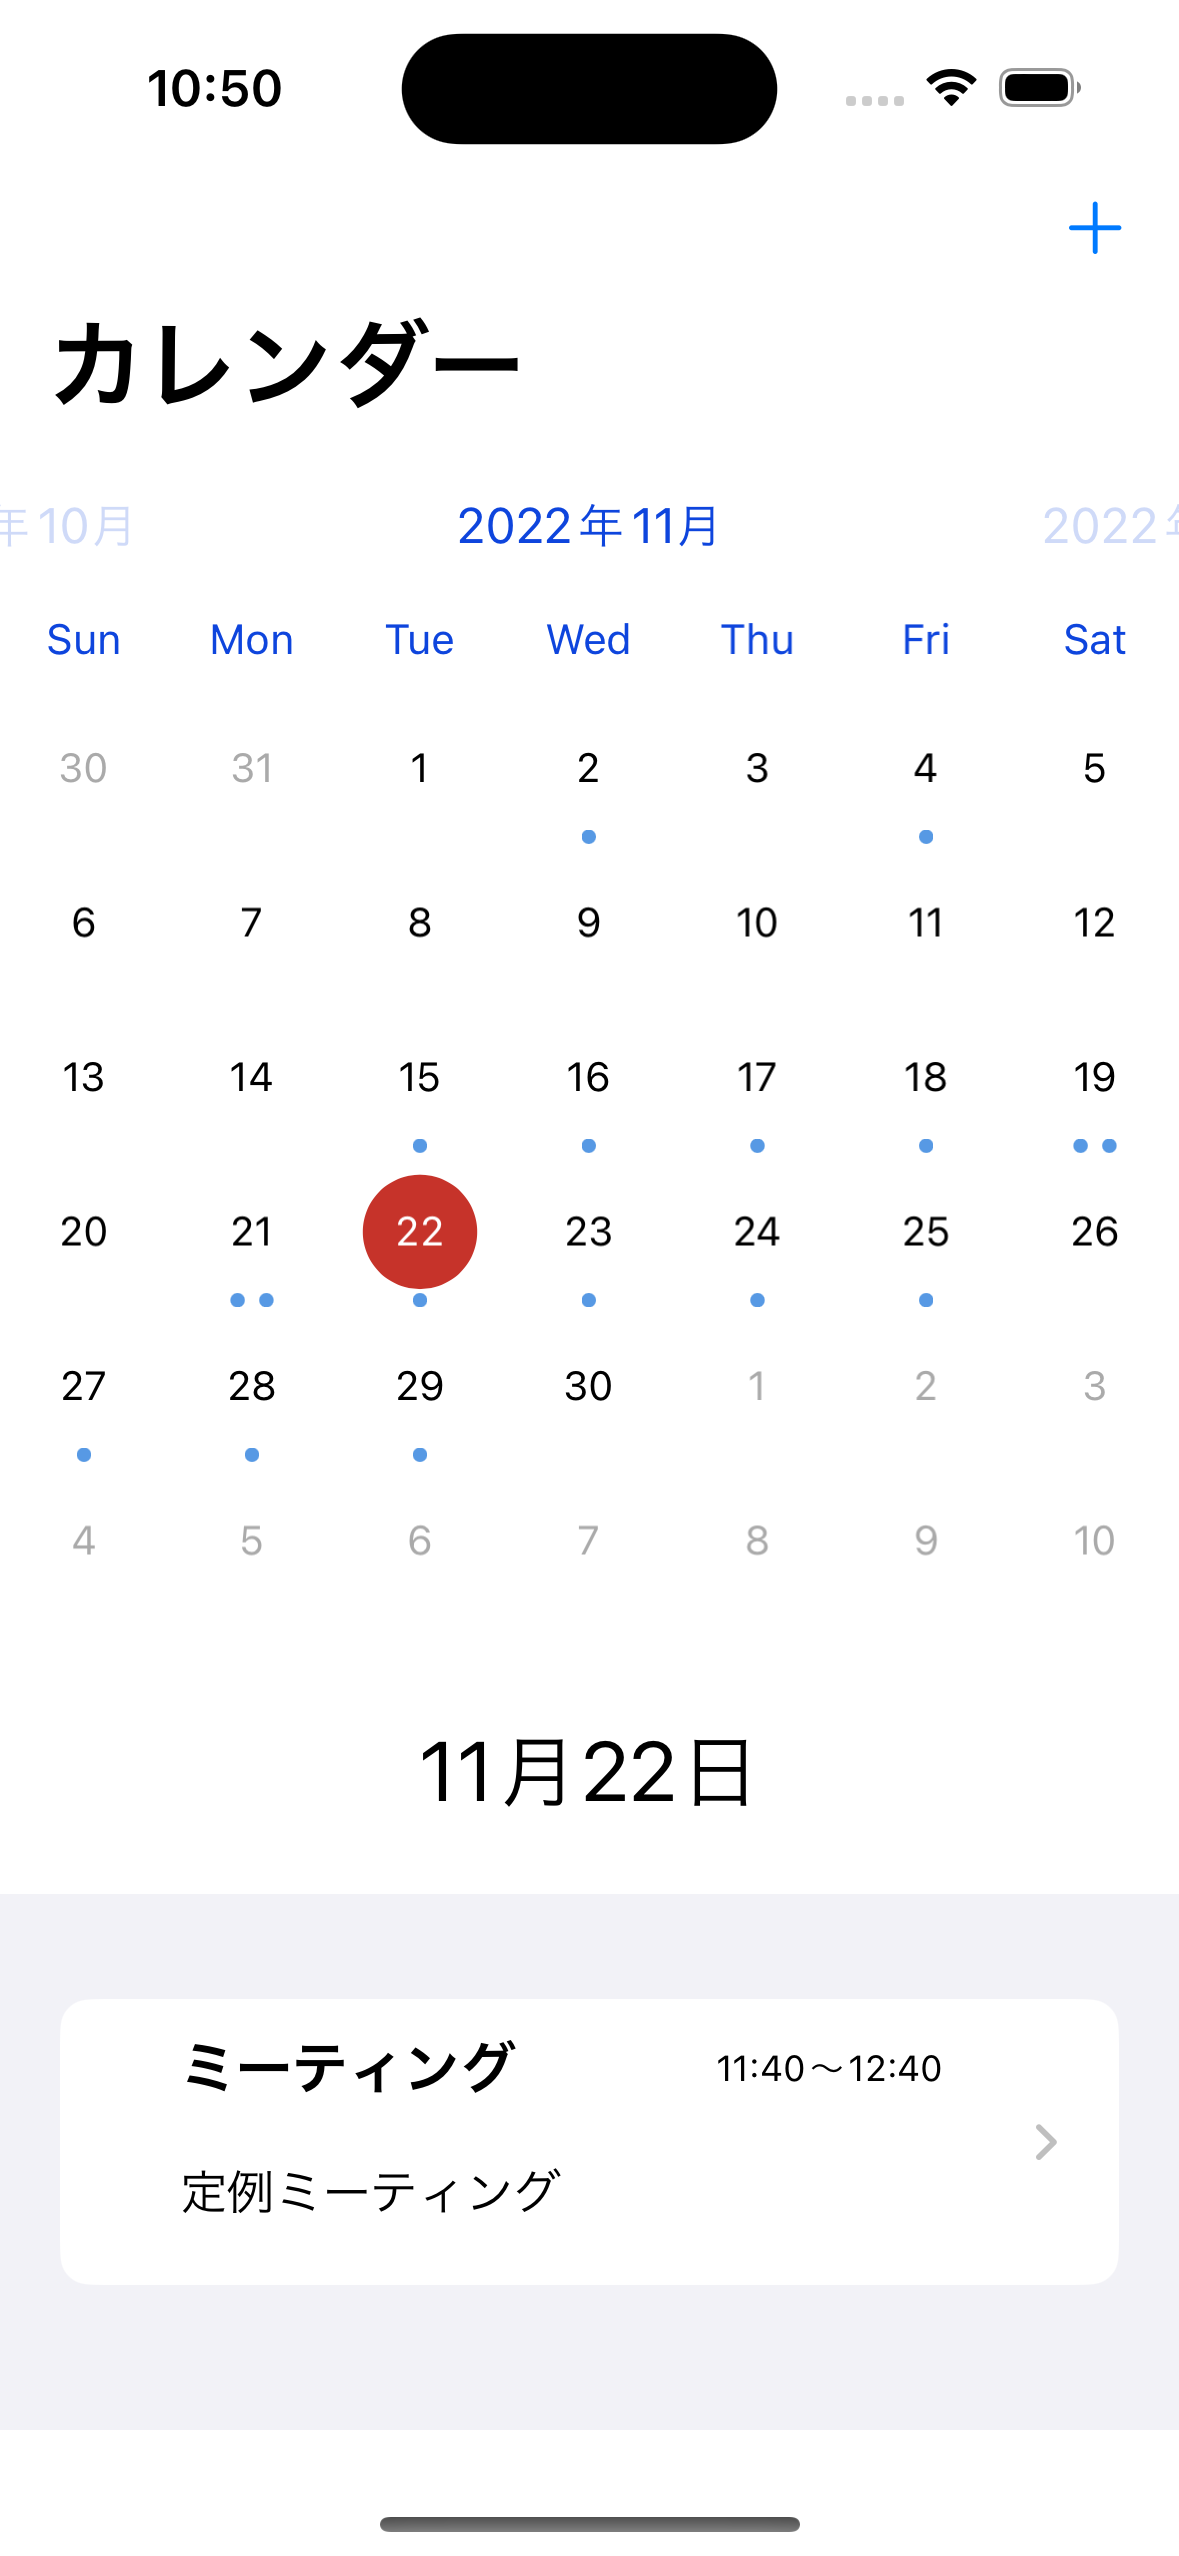
カレンダー表示用のViewです。 ObservableObject を使ってカレンダーなどにデータを渡しています。
// カレンダー用の構造体
class DayData: ObservableObject {
    @Published var schedules: [NCMBObject] = []
    @Published var selectedDate = Date()
    @Published var currentYearMonth = Date()
}

struct CalendarView: View {
    @ObservedObject var dayData = DayData()
    // 作成・更新した際のフラグ
    @State private var updated = false
    // 削除されたオブジェクトIDを入れる
    @State private var deleteObjectId = ""
    // 作成したスケジュールが入るNCMBObject
    @State private var schedule: NCMBObject = NCMBObject(className: "Schedule")

    // 予定をNCMBのデータストアから取得する関数
    func _getSchedule() {
			// 省略
    }

    // 一覧のタイトル用
    func _viewTitle() -> String {
			// 省略
    }

    // 該当日のスケジュールだけを返す関数
    func _dateFilter() -> [NCMBObject] {
			// 省略
    }

    var body: some View {
        NavigationView {
            VStack {
                // カレンダービュー
                FSCalendarView(dayData: Binding.constant(dayData))
                    .frame(height: 400)
                    .onChange(of: dayData.currentYearMonth, perform: {(newValue) in
                        // 表示月が変わったら、予定を取得し直す
                        _getSchedule()
                    })
                Text(_viewTitle())
                    .font(.title)
                    .padding()
                // 選択した日の予定を一覧表示
                List(_dateFilter(), id: \.objectId) { schedule in
                    // 一覧をタップしたら、編集画面に遷移
                    NavigationLink(destination: FormView(schedule: Binding.constant(schedule), updated: $updated, deleteObjectId: $deleteObjectId)) {
                        // 一覧表示用
                        CalendarListItemView(schedule: schedule)
                    }
                }
                Spacer()
            }
            .navigationTitle("カレンダー")
            // ナビゲーションバーのプラスアイコン
            .navigationBarItems(trailing:
                                    NavigationLink(destination: FormView(schedule: $schedule, updated: $updated, deleteObjectId: $deleteObjectId), label: {
                    Image(systemName: "plus")
                })
            )
            // 予定を追加、更新した際のイベント
            .onChange(of: updated, perform: {_ in
                if updated {
                    // 予定を追加
                    if schedule.objectId != nil {
                        dayData.schedules.append(schedule)
                        schedule = NCMBObject(className: "Schedule")
                    }
                    // フラグを落とす
                    updated = false
                }
            })
            // 予定を削除された際のイベント
            .onChange(of: deleteObjectId, perform: {_ in
                if deleteObjectId != "" {
                    // 予定データから削除された予定を削除
                    dayData.schedules.removeAll(where: {
                        $0.objectId == deleteObjectId
                    })
                    // 削除されたオブジェクトIDをリセット
                    deleteObjectId = ""
                }
            })
        }
        // 表示された際にスケジュールを取得する
        .onAppear {
            _getSchedule()
        }
    }
}
FSCalendarView
FSCalendarを操作するためのViewです。【SwiftUI】FSCalendarの実装方法【イベント日表示と選択日表示の方法】を参考にさせてもらっています。
// カレンダービュー
struct FSCalendarView: UIViewRepresentable {
    @Binding var dayData: DayData
    func makeUIView(context: Context) -> FSCalendar {
        typealias UIViewType = FSCalendar
        let fsCalendar = FSCalendar()
        fsCalendar.delegate = context.coordinator
        fsCalendar.dataSource = context.coordinator
        fsCalendar.appearance.headerDateFormat = "yyyy年MM月"

        return fsCalendar
    }
    // 再描画用
    func updateUIView(_ uiView: FSCalendar, context: Context) {
        uiView.reloadData()
    }

    func makeCoordinator() -> Coordinator{
        return Coordinator(self)
    }

    class Coordinator: NSObject, FSCalendarDelegate, FSCalendarDataSource {
        var parent: FSCalendarView

        init(_ parent: FSCalendarView){
            self.parent = parent
        }

        // 予定がある日付にドットを表示する処理
        func calendar(_ calendar: FSCalendar, numberOfEventsFor date: Date) -> Int {
            // データがない場合は0を返して終わり
            if (parent.dayData.schedules.isEmpty) {
                return 0;
            }
            // 該当日のデータだけを抽出
            let events: [NCMBObject] = parent.dayData.schedules.filter({(obj) in
                if obj.objectId == nil {
                    return false
                }
                let startDate = obj["startDate"]! as Date
                let targetDate = Calendar.current.dateComponents([.calendar, .year, .month, .day], from: startDate).date
                return date.compare(targetDate!) == .orderedSame
            })
            // 該当日のカウントを返す
            return events.count
        }

        // 日付を選択した際の処理
        func calendar(_ calendar: FSCalendar, didSelect date: Date, at monthPosition: FSCalendarMonthPosition) {
            parent.dayData.selectedDate = date

        }

        // 年月を変更した際の処理
        func calendarCurrentPageDidChange(_ calendar: FSCalendar) {
            parent.dayData.currentYearMonth = calendar.currentPage
        }

    }
}
CalendarListItemView
カレンダーで選択された日付にある予定を一覧表示する際に利用するViewです。CalendarListItemViewは各行あたりのViewを担当します。
// 予定の一覧用(行)
struct CalendarListItemView: View {
    @State var schedule: NCMBObject
    // 時間を表示する文字列を返す
    func _viewTime() -> String {
			// 省略
    }

    // 描画
    var body: some View {
        VStack(alignment: .leading) {
            HStack {
                Text(schedule["title"]! as String)
                    .fontWeight(.bold)
                    .font(.title3)
                    .padding(.leading, 20)
                Spacer()
                Text(_viewTime())
                    .frame(alignment: .trailing)
                    .font(.caption)
                    .padding(.trailing, 20)
            }
            Text(schedule["body"]! as String)
                .padding(.horizontal, 20)
                .padding(.top, 5)
                .padding(.bottom, 10)
        }
        .frame(maxWidth: .infinity)
    }
}
FormView
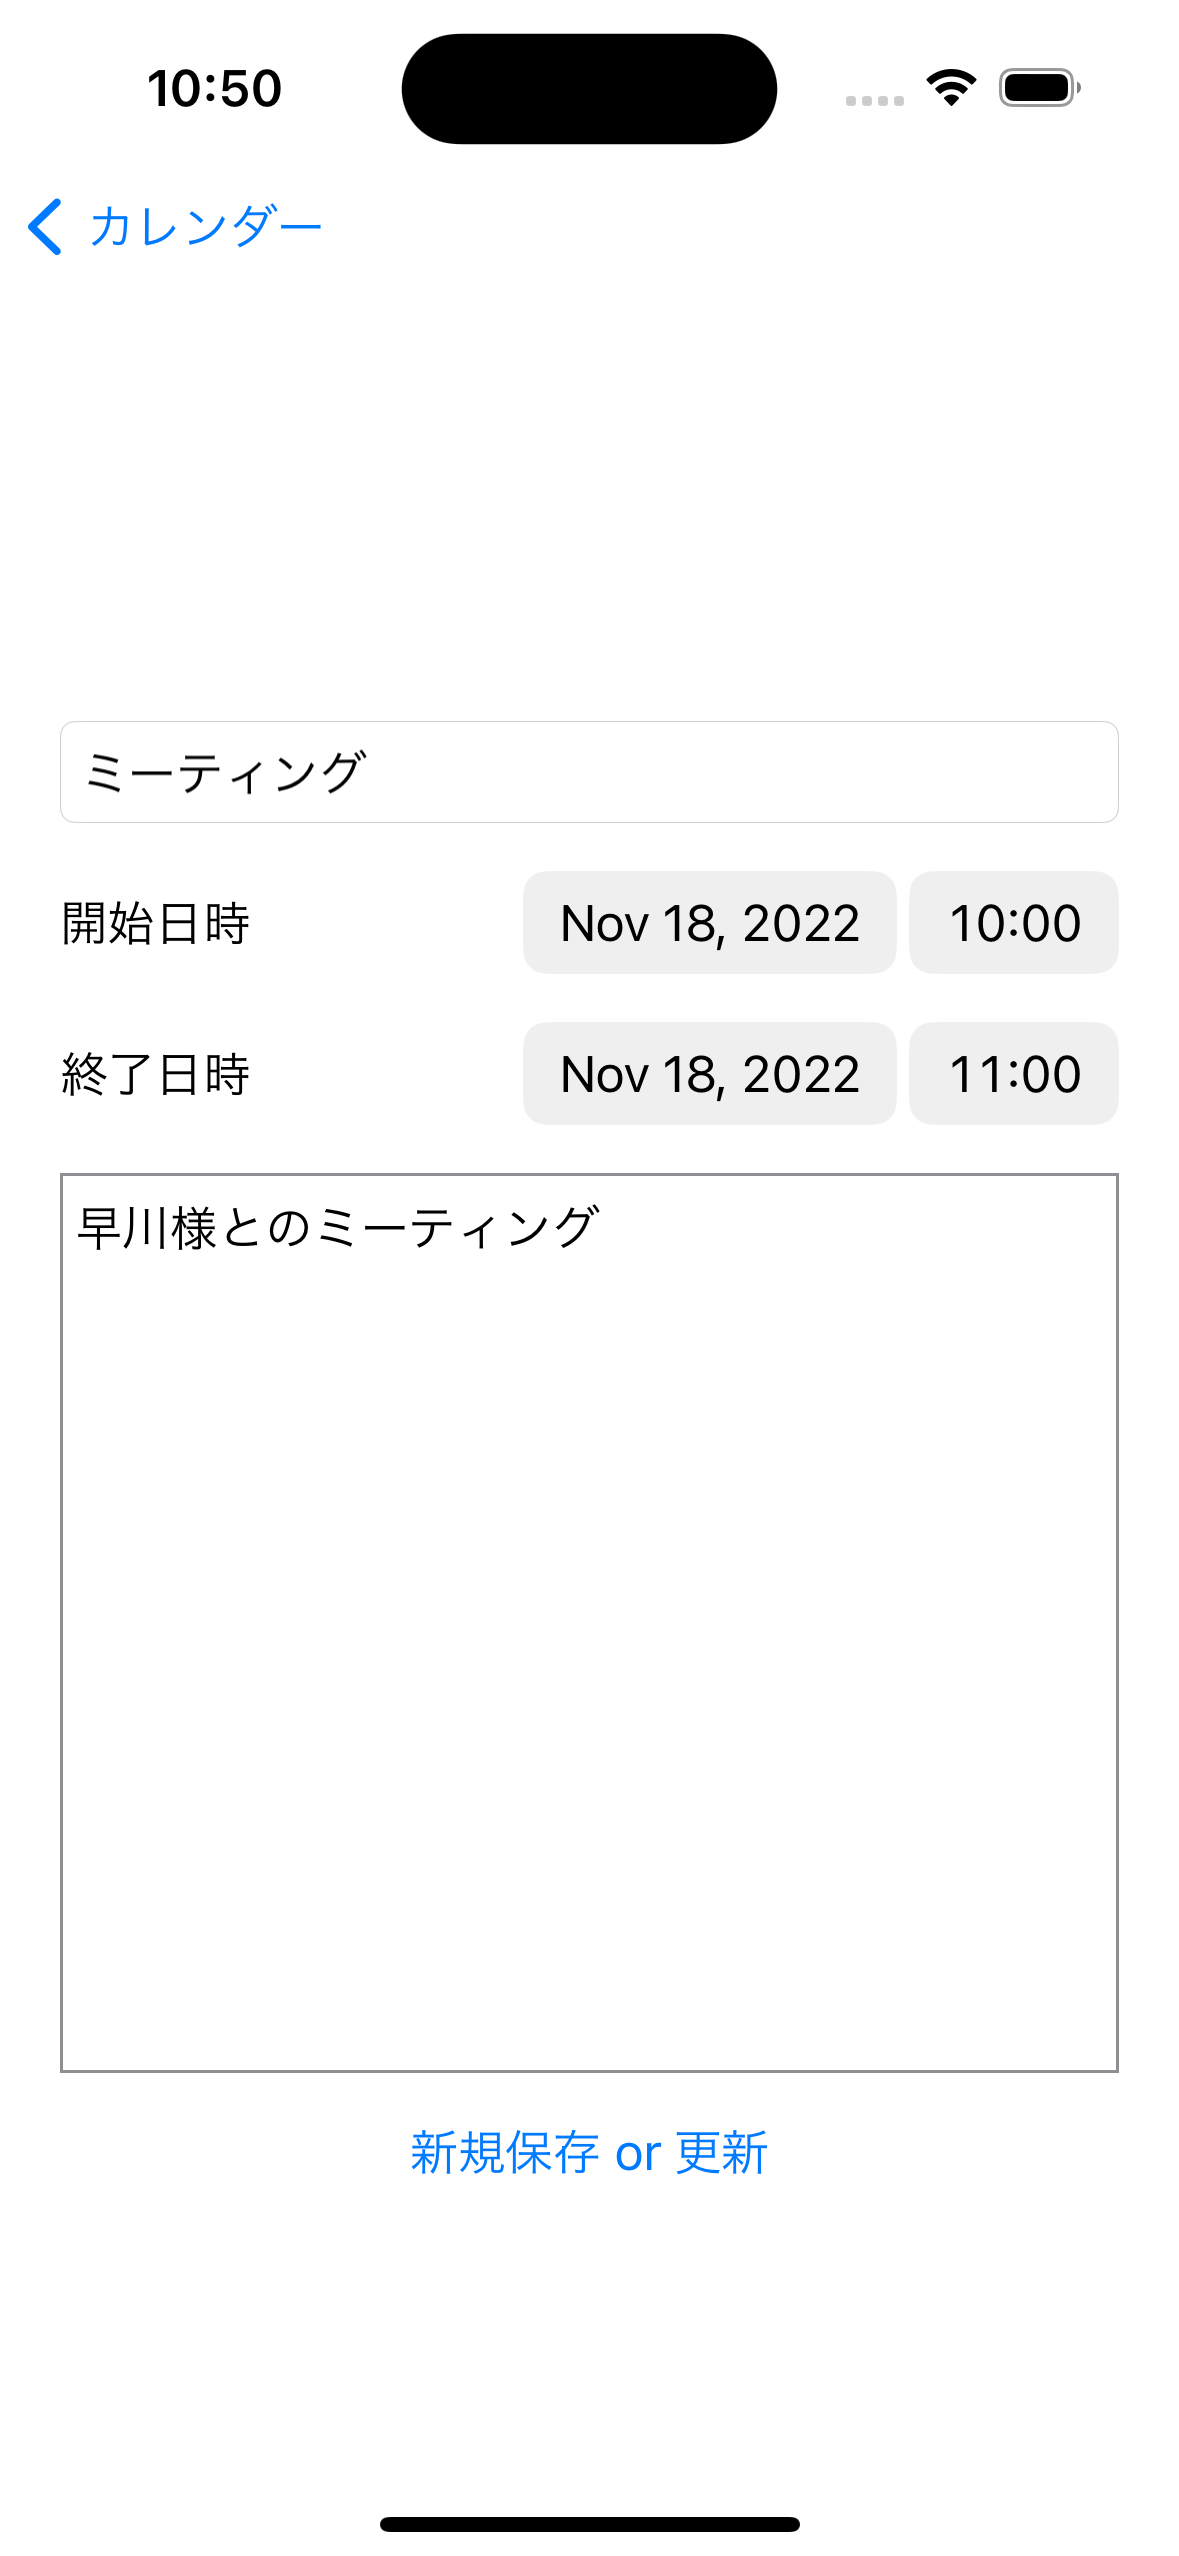
予定の入力・更新、削除を行うViewです。
struct FormView: View {
    // 一覧から受け取った予定
    @Binding var schedule: NCMBObject
    // 作成・更新用フラグ
    @Binding var updated: Bool
    // 削除用のオブジェクトIDを入れる
    @Binding var deleteObjectId: String

    @Environment(\.presentationMode) var presentation
    // 入力用
    @State private var _title: String = ""
    @State private var _body: String = ""
    @State private var _startDate: Date = Date.now
    @State private var _endDate: Date = Date.now

    // スケジュールデータを入力用に適用される処理
    func _setValue() -> Void {
			// 省略
    }

    // 開始日が変更されたら、それに合わせて終了日を自動設定
    func _setEndDate() -> Void {
			// 省略
    }

    // スケジュールの保存処理
    func _save() -> Void {
			// 省略
    }
    // 予定の削除処理
    func _delete() -> Void {
			// 省略
    }

    var body: some View {
        VStack(spacing: 16) {
            TextField("予定のタイトル", text: $_title)
                .textFieldStyle(RoundedBorderTextFieldStyle())
                .frame(maxWidth: .infinity)
                .padding(.horizontal, 20)
            DatePicker("開始日時", selection: $_startDate)
                .padding(.horizontal, 20)
            DatePicker("終了日時", selection: $_endDate)
                .padding(.horizontal, 20)
            TextEditor(text: $_body)
                .frame(maxWidth: .infinity, maxHeight: 300)
                .border(.gray)
                .padding(.horizontal, 20)
            Button(action: {
                _save()
            }, label: {
                Text("新規保存 or 更新")
            })
            _schedule.wrappedValue.objectId != nil ?
            Button(action: {
                _delete()
            }, label: {
                Text("予定の削除")
            }) : nil
        // 開始日が変更された際のイベント
        }.onChange(of: _startDate, perform: {(_) in
            _setEndDate()
        })
        // 表示された際のイベント
        .onAppear {
            _setValue()
        }
    }
}
SDKのインストール
今回はFSCalendarがCocoaPods向けにしか対応していないので、NCMB SDKについてもCocoaPods経由でインストールしています。Podfileの内容です。
# Uncomment the next line to define a global platform for your project
# platform :ios, '9.0'

target 'calendar' do
  # Comment the next line if you don't want to use dynamic frameworks
  use_frameworks!

  # Pods for calendar
  pod 'FSCalendar'
  pod 'NCMB', :git => 'https://github.com/NIFCLOUD-mbaas/ncmb_swift.git'
  target 'calendarTests' do
    inherit! :search_paths
    # Pods for testing
  end

  target 'calendarUITests' do
    # Pods for testing
  end

end
後は pod install を実行してインストールは完了です。
NCMBのAPIキーを取得
mBaaSでサーバー開発不要! | ニフクラ mobile backendにてアプリを作成し、アプリケーションキーとクライアントキーを作成します。
calendarApp.swiftの修正
〜App.swiftファイルを開いて、NCMB SDKの読み込みと初期化を行います。
import SwiftUI
import NCMB

@main
struct calendarApp: App {
    init() {
        // NCMBの初期化
        NCMB.initialize(applicationKey: "YOUR_APPLICATION_KEY", clientKey: "YOUR_CLIENT_KEY")
    }
    var body: some Scene {
        WindowGroup {
            ContentView()
        }
    }
}
これでNCMBの初期化が完了します。
まとめ
今回はカレンダーアプリの仕様と画面、NCMBの初期化までを解説しました。次はログイン処理を実装します。