NCMBでは公式SDKとしてSwift/Objective-C/Kotlin/Java/Unity/JavaScript SDKを用意しています。また、それ以外にもコミュニティSDKとして、非公式ながらFlutter/React Native/Google Apps Script/C#/Ruby/Python/PHPなど幅広い言語向けにSDKが開発されています。
今回は公式SDKの一つ、Kotlin SDKを使ってTodoアプリを作ってみます。前回はタスクデータの保存について解説しましたので、今回は保存したデータの取得と表示、そしてデータ削除を解説します。
完成版のコード
作成したデモアプリのコードはNCMBMania/Kotlin_Todo: Kotlin SDKを使ったTodoアプリですにアップロードしてあります。
タスクデータの取得
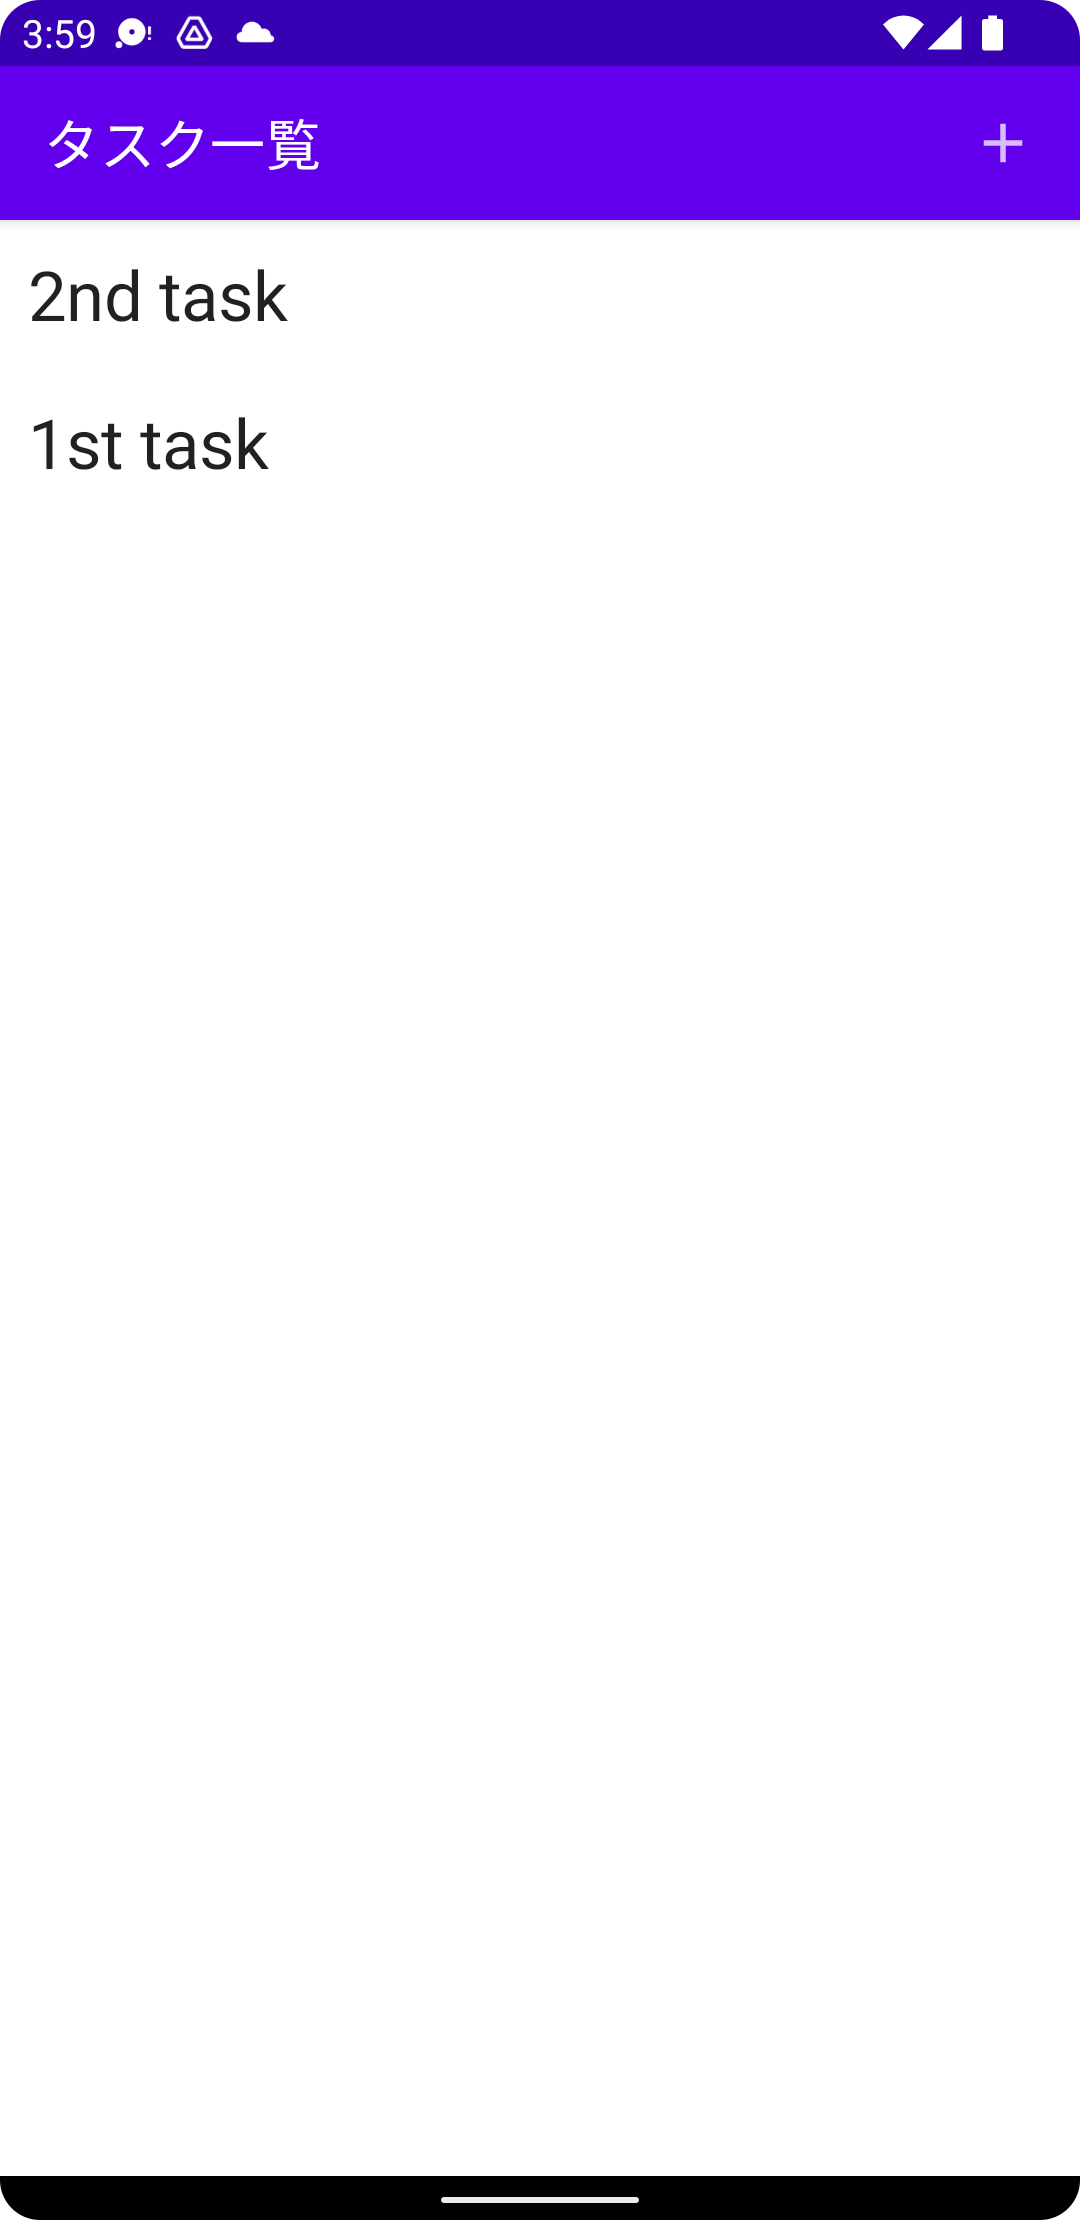
データストアに保存したタスクデータを取得、表示するのは ListScreen になります。取得したデータは ary の中に入ります。後は ary を LazyColumn で一覧表示します。
@Composable
fun ListScreen(navController: NavController) {
    var ary = remember { mutableStateOf<List<NCMBObject>>(emptyList()) }
		// データ取得(後述)

		// 画面構築
    Scaffold(
        topBar = {
            TopAppBar(
                title = {
                    Text("タスク一覧")
                },
                actions = {
                    IconButton(
                        onClick = {
                            navController.navigate("form")
                        }
                    ){
                        Icon(Icons.Filled.Add, contentDescription = "タスクの作成")
                    }
                }
            )
        },
        content = {
            Column {
                LazyColumn {
                    items(ary.value) { obj ->
                        TaskRow(obj, navController = navController)
                    }
                }
            }
        }
    )
}
データの取得
データを取得する際には NCMBQuery を使います。そして取得したデータはAny型なので、 List<NCMBObject> にキャストします。
val query = NCMBQuery.forObject("Task")
query.findInBackground(NCMBCallback { e, results ->
		if (e == null) {
				ary.value = results as List<NCMBObject>
		}
})
データの表示
リストデータの一行あたりのデータは TaskRow で表示しています。ここではデータをタップした際に、 moveDetail 関数にて詳細画面へ遷移しています。ここではNCMBObjectの文字列化をした上で画面遷移しています。
@Composable
fun TaskRow(obj: NCMBObject, navController: NavController) {
    val moveDetail = {
        val json = JSONObject()
        obj.keys.forEach {key ->
            json.put(key, obj.get(key)!!)
        }
        navController.navigate("detail/task=${json.toString()}")
    }
    Row(
        verticalAlignment = Alignment.CenterVertically,
        modifier = Modifier
            .fillMaxWidth()
            .padding(10.dp)
            .background(Color.White, RoundedCornerShape(5.dp))
            .clickable {
                moveDetail()
            }
    ) {
        Text(obj.getString("title")!!, fontSize = 25.sp)
    }
}
詳細画面の表示
詳細画面では送られてきたNCMBObjectを表示しています。なお、削除ボタンをタップした際には該当データの delete メソッドでデータ削除の上、一覧画面へ遷移しています。編集ボタンをタップした際には、画面遷移した時と同じくNCMBObjectを文字列化した上で編集画面に遷移しています。
NCMBObjectはgetStringで文字列としてデータをとれますが、Nullableなので注意してください。
@Composable
fun DetailScreen(navController: NavController, obj: NCMBObject) {
    Scaffold(
        topBar = {
            TopAppBar(
                title = {
                    Text("タスク")
                },
                actions = {
                    IconButton(
                        onClick = {
                            val json = JSONObject()
                            obj.keys.forEach {key ->
                                json.put(key, obj.get(key)!!)
                            }
                            navController.navigate("edit/task=${json.toString()}")
                        }
                    ){
                        Icon(Icons.Filled.Edit, contentDescription = "Edit")
                    }
                    IconButton(
                        onClick = {
                            obj.delete()
                            navController.navigate("list")
                        }
                    ){
                        Icon(Icons.Filled.Delete, contentDescription = "Delete")
                    }
                }
            )
        },
        content = {
            Column {
                Text(text = obj.getString("title")!!,
                    fontSize = 35.sp,
                    modifier = Modifier.padding(5.dp)
                )
                Text(text = obj.getString("body")!!,
                    fontSize = 30.sp,
                    modifier = Modifier.padding(5.dp)
                )
            }
        }
    )
}

まとめ
今回のTodoアプリではデータ保存、データ取得そしてデータ削除を実装しました。いずれもアプリ開発ではよく使う機能なので、ぜひ使い方を覚えてあなたのアプリ開発に役立ててください。