はじめに
ちょっと前になるのですが、OCI Data Integrationのアップデートで以下の情報がありました。
Support for using passwords when creating data assets and connections will be deprecated soon. Oracle recommends using the Vault option and storing your credentials in a vault.
パスワードの記述で指定できたデータ・アセットの接続がいずれ非推奨になるので、パスワードの代わりにOCI Vaultに保存したシークレットを指定することをおすすめするよ、というもののようです。
ということで、こちらのドキュメントに記載されているAutonomous Databaseの接続のケースを試してみることにしました。
前提条件
- OCI Data Integrationのワークスペース、Autonomous Databaseは作成済み
- ネットワークや必要なポリシーについては既に設定済
1 Autonomous Databaseのウォレットを入手してbase64形式にする
対象のAutonomous Databaseのウォレットを入手して、base64でエンコードします。
作業はCloud Shellで行うことにしました。

ocicliを使って、ウォレットのダウンロードを行います。次にそのなかから*.p12を除外してから、base64でエンコードします。
$ oci db autonomous-database generate-wallet --autonomous-database-id  <autonomous databaseのocid> --file $HOME/wallet.zip --password Welcome12345#

Downloading file  [####################################]  100%

$ zipinfo wallet.zip
Archive:  wallet.zip
Zip file size: 21984 bytes, number of entries: 9
-rw----     2.0 fat     5710 bl defN 23-Aug-25 06:24 ewallet.pem
-rw----     2.0 fat     3021 bl defN 23-Aug-25 06:24 README
-rw----     2.0 fat     5349 bl defN 23-Aug-25 06:24 cwallet.sso
-rw----     2.0 fat     1275 bl defN 23-Aug-25 06:24 tnsnames.ora
-rw----     2.0 fat     2056 bl defN 23-Aug-25 06:24 truststore.jks
-rw----     2.0 fat      691 bl defN 23-Aug-25 06:24 ojdbc.properties
-rw----     2.0 fat      114 bl defN 23-Aug-25 06:24 sqlnet.ora
-rw----     2.0 fat     5304 bl defN 23-Aug-25 06:24 ewallet.p12
-rw----     2.0 fat     3192 bl defN 23-Aug-25 06:24 keystore.jks
9 files, 26712 bytes uncompressed, 20928 bytes compressed:  21.7%

$ zip -d wallet.zip "ewallet.p12"
deleting: ewallet.p12

$ zipinfo wallet.zip
Archive:  wallet.zip
Zip file size: 16433 bytes, number of entries: 8
-rw----     2.0 fat     5710 b- defN 23-Aug-25 06:24 ewallet.pem
-rw----     2.0 fat     3021 b- defN 23-Aug-25 06:24 README
-rw----     2.0 fat     5349 b- defN 23-Aug-25 06:24 cwallet.sso
-rw----     2.0 fat     1275 b- defN 23-Aug-25 06:24 tnsnames.ora
-rw----     2.0 fat     2056 b- defN 23-Aug-25 06:24 truststore.jks
-rw----     2.0 fat      691 b- defN 23-Aug-25 06:24 ojdbc.properties
-rw----     2.0 fat      114 b- defN 23-Aug-25 06:24 sqlnet.ora
-rw----     2.0 fat     3192 b- defN 23-Aug-25 06:24 keystore.jks
8 files, 21408 bytes uncompressed, 15619 bytes compressed:  27.0%

$ base64 -w 0 wallet.zip > wallet.zip.base64
$ ls -al wallet*
-rw-r--r--. 1 goo2000 oci 16433 Aug 25 06:29 wallet.zip
-rw-r--r--. 1 goo2000 oci 21912 Aug 25 06:31 wallet.zip.base64
OCI Vaultで作成するシークレットのサイズは25K以内です。ウォレットをそのままエンコードすると25kを超えてしまい、シークレット作成時に"content cannot exceed 25600 characters"でエラーになります。
2 OCI Vaultでボールトとキーを作成する
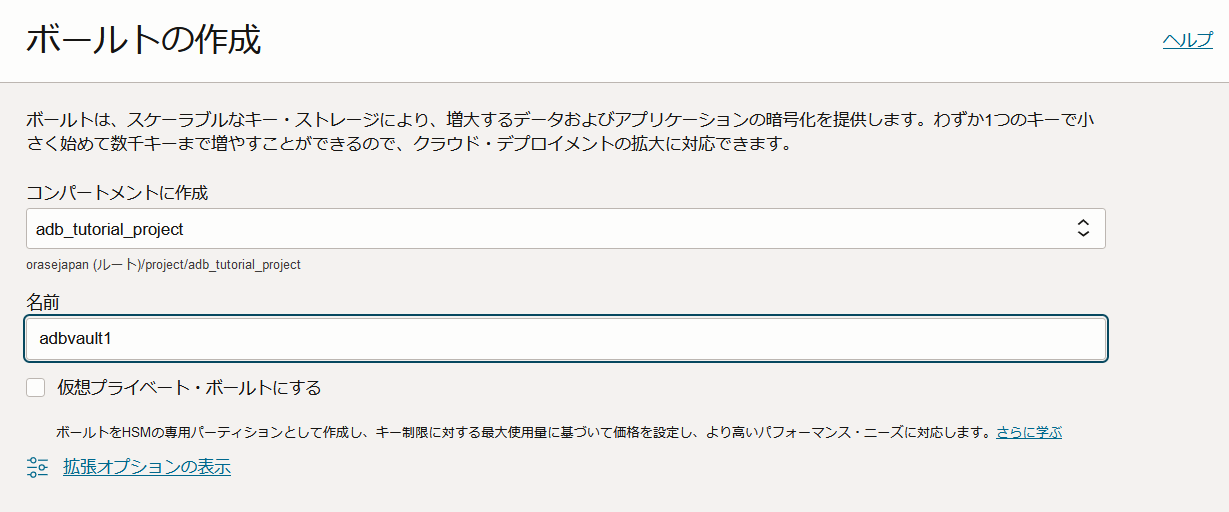
OCIコンソールでアイデンティティとセキュリティ> ボールトにアクセスして
ボールトを作成します。
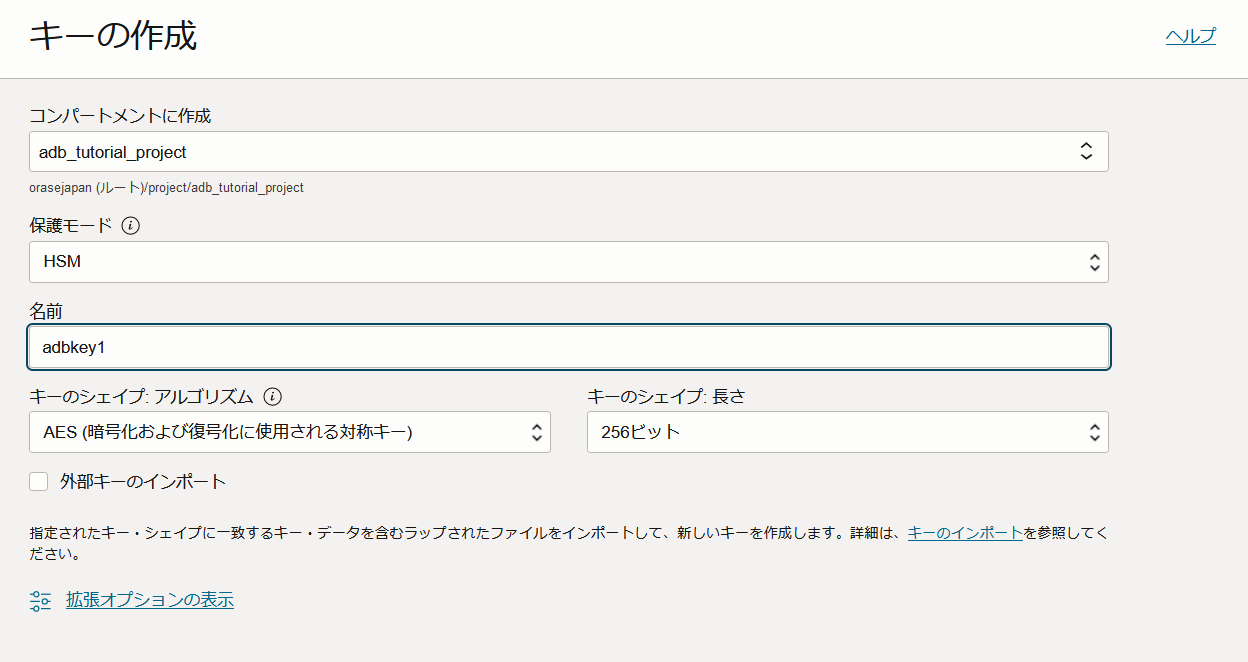
作成したボールトにキーを作成します。
3 ウォレットとデータベースユーザーのパスワードのシークレットを作成する
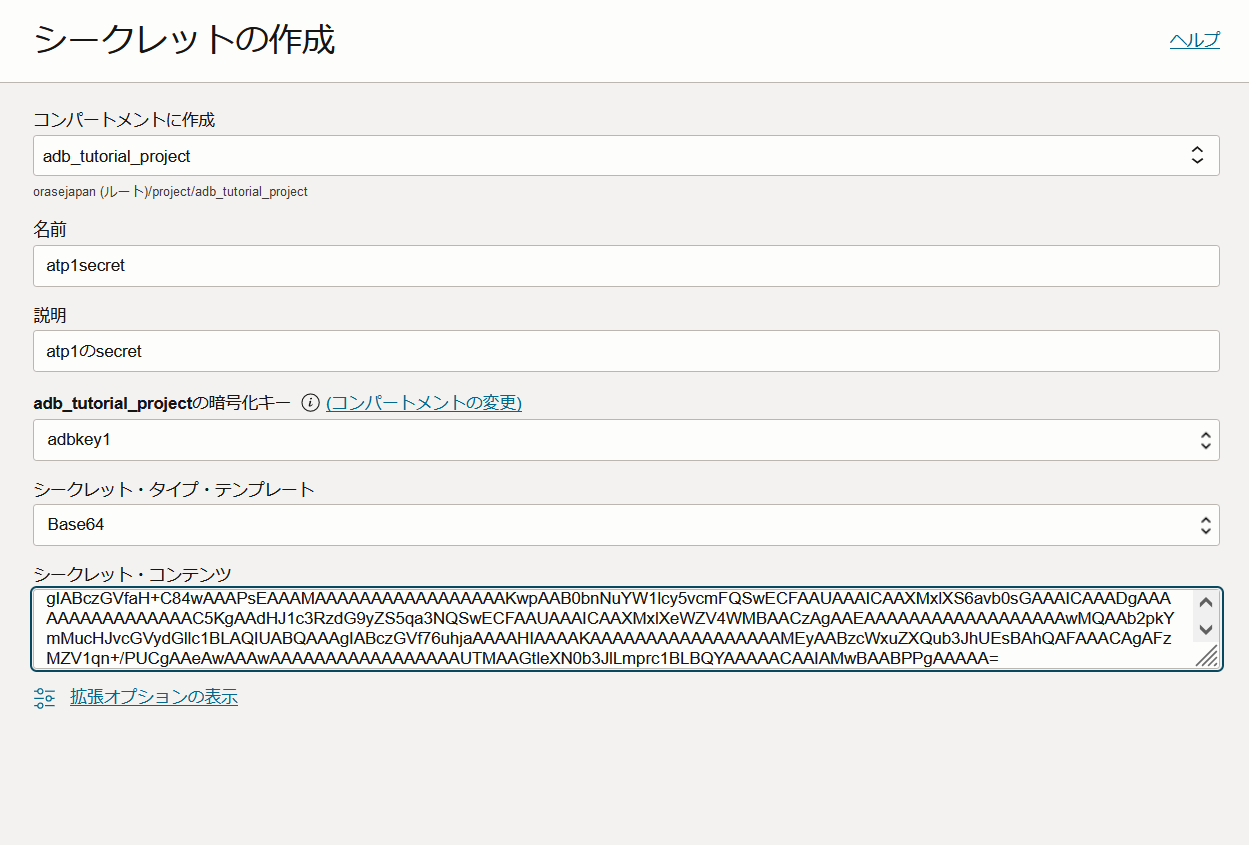
まずウォレットのシークレットを作成します。
シークレット・タイプ・テンプレートをBase64にして、シークレット・コンテンツに1で作成したwallet.zip.base64の内容を張り付けます。
base64タイプのシークレットはocicliで作成が可能です。エンコードした内容をパラメータで渡したほうがシンプルかもしれません。
$ export base64val=`cat wallet.zip.base64`
$ echo $base64val
$ oci vault secret create-base64 --compartment-id ocid1.compartment.oc1..xxxx --secret-name atp1secret2 --vault-id ocid1.vault.oc1.ap-sydney-1.xxxx --key-id ocid1.key.oc1.ap-sydney-1.xxxx --secret-content-content $base64val
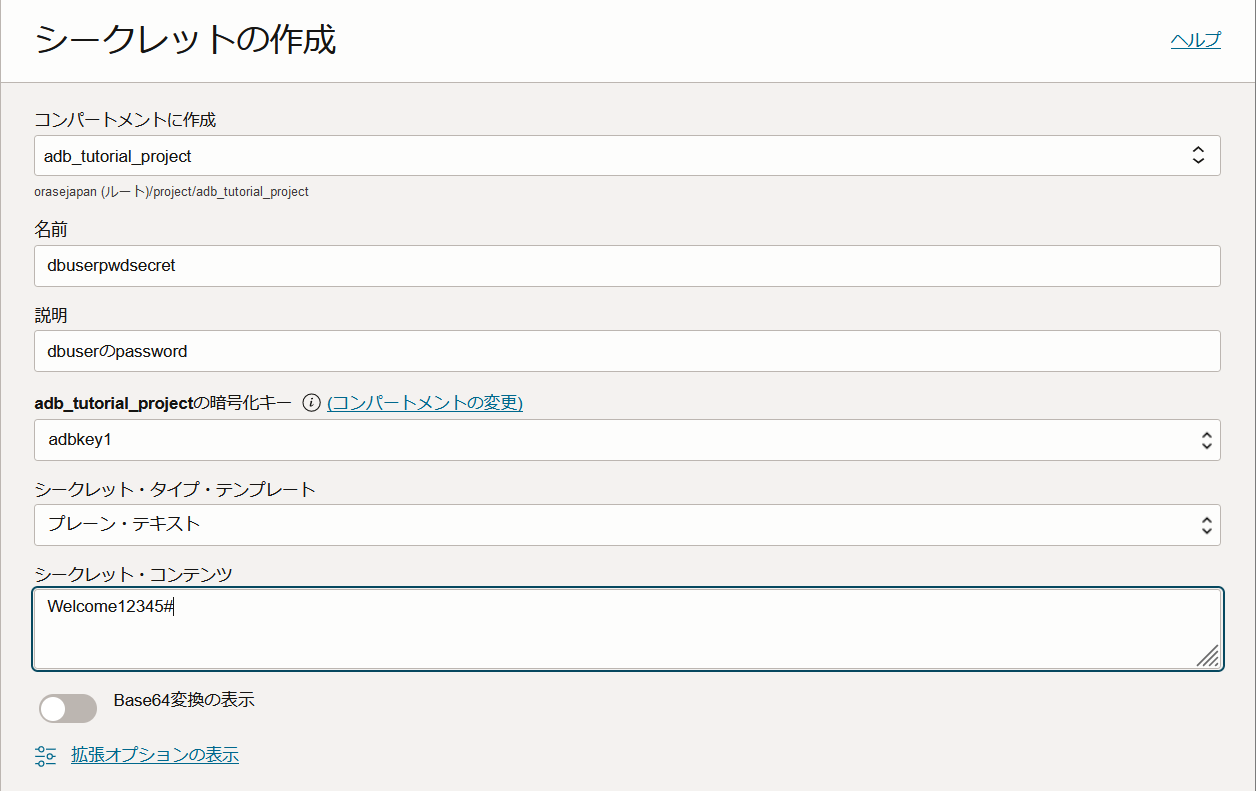
次に接続するデータベース・ユーザーのパスワードのシークレットを作成します。こちらはプレーン・テキストで作成しました。
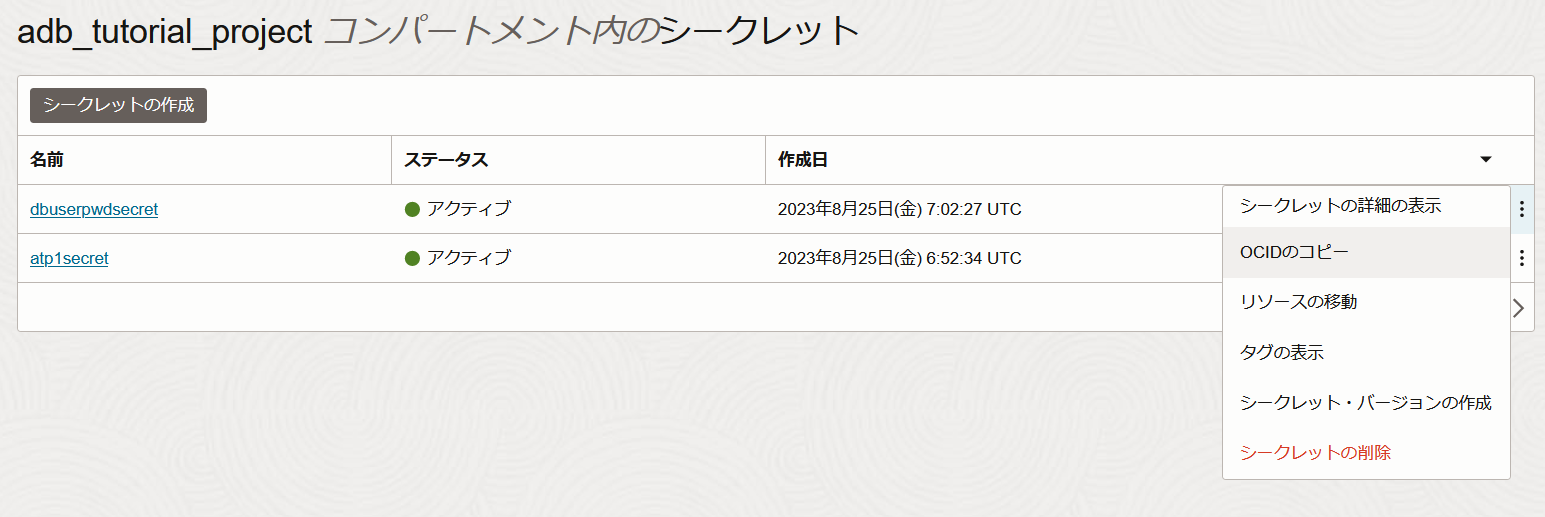
作成したそれぞれのシークレットのOCIDをコピーして、テキストファイルなどに控えておきます。
4 OCI Data Integrationでデータ・アセットを作成する
OCI Data Integrationのワークスペースにアクセスします。OCI Data Integrationの基本的な使い方は、チュートリアルを参考にしてください。
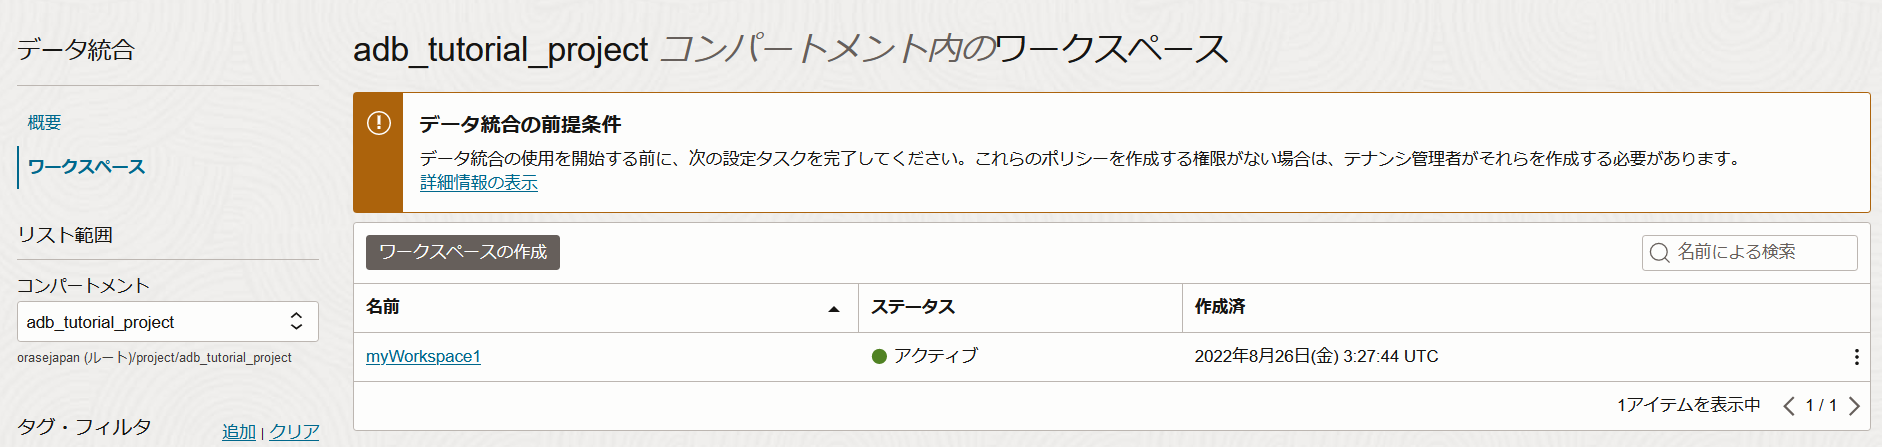
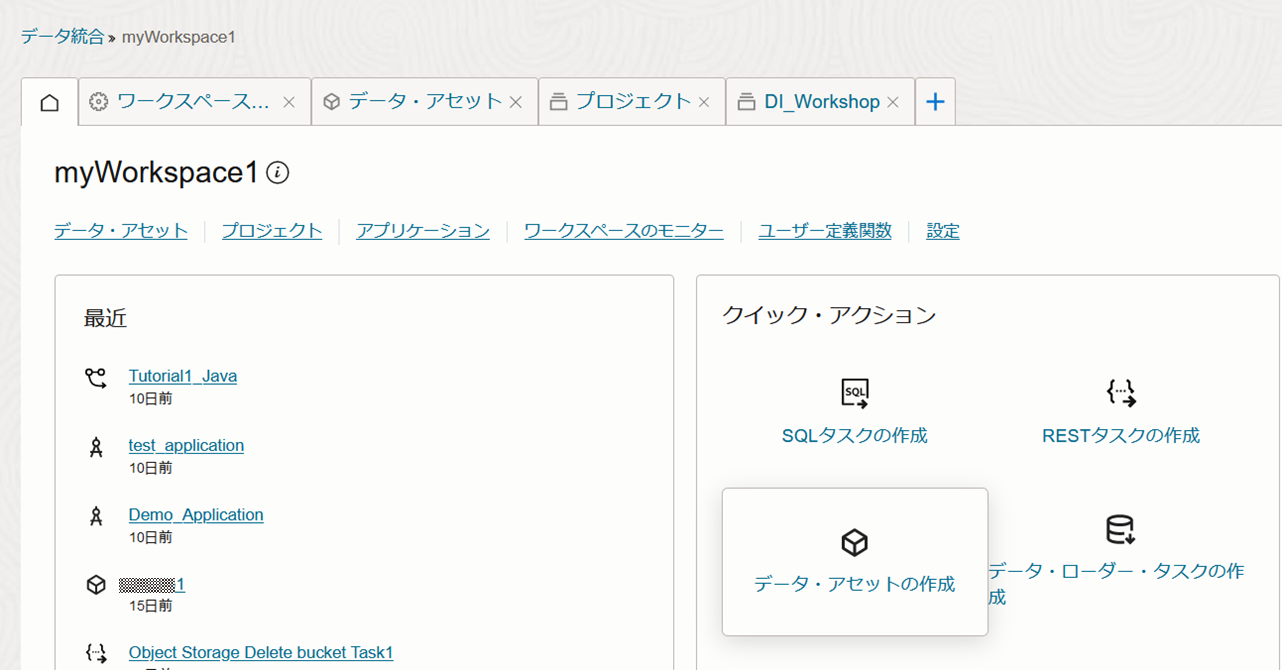
クイック・アクションからデータ・アセットを選択します。
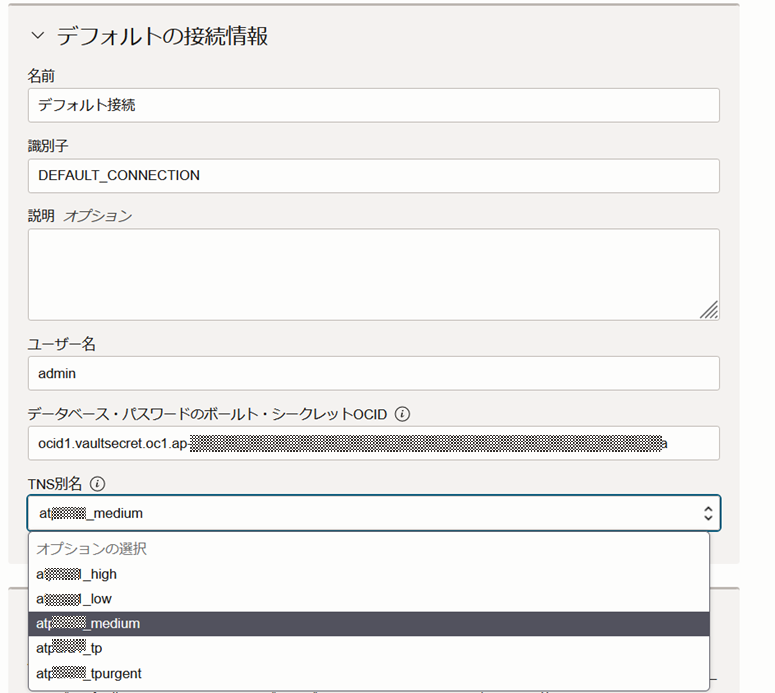
タイプにATPを選択して、ボールト・シークレットOCIDに3で控えたウォレットのシークレットのOCIDを入力します。
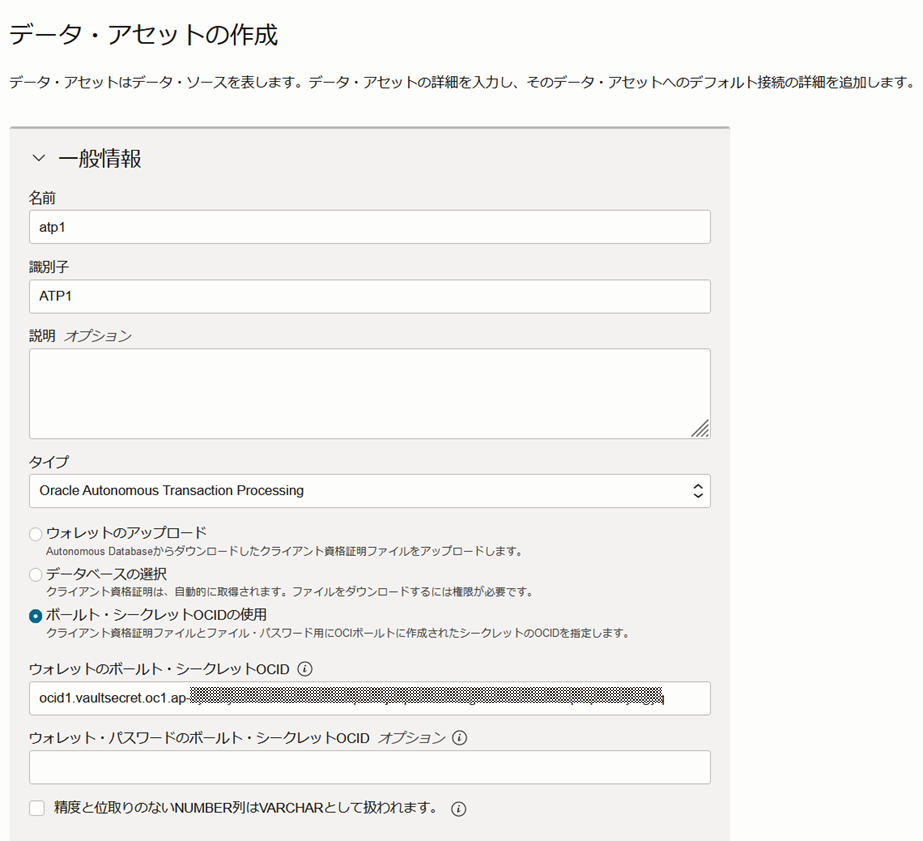
ウォレットのシークレットのOCIDが正しければ、下に続くデフォルトの接続情報のTNS別名で、対象のATPのサービス名を選択できるようになります。
サービス名を選択して、接続するユーザー(今回はADMIN)とパスワードのシークレットのOCIDを入力します。
データ・アセットでAutonomous Databaseを指定する場合は、デフォルトのステージングの場所が必要なので、Object Storageのデータ・アセット(事前に作成が必要です)を指定します。
そして最後のオプションで接続をテストします。
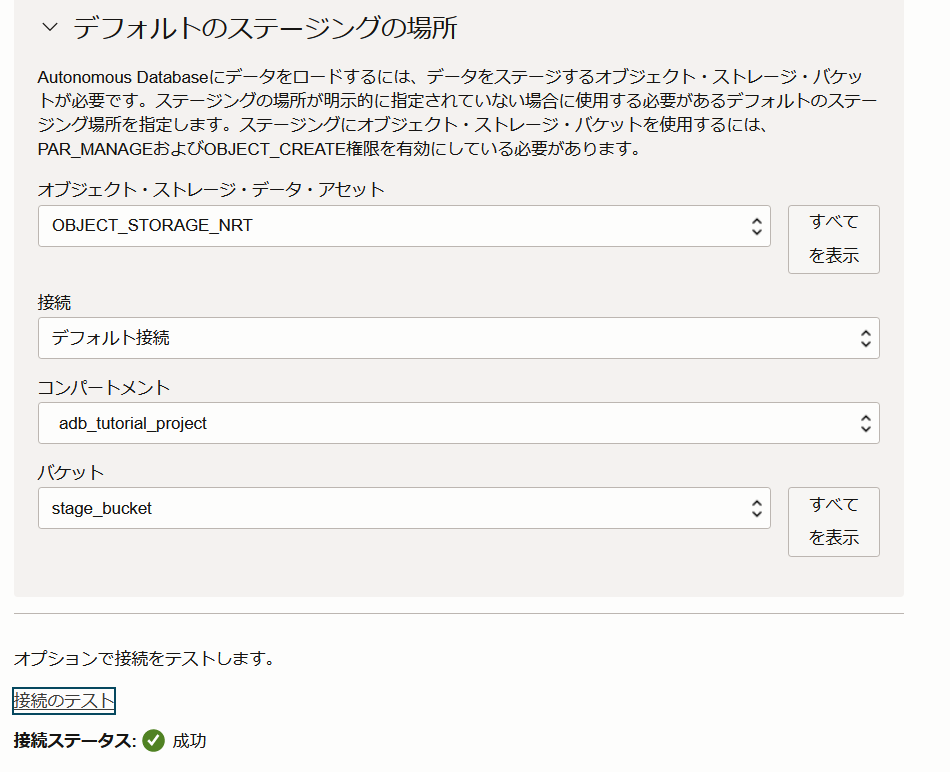
接続ステータスが成功であれば、OCI Vaultの設定は正しくできているということになります。
おわりに
OCI Vaultのシークレットを使ってOCI Data IntegrationのAutonomous Databaseのデータ・アセットを作成してみました。
今後シークレットでの設定になるというので試してみましたが、実は現時点でもOCI Data Integrationの統合タスクやデータ・ローダータスクをOCI Data Flowサービスに公開する場合のデータソースのパスワードはOCI Vaultの利用が必須です。
セキュリティを重視するOCIとしては、パスワードを直書きではなくOCI Vaultを推奨するのは当然かもしれませんね。