はじめに
テスト自動化ツールの主力なツールであるSeleniumをラップしたZakeniumをKubernetesで動かした話を載せたいと思います。
ZaleniumはLineStoreのテスト自動化で言及されています
LINE STOREにおけるテスト自動化の取り組み - LINE ENGINEERING
Zaleniumを使おうと思っても意外と情報が個人的に少なく感じたので、どなたかの役に立つと幸いです。
実行環境は環境に書いてあるDocker for Macですが、ベンダーロックインしていない(標準的なKubernetes)ので数箇所(PV,Service等)を変えてもらえばどの環境でも動く想定です。
下記画像のような並列テストを複数Nodeで分散しながら実行できます。

環境
使用した環境は以下です。
・Mac Pro(2018) OS Mojave 10.14.1
・Docker for Mac(Docker Engine 18.09)
・Kubernetes(v1.10.3) ※Docker for Mac付属
※環境のセットアップの手順は省略しています
背景
元々は、Javaで作成したアプリケーションのテストでSelenium(Grid)を利用していました。
…が以下の理由からSeleniumからZalaniumを選択しました。
・Seleniumでキャプチャ(画面キャプチャ)を取った際に、望まないタイミングでキャプチャが撮られる。
→テストがエラーで終わった際に、頼りになるキャプチャが正確でないために、泣く泣くテストが落ちる箇所までテスト実行を見守り続けることに…
そこで、画面キャプチャではなくエビデンスとして動画を撮れるZaleniumの検証をKubernetesでしました。
ZaleniumをKubernetesで動かすメリット
Zalenium(Grid):Selenium(Node)が1:Nで複数Nodeが展開されるので、SeleniumNode(Pod)を複数Nodeに負荷分散できるメリットがあります。
(そのためSeleniumNodeを複数個動かす場合は、複数Nodeを持つKubernetesクラスターが望ましいです)
この記事ではDocker for MacのKubernetesで検証しているので(Nodeが1つしかない)、Docker-Composeと大差ないですが…
実際に動かす
Zalenium公式リポジトリにKubernetes用のyamlが載っています。
中身を見ると、Minikube用に用意されています。
Minikube用というのもあって、何箇所かMinikube依存している箇所もあります(自分の環境にそのまま適用してもきちんと動きませんでした…)。
Minikube用を参考にしつつ、標準的なKubernetesで利用できるようにより汎用的に作り変えました。
実際に動かしたソースはGitHubにあげています。
apiVersion: apps/v1
kind: Deployment
metadata:
 name: zalenium
 namespace: zalenium
spec:
 replicas: 1
 selector:
    matchLabels:
      app: zalenium
 template:
   metadata:
   labels:
     app: zalenium
     role: grid
   spec:
     containers:
       - name: zalenium
         image: dosel/zalenium:3
         args:
           - start
           - '--desiredContainers'
           - "$(desiredContainers)"
           - '--maxDockerSeleniumContainers'
           - "$(maxDockerSeleniumContainers)"
           - '--sauceLabsEnabled'
           - "$(sauceLabsEnabled)"
           - '--browserStackEnabled'
           - "$(browserStackEnabled)"
           - '--testingBotEnabled'
           - "$(testingBotEnabled)"
           - '--startTunnel'
           - "$(startTunnel)"
           - '--videoRecordingEnabled'
           - "$(videoRecordingEnabled)"
           - '--screenWidth'
           - "$(screenWidth)"
           - '--screenHeight'
           - "$(screenHeight)"
           - '--timeZone'
           - "$(timeZone)"
           - '--sendAnonymousUsageInfo'
           - "$(sendAnonymousUsageInfo)"
           - '--debugEnabled'
           - "$(debugEnabled)"
           - '--logJson'
           - "$(logJson)"
           - '--logbackConfigFilePath'
           - "$(logbackConfigFilePath)"
           - '--seleniumImageName'
           - "$(seleniumImageName)"
           - '--maxTestSessions'
           - "$(maxTestSessions)"
           - '--keepOnlyFailedTests'
           - "$(keepOnlyFailedTests)"
           - '--retentionPeriod'
           - "$(retentionPeriod)"
         envFrom:
          - configMapRef:
              name: zalenium-kubernetes-config
          - configMapRef:
              name: zalenium-config
         resources:
           requests:
             cpu: 250m
             memory: 400Mi
         ports:
          - containerPort: 4444
          - containerPort: 4445
         volumeMounts:
          - name: zalenium-data
            mountPath: /home/seluser/videos
          - name: zalenium-mounted
            mountPath: /tmp/mounted
    volumes:
        - name: zalenium-data
          persistentVolumeClaim:
            claimName: zalenium-data
        - name: zalenium-mounted
          persistentVolumeClaim:
            claimName: zalenium-mounted
    serviceAccountName: zalenium
    serviceAccount: zalenium
ServiceのTypeは自身の環境に合わせて変更してください。
(例ではDocker for MacなのでNodePortで外部に露出しています)
apiVersion: v1
kind: Service
metadata:
  name: zalenium
  labels:
    app: zalenium
  namespace: zalenium
spec:
  # Change type according to your choice
  type: NodePort
  ports:
  - name: zalenium
    port: 4444
    protocol: TCP
    targetPort: 4444
  - name: register
    port: 4445
    protocol: TCP
    targetPort: 4445
  selector:
    app: zalenium
    role: grid
configMapをKubernetes用でのシステムリソース制限用とZaleniumの挙動変更用の2種設けています。
Kubernetes用
apiVersion: v1
kind: ConfigMap
metadata:
  name: zalenium-kubernetes-config
  namespace: zalenium
data:
  ZALENIUM_KUBERNETES_CPU_REQUEST: "250m"
  ZALENIUM_KUBERNETES_CPU_LIMIT: "500m"
  ZALENIUM_KUBERNETES_MEMORY_REQUEST: "500Mi"
  ZALENIUM_KUBERNETES_MEMORY_LIMIT: "1Gi"
  OVERRIDE_WAIT_TIME: "5m"
Zalenium用
apiVersion: v1
kind: ConfigMap
metadata:
  name: zalenium-config
  namespace: zalenium
data:
  desiredContainers: '2'
  maxDockerSeleniumContainers: '4'
  sauceLabsEnabled: 'false'
  browserStackEnabled: 'false'
  testingBotEnabled: 'false'
  startTunnel: 'false'
  videoRecordingEnabled: 'true'
  screenWidth: '1900'
  screenHeight: '1880'
  timeZone: 'Asia/Tokyo'
  sendAnonymousUsageInfo: 'true'
  debugEnabled: 'true'
  logJson: 'false'
  logbackConfigFilePath: 'logback.xml'
  seleniumImageName: 'elgalu/selenium'
  maxTestSessions: '1'
  keepOnlyFailedTests: 'false'
  retentionPeriod: '3'
Zalenium用のConfigMapに変数が数多く定義されていますが、
Zaleniumプロセスを動かす際のオプションを定義しています。
SeleniumNode数やロギングなどの挙動を変えたい場合は、configMapの値を変更します
         args:
           - start
           - '--desiredContainers'
           - "$(desiredContainers)"
           - '--maxDockerSeleniumContainers'
それでは実際に動かします。
(Kubernetesが既に動いている前提で記載しています)
$ git clone https://github.com/govargo/container.git
Cloning into 'container'...
remote: Enumerating objects: 26, done.
remote: Counting objects: 100% (26/26), done.
remote: Compressing objects: 100% (17/17), done.
remote: Total 26 (delta 4), reused 20 (delta 4), pack-reused 0
Unpacking objects: 100% (26/26), done.

$ cd container/kubernetes/zalenium/

$ kubectl apply -f .
configmap "zalenium-kubernetes-config" created
configmap "zalenium-config" created
deployment.apps "zalenium" created
persistentvolumeclaim "zalenium-data" created
persistentvolumeclaim "zalenium-mounted" created
persistentvolume "zalenium-data" created
persistentvolume "zalenium-mounted" created
service "zalenium" created
serviceaccount "zalenium" created
clusterrole.rbac.authorization.k8s.io "zalenium-role" created
clusterrolebinding.rbac.authorization.k8s.io "zalenium" created

$ kubectl get pods -n zalenium
zalenium-40000-jdvq5       1/1       Running   0          1m
zalenium-40000-xp8tp       1/1       Running   0          1m
zalenium-d57bc759d-54lsr   1/1       Running   0          1m
kubectl applyでdeployした後にしばらくすると、Zaleniumが立ち上がります。
「zalenium-d57bc759d-54lsr」がZalenium(Grid)側で、
「zalenium-40000-jdvq5」「zalenium-40000-xp8tp」がSeleniumNode側です。
それでは、Zaleniumの管理コンソールにアクセスします。
ブラウザでアクセスする前に、Zaleniumにアクセスするポートを取得します。
$ kubectl get services -n zalenium
NAME       TYPE       CLUSTER-IP       EXTERNAL-IP   PORT(S)                         AGE
zalenium   NodePort   10.111.104.211   <none>        4444:30299/TCP,4445:31831/TCP   13m
Zaleniumの管理コンソールポートの4444に対して、NodePortで30299でポートが開いていることが確認できました。
NodePortは毎回起動の度にポートが変化します
ブラウザを開いてみます。
URL: http://localhost:30299/grid/console
※ポートは毎回起動の度に変更されます

コンソールに立ち上げたSeleniumNode2台が登録されていることが分かりました。
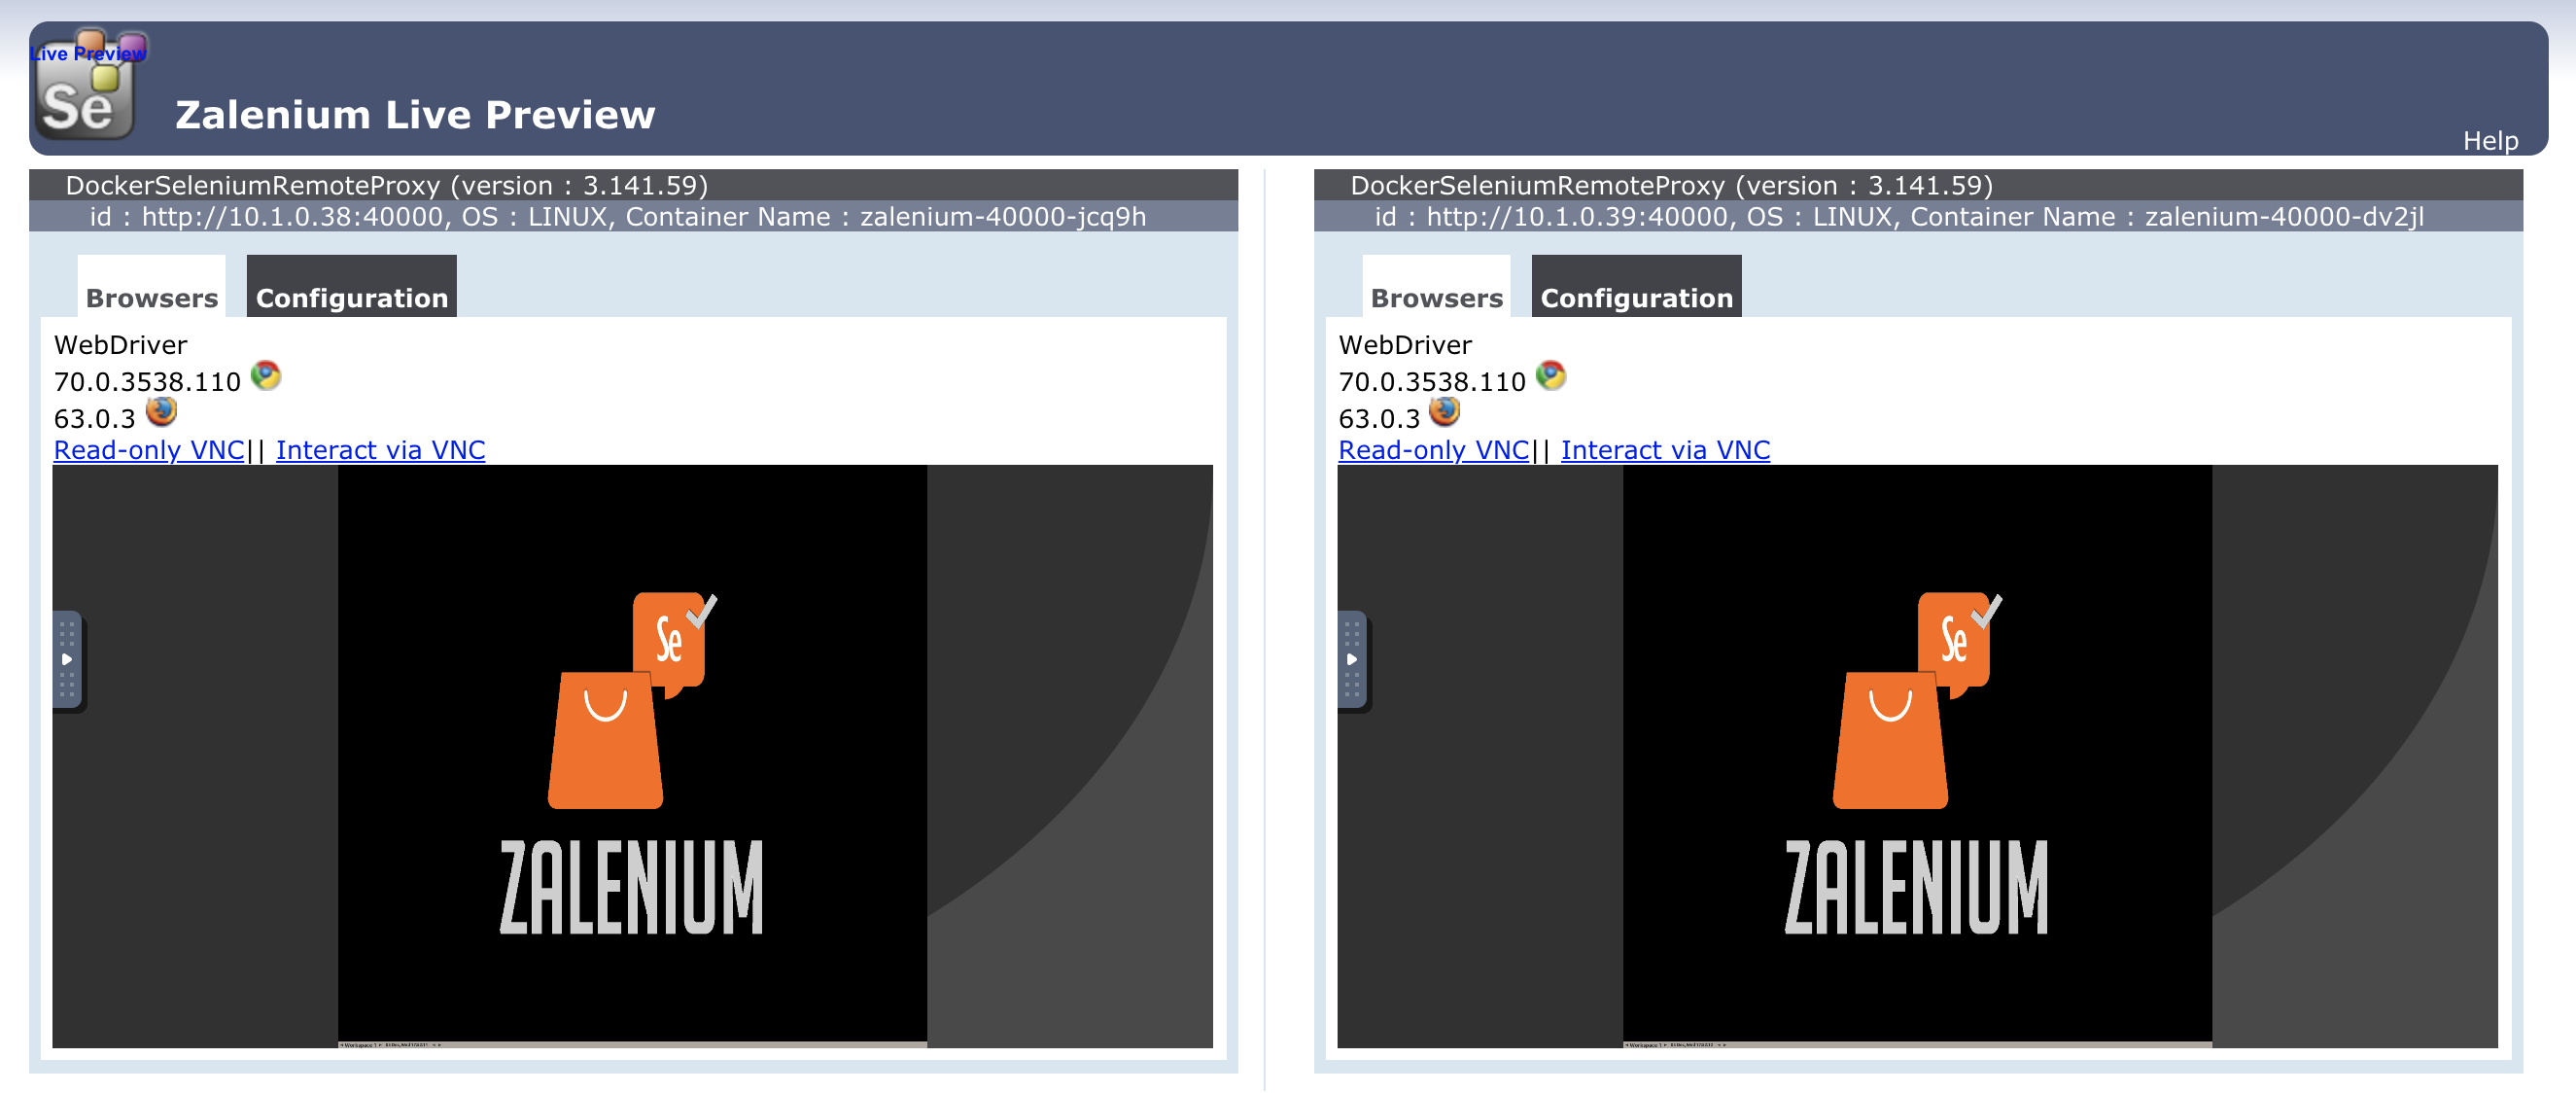
そしてZaleniumでテストが動いている際のライブビューについては、下記のURLから確認できます
URL: http://localhost:30299/grid/admin/live

テストが動いた後の動画記録については、PersistentVolumeに記載しているディレクトリにデータが生成されます。
(本例では/tmp/zalenium/videos配下に動画ファイルが生成されます)
テストを動かしてみる
Kubernetesで立てたZaleniumに対して、テストを実行してみます。
SeleniumNodeが2台いるので、テストも同時に並列で2件実施してみます。
テストの実行はDocker-Composeで行います。
テスト用のソースもGitHubにあげています。
require "selenium-webdriver"

HD = ENV['ZALENIUM_HD']

caps = Selenium::WebDriver::Remote::Capabilities.chrome(
  "name" => "sample test",
  "recordVideo" => true
)

driver = Selenium::WebDriver.for(:remote,
   url: "http://#{HD}/wd/hub",
   desired_capabilities: caps
)

driver.get("https://www.google.co.jp/")
driver.quit
version: '3'
services:
  selenium:
    image: ruby:2.3.8
    command: /usr/local/bin/test.sh
    volumes:
      - "./test.sh:/usr/local/bin/test.sh"
      - "./sampleTest.rb:/usr/src/sampleTest.rb"
    environment:
      - "ZALENIUM_HD=192.168.43.36:30299"
Zaleniumへの接続先はZALENIUM_HDという環境変数で切り替えています。
※実行PC/サーバーのIP:ポートに適宜変更してください。
テストでは、SeleniumがGoogleのトップページにアクセスして終了します。
$ cd ../../docker/ruby/selenium/

# scaleの指定を2にして並列でテストを実行しています
$ docker-compose up --scale selenium=2
Recreating selenium_selenium_1 ... done
Creating selenium_selenium_2   ... done
Attaching to selenium_selenium_1, selenium_selenium_2
selenium_1  | Successfully installed rubyzip-1.2.2
selenium_1  | Building native extensions. This could take a while...
selenium_2  | Successfully installed rubyzip-1.2.2
selenium_2  | Building native extensions. This could take a while...
selenium_2  | Successfully installed ffi-1.9.25
selenium_2  | Successfully installed childprocess-0.9.0
selenium_2  | Successfully installed selenium-webdriver-3.141.0
selenium_2  | 4 gems installed
selenium_1  | Successfully installed ffi-1.9.25
selenium_1  | Successfully installed childprocess-0.9.0
selenium_1  | Successfully installed selenium-webdriver-3.141.0
selenium_1  | 4 gems installed
selenium_selenium_1 exited with code 0
selenium_selenium_2 exited with code 0
同時進行で確認すると
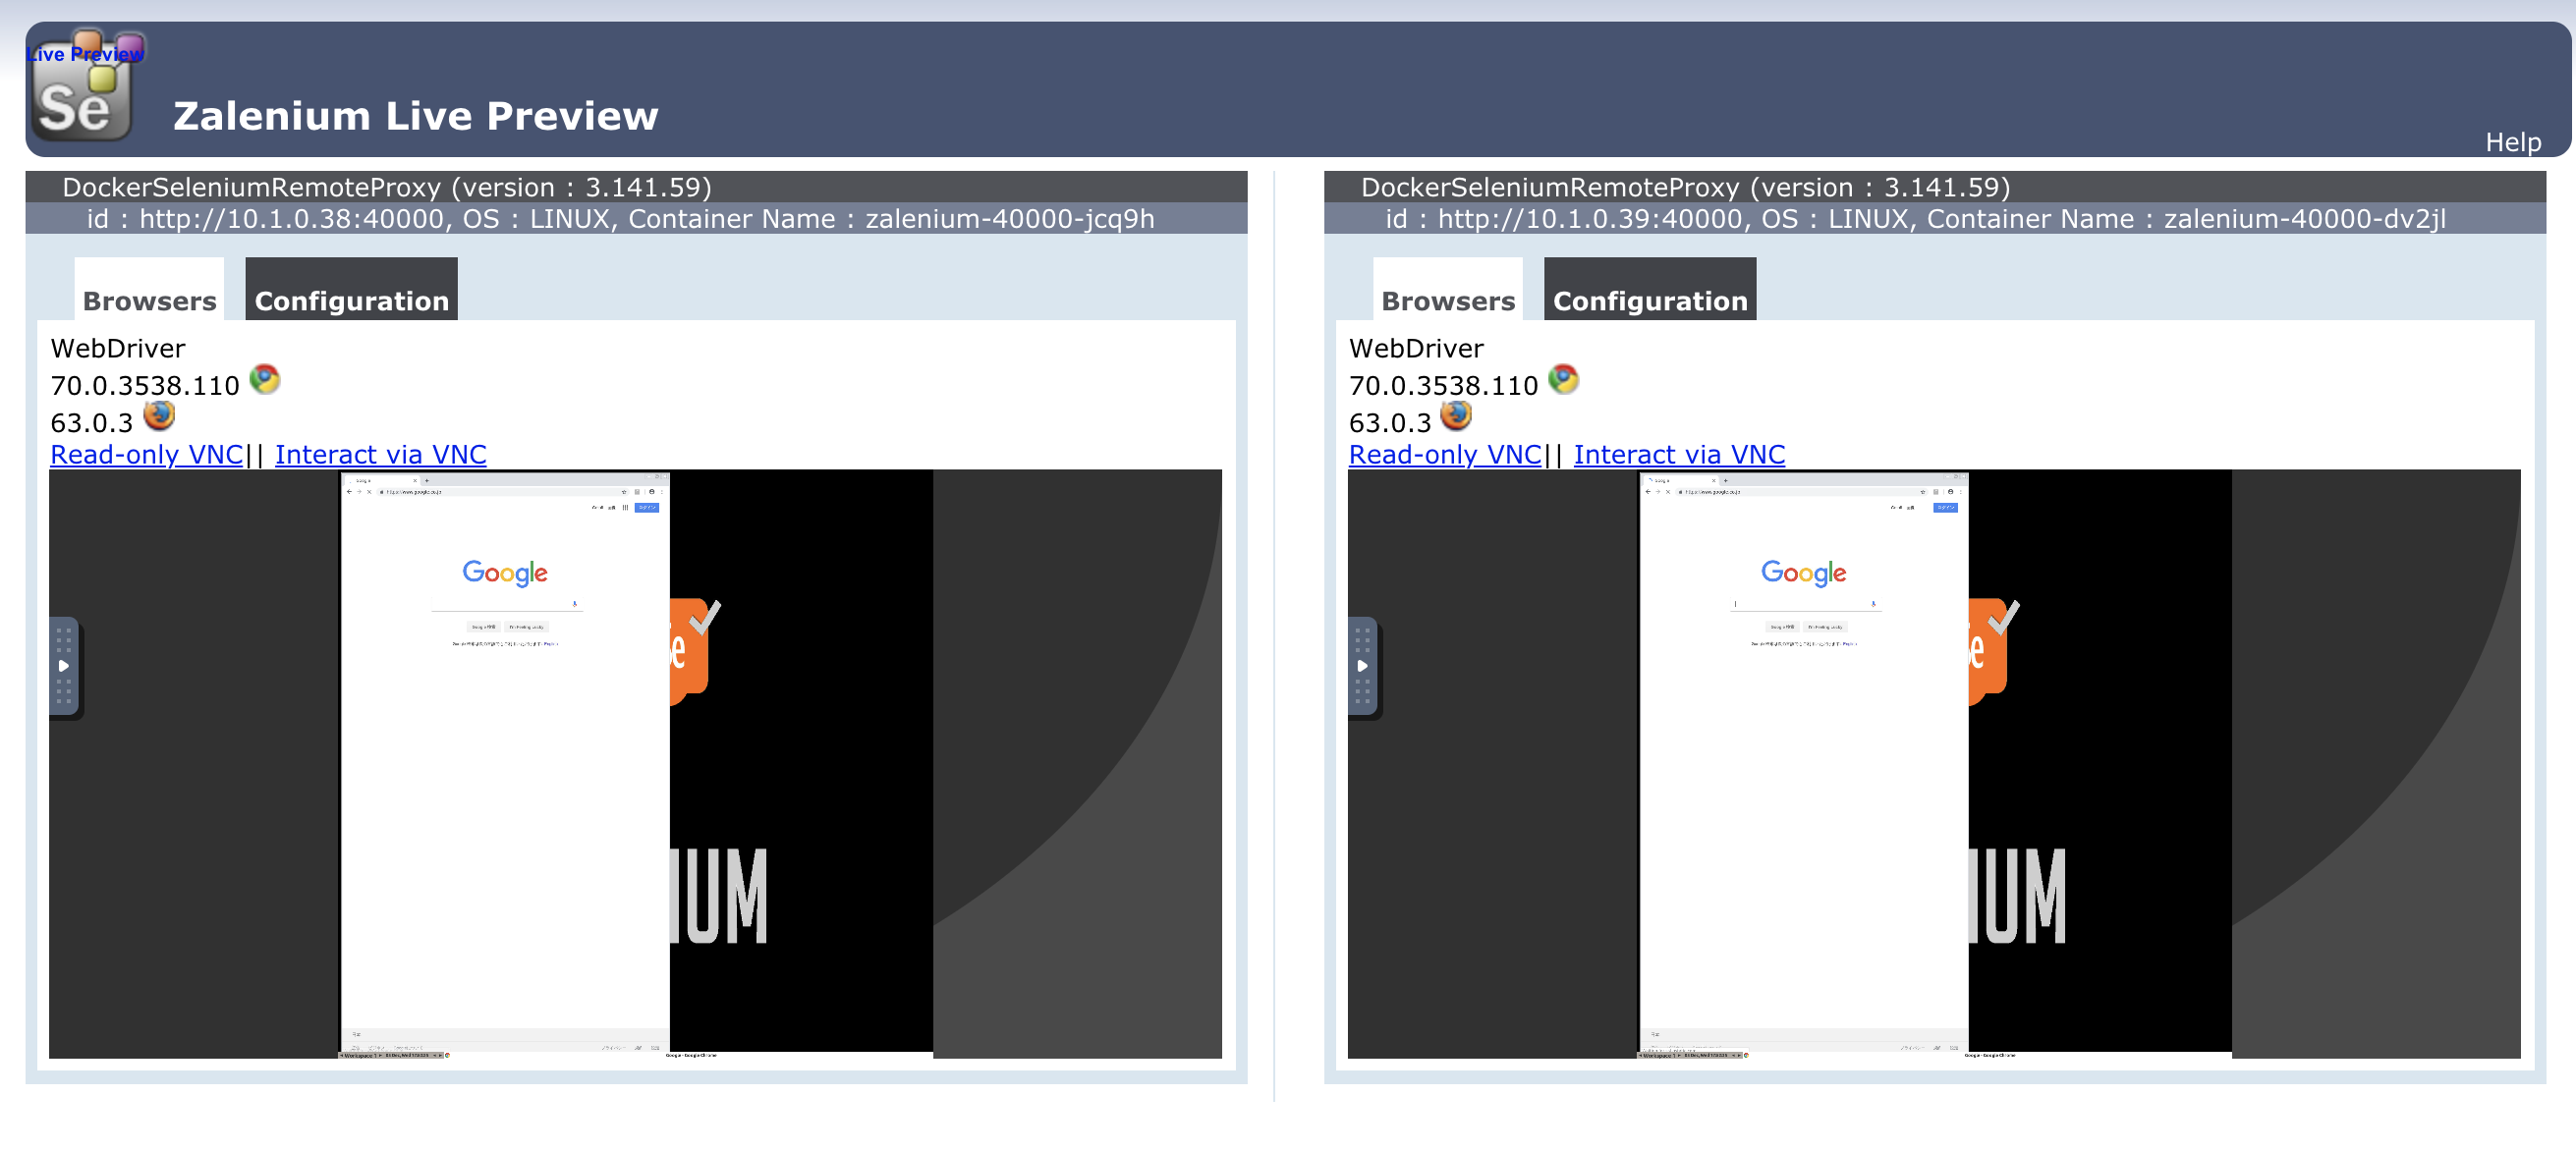
とテストの実行をライブビューで確認できます(便利!)。
撮影保存した動画ファイルは下記のURLからダッシュボードで一覧から確認できます。
URL: http://localhost:30299/dashboard

何故か今回は動画ファイルが破損していましたが、原因究明まではしていません(何故だ…)
まとめ
VMやオンプレの環境でSeleniumGridやZaleniumを立てようと思うと、CLIの環境にブラウザを起動する必要が出て、インストール作業が非常に煩雑になると思います。
その点、コンテナだとブラウザのインストールが不要・どの環境でも動きメリットを強く感じます。
またSeleniumNodeが増えても、Podの配置をKubernetes側で制御して配置してくれるので非常に簡単にスケールアウトができるようになって感動しています。
自動テストの環境構築の一助になれば幸いです。
以上