Ktorが1.0になってから久しく既に1.3のpreviewまで発展しているので個人開発アプリで使ってみました。
認証手段としてCognitoのOpenID Connect認証を使用したのですが微妙にはまりどころ合ったので共有します。
GoogleのAuth2認証やGithubの例については公式に載っています。が、いかんせんKtor初心者にはわかりづらい書き方だったのでより詳細な例を使って実装することでわかりやすくしました。
今回の実装はGitHubに公開してます。
対象
OAuth2,OpenID Connectについて大体理解してる
KtorでOAuth2使うとどうなる?な人
前提
Kotlin 1.3.50
Ktor 1.2.4
依存関係の追加
Quick Startから何もオプションを選ばない状態から下の二行を追加する。
    // https://mvnrepository.com/artifact/io.ktor/ktor-auth
    compile "io.ktor:ktor-auth:$ktor_version"

    // https://mvnrepository.com/artifact/io.ktor/ktor-client-apache
    compile "io.ktor:ktor-client-apache:$ktor_version"
ktor-authはOAuth2認証を使用するため、ktor-client-apacheは認証フローの際にCognitoと通信するために使用する。
Cognito
Cognitoのチュートリアルを参照する。
基本的にはデフォルト設定通りで問題ない。
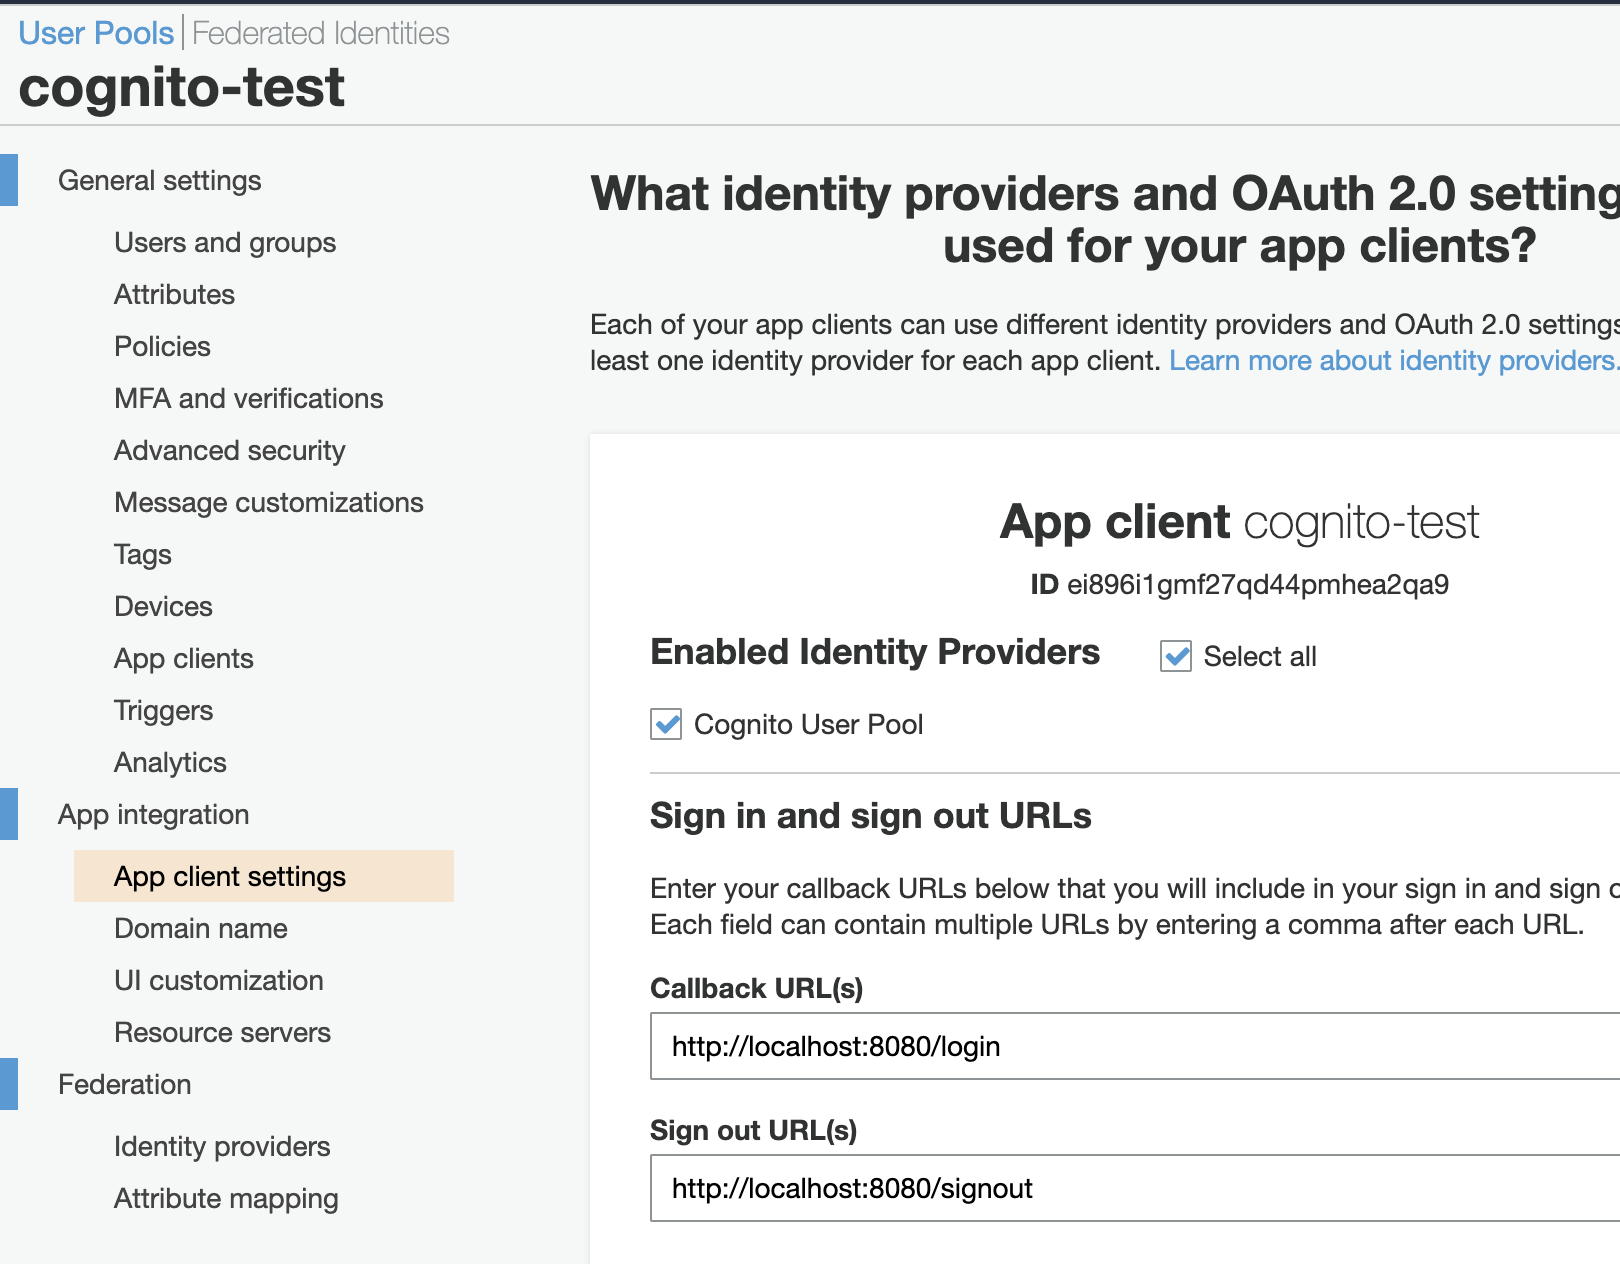
app-clientを作成後、callback urlを設定する。

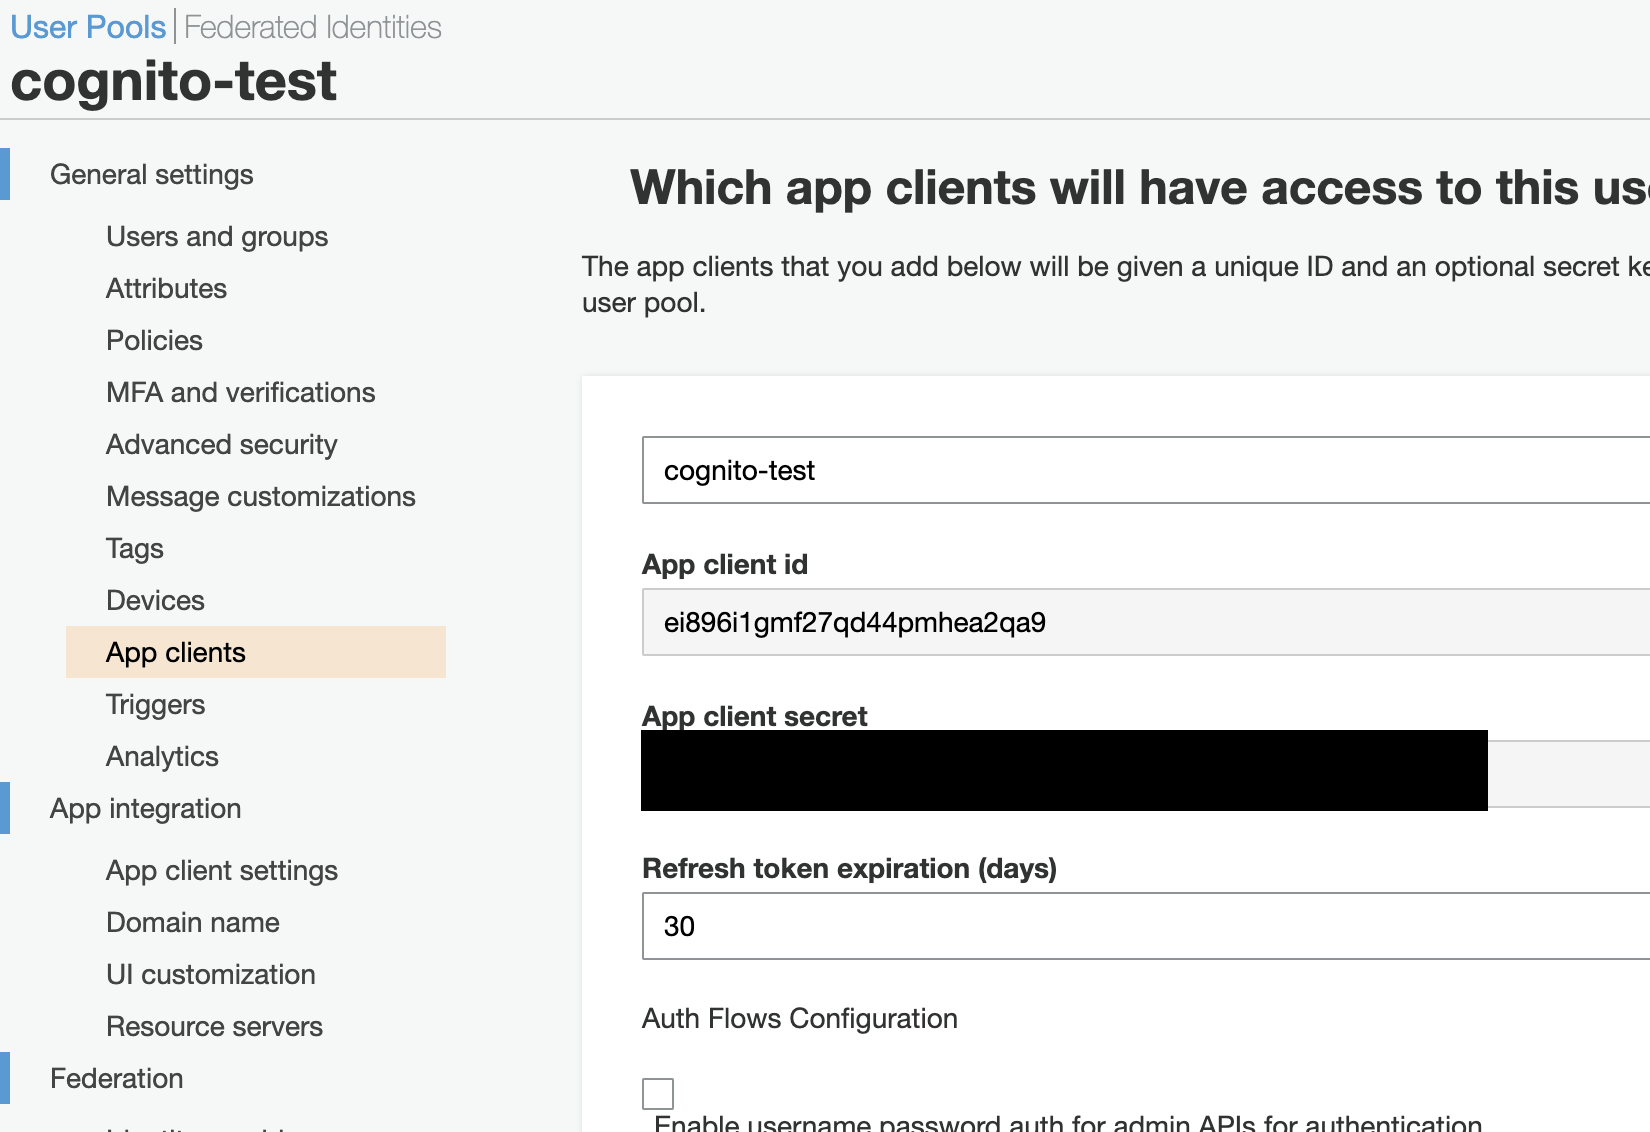
clientId,client secretを確認する。

サーバーサイド(OAuth2視点ではclient)
以下が全体のコードです。
fun Application.module(testing: Boolean = false) {
    install(Authentication) {
        oauth(COGNITO) {
            client = HttpClient()
            providerLookup = {
                val domain = getEnv("cognito.domain")
                OAuthServerSettings.OAuth2ServerSettings(
                    name = "cognito",
                    authorizeUrl = "$domain/oauth2/authorize",
                    accessTokenUrl = "$domain/oauth2/token",
                    requestMethod = HttpMethod.Post,
                    clientId = getEnv("cognito.clientId"),
                    clientSecret = getEnv("cognito.clientSecret")
                )
            }
            urlProvider = { "http://localhost:8080/login" }
        }
    }
    routing {
        authenticate(COGNITO) {
            get("/login") {
                val principal = call.authentication.principal<OAuthAccessTokenResponse.OAuth2>()
                if (principal == null) {
                    call.respondRedirect("http://localhost:8080/")
                } else {
                    val domain = getEnv("cognito.domain")
                    val client = HttpClient()
                    val result = client.get<String>("$domain/oauth2/userInfo") {
                        header("Authorization", "Bearer ${principal.accessToken}")
                    }
                    call.respondHtml {
                        body {
                            h1 { +"you are login." }
                            a { +result }
                        }
                    }
                }
            }
        }

        get("/") {
            call.respondHtml {
                head {
                    title { +"Login with" }
                }
                body {
                    h1 { +"Login with:" }
                    a(href = "/login") { +"cognito" }
                }
            }
        }
    }
}
詳細に分けて見ていきます。
OAuth2設定
    install(Authentication) {
        // 中略
    }
const val COGNITO = "cognito"
まず初めにKtorに認証機能の使用を宣言します。
        oauth(COGNITO) {
            client = HttpClient()
            providerLookup = {
                // 中略
            }
            urlProvider = { "http://localhost:8080/login" }
        }
認証module中でもOAuth2機能を使用していきます。oauth以外にもbasic,formを使用できます。
- providerLookup
Authorization Serverの設定 - urlProvider
callbackURL
            providerLookup = {
                val domain = getEnv("cognito.domain")
                OAuthServerSettings.OAuth2ServerSettings(
                    name = "cognito",
                    authorizeUrl = "$domain/oauth2/authorize",
                    accessTokenUrl = "$domain/oauth2/token",
                    requestMethod = HttpMethod.Post,
                    clientId = getEnv("cognito.clientId"),
                    clientSecret = getEnv("cognito.clientSecret")
                )
            }
Authorization Serverの設定をしていきます。基本的に引数名通りですがrequestMethodはdefaultではGetが設定sらえており今回使用するCognitoはtokenリクエストの際にPost methodを指定しているので明示的にrequestMethodを指定します。
これでOAuth2の設定は完了しました。
Routing設定
routing {
    authenticate(COGNITO) {
        get("/login") {
            // 中略
        }
    }

    get("/") {
        // 中略
    }
}
認証をかけたい場所に先ほど設定した認証名を利用してauthenticateでwrapします。/loginにアクセスした際には認証されているかどうか確認してOAuth2認証を行ってくれます。なんでもdsl記法になっているのがKtorっぽいですね。
                val principal = call.authentication.principal<OAuthAccessTokenResponse.OAuth2>()
                if (principal == null) {
                    call.respondRedirect("http://localhost:8080/")
                } else {
                    val domain = getEnv("cognito.domain")
                    val client = HttpClient()
                    val result = client.get<String>("$domain/oauth2/userInfo") {
                        header("Authorization", "Bearer ${principal.accessToken}")
                    }
                    call.respondHtml {
                        body {
                            h1 { +"you are login." }
                            a { +result }
                        }
                    }
                }
後はroute内で自動で取得されたprincipalを使用して実際に使用できるかuserInfoエンドポイントへリクエストを投げてみます。

上手くいけば上の様にユーザーの情報を取得できます。
まとめ
今回はaccess tokenを取得しただけなので実際にユーザー認証として使用するためにはjwtを使用する必要がありますが内容複雑化すると判断したので辞めました。Spring BootのOAuth2認証も試しましたがそちらより複雑さが少なく良いです。
後、HTML DSLがいいですね!。今回の様に簡単なHTMLを必要とする実装をコード上からサクッとかけると言うのはプロトタイピングがよりやりやすくなっていることを感じます。実際に個人開発で使用していますが画面フローの確認に関してはこれを使ってある程度やれるので気に入ってます。