webサーバーの知見を広げたいといった方向けの記事です。
個人的にはapacheだと簡単にサーバー構築できるけど、nginxだとできないといった状態だったので
nginxの知見を広げたかった。
環境構築はVagrantでやりました。
$vagrant init centos/7
Vagrantfileを編集
# config.vm.network "private_network", ip: "192.168.33.10"
config.vm.network "private_network", ip: "192.168.33.11"
Vagrant起動
$vagrant up
$vagarnt ssh
パッケージをアップデート
$sudo yum -y update
epelとremiのインストール
$sudo yum -y install epel-release
$sudo rpm -Uvh http://rpms.famillecollet.com/enterprise/remi-release-7.rpm
phpのインストール
$sudo yum -y install php71 php71-php-fpm php71-php-mysqlnd php71-php-opcache php71-php-xml php71-php-xmlrpc php71-php-gd php71-php-mbstring php71-php-json
シンボリックリングの設定
$sudo ln -s /usr/bin/php71 /usr/bin/php
phpのversion 確認
$php -v
PHP 7.1.33 (cli) (built: Oct 23 2019 07:59:24) ( NTS )
Copyright (c) 1997-2018 The PHP Group
Zend Engine v3.1.0, Copyright (c) 1998-2018 Zend Technologies
with Zend OPcache v7.1.33, Copyright (c) 1999-2018, by Zend Technologies
composerのインストール
$cd /vagrant
$php -r "copy('https://getcomposer.org/installer', 'composer-setup.php');"
$php composer-setup.php
$php -r "unlink('composer-setup.php');"
$sudo mv composer.phar /usr/local/bin/composer
$composer -v
   ______
  / ____/___  ____ ___  ____  ____  ________  _____
 / /   / __ \/ __ `__ \/ __ \/ __ \/ ___/ _ \/ ___/
/ /___/ /_/ / / / / / / /_/ / /_/ (__  )  __/ /
\____/\____/_/ /_/ /_/ .___/\____/____/\___/_/
                    /_/
Composer version 1.9.1 2019-11-01 17:20:17
zip unzip gitのインストール
$sudo yum -y install zip unzip git
nginxのインストール
$sudo yum -y install nginx
自動起動設定
$sudo systemctl enable nginx
起動
$sudo systemctl start nginx
nginx起動の確認

nginx 起動する方法
nginx設定ファイルの更新
$sudo vi /etc/nginx/nginx.conf
	http {
	         include /etc/nginx/default.d/*.conf;

	         location / {
	+            index index.php index.html;
	+        }
	+
	+        location ~ \.php$ {
	+            root /usr/share/nginx/html;
	+            fastcgi_pass 127.0.0.1:9000;
	+            fastcgi_index index.php;
	+            fastcgi_param SCRIPT_FILENAME $document_root$fastcgi_script_name;
	+            include fastcgi_params;
	         }
nginx再起動
$sudo systemctl restart nginx
php-fpm自動起動
$sudo systemctl enable php71-php-fpm
起動
$sudo systemctl start php71-php-fpm
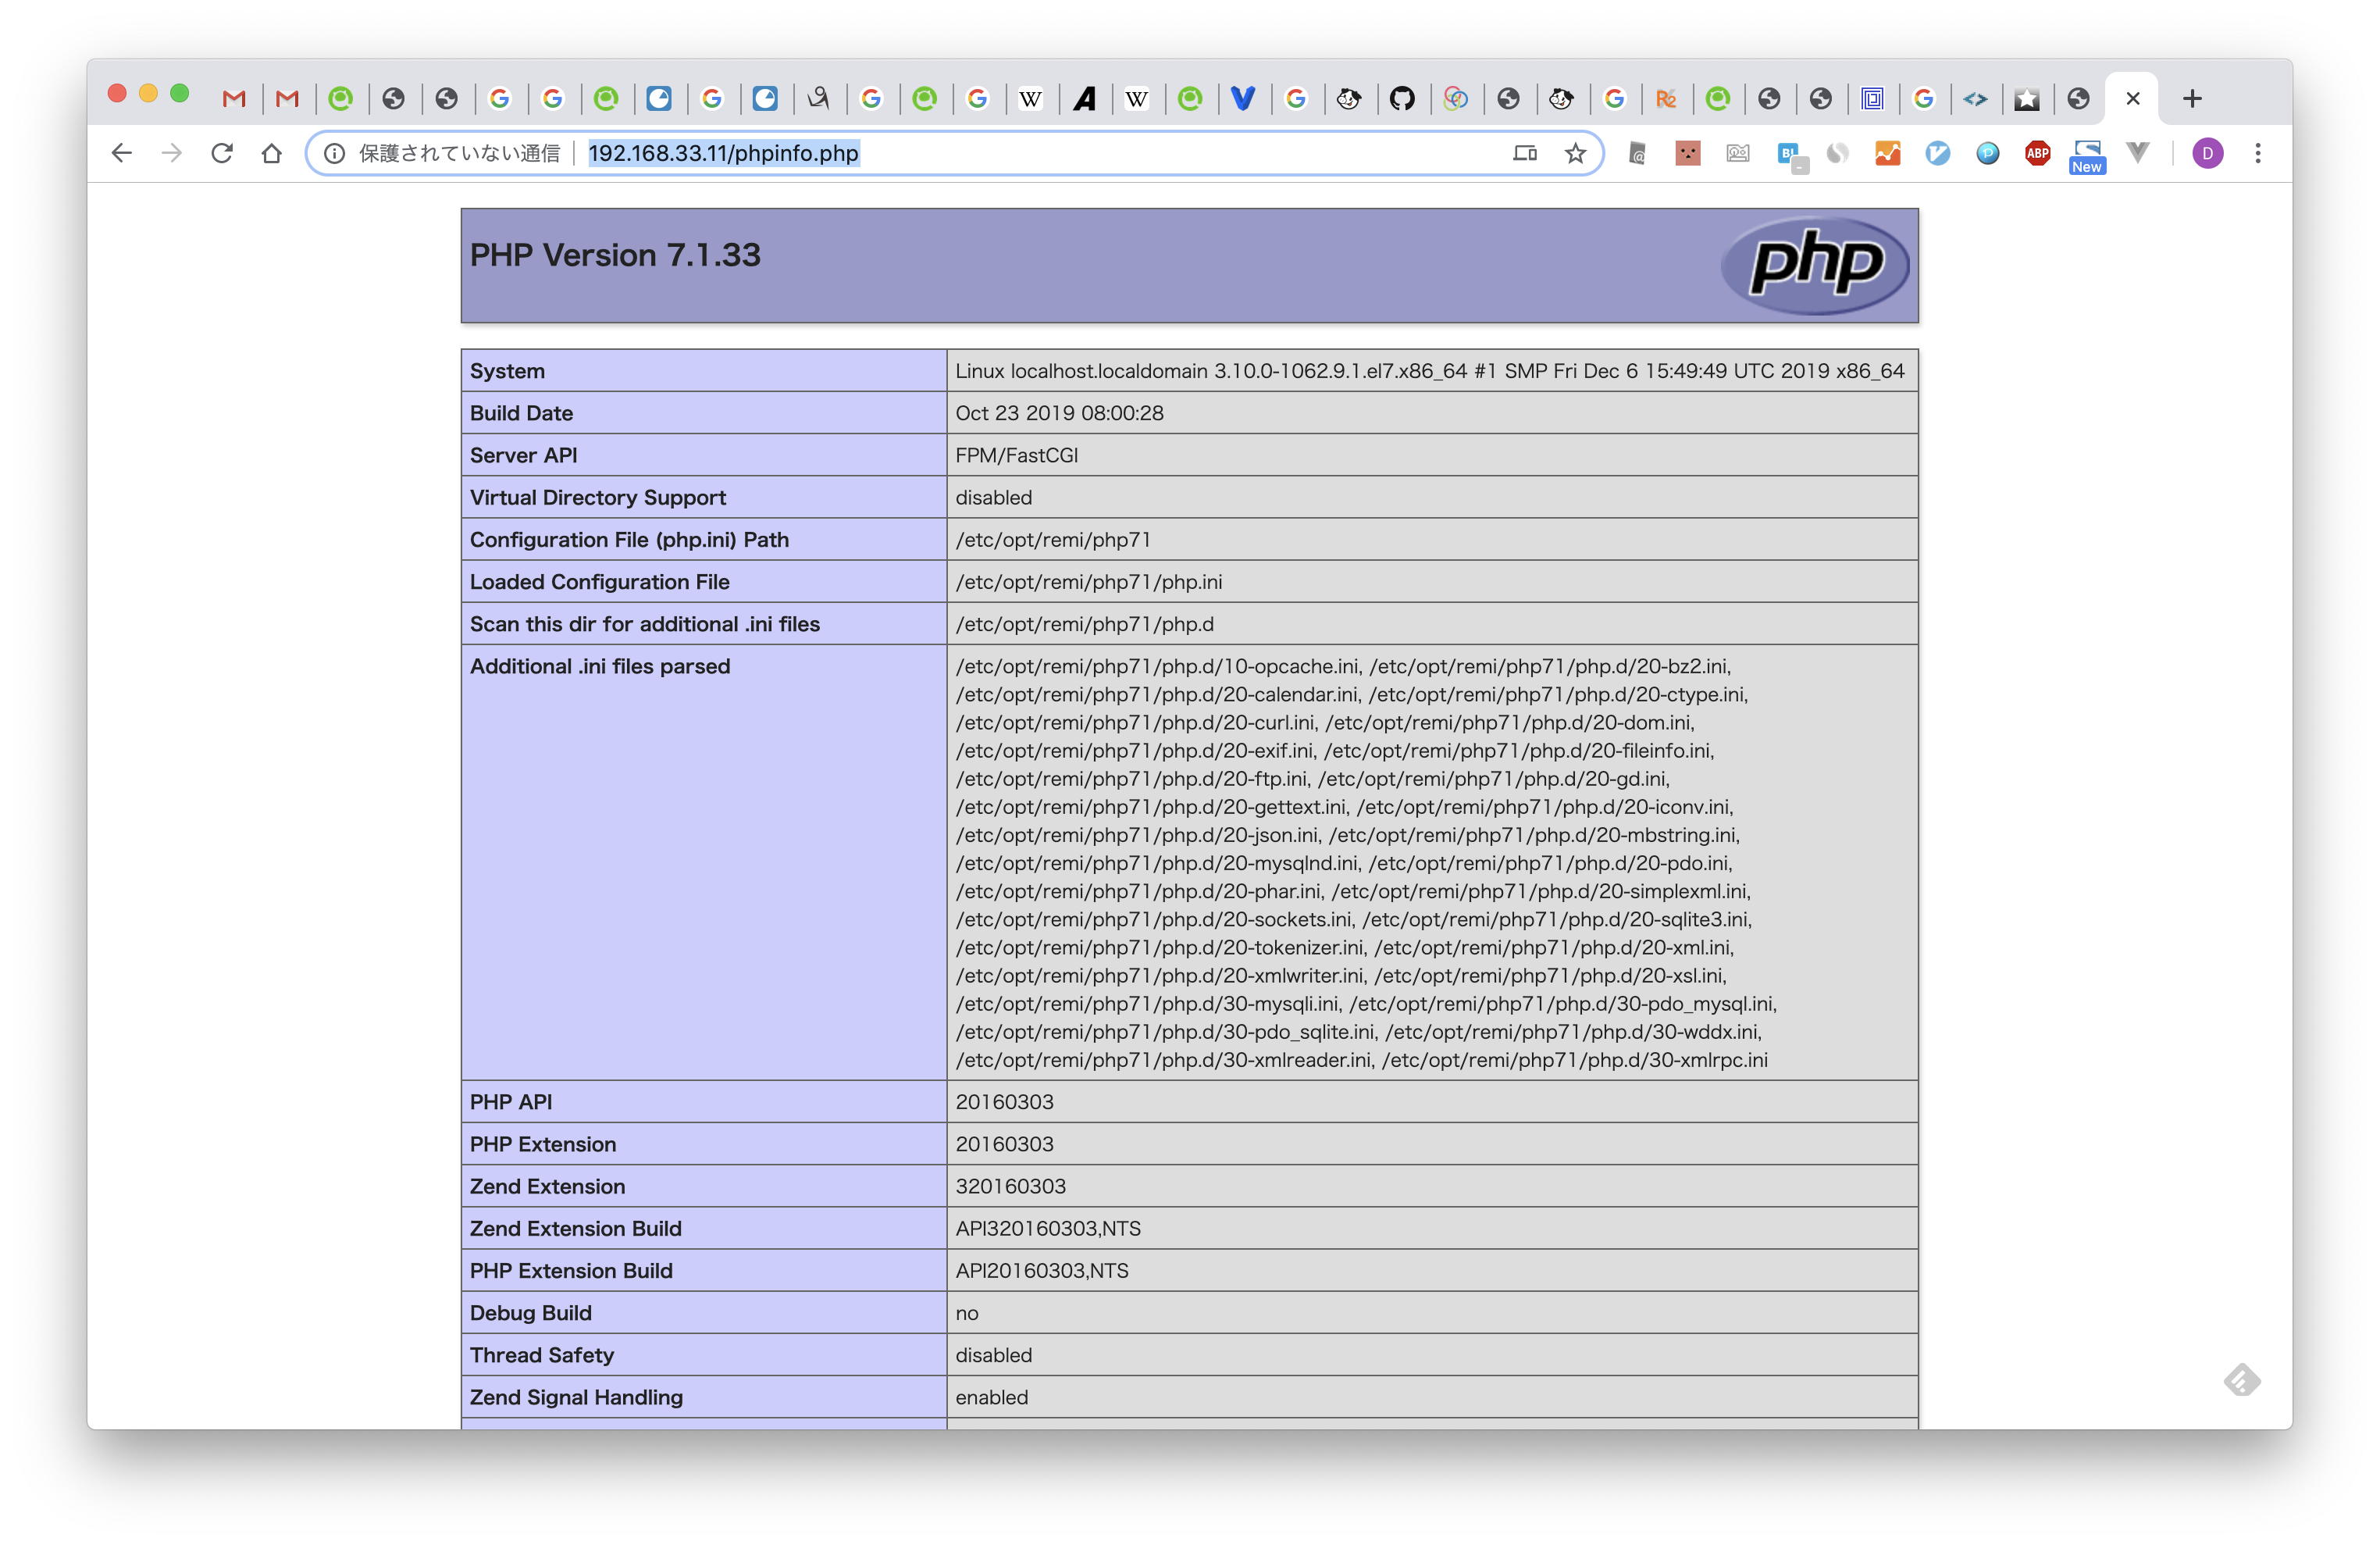
phpinfoファイル作成
$sudo sh -c "echo '<?php phpinfo();' > /usr/share/nginx/html/phpinfo.php"
phpinfoの確認
http://192.168.33.11/phpinfo.php

$cd /usr/share/nginx/html
$sudo chmod 777 .
$composer create-project --prefer-dist laravel/laravel blog "5.5.*"
そのまま開くとエラーになってしまうようなので、下記権限を与える
$cd blog
$sudo chmod 777 -R storage
storageにSELinuxの設定をする。
httpd_sys_rw_content_tタイプを設定する事で、一時的に許可。
$sudo chcon -Rv --type=httpd_sys_rw_content_t storage
初期画面が表示されたことを確認する
http://192.168.33.11/blog/public

URLとルーティングの設定
nginx.confの設定更新
$sudo vi /etc/nginx/nginx.conf
http {
         include /etc/nginx/default.d/*.conf;

         location / {
+            try_files $uri $uri/ /index.php;
             index index.php index.html;
         }

         location ~ \.php$ {
-            root /usr/share/nginx/html;
+            root /usr/share/nginx/html/blog/public;
             fastcgi_pass 127.0.0.1:9000;
             fastcgi_index index.php;
             fastcgi_param SCRIPT_FILENAME $document_root$fastcgi_script_name;
nginx再起動
$sudo systemctl restart nginx
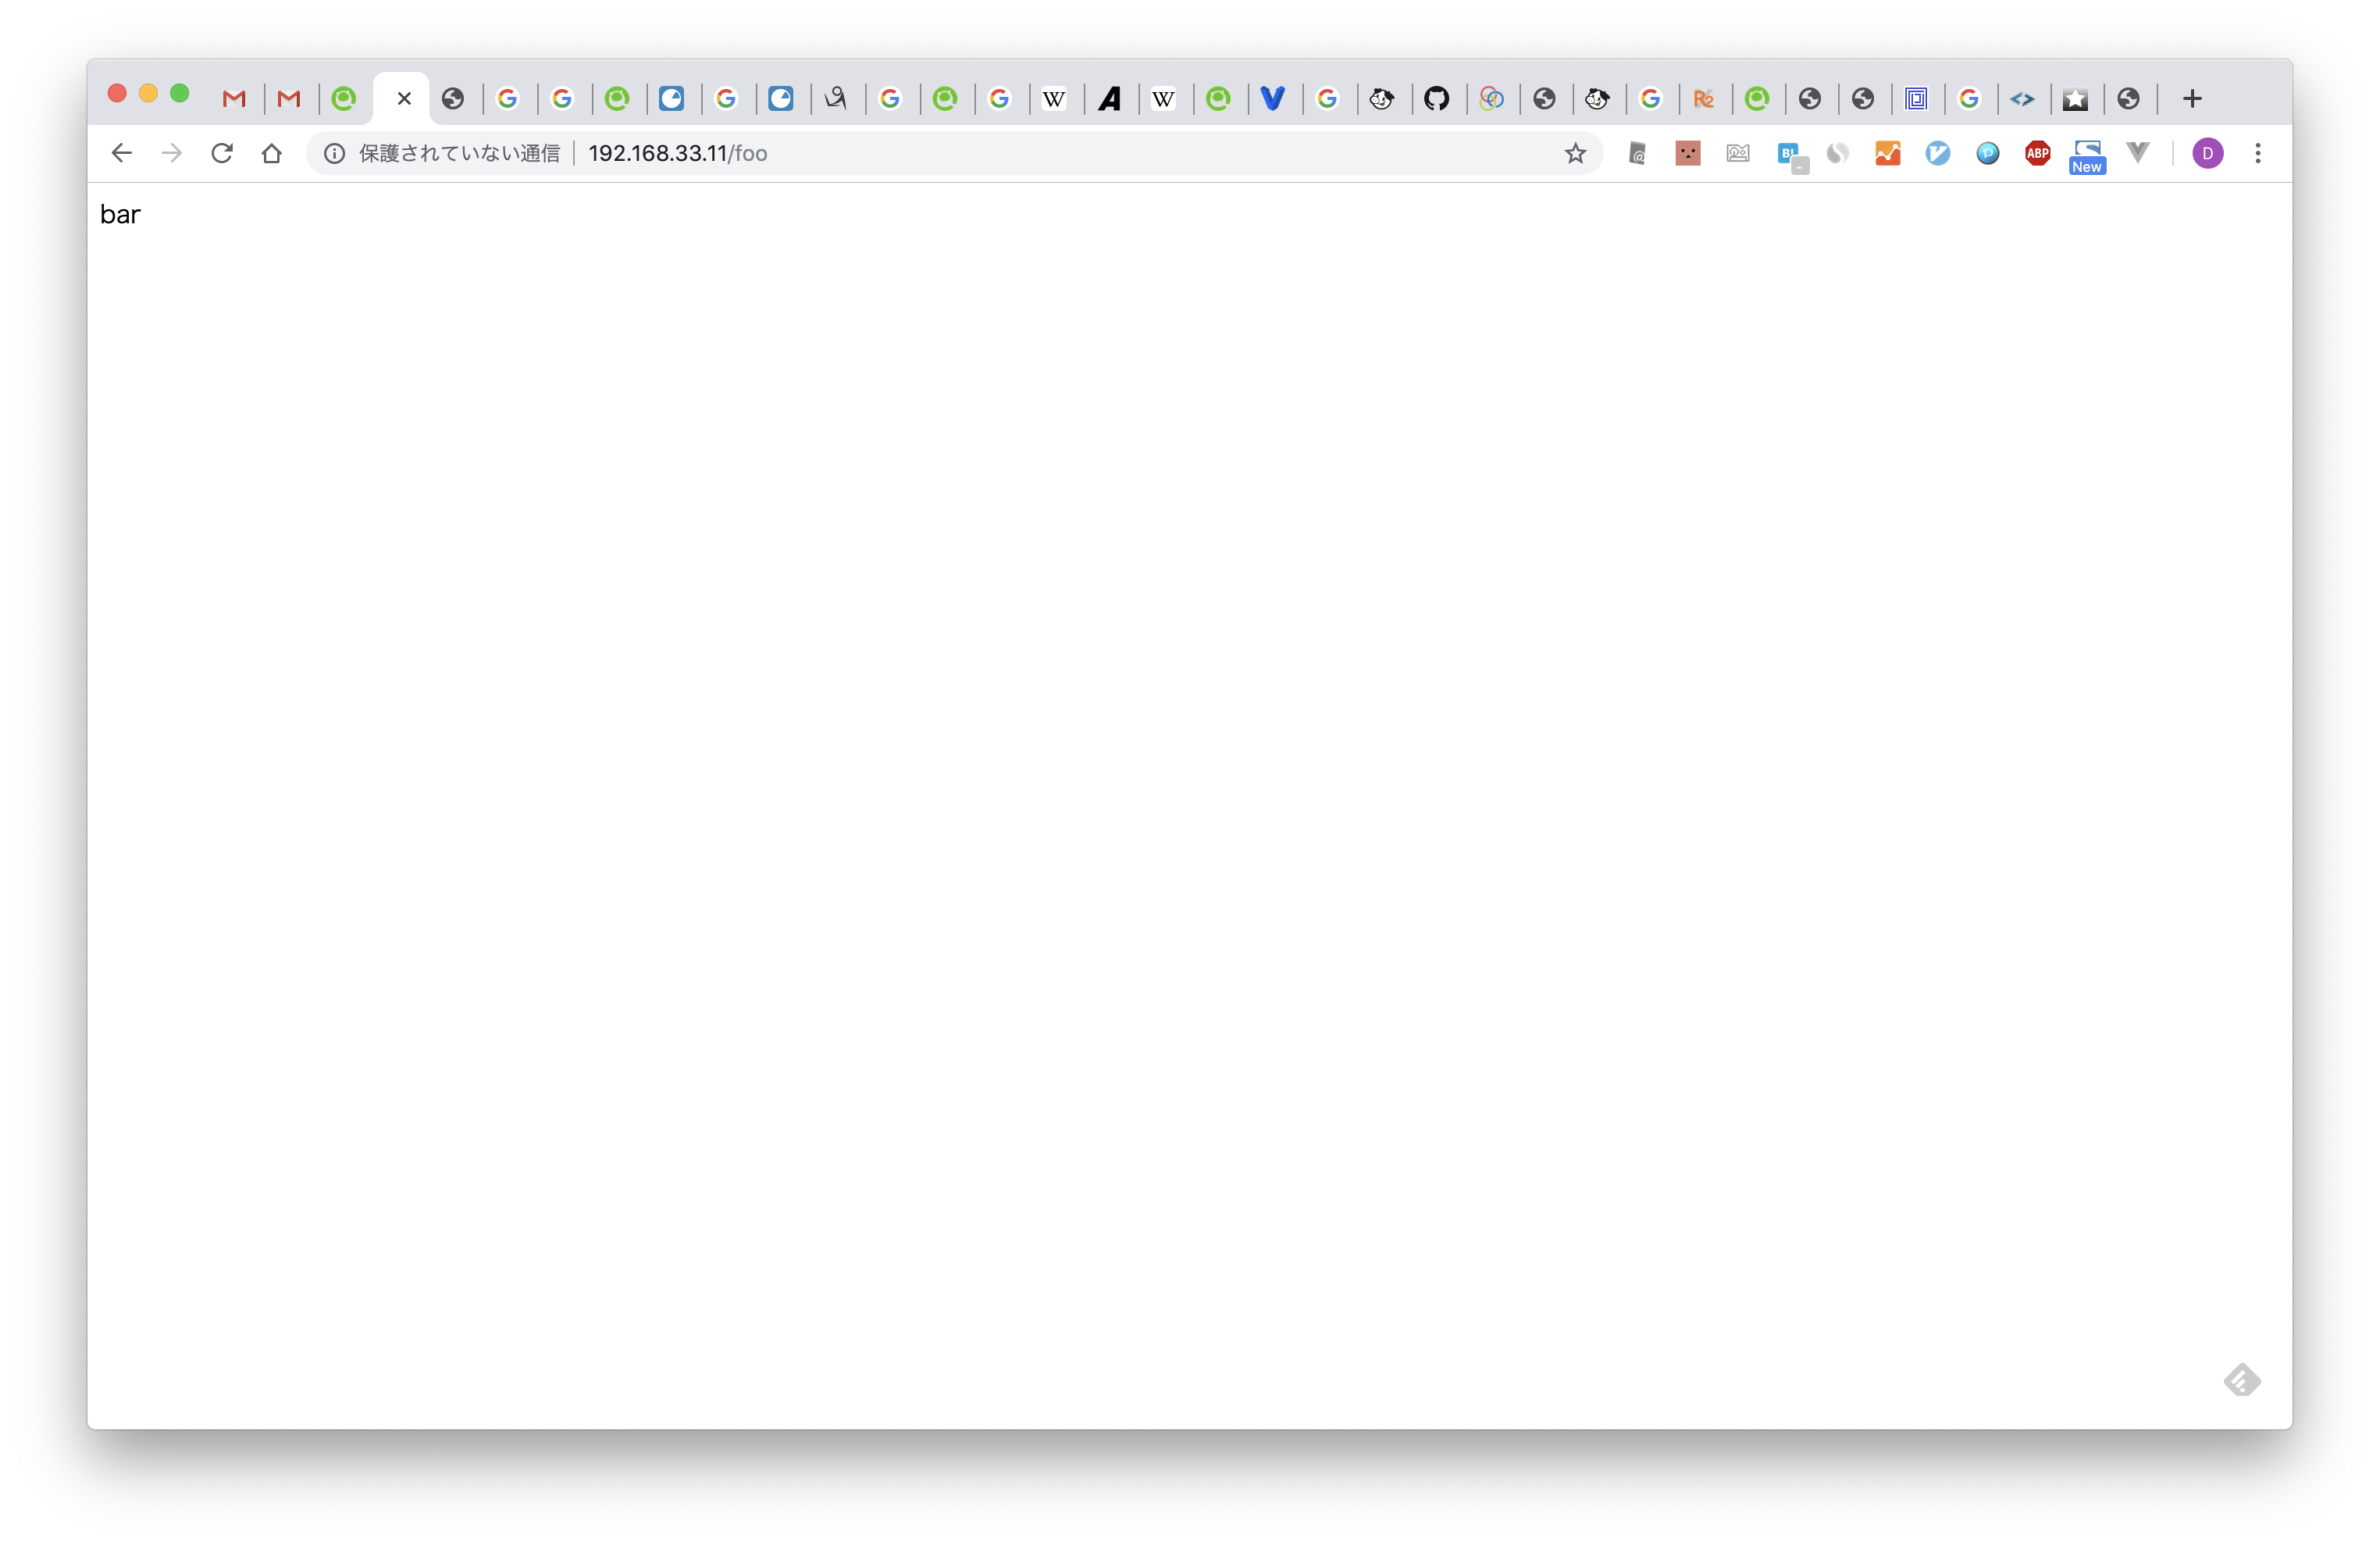
ルーティング設定を追加する
//下記を追加する
Route::get('foo', function () {
   return 'bar';
});
fooページの確認
http://192.168.33.11/foo

Unixドメインソケットで 接続で nginx 起動する方法
nginxの設定更新
$sudo vi /etc/nginx/nginx.conf
         location ~ \.php$ {
             root /usr/share/nginx/html/blog/public;
-            fastcgi_pass 127.0.0.1:9000;
+            #fastcgi_pass 127.0.0.1:9000;
+            fastcgi_pass unix:/var/run/php71-fpm.sock;
             fastcgi_index index.php;
             fastcgi_param SCRIPT_FILENAME $document_root$fastcgi_script_name;
             include fastcgi_params;
php-fpmの設定
$sudo vi /etc/opt/remi/php71/php-fpm.d/www.conf
-user = apache
+user = nginx

-group = apache
+group = nginx

-listen = 127.0.0.1:9000
+listen = /var/run/php71-fpm.sock

-;listen.owner = nobody
-;listen.group = nobody
-;listen.mode = 0660
+listen.owner = nginx
+listen.group = nginx
+listen.mode = 0660
fooページの確認
http://192.168.33.11/foo
参考文献
CentOS 7 に PHP 7.1 を yum でインストールする手順
https://weblabo.oscasierra.net/centos7-php71-install/
VagrantでCentOS7、nginx、php7.2、MySql 8、Laravel 5.7、TypeScript、react、redux、redux-saga、の環境をググりながら作成してみた
https://qiita.com/okumurakengo/items/4b54f12f33d2ba59d8a8