[Pebblewatch]スマートウォッチでプレゼン操作する
- 最初に
- applescriptを使う
- Pythonからapplescriptを呼び出す
- Flaskで簡単なAPIを実装
- pebbleからURLをたたく
最初に
自分が持っているPebbleでプレゼンを操作すればカッコいいんじゃないかと思い、なんとかスライド操作できないもんかなと思っていました。そしてついに今回のApplescriptを用いた手軽な方法に辿り着けたので紹介します。
今回の仕組みは
Pebble -> Smartphone -> Macbook -> applescript -> キー入力
という感じです。
applescriptを使う
プログラミングでキー入力やプログラムの操作方法としてapplescriptというのがありました。今回はこのMacでapplescriptを使った手法を紹介していきますがWindowsではsendkeyというものがあるみたいです。
- applescriptでPowerpointのプレゼン起動
tell application "Microsoft PowerPoint"
	set slideShowSettings to slide show settings of active presentation
	run slide show slideShowSettings
end tell
- Powerpointの起動も含めると
tell application "Microsoft PowerPoint"
    activate
    open "/Users/Hoge/pppp.ppt"
    set slideShowSettings to slide show settings of active presentation
    run slide show slideShowSettings
end tell
- Key 入力
tell application "System Events"
	key code 124
end tell
キー入力はSystem Eventsに送ります。文字入力は
keystroke "a"
keystroke "abc"
Command + f, Control + Command + f, RightArrowなどは
keystroke "f" using {control down, command down}
key code 124
などとなります。キーコード124は→キーとなります。
キーコード一覧はこちら
このようにApplescriptを使いこなせればPCを自由に操作することができます。
Pythonからapplescriptを呼び出す
上で紹介したApplescriptは osascript というコマンドでコマンドラインから呼べます。
$ osascript -e 'tell application "System Events"
    keystroke "hoge"
    end tell'
これをPythonコードにすると
import os
cmd = """
osascript -e 'tell application "System Events"
    keystroke "hoge"
    end tell'
    """
os.system(cmd)
py-applescriptというライブラリもありますが、これを使うとアクティブウィンドウが一度外れちゃうので今回つかいません。
Flaskで簡単なAPIを実装
Flaskを用いて簡単なAPIサーバをローカルに建てます。
FlaskはPythonの手軽なフレームワークです。
まずはpipコマンドでFlaskをインストールします。
pip install flask
サーバアプリを書きます。
from flask import Flask
import os

# configuration
SECRET_KEY = 'pebbly'

# create our little application :)
app = Flask(__name__)
app.config.from_object(__name__)

# Powerpointで開いているプレゼンのスライドショーを起動する
# /slideshow
@app.route('/slideshow')
def slideshow():
    cmd = """
    osascript -e '
    tell application "Microsoft PowerPoint"
    set slideShowSettings to slide show settings of active presentation
    run slide show slideShowSettings
    end tell'
    """
    os.system(cmd)
    print "Go slideshow"
    return "ok"

# RightArrow入力、スライド進む
# /right
@app.route('/right')
def goright():
    cmd = """
    osascript -e 'tell application "System Events"
    key code 124
    end tell'
    """
    os.system(cmd)
    print "Go right"
    return "ok"

# LeftArrow入力、スライド戻る
# /left
@app.route('/left')
def goleft():
    cmd = """
    osascript -e 'tell application "System Events"
    key code 123
    end tell'
    """
    os.system(cmd)
    print "Go left"
    return "ok"

@app.route('/')
def index():
    return "pebbleFlask server running."

if __name__ == '__main__':
    app.run(debug=True, host="0.0.0.0")
そしてこれを起動するだけでローカルにプレゼンを操作するAPIサーバが立ちます。
$ python pebbleFlask.py
 * Running on http://0.0.0.0:5000/
 * Restarting with reloader
これでブラウザからもしくはコマンドラインから "localhost:5000/slideshow" にアクセスしてみてください。Powerpointで開いているスライドが全画面になります。
同じネットワーク内なら他のPCやスマホからでもアクセスできます。
curl 192.168.x.x:5000/slideshow
curl 192.168.x.x:5000/right
pebbleからURLをたたく
今回はPebbleから自分のローカルのAPIサーバにURLをたたくことでスライドの操作をします。
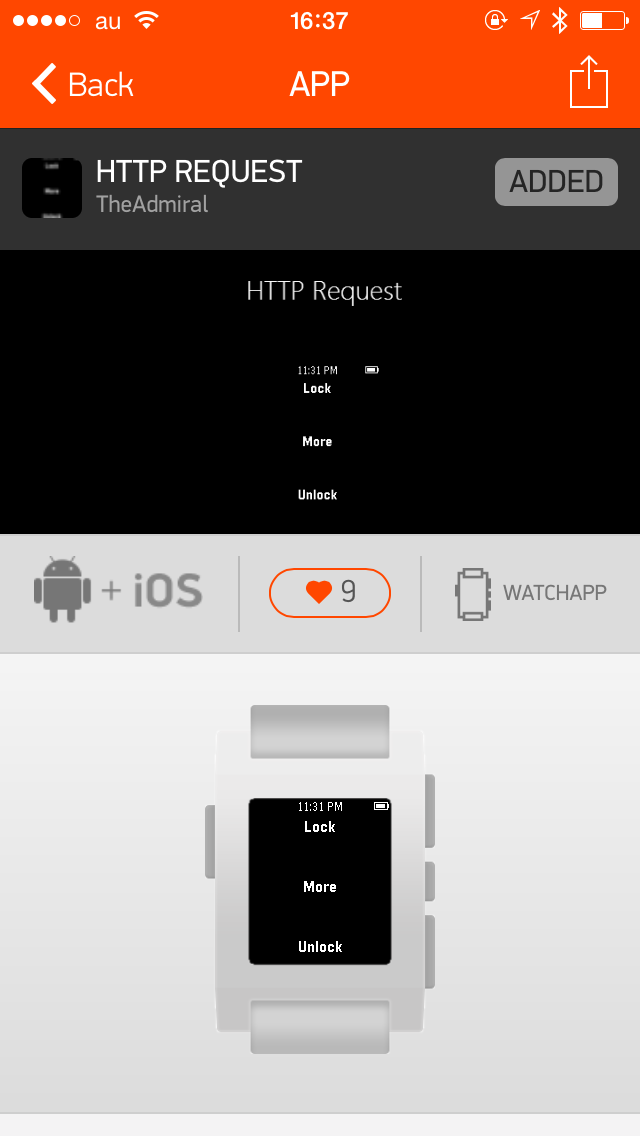
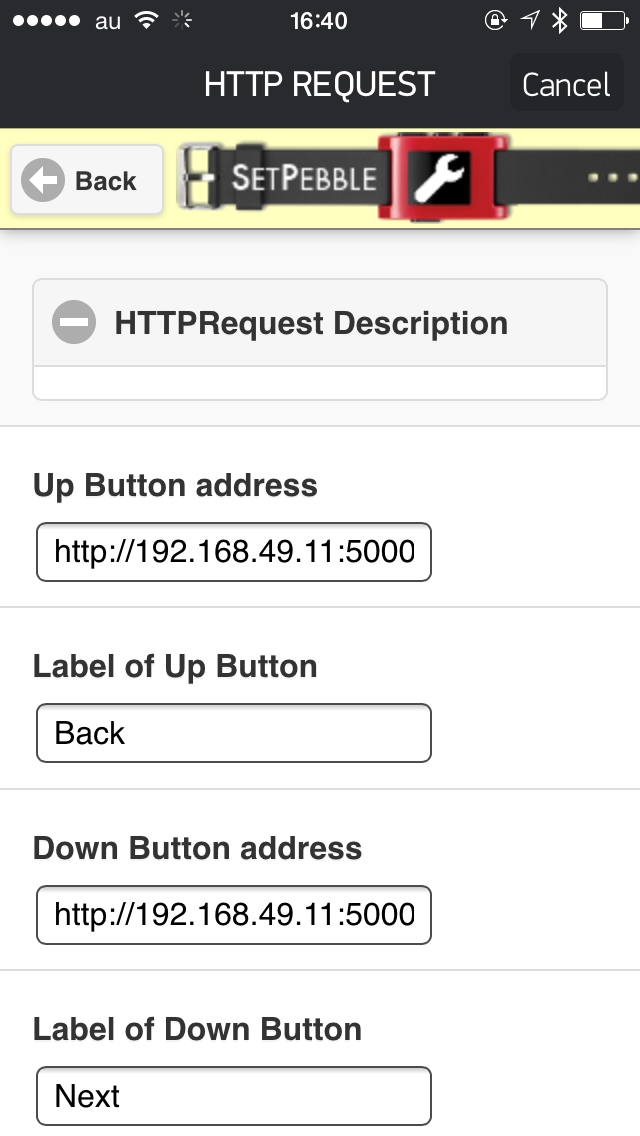
PebbleにHTTP Requestというアプリをインストールして各ボタンに設定したい機能のURLを打ち込んであげます。
自分のPebbleとペアリングしているスマホとローカルPCが同じネットワーク内にいないとだめです。
ボタンを設定したらPebbleの上下のボタンでスライド進めたり、戻したりできます。ただネットワークが変わればURLを打ち直す必要があるのが少々手間ですね。
最後に
これで完成です。applescriptを使えばキー入力やPC操作なんでもできそうです。これをPython FlaskのWebサーバにつなぐことでAPI形式でどんなデバイスからでもアクセスできます。Smartwatch、スマホのブラウザ、他のウェアラブルデバイスでいろいろな操作ができます。
そしてapplescriptの部分を書き換えれば様々なアクションを起こすことができます。みなさんも思いついたアプリを書いてみてください。
追記
Gitにコードを公開しました。スマホのブラウザからも操作ができるHtmlページも実装してあります。
https://github.com/giga811/PebbleControl

