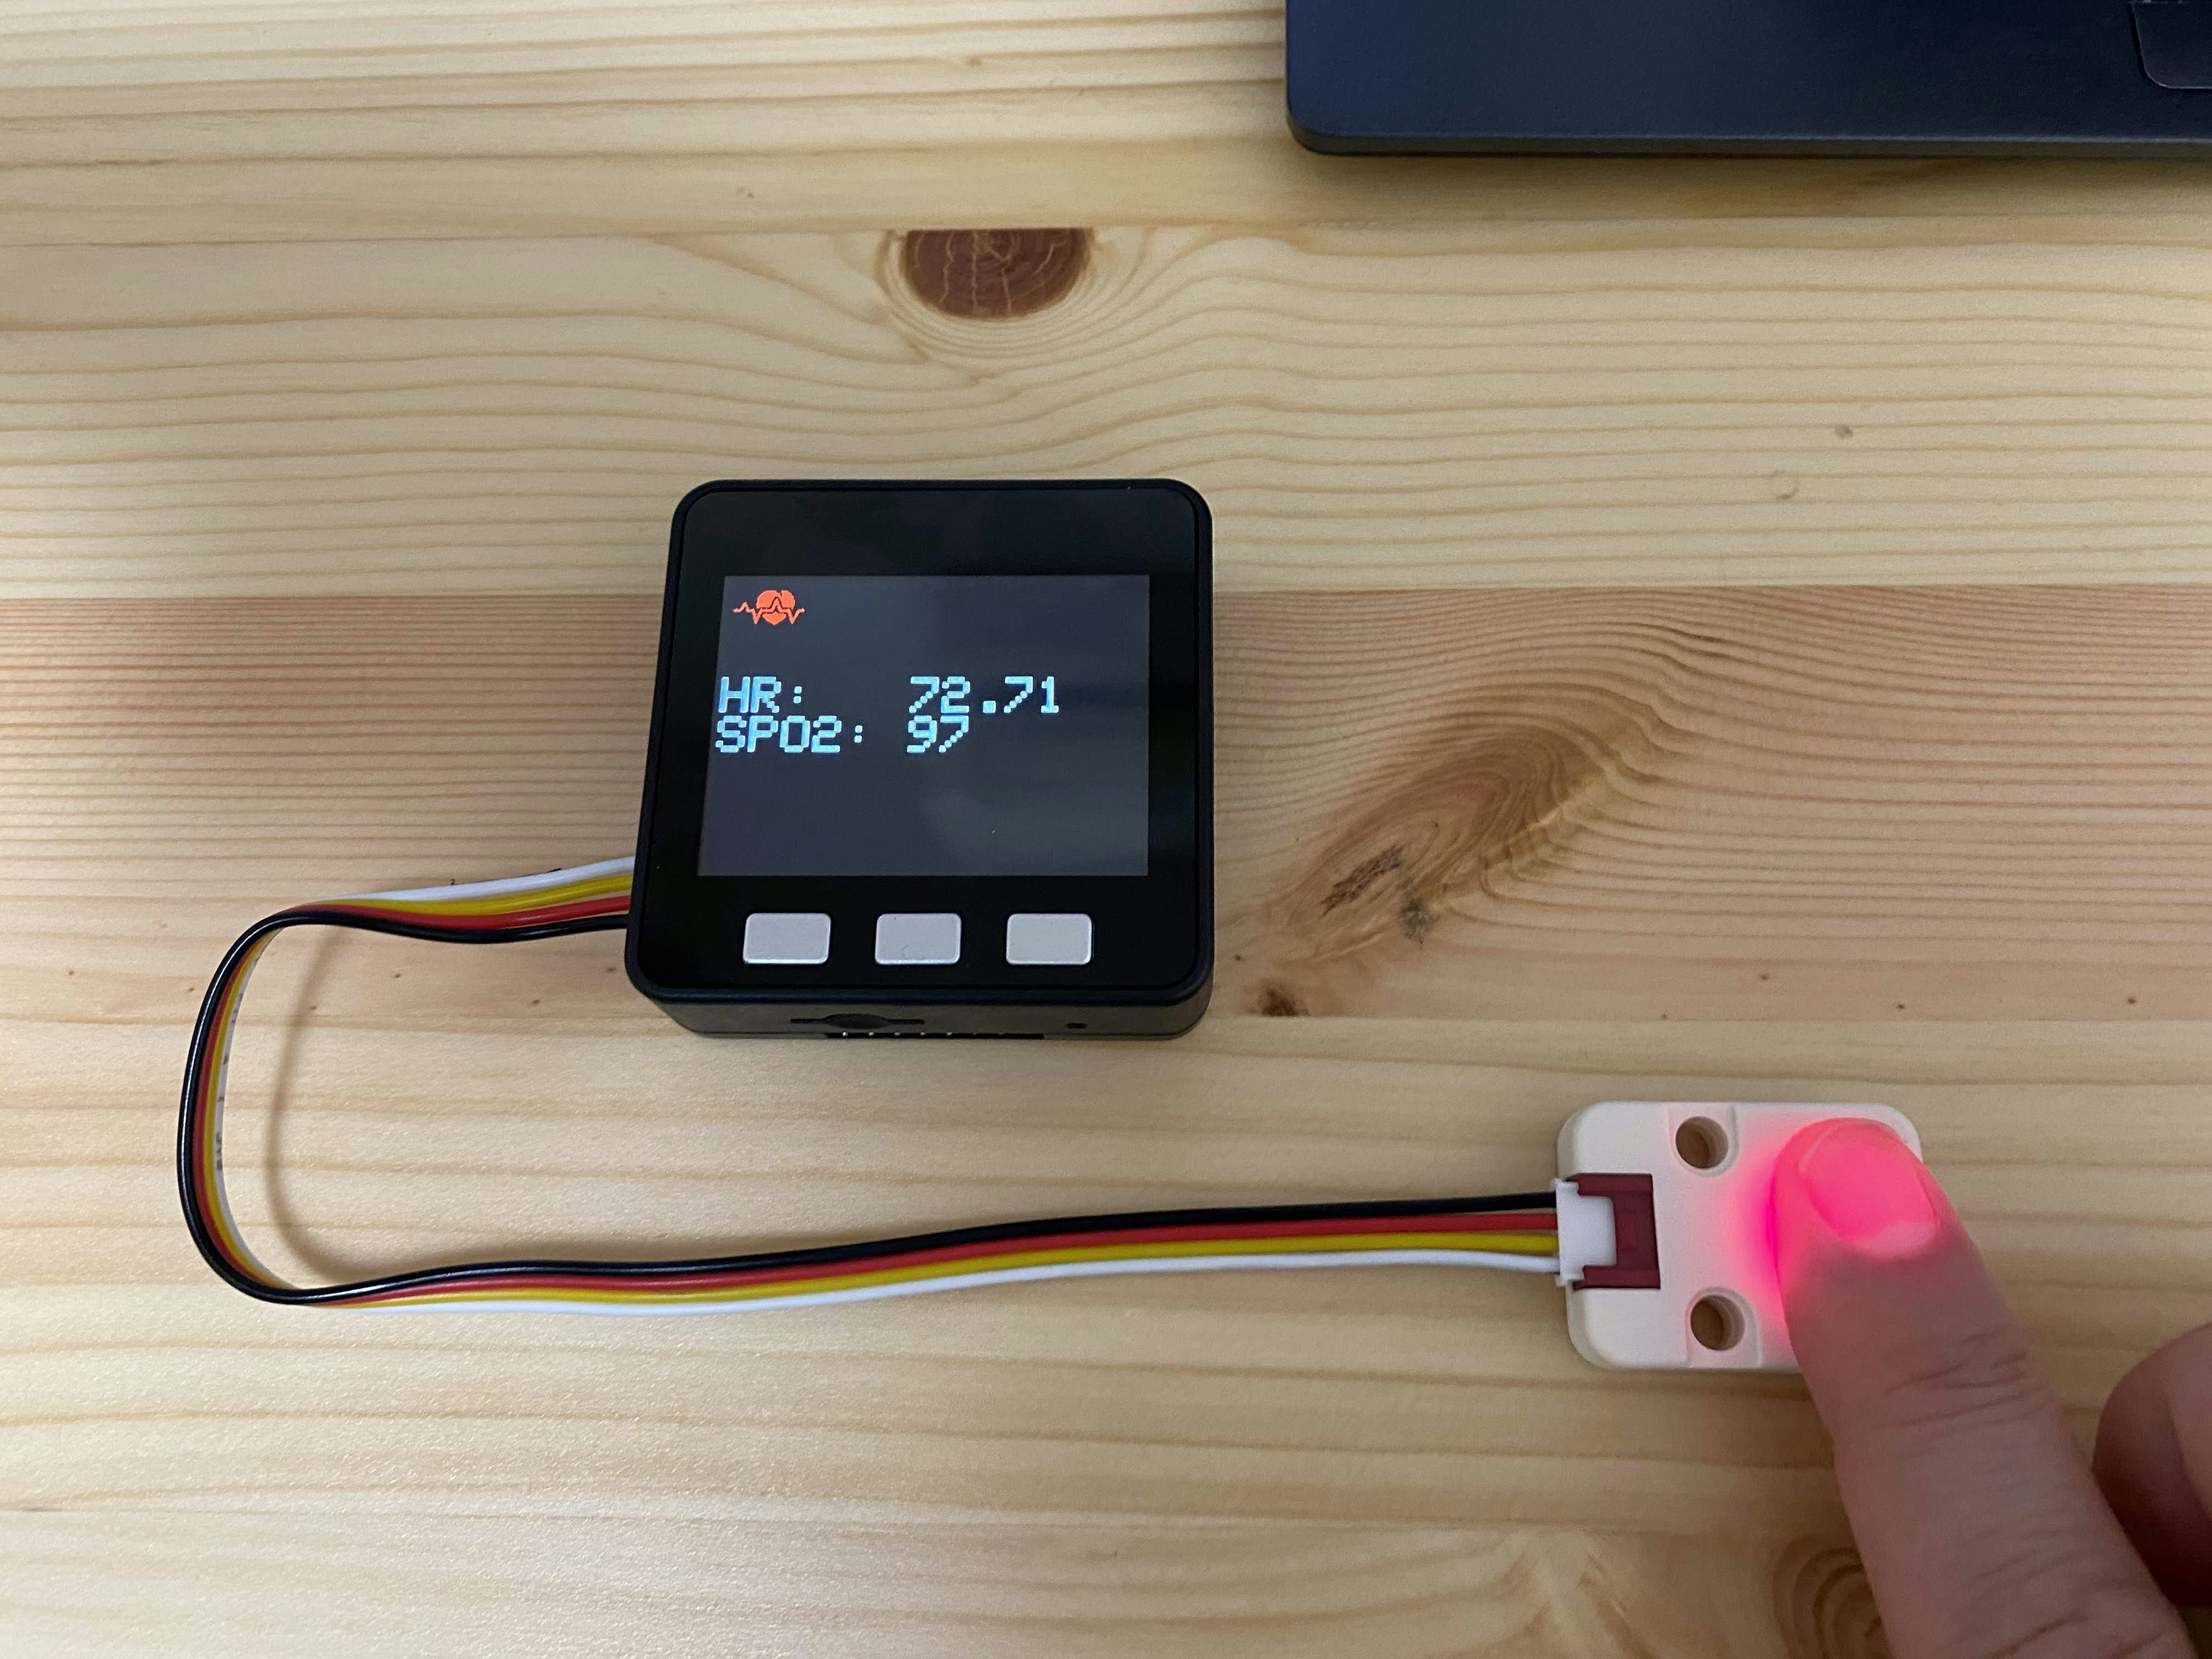
こちらに続いて、M5Stack純正の心拍・血中酸素センサ(Mini Heart Rate Unit)が入手できたので、試してみました。
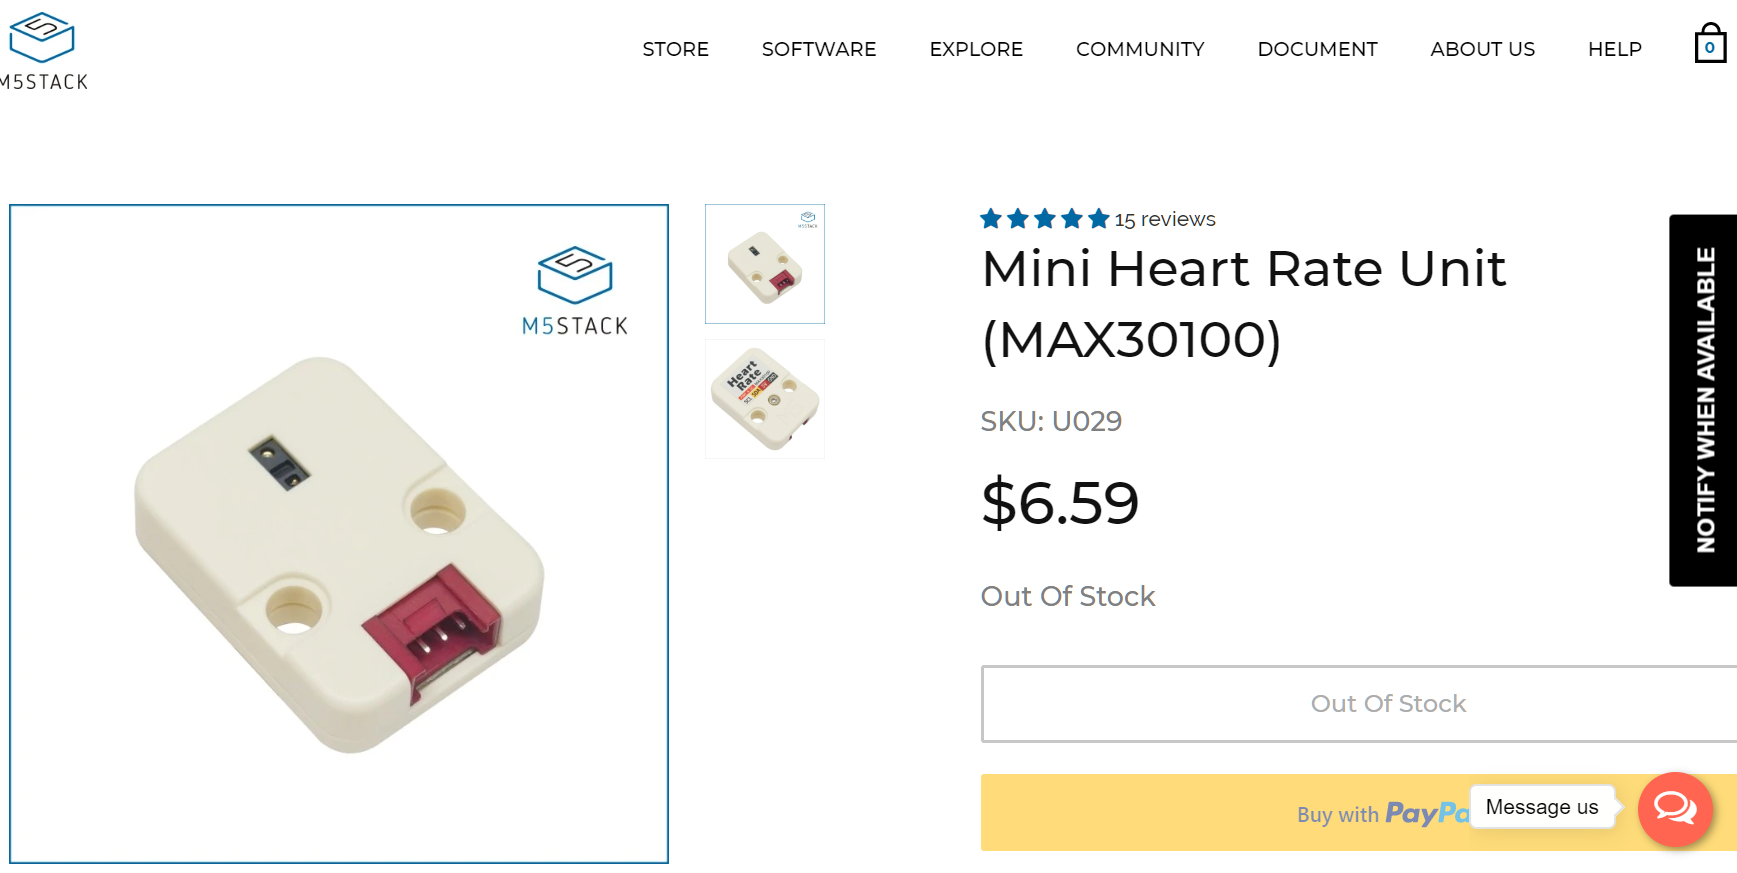
@nkgatewayさんから、MAX3010xシリーズによる違いをご指摘いただいたので、おさらいしておきます。上記センサはMAX30100チップが搭載しているのに対して、先の記事で使ったGAOHOU(中国製)のMAX30100開発ボードセンサは、MAX30102チップが搭載されています。このチップの違いによるArduinoのライブラリも変わってきます。
| 搭載チップ | Part ID | Arduinoライブラリ | |
|---|---|---|---|
 |
MAX30102 | 0x15 | SparkFun MAX3010x Sensor Library |
 |
MAX30100 | 0x11 | Arduino MAX30100lib |
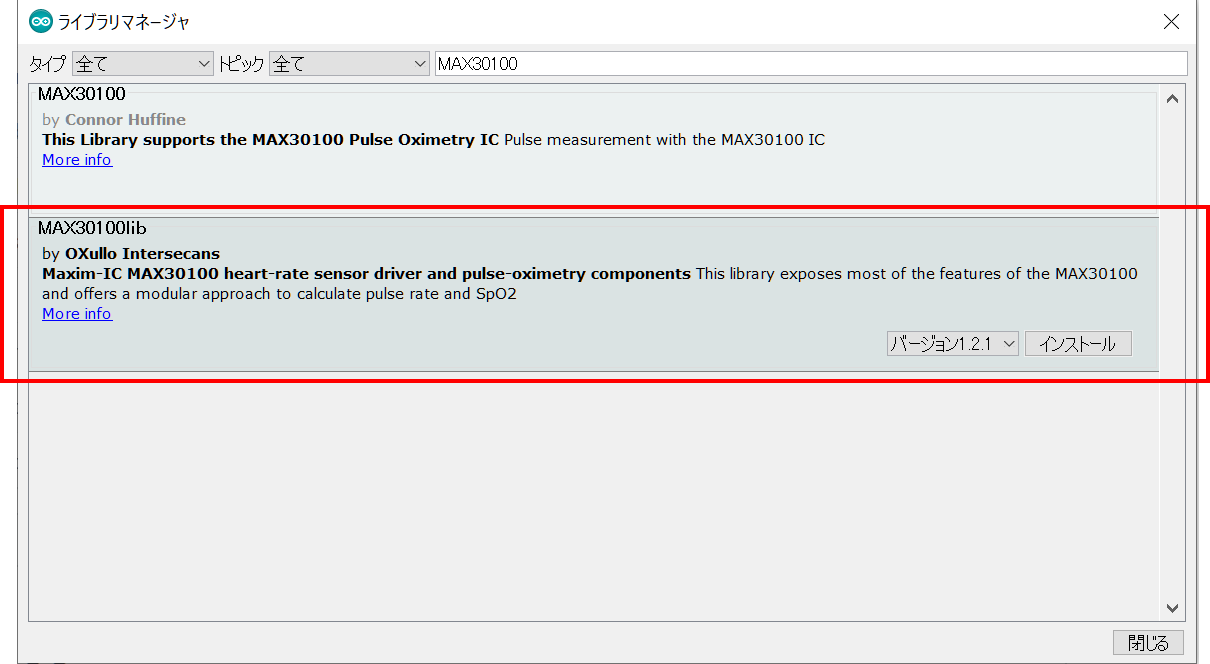
MAX30100libを使う
Arduino IDEのライブラリマネージャーで追加する事ができます。
このライブラリを使えば、PulseOximeterクラスオブジェクト生成後、begin()関数で初期化、getHeartRate()で心拍、getSpO2()で血中酸素を取得できます。
また、setOnBeatDetectedCallback(Callback関数ポインタ)で心拍検知をした時にコールバック関数を呼び出すことが可能です。
ソースコード
Sigfox通信部分を省いたコードは下記の通りとなります。
max30100.c
# include <M5Stack.h>
# include <Wire.h>
# include "MAX30100_PulseOximeter.h"
# include "xbm.h"  //my bitmap

# define REPORTING_PERIOD_MS     1000

PulseOximeter pox;
uint8_t Heart_rate = 0;
uint8_t Spo2 = 0;
uint32_t tsLastReport = 0;

// Callback (registered below) fired when a pulse is detected
void onBeatDetected()
{
  printHRandSPO2(true);
}

void setup()
{
  Serial.begin(115200); // to PC via USB

  M5.begin();
  M5.Power.begin();
  M5.Lcd.clear(BLACK);
  M5.Lcd.setTextSize(4);

  // Initialize sensor
  if (!pox.begin()) {
    M5.Lcd.println("FAILED");
    for(;;);
   } else {
    M5.Lcd.println("SUCCESS");
  }

  //LED Configuration
  pox.setIRLedCurrent(MAX30100_LED_CURR_7_6MA);
  //Register a callback for the beat detection
  pox.setOnBeatDetectedCallback(onBeatDetected);
}

void loop()
{
  M5.update();  //update button state
  pox.update(); //update pulse oximeter

  if (millis() - tsLastReport > REPORTING_PERIOD_MS) {
    Heart_rate = (int)pox.getHeartRate();
    Spo2 = pox.getSpO2();
    printHRandSPO2(false);
    tsLastReport = millis();
  }
}

void printHRandSPO2(bool beat)
{
  M5.Lcd.fillScreen(BLACK);
  M5.Lcd.setTextColor(WHITE);
  M5.Lcd.setTextSize(4);
  if (beat) {
    M5.Lcd.drawXBitmap(0, 5, hb2_bmp, 64, 32, TFT_RED);
  } else {
    M5.Lcd.drawXBitmap(0, 5, hb1_bmp, 64, 32, TFT_WHITE);
  }
  M5.Lcd.setCursor(0,70);
  M5.Lcd.print("HR:   "); M5.Lcd.println(Heart_rate);
  M5.Lcd.print("SPO2: "); M5.Lcd.println(Spo2);
}
GitHub上にソースコードをアップしておきます。画像情報(XBM)用のファイルもありますので、そのままお使いいただけると思います。
動作確認
安定度は疑問が残るものの、心拍が70bmp前後で取得でき、血中酸素濃度も90%後半で取れています。