Sigfox Coverage Mapは、タイルレイヤーですので、簡単にGoogle Maps APIにも埋め込むことができます。
Sigfox Coverage Mapとは
Sigfox社が、地図アプリケーションやWebサイトに埋め込むことを目的にAPI提供しているカバレッジマップです。
下記のURLでタイル画像を取得できます。
https://tiles.sigfox.com/{TOKEN}/{z}/{x}/{y}.png
TOKENの取得
地図を取得するためのトークンです。有効期限は72時間ですので、適時更新する必要があります。
トークンを取得する方法は、下記URLでGETリクエストをします。
https://api.sigfox.com/v2/tiles/public-coverage
応答は、下記のようなJSONになっていますので、
{
 "baseImgUrl":"https://tiles.sigfox.com/***",
 "tmsTemplateUrl":"https://tiles.sigfox.com/***/{z}/{x}/{y}.png",
 "bounds":{"sw":{"lat":-80.0,"lng":-180.0},"ne":{"lat":80.0,"lng":180.0}}
}
この***部分がトークンになります。
タイル画像の読み込み
トークンを取得すれば、先ほど説明したSigfox TilesサーバURLの{TOKEN}部分に取得したトークンを貼り付け、画像タイルに対応した地図アプリケーションから呼び出すだけとなります。
Google Maps APIでタイル画像レイヤを追加する
まずは、基本的なGoogle Maps Javascript APIで、地図をWebブラウザ上に表示してみます。
サンプルコードは、Google社提供のチュートリアル(こちら)をそのまま使ってみます。念のためソースコードは下記の通りです。
<!DOCTYPE html>
<html>
  <head>
    <title>Simple Map</title>
    <meta name="viewport" content="initial-scale=1.0">
    <meta charset="utf-8">
    <style>
      /* Always set the map height explicitly to define the size of the div
       * element that contains the map. */
      #map {
        height: 100%;
      }
      /* Optional: Makes the sample page fill the window. */
      html, body {
        height: 100%;
        margin: 0;
        padding: 0;
      }
    </style>
  </head>
  <body>
    <div id="map"></div>
    <script>
      var map;
      function initMap() {
        map = new google.maps.Map(document.getElementById('map'), {
          center: {lat: 35.6384, lng: 139.7343},
          zoom: 8
        });
      }
    </script>
    <script src="https://maps.googleapis.com/maps/api/js?key=YOUR_API_KEY&callback=initMap"
    async defer></script>
  </body>
</html>
Sigfox Coverage Tileレイヤを追加する
上記サンプルコードのinitMap()内に下記コードを追加してください
var tileLayer = new google.maps.ImageMapType({
  name: 'SigfoxCoverage',
  getTileUrl: function(coord, zoom) {
    var url = 'https://tiles.sigfox.com/{TOKEN}/{z}/{x}/{y}.png'
              .replace('{x}', coord.x)
              .replace('{y}', coord.y)
              .replace('{z}', zoom);
    return url;
  },
  tileSize: new google.maps.Size(256, 256),
  opacity: 0.7
});
map.overlayMapTypes.insertAt(0, tileLayer);
opacityは追加する画像タイルレイヤーの透過度です。これを設定しないと、背景地図が見えなくなるので注意してください。
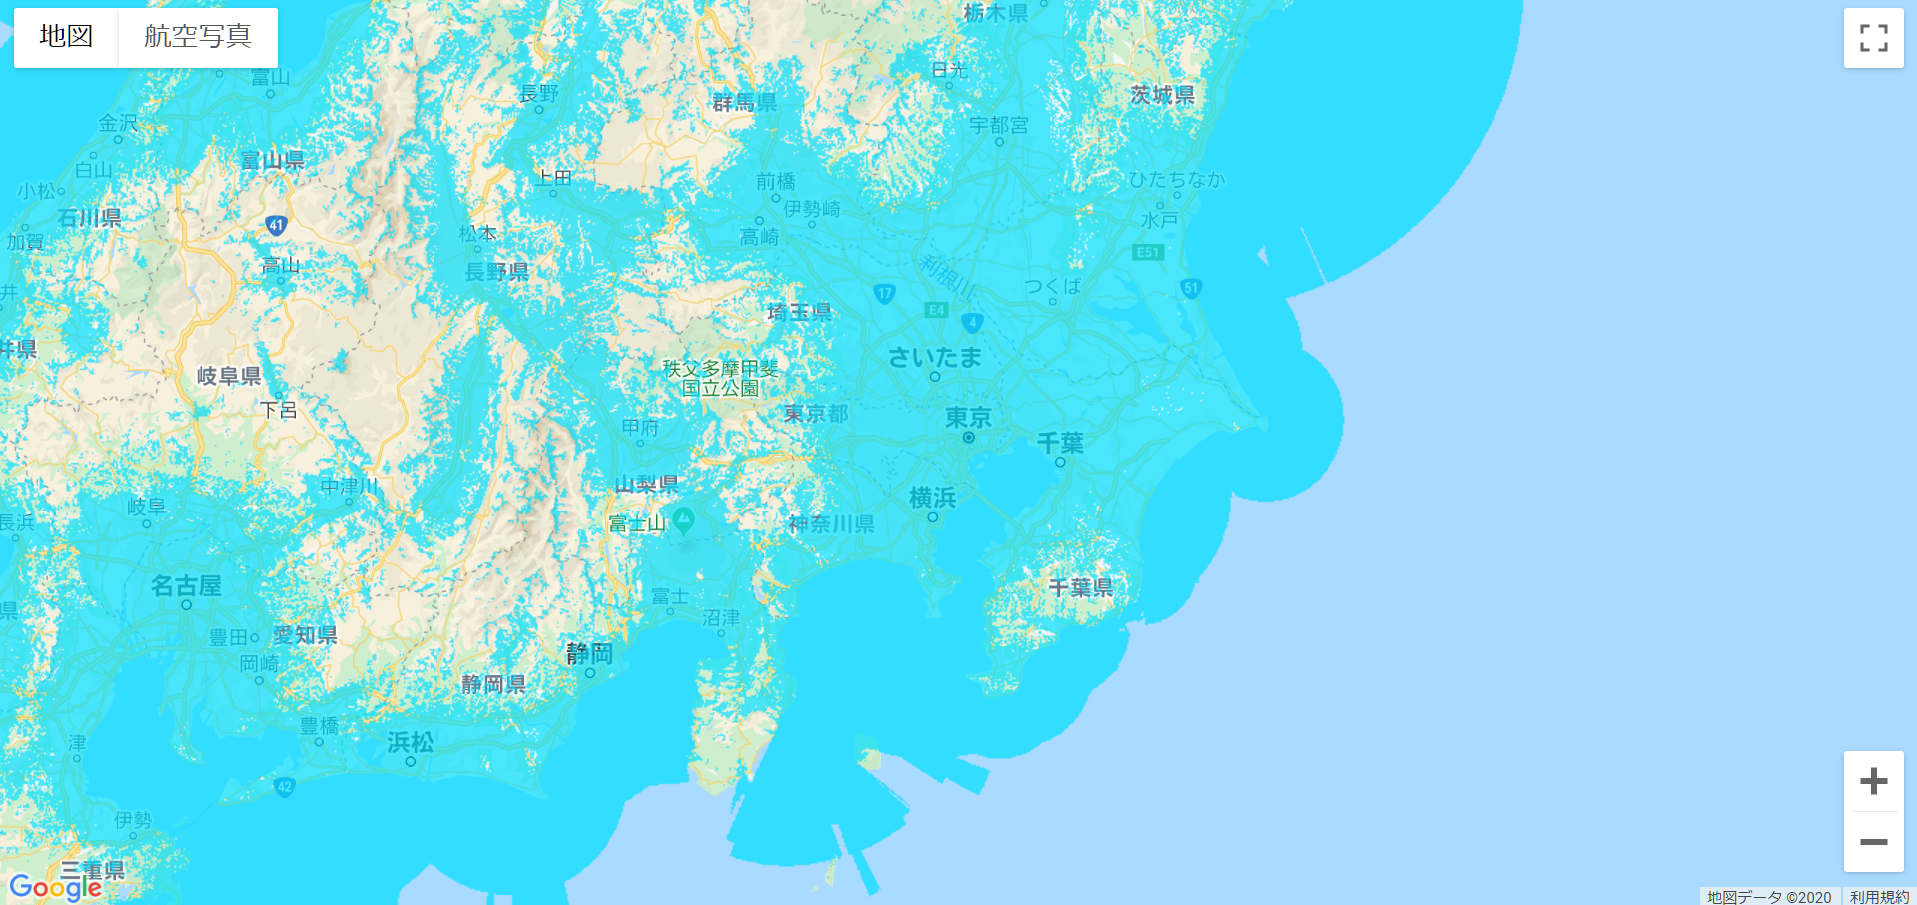
Sigfox Coverage Mapを確認する
無事成功すると、下記のようにGoogle Map上にカバレッジマップが表示されます。
表示範囲を制限したい場合
もし、地図の表示範囲を制限したい場合は、google.maps.MapRestrictionインターフェースを使って下記のように緯度経度(四角形)指定で表示制限を付けることも可能です。
restriction: {
  latLngBounds: {
    north: 45.60,
    south: 20.42,
    west: 122.93,
    east: 153.99
  },
  strictBounds: false
}
緯度経度は、適当に日本の東西南北端点の座標を書いています。
ただ、もし、より正確にやろうとした場合、例えば、四角形定義(Bounds定義)では物足りない場合、dragイベントのリスナーを使って、ポリゴンの内外判定による表示制限をした方が良いかもしれませんね。