初めに
5日目です。
4日目はこちら
前回は管理サイトを作成して、管理サイトから投稿しました。
今回はシェルから投稿しようと思います。
目次
- pythonシェルを開く
- シェルから投稿する
1. pythonシェルを開く
まずは、myprojectディレクトリに移動します。
# cd /root/projects/myproject/myproject
# pwd
/root/projects/myproject/myproject
# ls
blog  db.sqlite3  manage.py  myproject
#
それではpythonシェルを開こうと思います。
# python3 manage.py shell
Python 3.8.5 (default, Jul 28 2020, 12:59:40)
[GCC 9.3.0] on linux
Type "help", "copyright", "credits" or "license" for more information.
(InteractiveConsole)
>>> 1+2
3
>>> 2*2
4
>>>
上の様に
>>>
が表示されれば大丈夫です!
2. シェルから投稿する
では、実際に投稿しようと思います。
>>> from django.contrib.auth.models import User
>>> from blog.models import Post
>>> user = User.objects.get(username='admin')
>>> post = Post(title='Another post',
... slug='another-post',
... body='Post body.',
... author=user)
>>> post.save()
>>>
すると、管理画面を確認すると下の様にAnother Postが追加されています。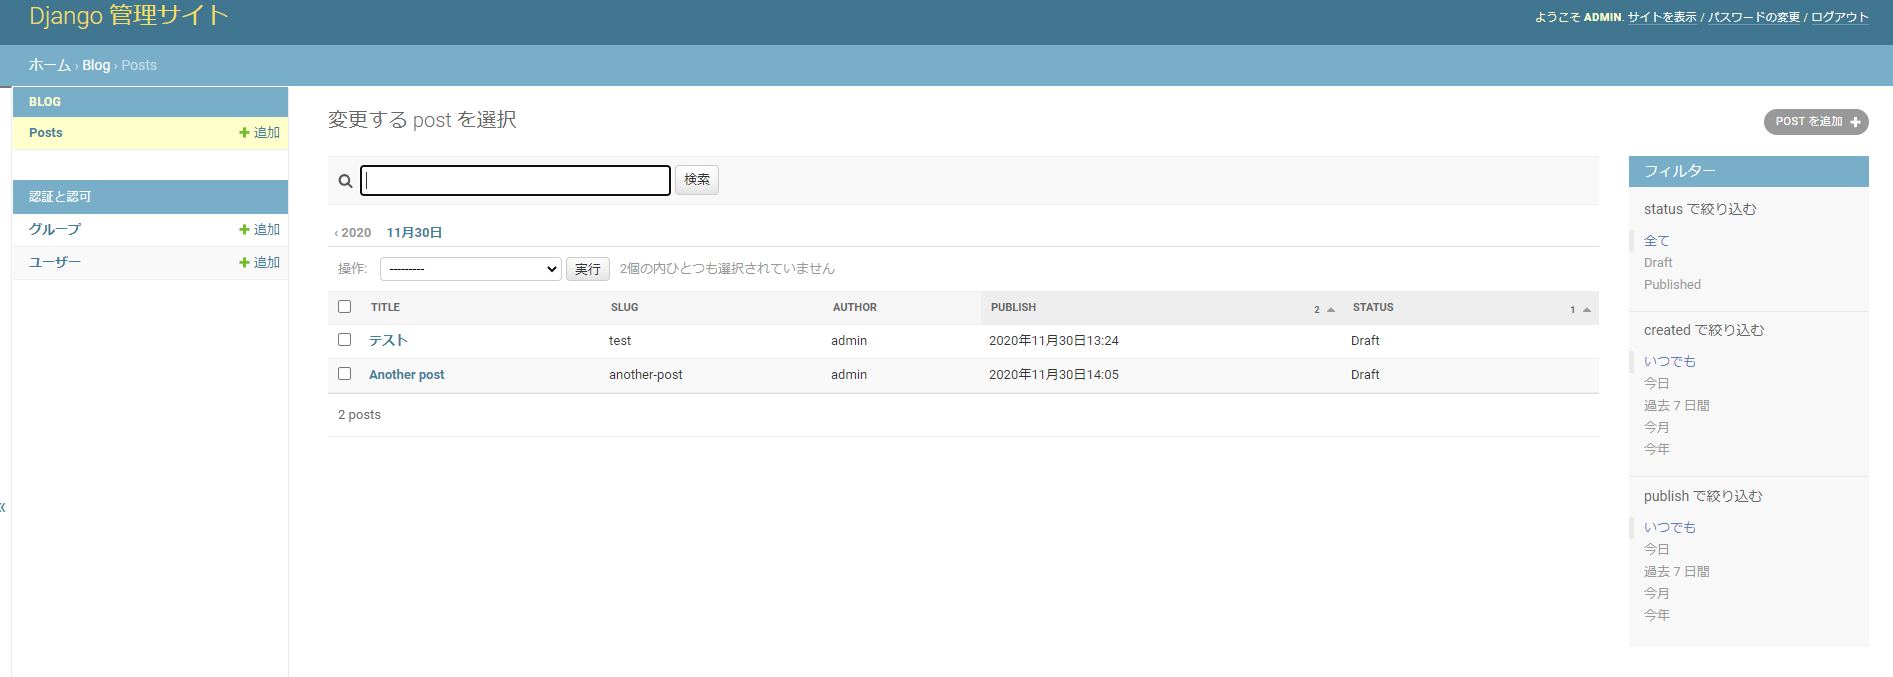
この方法では、一度メモリにオブジェクトを作成してからデータベースに保存する方法です。
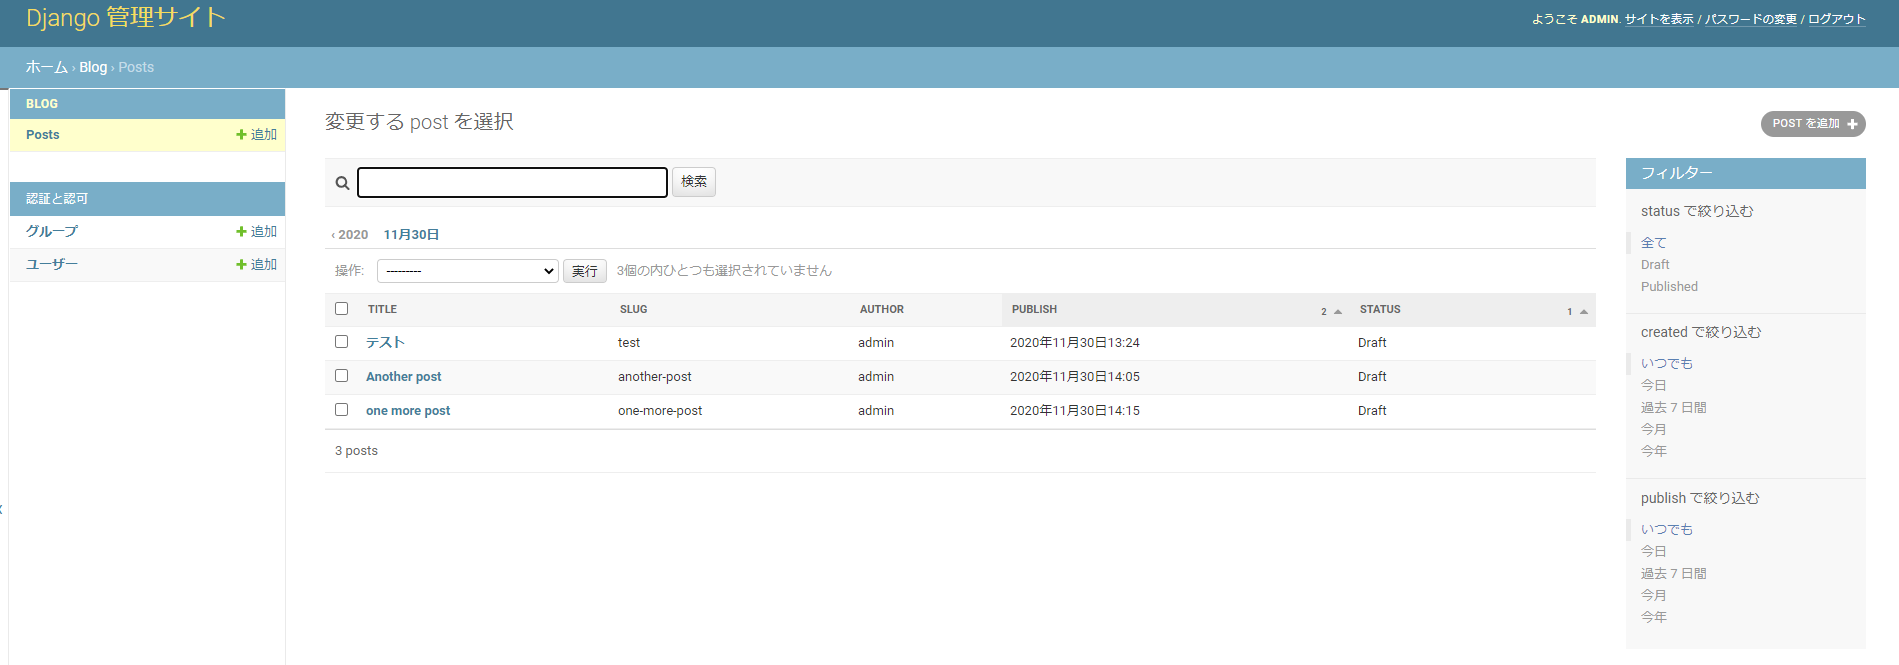
次の方法で実行すると一度のコマンドでオブジェクトを作成してデータベースに保存します。
>>> Post.objects.create(title='one more post',
... slug='one-more-post',
... body='Post body.',
... author=user)
<Post: one more post>
>>>
画面を確認すると新たにone more postが追加されています。
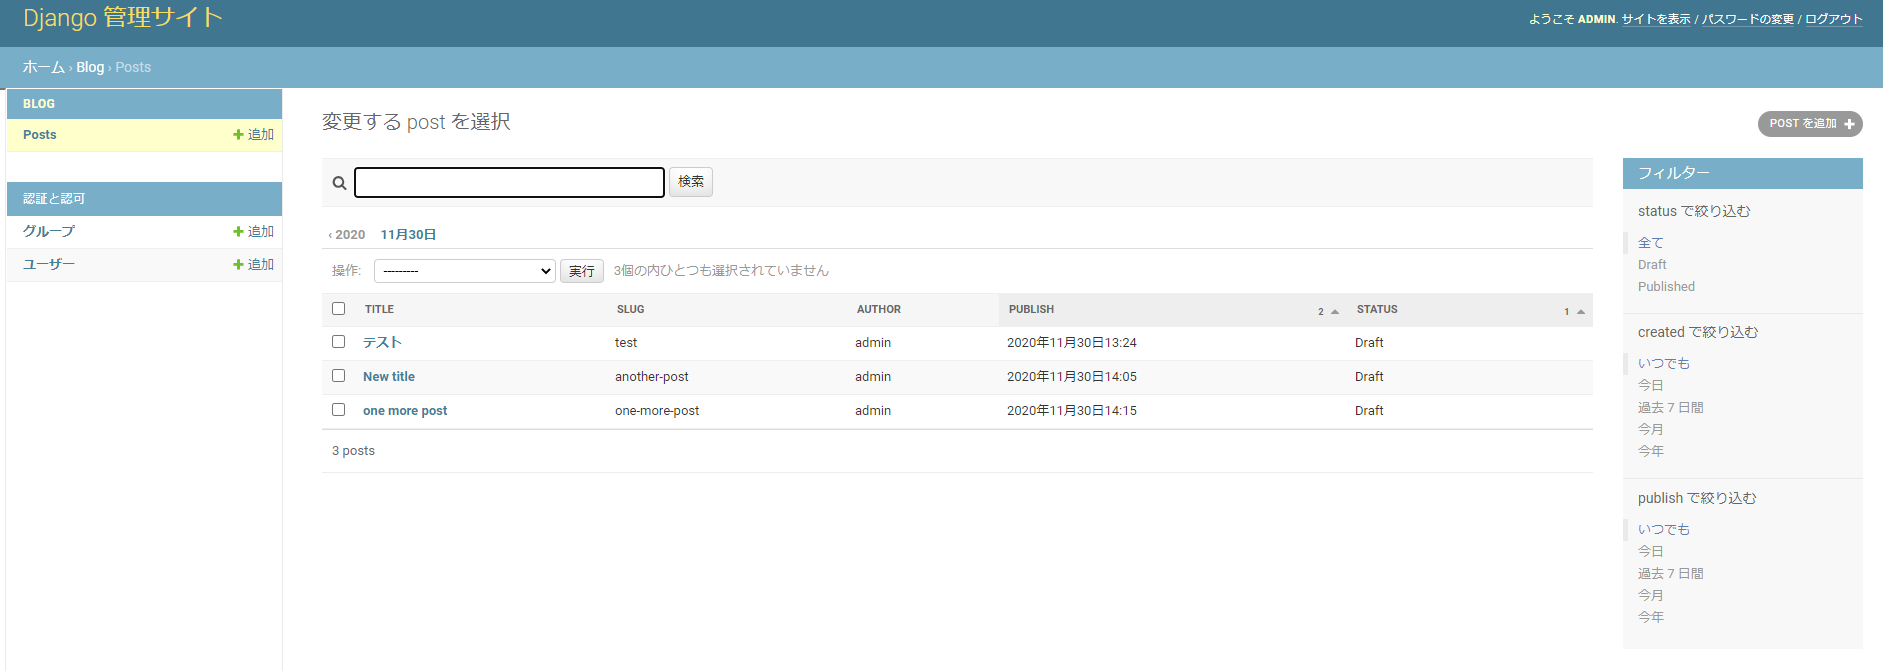
次にタイトルを更新してみます。
>>> post.title = 'New title'
>>> post.save()
>>>
再度画面を確認するとAnother postのタイトルがNew titleになっています。
3. 投稿内容を取得する
全件取得する
>>> all_posts = Post.objects.all()
>>> all_posts
<QuerySet [<Post: one more post>, <Post: New title>, <Post: テスト>]>
>>>
フィルターをかけて取得する
>>> Post.objects.filter(publish__year=2020)                           # publishの年が2020のもの
<QuerySet [<Post: one more post>, <Post: New title>, <Post: テスト>]>
>>> Post.objects.filter(publish__year=2020, author__username='admin') #年が2020かつ投稿者がadminのもの
<QuerySet [<Post: one more post>, <Post: New title>, <Post: テスト>]>
>>> Post.objects.filter(publish__year=2020) \
... .exclude(title__startswith='one')                                 #年が2020かつタイトルがoneから始まらないもの
<QuerySet [<Post: New title>, <Post: テスト>]>
>>> Post.objects.order_by('title')                                    #タイトル順(昇順)
<QuerySet [<Post: New title>, <Post: one more post>, <Post: テスト>]>
>>> Post.objects.order_by('-title')                                   #タイトル順(降順)
<QuerySet [<Post: テスト>, <Post: one more post>, <Post: New title>]>
>>>
オブジェクトを削除する
>>> post = Post.objects.get(id=1)
>>> post
<Post: テスト>
>>> post.delete()
(1, {'blog.Post': 1})
>>>
再度画面を確認するとテストの投稿が削除されています。

blogディレクトリのmodels.pyに下の修正を追記してstatusがdraftのオブジェクトを取得しないようにするオプションを作成する。
models.py
class PublishedManager(models.Manager):
    def get_queryset(self):
        return super(PublishedManager,
                     self).get_queryset()\
                          .filter(status='published')
class Post(models.Model):
    ...
    objects = models.Manager()
    published = PublishedManager()
4. 最後に
この記事では下記の本を参考に書かせていただいています。
この記事ではDjangoを実際に触って動かすことをメインに書いていますので上記のマイグレーションの詳しい説明などはこの本を読んでただければと思います。
Django 3 By Example - Third Edition