背景・目的
初めて React を触ってみたのでその備忘録です。
React のチュートリアルでアプリケーションを作成し、AWS でデプロイし公開できるところまで。
完成品の Git Repository はこちら
| 環境 | |
|---|---|
| OS | MacOS Catalina 10.15.7 |
| React | v17.0.2 |
| ブラウザ | Google Chrome 89.0.4389.90(Official Build) (x86_64) |
アプリの作成
Reactチュートリアル に沿って作成していきます。
チュートリアルの準備
環境構築
今回はローカルへ開発環境を構築していきます。
Node.js をインストール
Node.jsの公式サイトへアクセスしインストーラをダウンロードします。
今回は推奨版の v14.16.11 をダウロードしました。
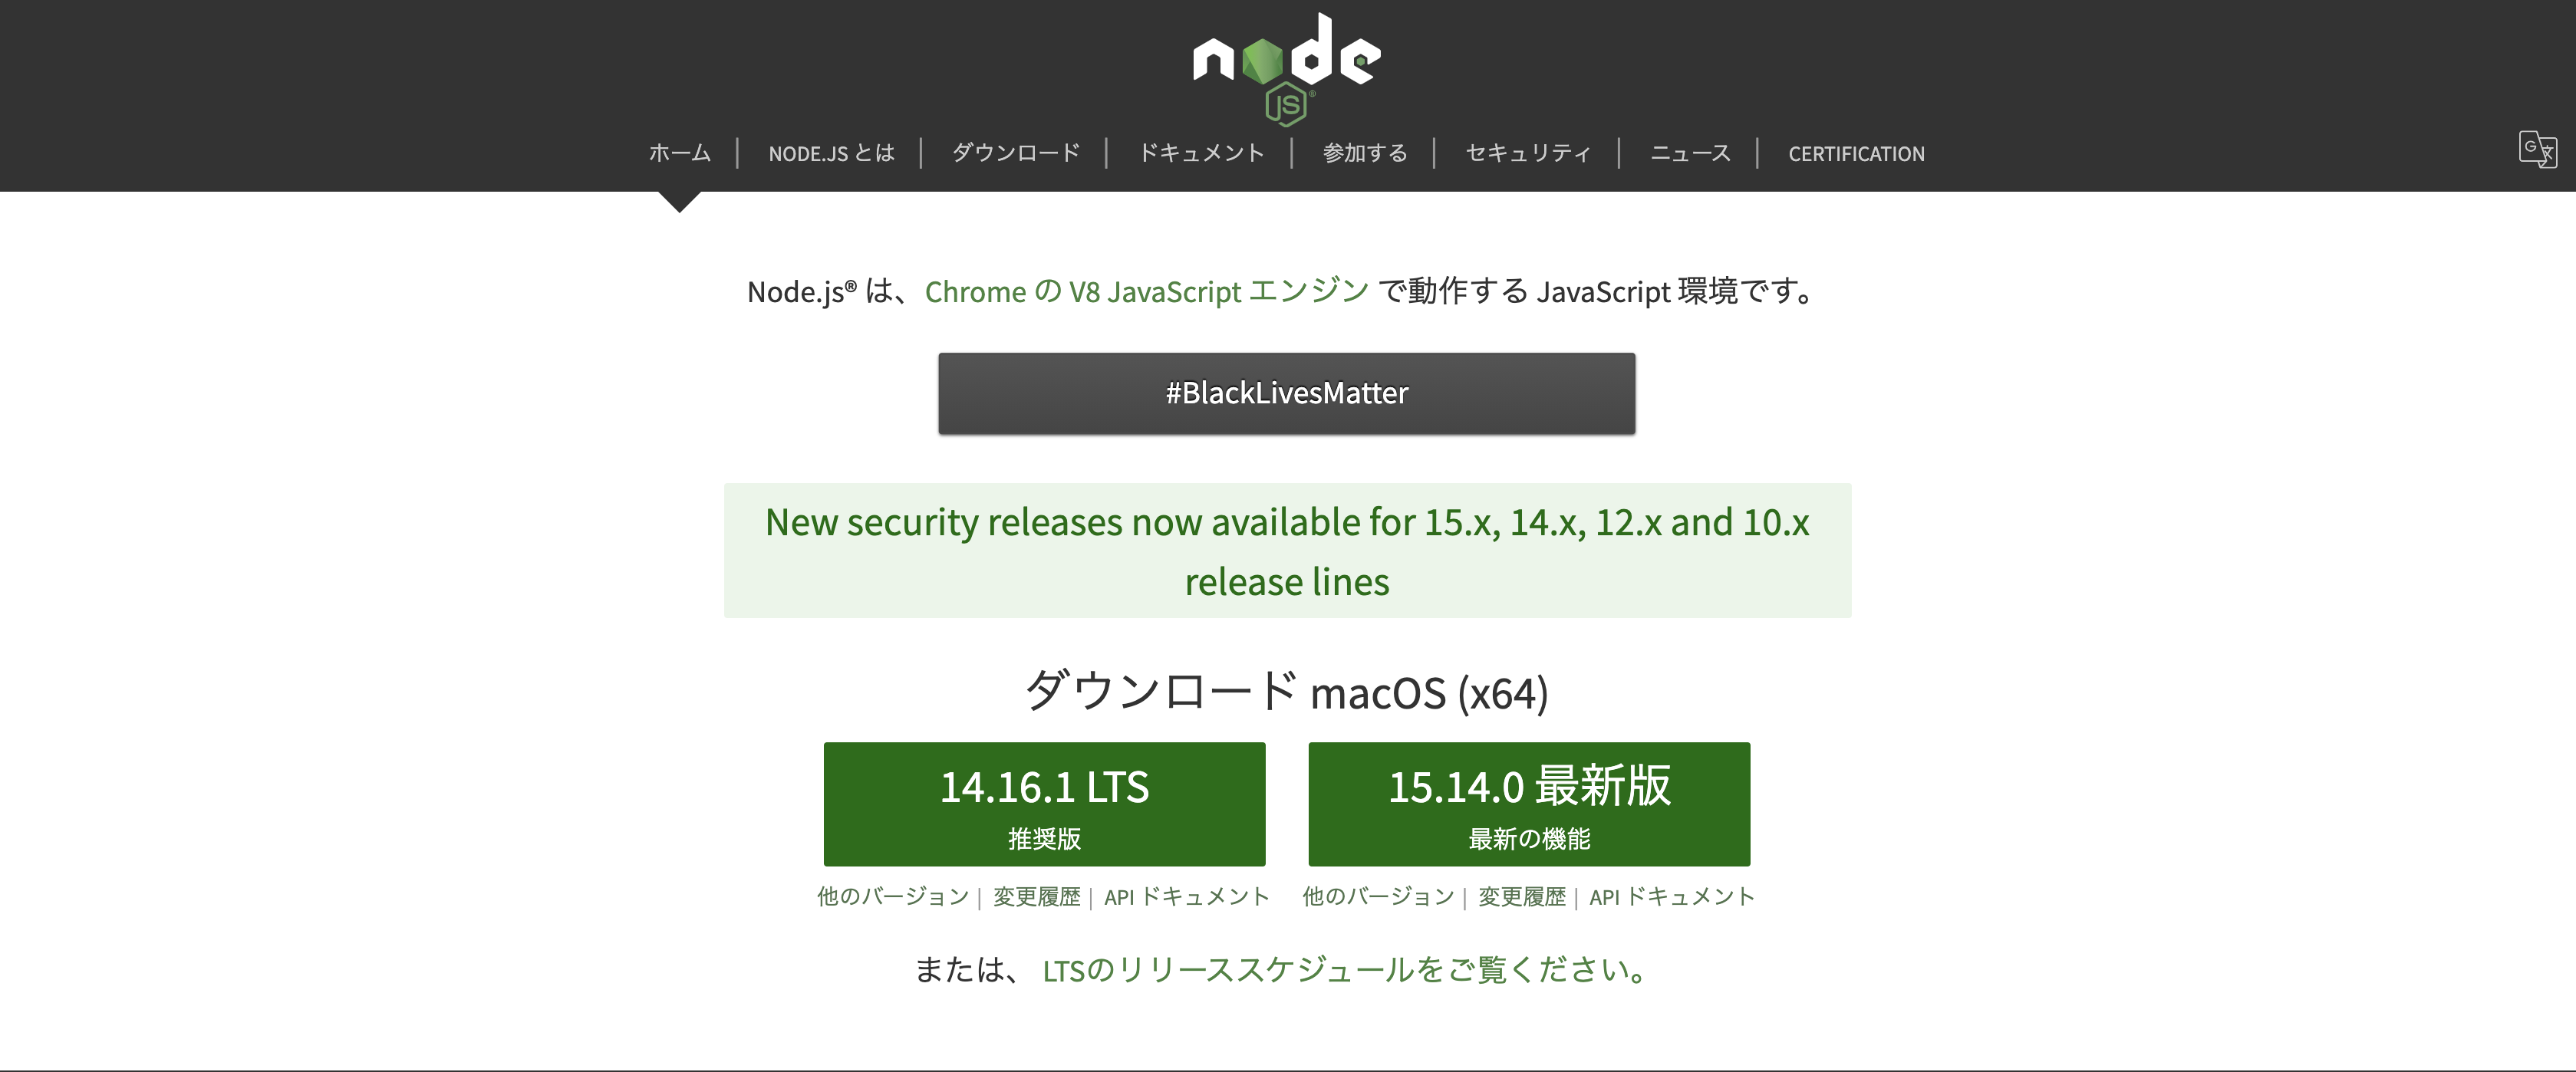
インストーラの手順にしたがってインストール。
React アプリの作成
以下のコマンドでプロジェクトを作成します。
npx create-react-app my-app
プロジェクト内の src ディレクト内のファイルを全て削除します。src ディレクトリ自体は削除しないので注意。
cd my-app
cd src

# If you're using a Mac or Linux:
rm -f *

# Or, if you're on Windows:
del *

# Then, switch back to the project folder
cd ..
src ディレクトリ直下に以下のファイルを作成
body {
  font: 14px "Century Gothic", Futura, sans-serif;
  margin: 20px;
}

ol, ul {
  padding-left: 30px;
}

.board-row:after {
  clear: both;
  content: "";
  display: table;
}

.status {
  margin-bottom: 10px;
}

.square {
  background: #fff;
  border: 1px solid #999;
  float: left;
  font-size: 24px;
  font-weight: bold;
  line-height: 34px;
  height: 34px;
  margin-right: -1px;
  margin-top: -1px;
  padding: 0;
  text-align: center;
  width: 34px;
}

.square:focus {
  outline: none;
}

.kbd-navigation .square:focus {
  background: #ddd;
}

.game {
  display: flex;
  flex-direction: row;
}

.game-info {
  margin-left: 20px;
}
import React from 'react';
import ReactDOM from 'react-dom';
import './index.css';

class Square extends React.Component {
  render() {
    return (
      <button className="square">
        {/* TODO */}
      </button>
    );
  }
}

class Board extends React.Component {
  renderSquare(i) {
    return <Square />;
  }

  render() {
    const status = 'Next player: X';

    return (
      <div>
        <div className="status">{status}</div>
        <div className="board-row">
          {this.renderSquare(0)}
          {this.renderSquare(1)}
          {this.renderSquare(2)}
        </div>
        <div className="board-row">
          {this.renderSquare(3)}
          {this.renderSquare(4)}
          {this.renderSquare(5)}
        </div>
        <div className="board-row">
          {this.renderSquare(6)}
          {this.renderSquare(7)}
          {this.renderSquare(8)}
        </div>
      </div>
    );
  }
}

class Game extends React.Component {
  render() {
    return (
      <div className="game">
        <div className="game-board">
          <Board />
        </div>
        <div className="game-info">
          <div>{/* status */}</div>
          <ol>{/* TODO */}</ol>
        </div>
      </div>
    );
  }
}

// ========================================

ReactDOM.render(
  <Game />,
  document.getElementById('root')
);
チュートリアルに沿ってアプリケーションを作成
書かれた通りに三目並べゲームを作成します。内容に関しては後から追記予定
デプロイ
手動でデプロイ
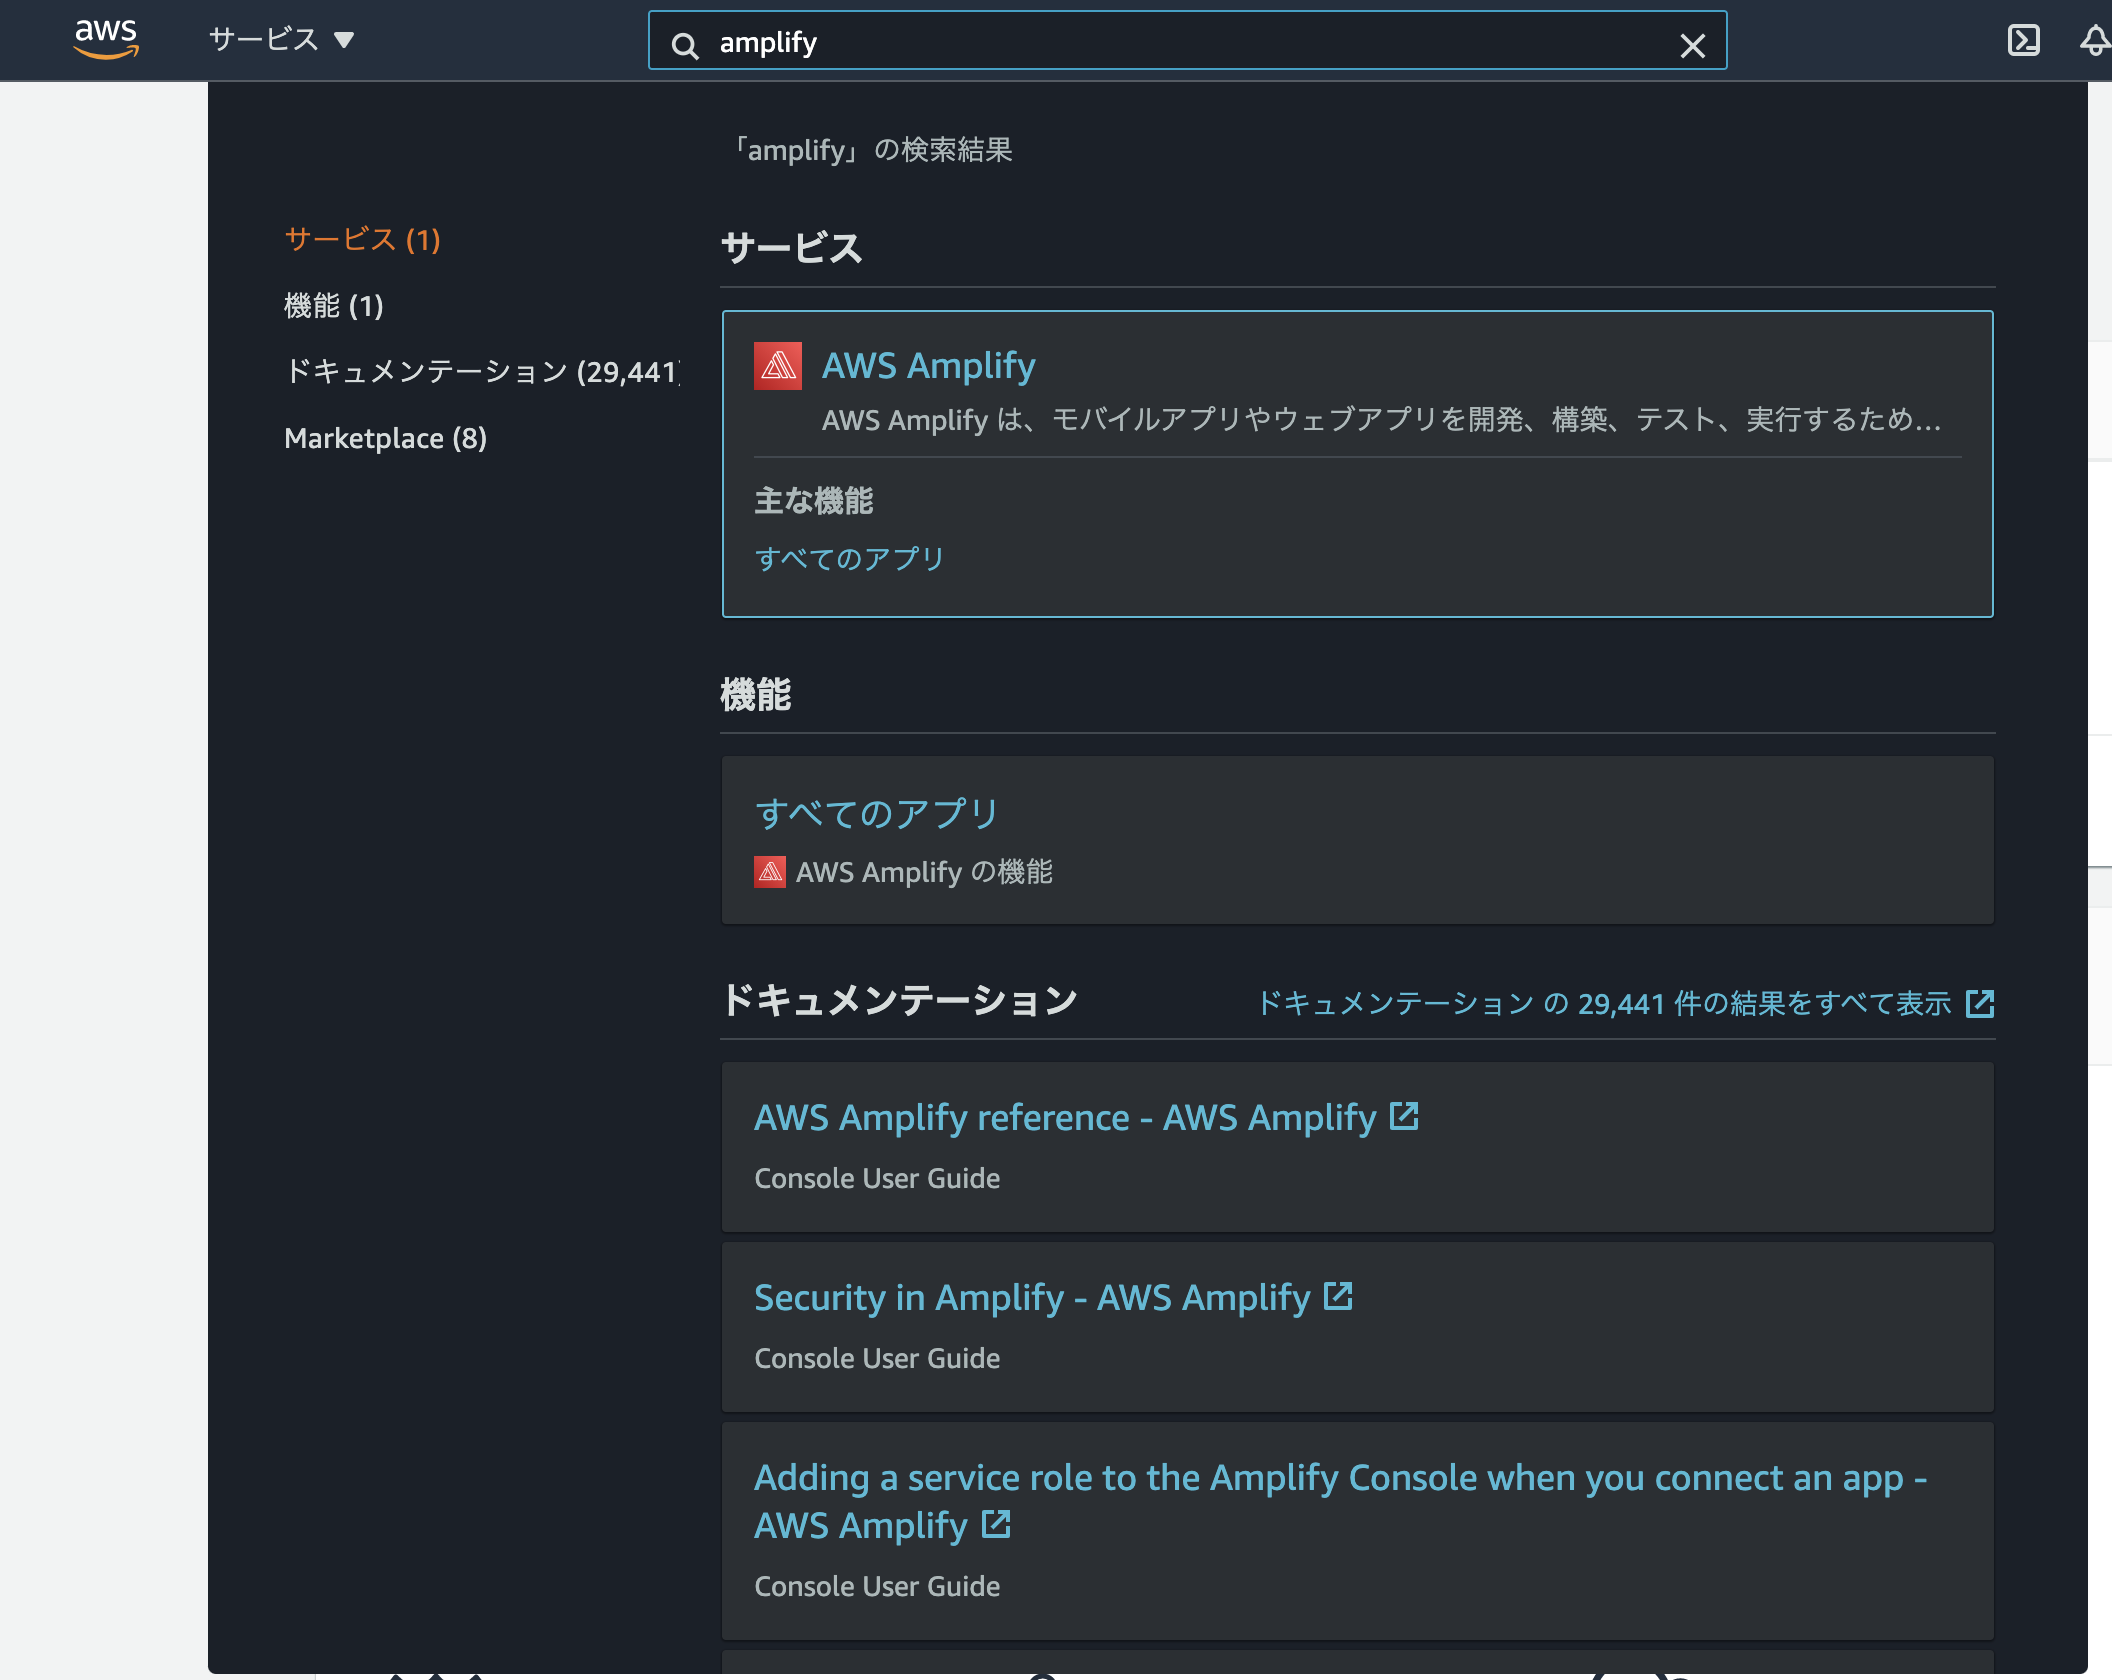
AWS マネジメントコンソールにアクセスし AWS Amplify を選択
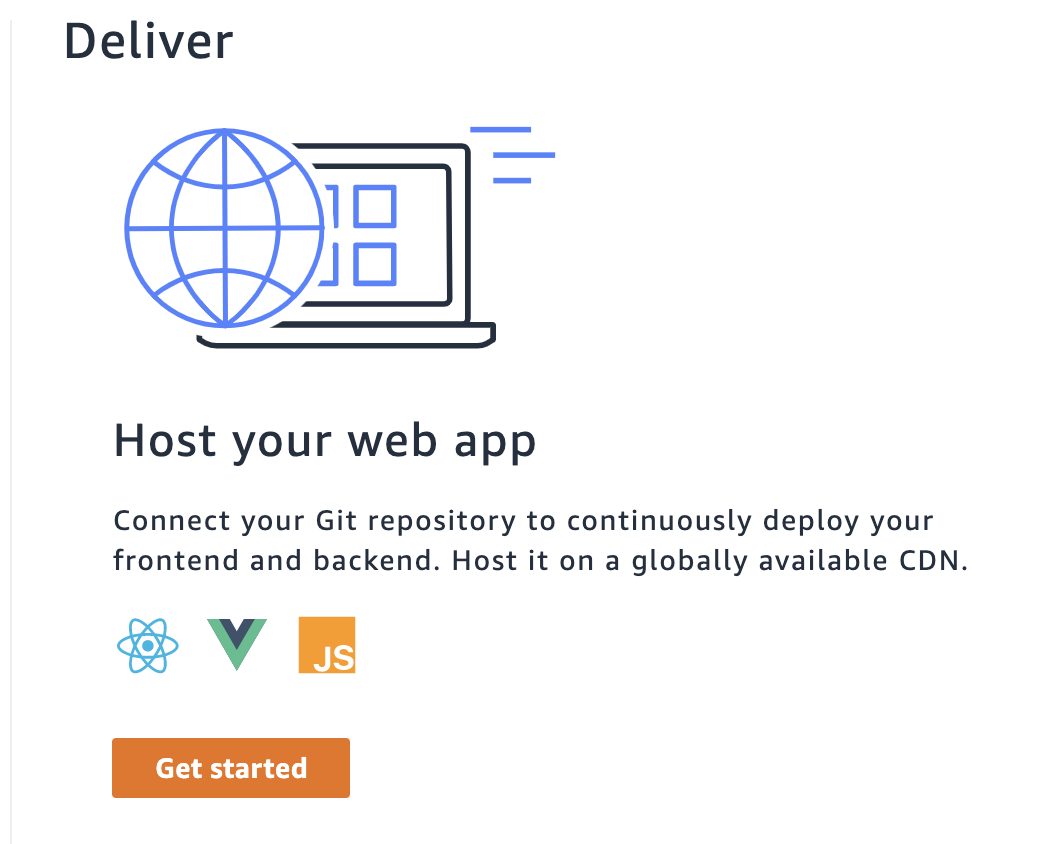
Deliver の 「Get started」 をクリック
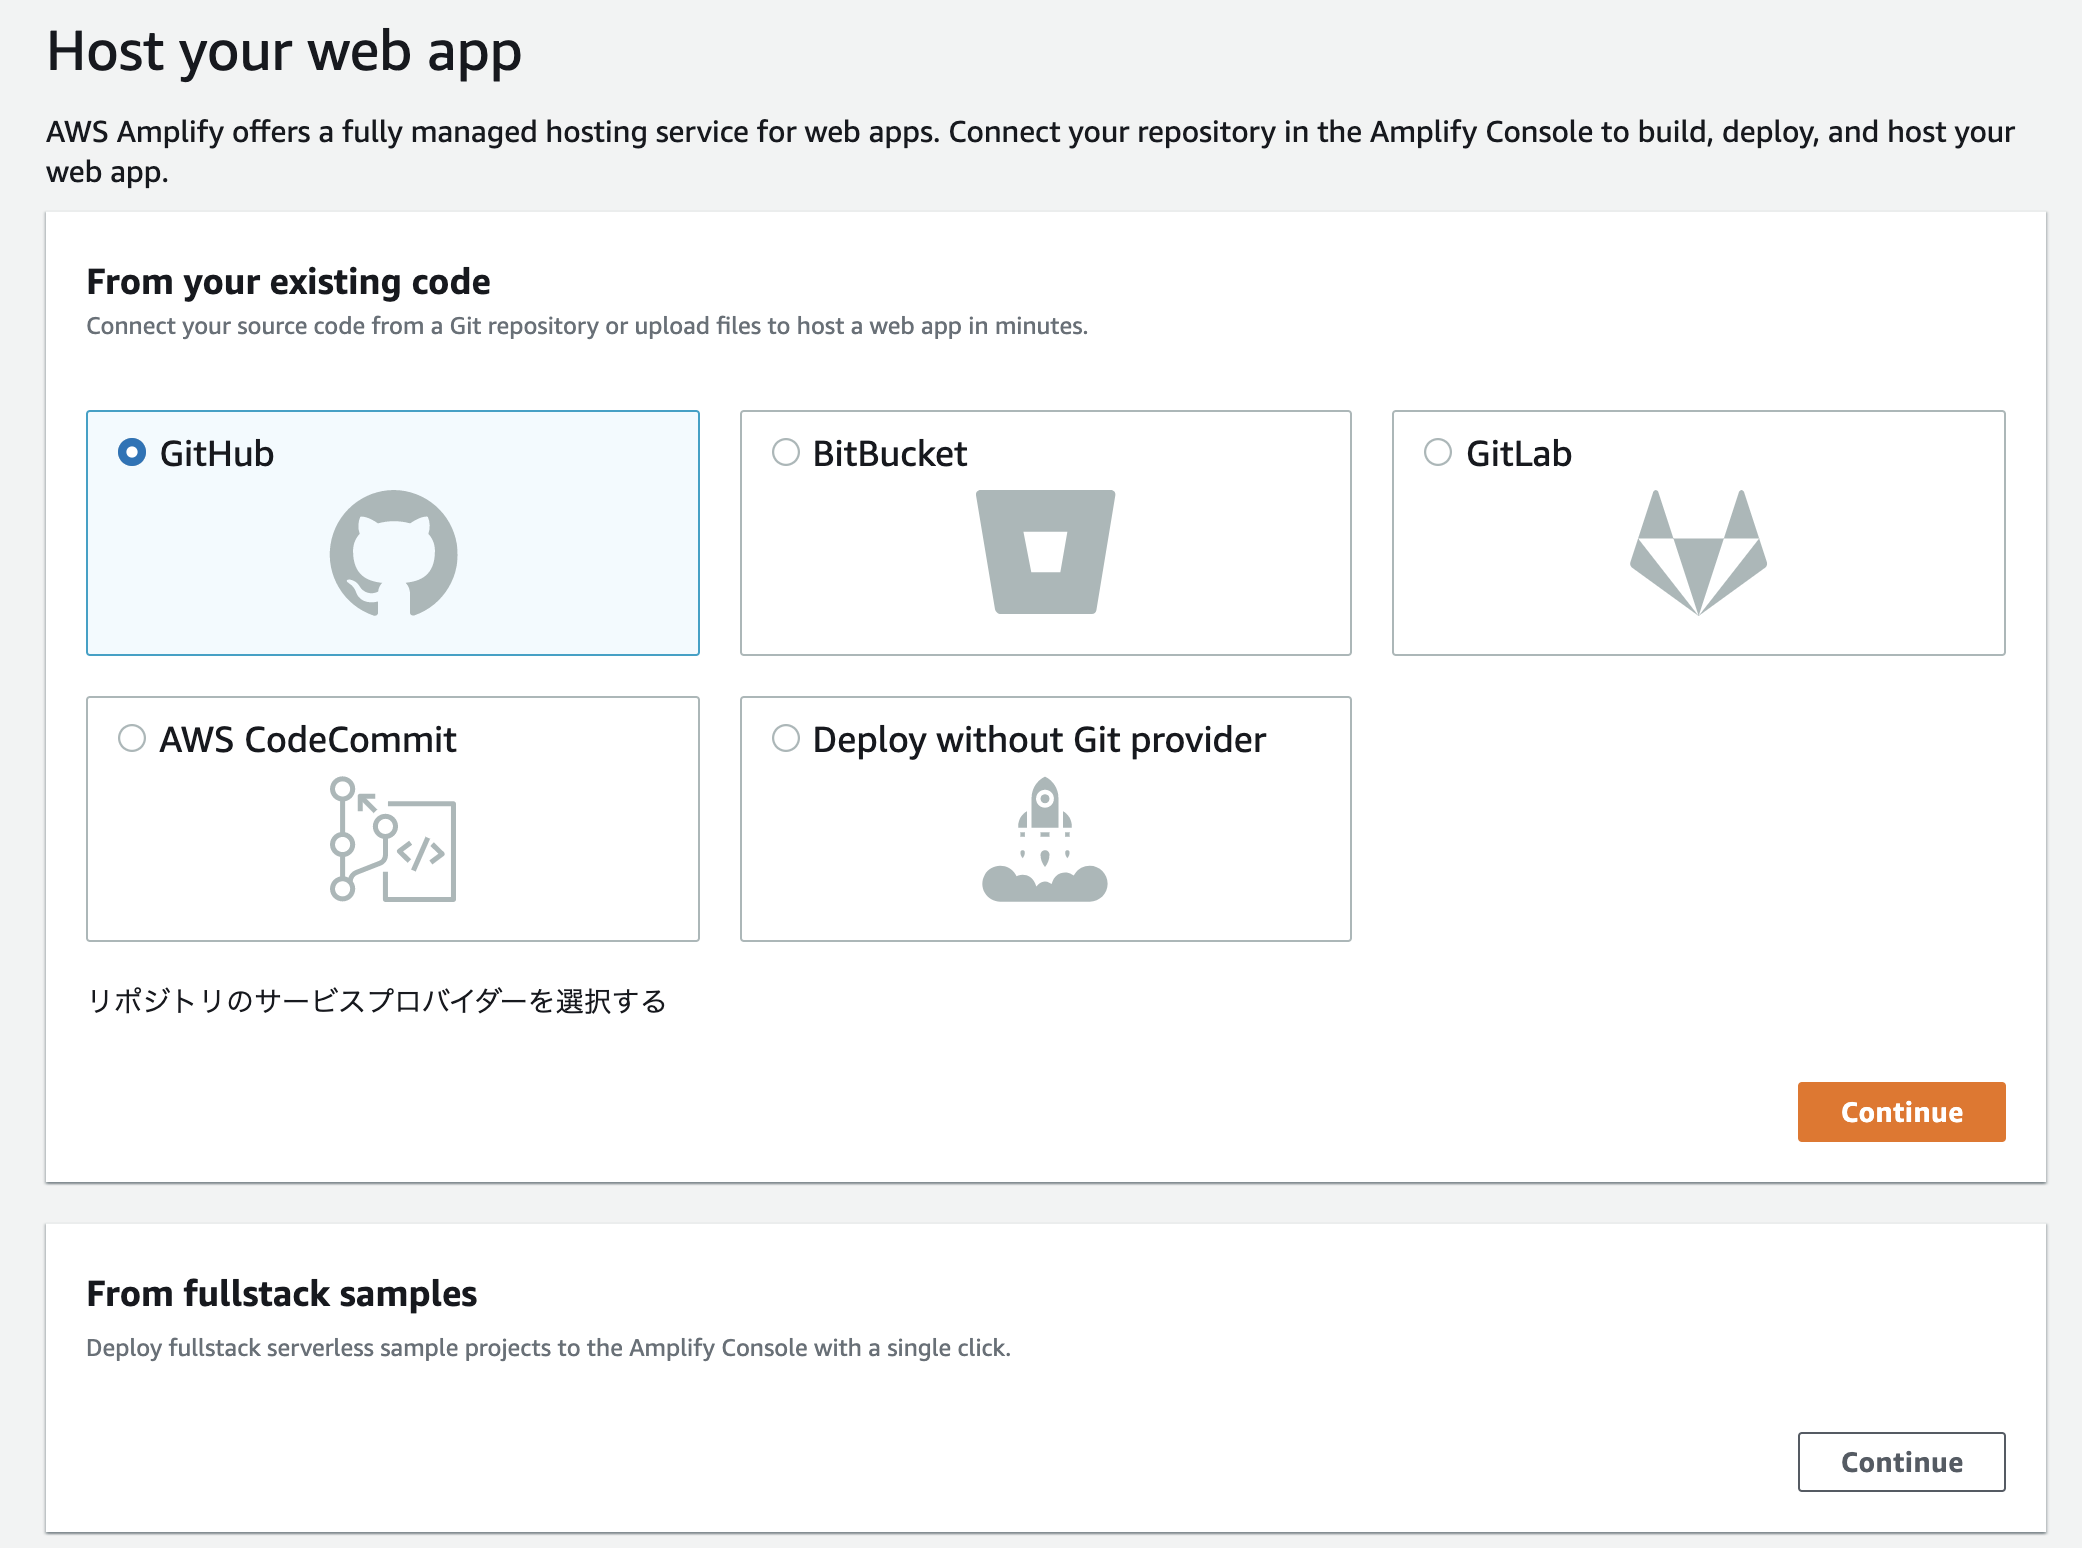
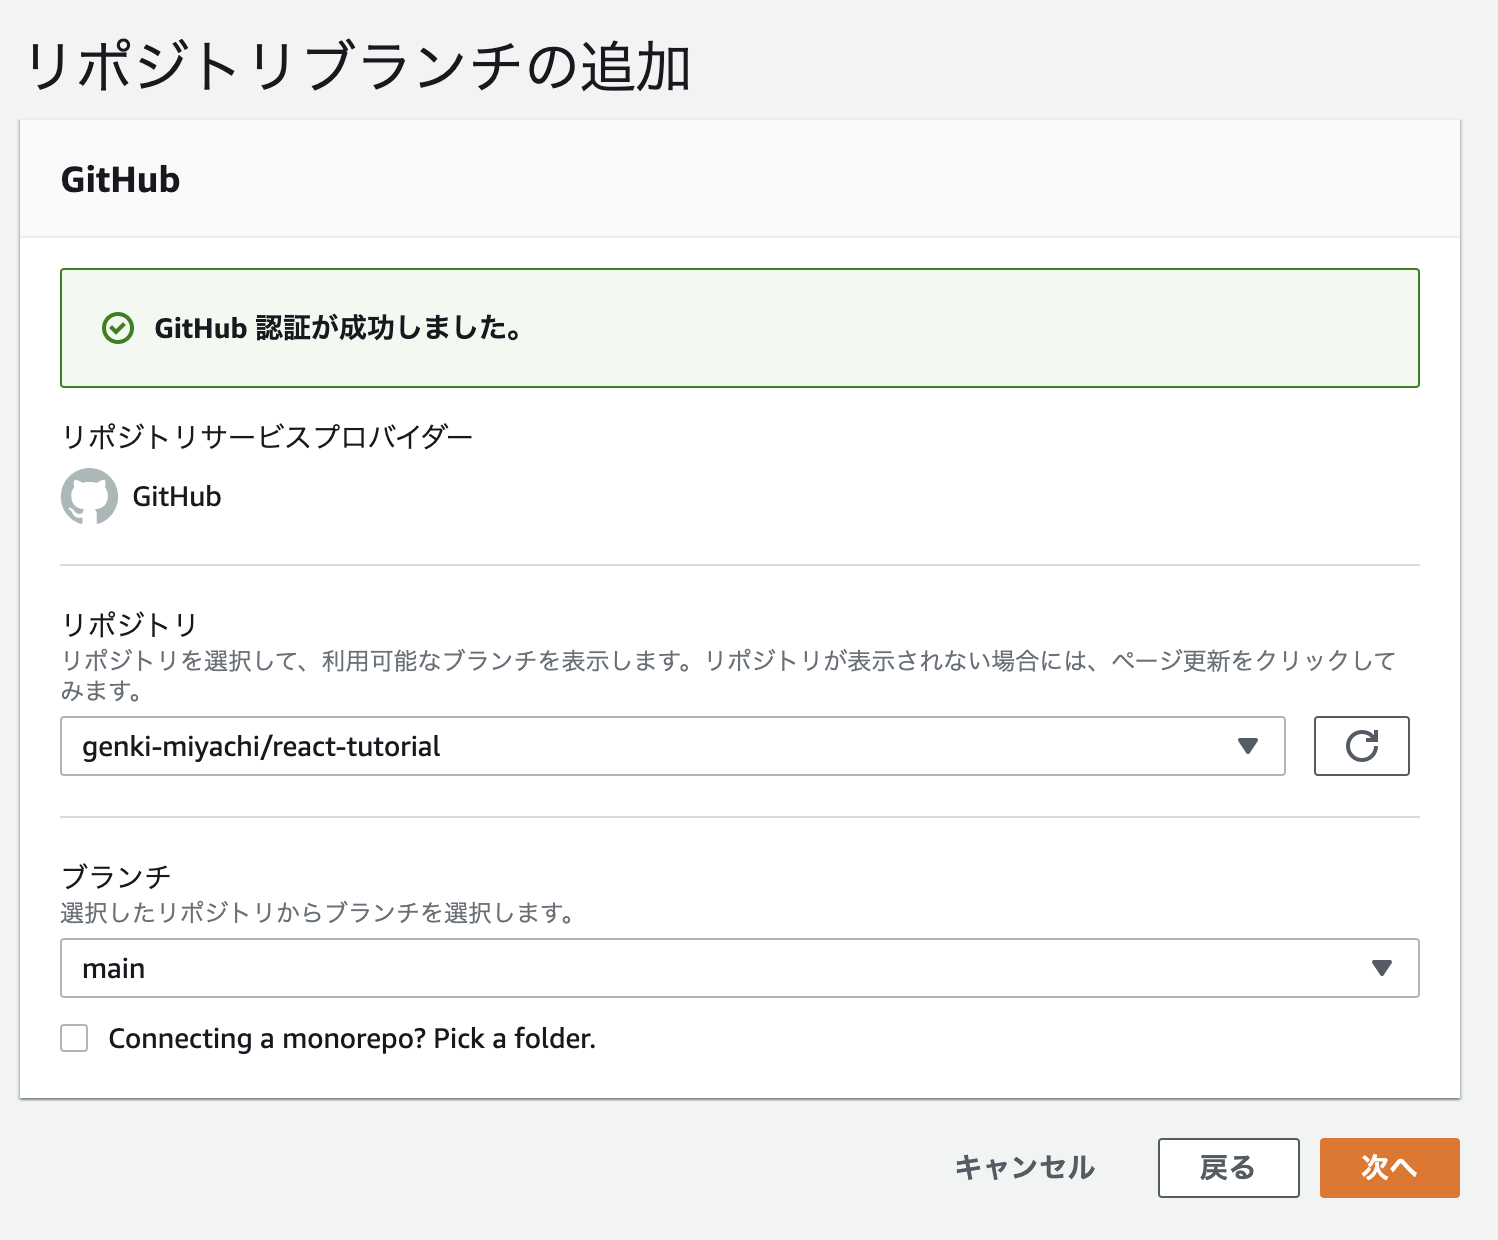
連携先を選択します。今回は Github を選択。
デプロイ対象のリポジトリ/ブランチを選択して「次へ」をクリック
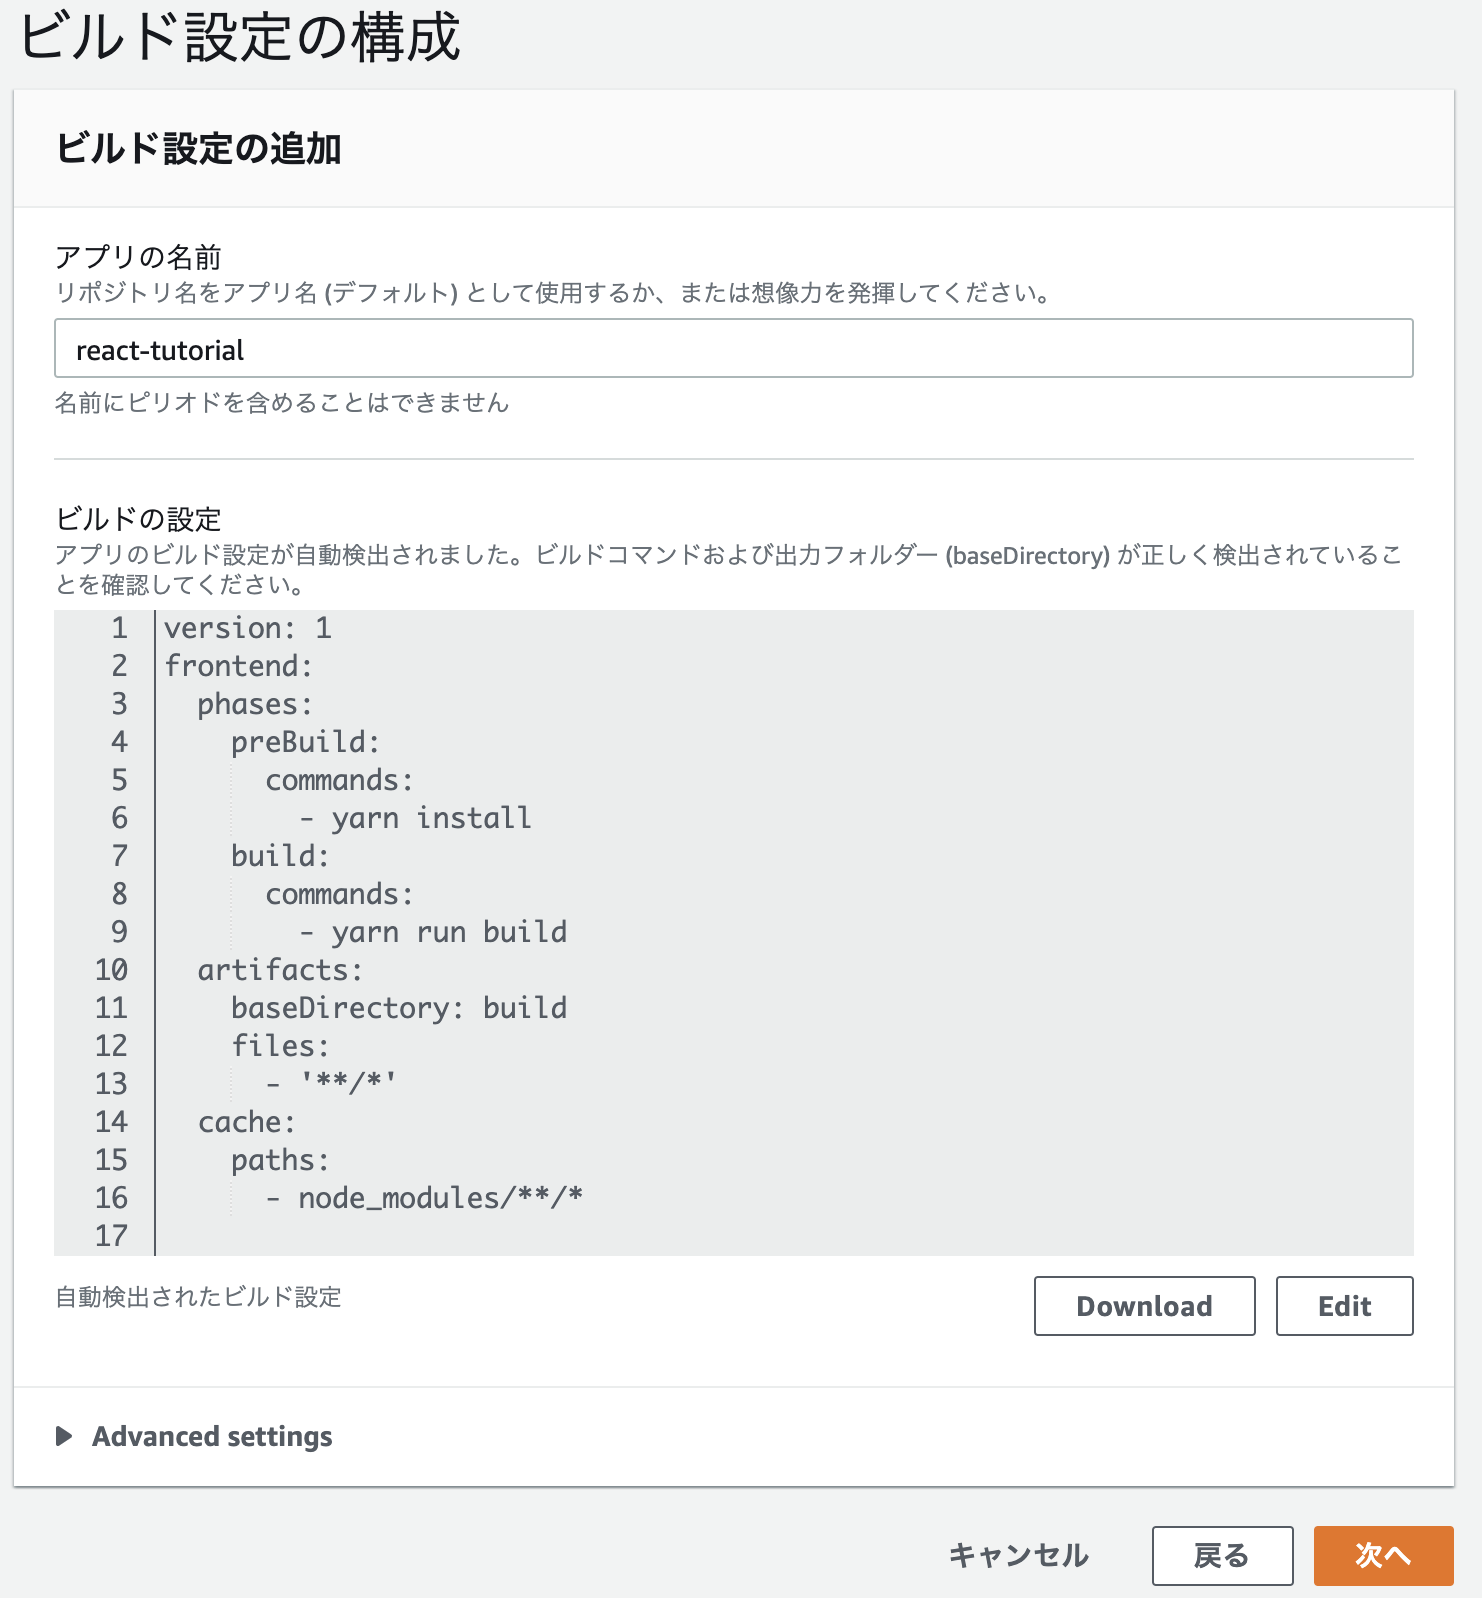
デフォルト設定で「次へ」をクリック
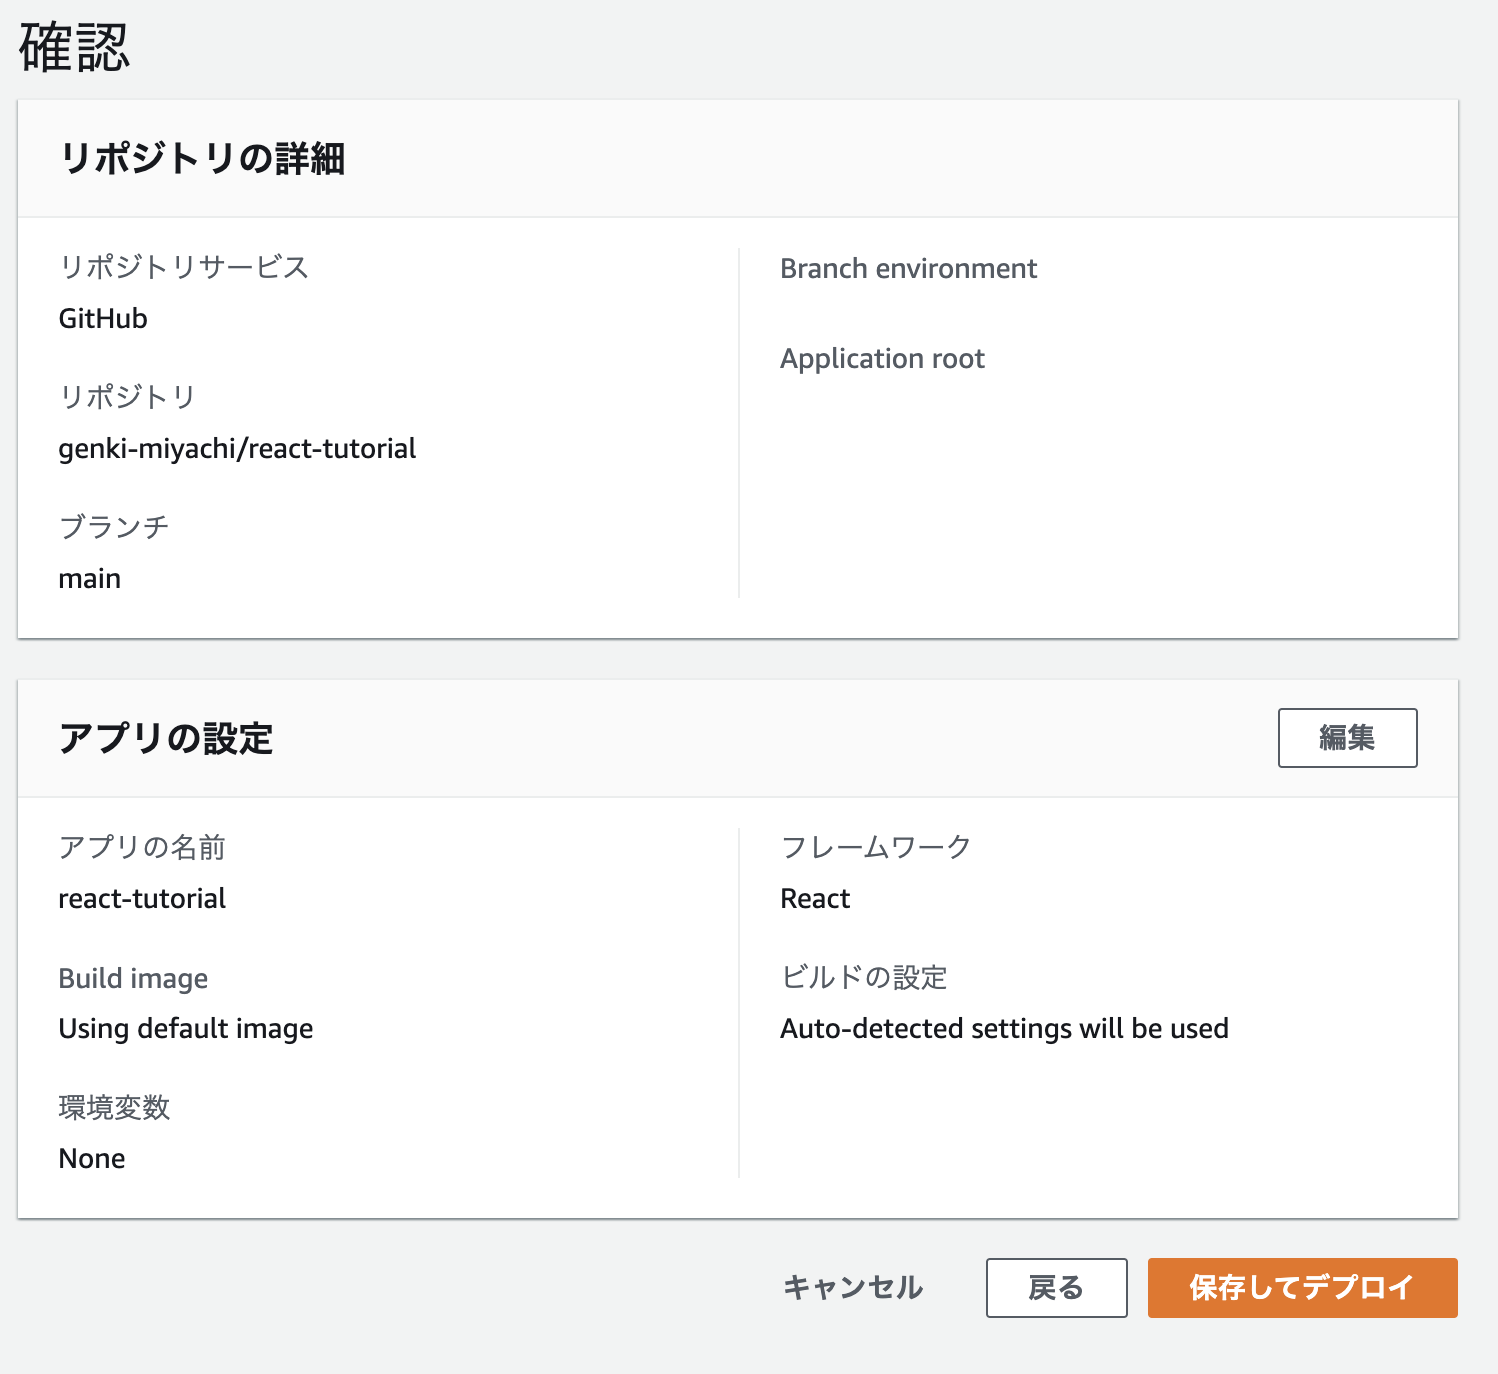
内容を確認し「保存してデプロイ」をクリック
検証まで全てチェックが付けばデプロイ完了。左下のリンクから公開されたアプリケーションへアクセスできます。

自動デプロイ
src 直下へ以下のファイルを作成し、リポジトリへ Push する。
import React from 'react';
import logo from './logo.svg';
import './App.css';

function App() {
  return (
    <div className="App">
      <header className="App-header">
        <img src={logo} className="App-logo" alt="logo" />
        <h1>Hello from V2</h1>
      </header>
    </div>
  );
}

export default App;
感想
とりあえずアプリケーションを公開するところまで完了しました。
DB がない分 Rails なんかに比べるとデプロイは非常に簡単ですね。(AWS Apmlify 様々です)
書き方のお作法なんかは理解できましたが HTML の描画周りはまだまだ勉強の予知がありそうです。
ここから見た目や機能追加なんかしながら理解を深めていければと思います!