この記事に書いてあること
- プロになるためのSpring入門のSpringSecurityに関する内容を読んだまとめ
- SpringSecurityを使った実装例
SpringSecurityとは
SpringFrameworkの認証認可を実現するための仕組み。
認証とは
アプリケーションを使用するユーザーを特定すること。
認可とは
認証したユーザーが行った操作の可否を制御すること。
認証認可はなぜ必要か
認証認可の実装がされていないと多くのアプリケーションの機能は成り立たない。
例えばSNSであれば投稿された内容は全てのユーザーが見えるようにしつつ、投稿の編集・削除は投稿したユーザーにしかできないようにする、というような制御が必要になる。
SpringSecurityを使った実装
認証とリクエスト単位での認可
概念
認証処理はあらゆるアプリケーションの処理を実行する前に行う必要がある。
SpringSecurityではServletFilterの仕組みを使って、アプリケーションの処理の実行前に以下のような処理を簡単に実装できる。
- リクエスト単位での認可
- 認証済みかどうかの確認
- 認証が必要であればログイン画面を表示する
- セッションにログイン情報を保持する
- 権限がない場合にエラー画面を表示する
ServletFilterで挟み込むSpringSecurityの処理をSecurityFilterChainという。
SecurityFilterChainでどのような処理を行うかはConfigurationで定義する。

実装
以前の記事で用意したデータベースからメッセージを取得して表示する実装に認証の仕組みを挟み込んでみる。
以前のコード
DemoController.java
package com.example.demo;

import org.springframework.stereotype.Controller;
import org.springframework.ui.Model;
import org.springframework.web.bind.annotation.GetMapping;

@Controller
public class DemoController {

    private final MessageMakeService messageMakeService;

    public DemoController(MessageMakeService messageMakeService){
        this.messageMakeService = messageMakeService;
    }

    @GetMapping("test")
    public String showMessage(Model model) {
        model.addAttribute("message", messageMakeService.make());
        return "test";
    }

}
MessageMakeService.java
package com.example.demo;

import org.springframework.beans.factory.annotation.Autowired;
import org.springframework.stereotype.Service;

@Service
public class MessageMakeService {

    private final MessageRepository messageRepository;

    @Autowired
    public MessageMakeService (MessageRepository messageRepository){
        this.messageRepository = messageRepository;
    }

    public String make(){
        return "メッセージは : " + messageRepository.loadMessage();
    }
}
MessageRepository.java
package com.example.demo;

import org.springframework.beans.factory.annotation.Autowired;
import org.springframework.jdbc.core.JdbcTemplate;
import org.springframework.stereotype.Repository;

@Repository
public class MessageRepository {

    @Autowired
    private JdbcTemplate jdbcTemplate;

    public String loadMessage(){
        String sql = "SELECT MESSAGE FROM TEST";
        return jdbcTemplate.queryForObject(sql, String.class);
    }
}
test.html
<!DOCTYPE html>
<html xmlns:th="http://www.thymeleaf.org">

<p style="color:red;" th:text="${message}"></p>
build.gradle
plugins {
	id 'java'
	id 'org.springframework.boot' version '3.2.5'
	id 'io.spring.dependency-management' version '1.1.4'
}

group = 'com.example'
version = '0.0.1-SNAPSHOT'

java {
	sourceCompatibility = '17'
}

configurations {
	compileOnly {
		extendsFrom annotationProcessor
	}
}

repositories {
	mavenCentral()
}

dependencies {
	implementation 'org.springframework.boot:spring-boot-starter-thymeleaf'
	implementation 'org.springframework.boot:spring-boot-starter-web'
	implementation 'org.springframework.boot:spring-boot-starter-data-jdbc'
	compileOnly 'org.projectlombok:lombok'
	annotationProcessor 'org.projectlombok:lombok'
	testImplementation 'org.springframework.boot:spring-boot-starter-test'
	runtimeOnly 'com.mysql:mysql-connector-j'
	testImplementation 'org.junit.jupiter:junit-jupiter:5.7.2'
    developmentOnly("org.springframework.boot:spring-boot-devtools")
}

tasks.named('test') {
	useJUnitPlatform()
}
DemoApplication.java
package com.example.demo;

import org.springframework.boot.SpringApplication;
import org.springframework.boot.autoconfigure.SpringBootApplication;
import org.springframework.security.config.annotation.web.configuration.EnableWebSecurity;

@SpringBootApplication
public class DemoApplication {

	public static void main(String[] args) {
		SpringApplication.run(DemoApplication.class, args);
	}

}
build.gradle の dependencies に implementation 'org.springframework.boot:spring-boot-starter-security' を追加する。
plugins {
	id 'java'
	id 'org.springframework.boot' version '3.2.5'
	id 'io.spring.dependency-management' version '1.1.4'
}

group = 'com.example'
version = '0.0.1-SNAPSHOT'

java {
	sourceCompatibility = '17'
}

configurations {
	compileOnly {
		extendsFrom annotationProcessor
	}
}

repositories {
	mavenCentral()
}

dependencies {
	implementation 'org.springframework.boot:spring-boot-starter-thymeleaf'
	implementation 'org.springframework.boot:spring-boot-starter-web'
	implementation 'org.springframework.boot:spring-boot-starter-data-jdbc'
	implementation 'org.springframework.boot:spring-boot-starter-security'
	compileOnly 'org.projectlombok:lombok'
	annotationProcessor 'org.projectlombok:lombok'
	testImplementation 'org.springframework.boot:spring-boot-starter-test'
	runtimeOnly 'com.mysql:mysql-connector-j'
	testImplementation 'org.junit.jupiter:junit-jupiter:5.7.2'
    developmentOnly("org.springframework.boot:spring-boot-devtools")
}

tasks.named('test') {
	useJUnitPlatform()
}
DemoController.java に新しいエンドポイント control noLogin nobodyAccess を追加する。
とりあえずレスポンスとして返す内容は全て同じにしておく。
package com.example.demo;

import org.springframework.stereotype.Controller;
import org.springframework.ui.Model;
import org.springframework.web.bind.annotation.GetMapping;

@Controller
public class DemoController {

    private final MessageMakeService messageMakeService;

    public DemoController(MessageMakeService messageMakeService){
        this.messageMakeService = messageMakeService;
    }

    @GetMapping("test")
    public String showMessage(Model model) {
        model.addAttribute("message", messageMakeService.make());
        return "test";
    }

    @GetMapping("control")
    public String showControl(Model model) {
        model.addAttribute("message", messageMakeService.make());
        return "test";
    }

    @GetMapping("noLogin")
    public String showNoLogin(Model model) {
        model.addAttribute("message", messageMakeService.make());
        return "test";
    }

    @GetMapping("nobodyAccess")
    public String nobodyAccess(Model model) {
        model.addAttribute("message", messageMakeService.make());
        return "test";
    }
}
DemoApplication.javaに SecurityFilterChain と UserDetailsService のConfigurationを記述する。それぞれ以下のように実装していく。
- test ユーザー権限もしくは管理者権限をもったユーザーがアクセスできる
- control 管理者権限をもったユーザーのみがアクセスできる
- noLogin ログインしていなくてもアクセスできる
- nobodyAccess 誰もアクセスできない(アクセス許可を記述しない)
package com.example.demo;

import org.springframework.boot.SpringApplication;
import org.springframework.boot.autoconfigure.SpringBootApplication;
import org.springframework.context.annotation.Bean;
import org.springframework.security.config.annotation.web.builders.HttpSecurity;
import org.springframework.security.core.userdetails.User;
import org.springframework.security.core.userdetails.UserDetails;
import org.springframework.security.core.userdetails.UserDetailsService;
import org.springframework.security.provisioning.InMemoryUserDetailsManager;
import org.springframework.security.web.SecurityFilterChain;

@SpringBootApplication
public class DemoApplication {

	public static void main(String[] args) {
		SpringApplication.run(DemoApplication.class, args);
	}

	@Bean
	public SecurityFilterChain securityFilterChain(HttpSecurity http) throws Exception {
        http.authorizeHttpRequests(requests -> requests
                .requestMatchers("GET", "/test").hasAnyRole("ADMIN","USER")
				.requestMatchers("GET", "/control").hasAnyRole("ADMIN")
				.requestMatchers("GET", "/noLogin").permitAll())
                .formLogin(login -> login.defaultSuccessUrl("/test"));
		return http.build();
	}

	@Bean
	public UserDetailsService userDetailsService() {
		UserDetails user = User.builder().username("user")
		.password("{noop}user").roles("USER").build();
		UserDetails admin = User.builder().username("admin")
		.password("{noop}admin").roles("ADMIN").build();
		return new InMemoryUserDetailsManager(user,admin);
	}

}
UserDetailsService には本来データベース等からユーザー名、パスワード、権限を取得する処理を記述しますが、今回は省略のためプログラムにハードコードする方法で記載しています。
{noop} と記載している箇所にはパスワードの暗号化(もしくはハッシュ化)のアルゴリズムを記載します。noopはno operationという意味で暗号化されていない平文という意味です。1
まずログインしていない状態でそれぞれのエンドポイントにアクセスしてみる。
Controllerに定義していない適当なURLも含める。
- http://localhost:8080/test
- http://localhost:8080/control
- http://localhost:8080/noLogin
- http://localhost:8080/nobodyAccess
- http://localhost:8080/hogehogehogehogehoge
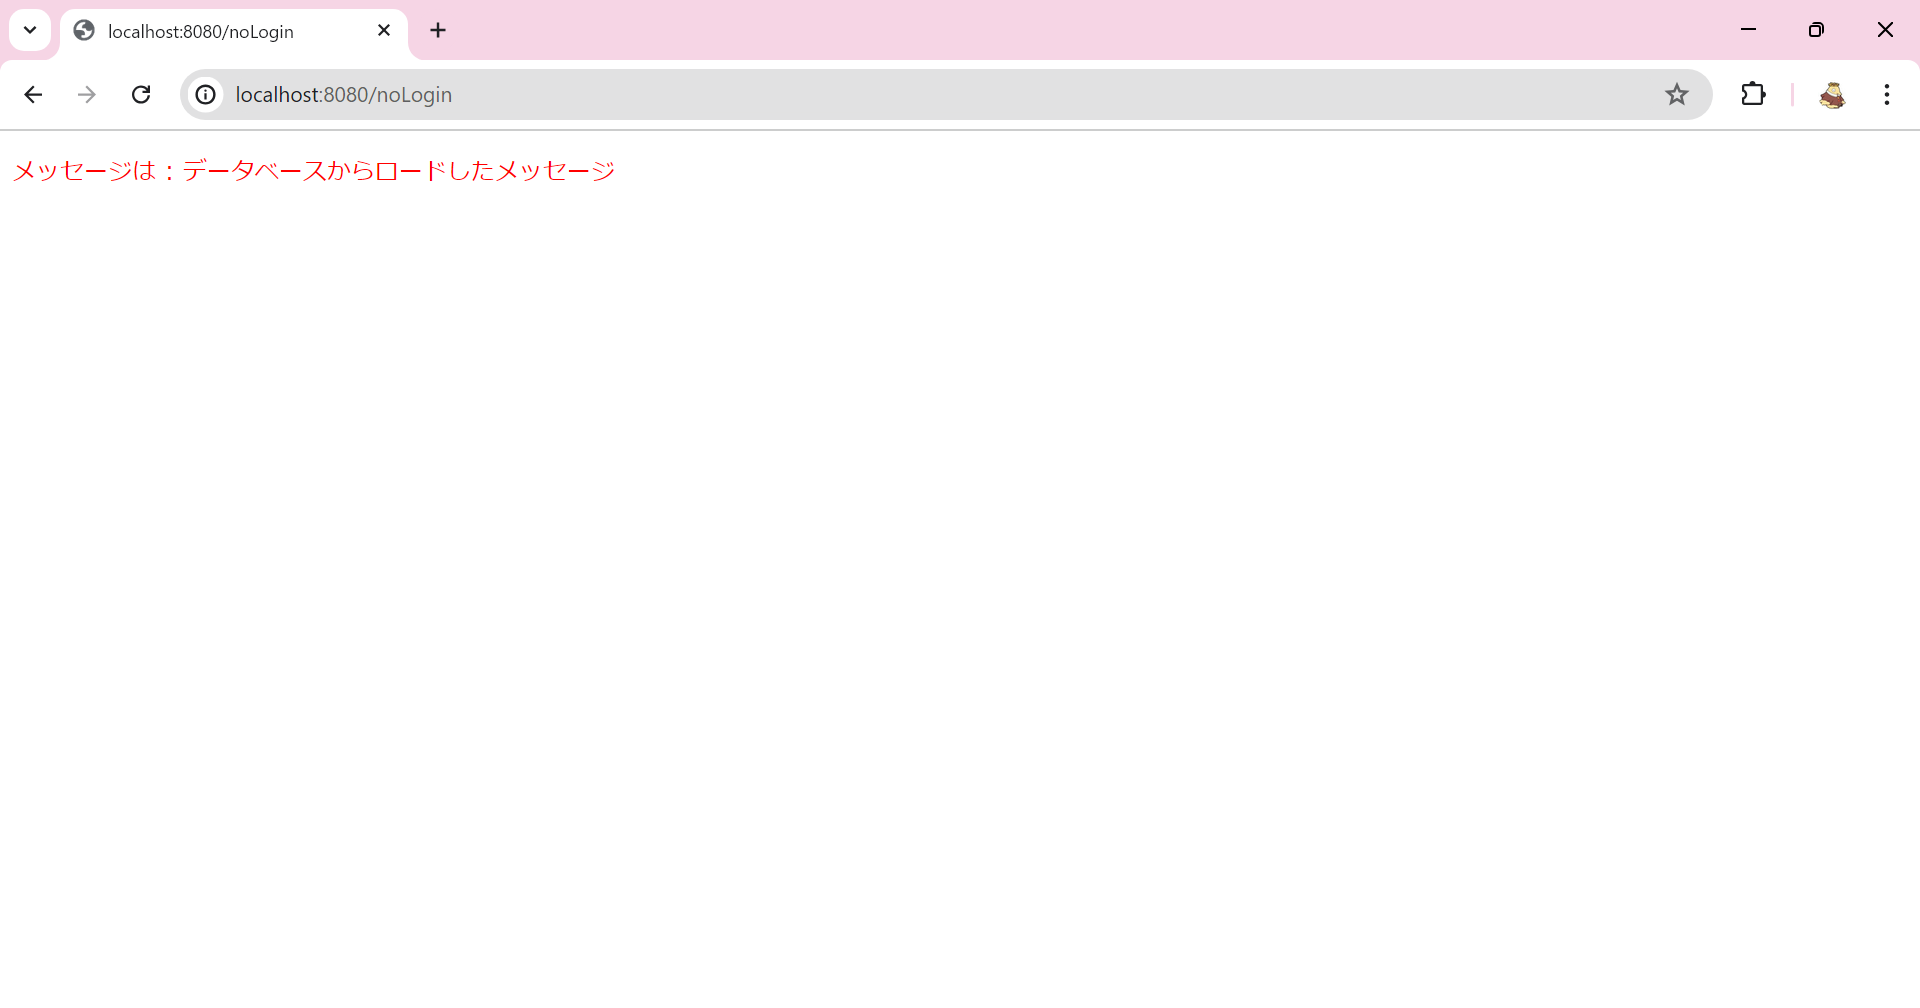
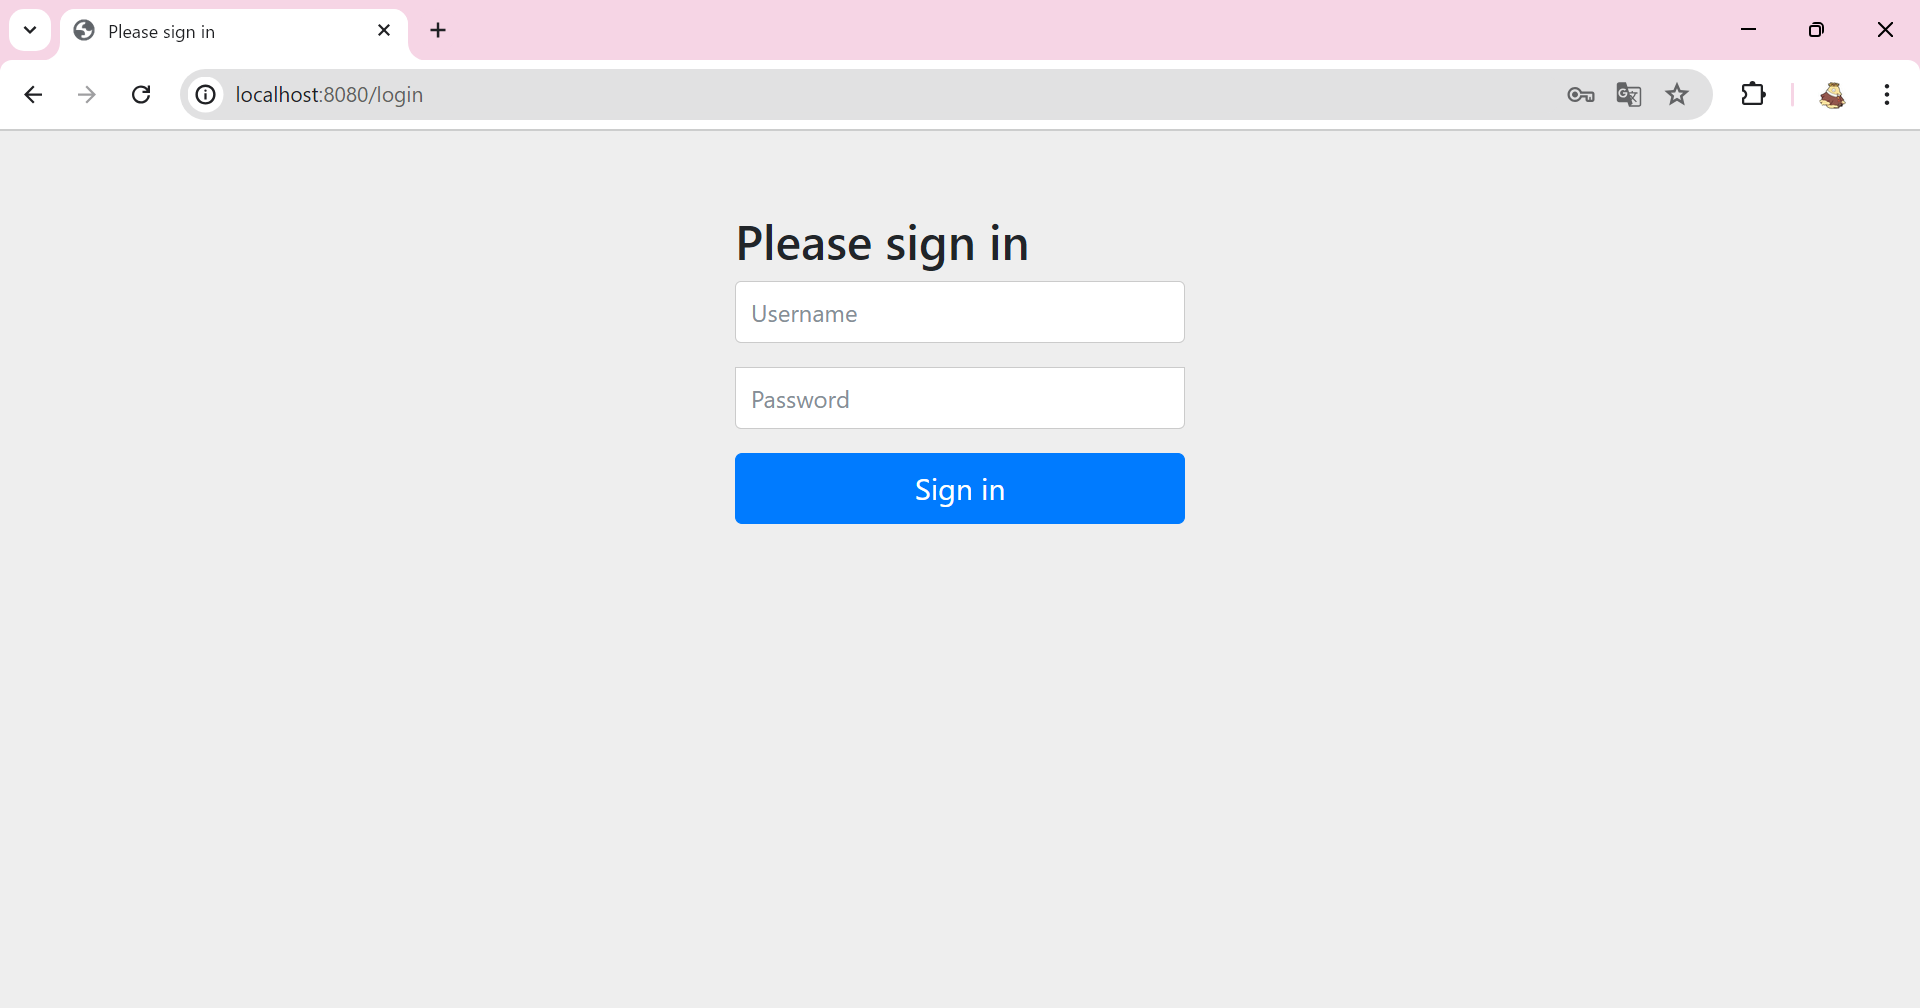
noLogin はControllerの処理が実行され、それ以外は http://localhost:8080/login にリダイレクトされて、Springのデフォルトのログイン画面が表示される。
noLogin
それ以外
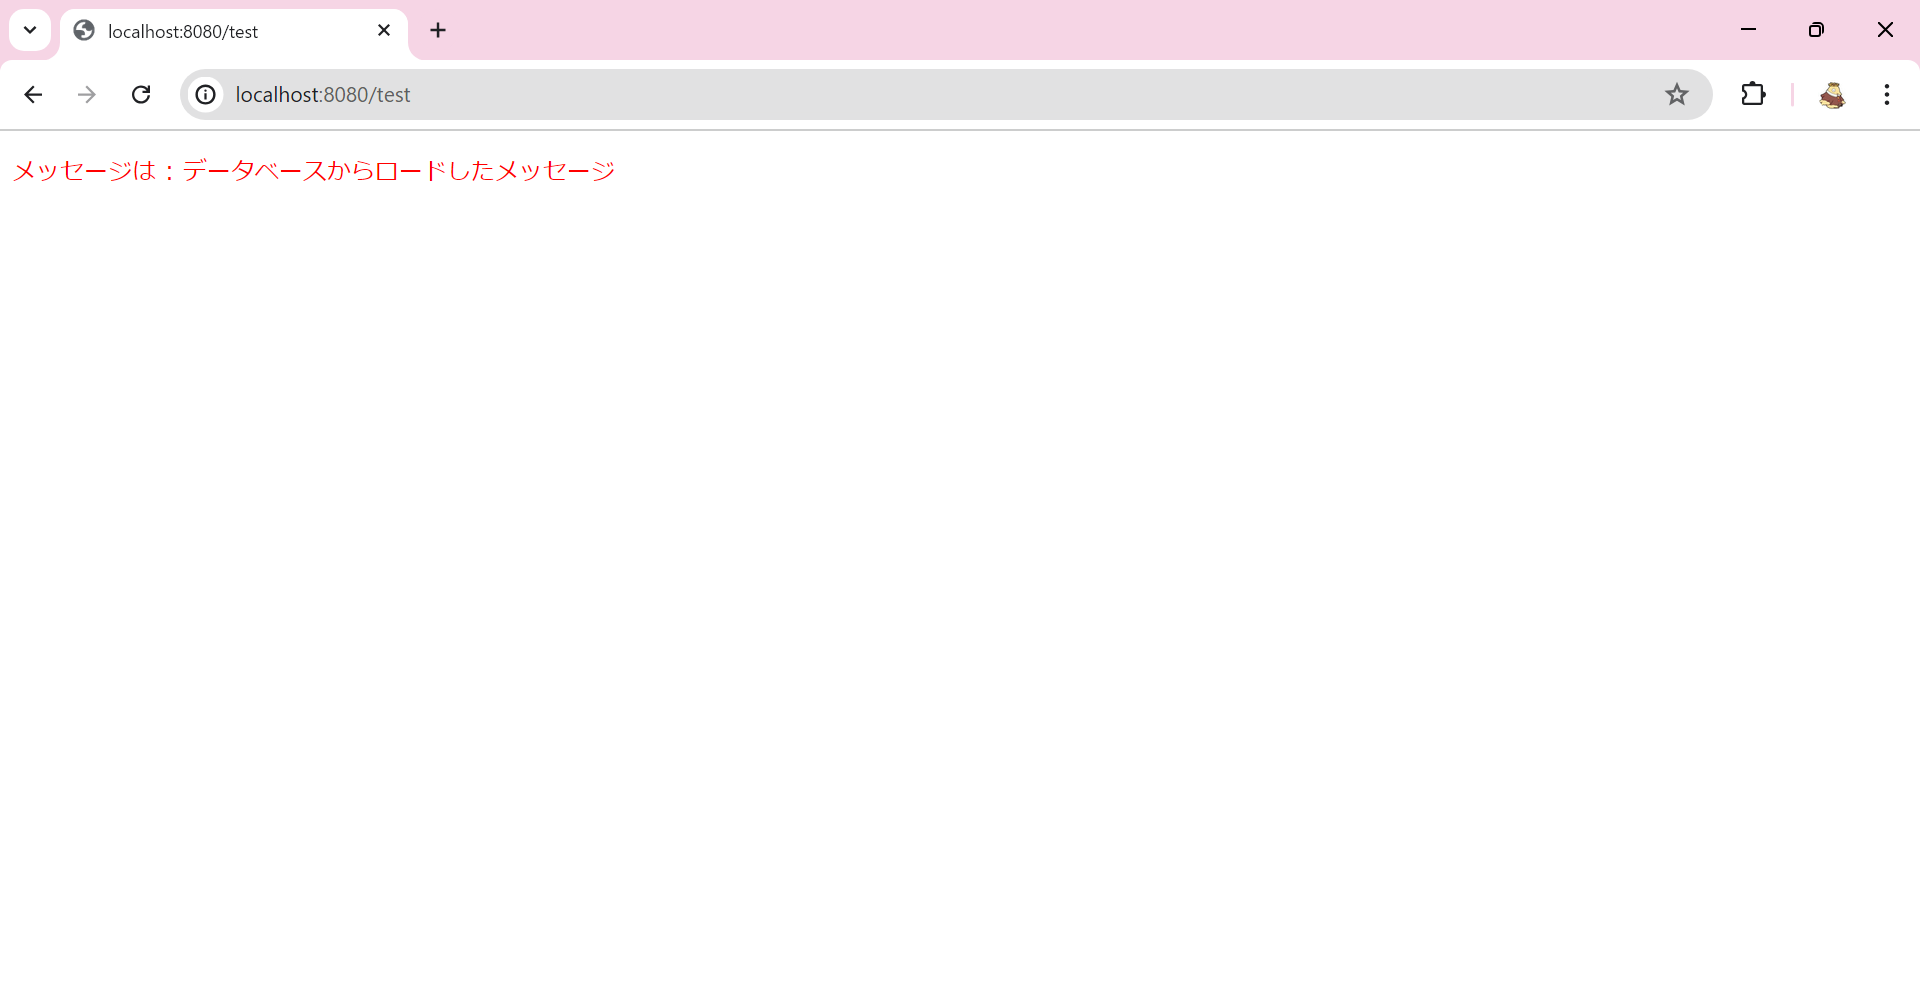
ログイン画面で user でログインした後にそれぞれのエンドポイントにアクセスする。
test noLogin
control nobodyAccess hogehogehogehogehoge
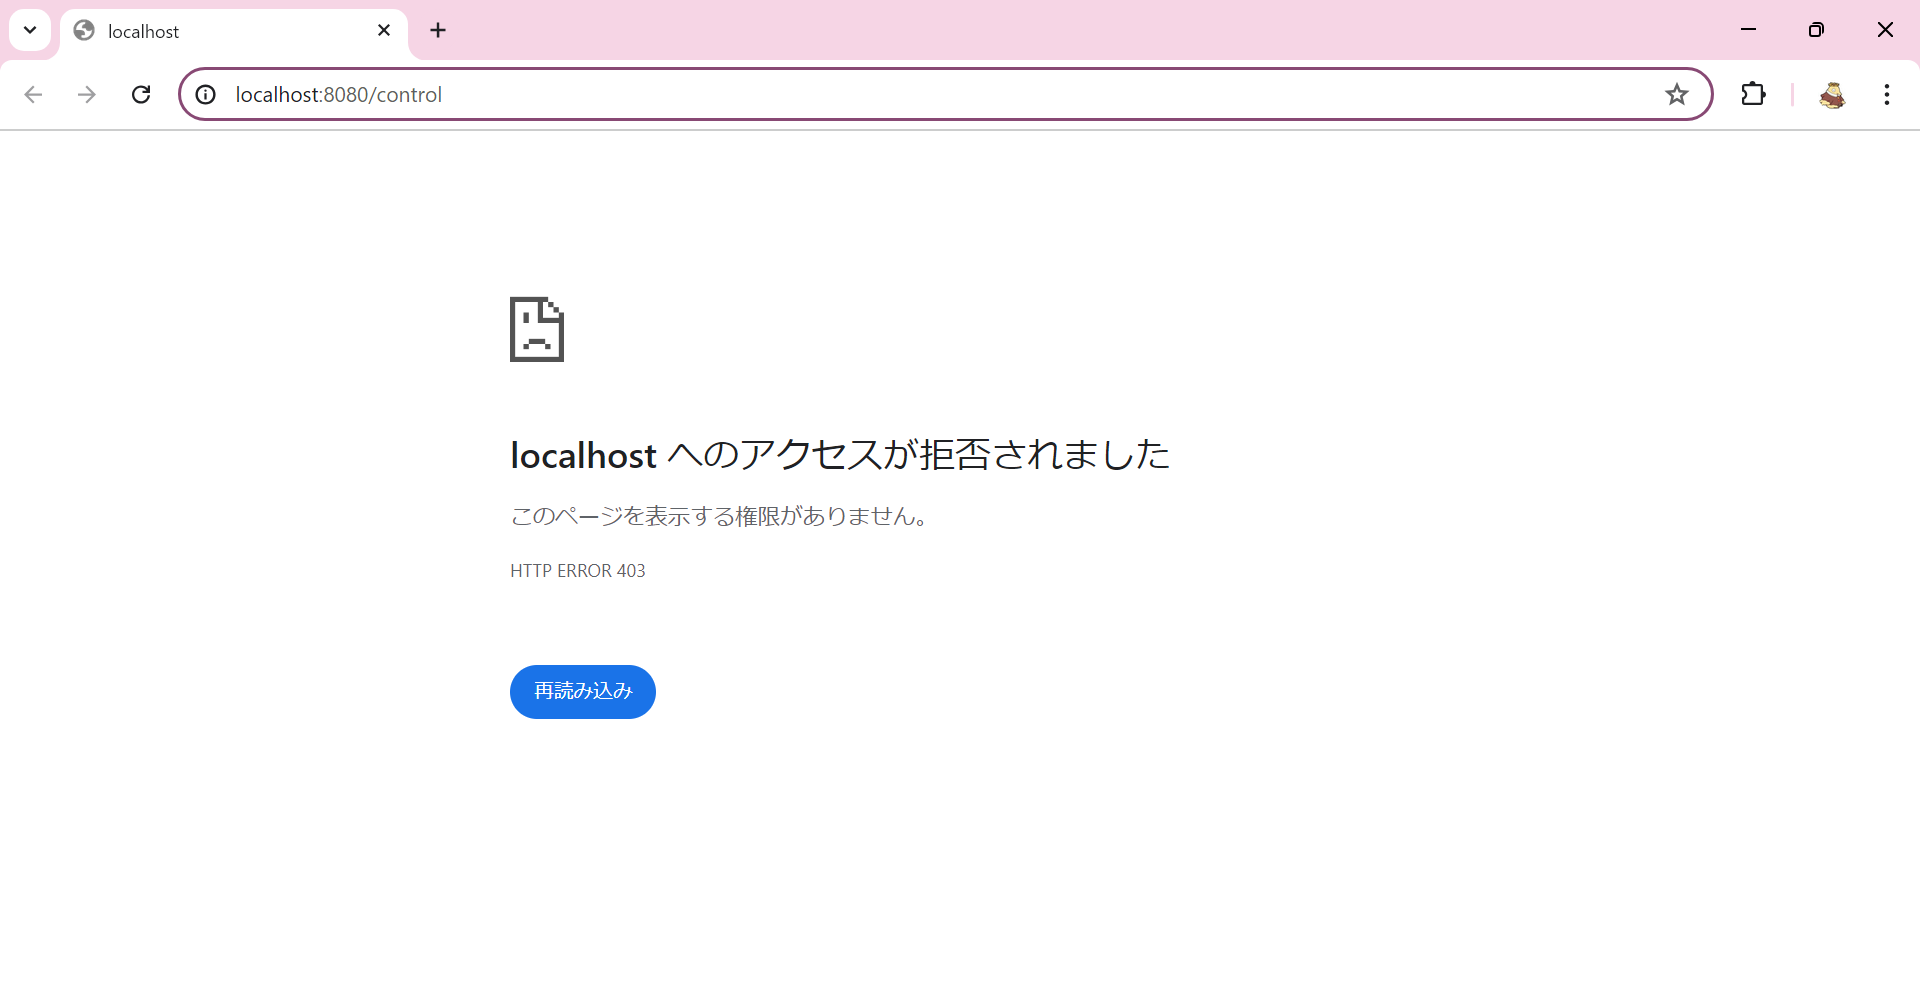
権限に応じてリクエストの実行が制御されています。
admin でログインした場合は test control noLogin が表示できるようになります。
ログイン画面やアクセス拒否をされた際の画面はカスタマイズすることもできます。
メソッド単位での認可
リクエスト単位の制御のほかにメソッド単位での実行制御も行うことができます。
まずConfigurationクラスに @EnableMethodSecurity を付与します。
SpringBootの場合はApplicationクラスがConfigurationクラスとして動作するため、DemoApplicationに以下のように付与します。
@SpringBootApplication
@EnableMethodSecurity
public class DemoApplication {

以下略
例えばMessageRepositoryのloadMessageメソッドを管理者権限で制御する場合は @PreAuthorize アノテーションを使って以下のように書きます。
package com.example.demo;

import org.springframework.beans.factory.annotation.Autowired;
import org.springframework.jdbc.core.JdbcTemplate;
import org.springframework.security.access.prepost.PreAuthorize;
import org.springframework.stereotype.Repository;

@Repository
public class MessageRepository {

    @Autowired
    private JdbcTemplate jdbcTemplate;

    @PreAuthorize("hasAnyRole('ADMIN')")
    public String loadMessage(){
        String sql = "SELECT MESSAGE FROM TEST";
        return jdbcTemplate.queryForObject(sql, String.class);
    }
}
エラーになった場合はリクエストで制御した時と同じエラー画面に遷移します。
今の実装ではすべてのURLからloadMessageが呼ばれるため、この実装を行うと管理者以外はエラー画面しか表示されなくなってしまいます。
そのため動作確認後は @PreAuthorize を消して元の動作に戻しておきます。
画面上の項目の表示を制御する
認証によって作成されたUserDetailsはセッションスコープで保持されています。
そのためthymeleafの記法で利用して、権限の有無で画面の一部の表示非表示を切り替えることもできます。
build.gradleのimplementationに implementation 'org.thymeleaf.extras:thymeleaf-extras-springsecurity6' を追記。
dependencies {
	implementation 'org.springframework.boot:spring-boot-starter-web'
	implementation 'org.springframework.boot:spring-boot-starter-data-jdbc'
	implementation 'org.springframework.boot:spring-boot-starter-security'
	implementation 'org.springframework.boot:spring-boot-starter-thymeleaf'
	implementation 'org.thymeleaf.extras:thymeleaf-extras-springsecurity6'
以下省略
test.htmlを以下のように修正します。
<!DOCTYPE html>
<html xmlns:th="http://www.thymeleaf.org" xmlns:sec="http://www.thymeleaf.org/extras/spring-security">
<p style="color:red;" th:text="${message}"></p>
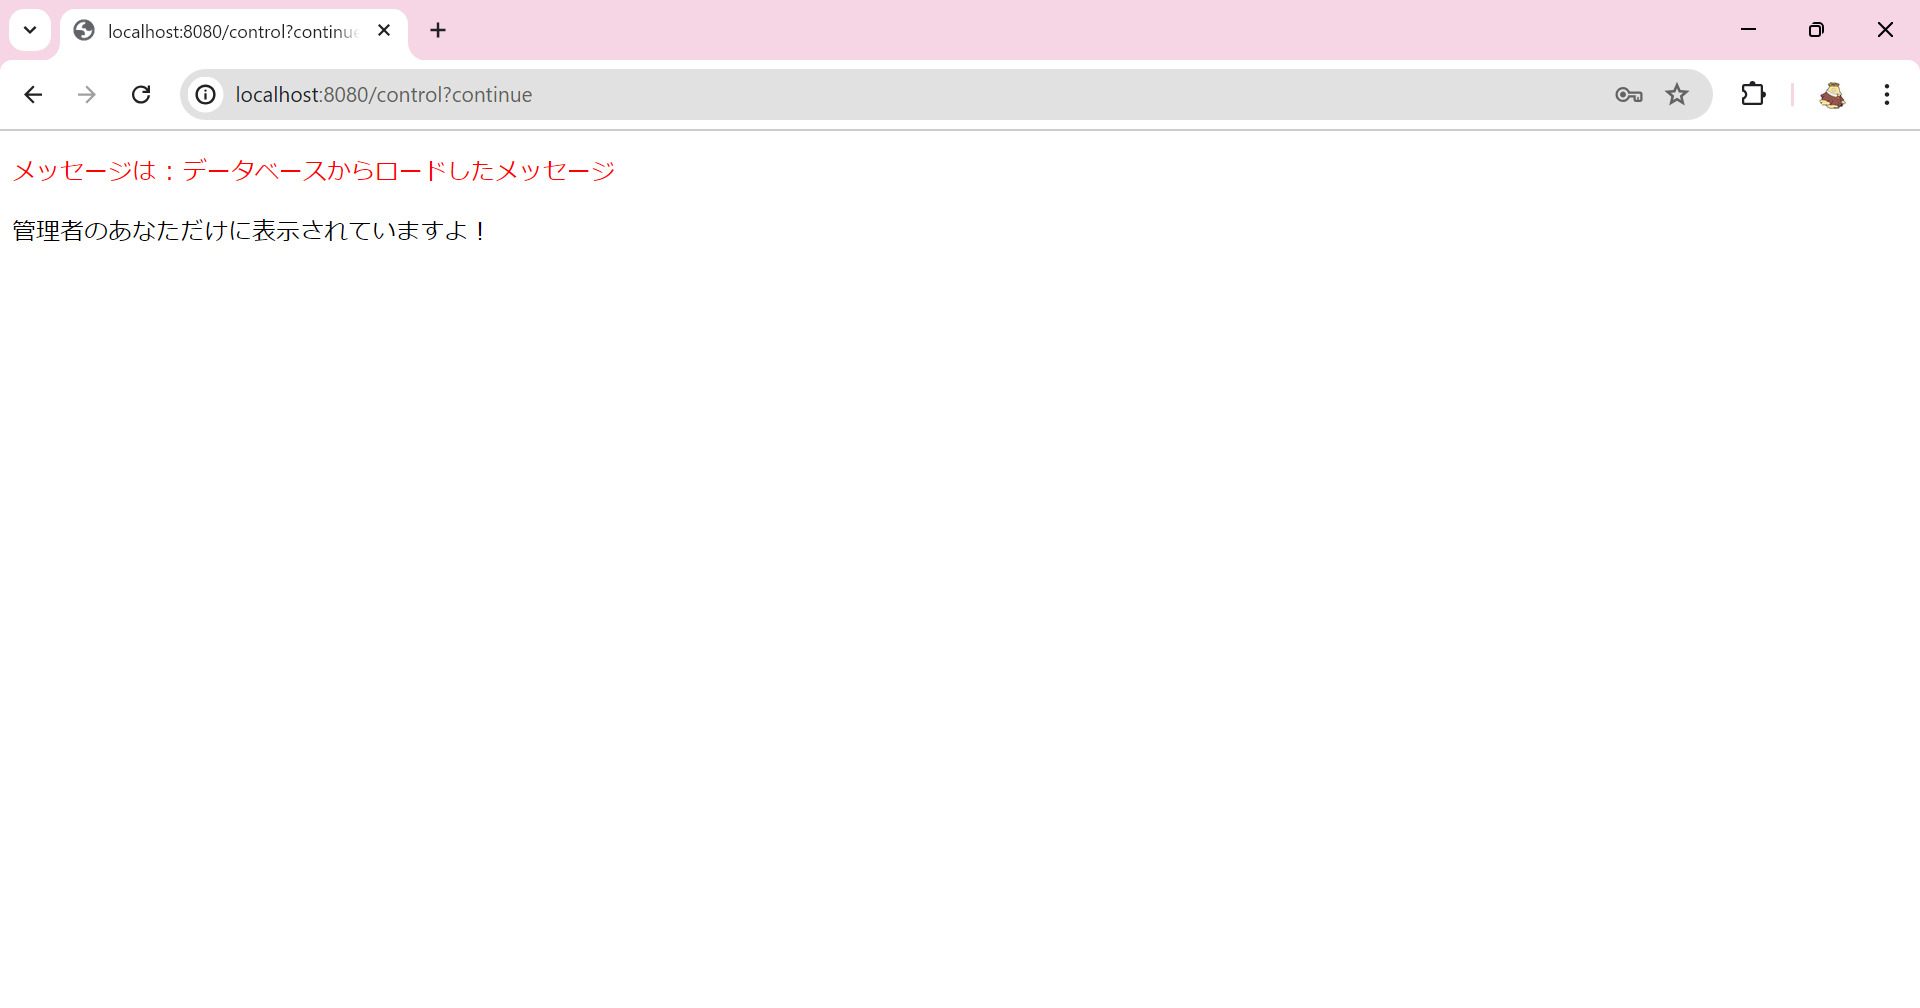
<div sec:authorize="hasRole('ADMIN')">
<p>管理者のあなただけに表示されていますよ!</p>
</div>
管理者でログインした場合だけ指定のメッセージを表示することができます。
認証されたユーザー情報を利用する
前述の通り、認証によって作成されたUserDetailsはセッションスコープで保持されています。
そのためnameやroleはJavaロジックで取得することができます。
これを利用すると、例えば画面上にユーザーの名前を表示したり、データベースにレコードを保存する際にそのレコードを作ったユーザーのnameを合わせて保存する、といったことができるようになります。
test.htmlでユーザー名を表示するように修正
<!DOCTYPE html>
<html xmlns:th="http://www.thymeleaf.org" xmlns:sec="http://www.thymeleaf.org/extras/spring-security">

<div>こんにちは<span th:text="${username}"></span>さん</div>

<p style="color:red;" th:text="${message}"></p>

<div sec:authorize="hasAuthority('ADMIN')">
    <p>管理者のあなただけに表示されていますよ!</p>
</div>
ControllerでUserDetailsオブジェクトを受け取り、その値をModelに詰めて表示するように実装。
    @GetMapping("test")
    public String showMessage(Model model,@AuthenticationPrincipal UserDetails userDetails) {
        model.addAttribute("username", userDetails.getUsername());
        model.addAttribute("message", messageMakeService.make());
        return "test";
    }
userでログインして http://localhost:8080/test にアクセス

おわり。
-
実際にアプリケーションを作る際には、DBに保存するパスワードは必ず暗号化(もしくはハッシュ化)しましょう。 ↩