最近、Slackのbot開発をちょこっと進めています。
弊社では、Salesforceに営業報告を書くと、Slackの営業報告チャンネルにその内容が自動的にpostされる仕組みがあります。
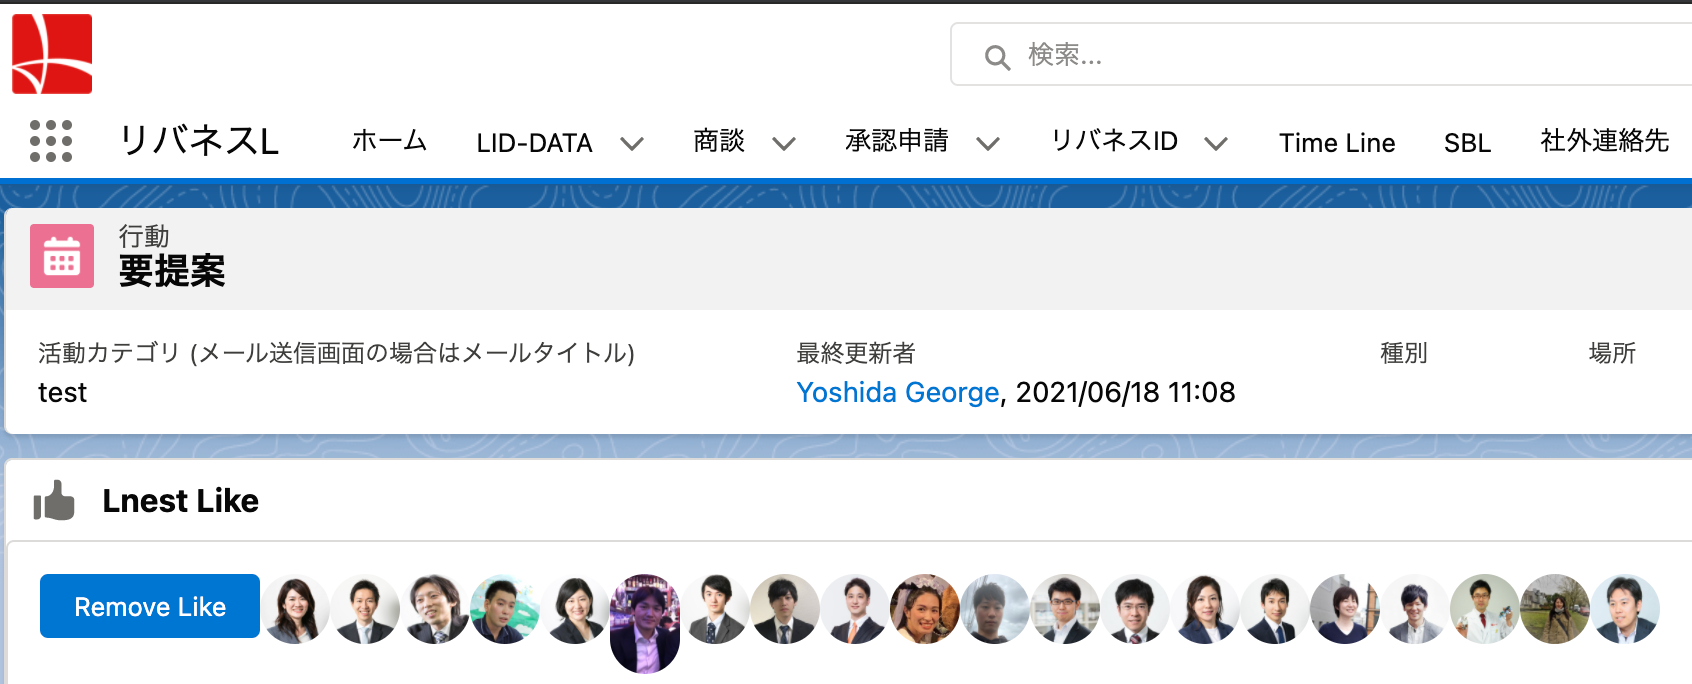
加えて、Salesforce側では、レコードに「いいね」ボタンを設置し、それ読んだよ!いいね!っていうアクションを記録できるようにしてあります。
参考:https://qiita.com/geeorgey/items/4f41c84a9d53cfe5431b
今回の実装では、
- block kit builderを使って、Slackへのpost時にいいねボタンをくっつける
- いいねボタンを押した時に、slack側の表示を変更する
- いいねボタンを押した時に、Salesforce側のいいねレコードを追加/削除する
の3つの実装を行いました。
block kit builderを使って、Slackへのpost時にいいねボタンをくっつける
Salesforce側からSlackのAPIを使ってチャンネルにpostします。
基本的な書き方は @seratch さんのこれを参考にすると良いです。
https://qiita.com/seratch/items/ef9fb81828ba3c5d24c2
上述のページだと
'text' => 'Hello World!' // blocks を使うともっといろいろできますが、ここではシンプルに
と書いてあるので、今回はそこの書き方について記します。
ブロックキットに対応したブロックの書き方について
Apexで書くとかなり面倒な印象があります。
最初に定義するのはこちら
LIST<Object> blocks = new LIST<Object>();
最終的にはこれを
    new Map<String, Object> {
        'channel' => '#random', // 本当は ID の方がよいです
        'text' =>  'Hello World!', // blocks を使うともっといろいろできますが、ここではシンプルに
        'blocks' => JSON.serialize(blocks)
    }
こういう形式で渡します。
ちなみに、最初textブロックを削除して送ったら、ベストプラクティス的には、通知画面で使うから入れておいてくれよな!ってアラートが出ました。textも忘れずに付けておきましょう。
LIST<Object> blocks = new LIST<Object>();
Block Kit Builderからテンプレを持ってきましょう。
https://app.slack.com/block-kit-builder/
これを使うことにします。
右カラムのPayloadを見ると、
{
	"blocks": [
		{
			"type": "section",
			"text": {
				"type": "mrkdwn",
こんな形になっています。今回 blocksの配列で作ろうとしているのは
二行目の"blocks": []
の配列の中身です。
            Map<String,Object> section0 = new Map<String,Object>();
            section0.put('type','section');
            Map<String,Object> section0_text = new Map<String,Object>();
            section0_text.put('type','mrkdwn');
            section0_text.put('text',colorString + ' [' + myrep.C_Item_SL_Result__c + ']' + myrep.Subject + '(' + o.postUserName + ' <@' + myrep.OwnerSlackID__c + '>)\n*実施日* ' + myrep.ActivityDate);
            section0.put('text',section0_text);


            Map<String,Object> section0_accessory = new Map<String,Object>();
            section0_accessory.put('type','button');
                Map<String,Object> section0_accessory_text = new Map<String,Object>();
                section0_accessory_text.put('type','plain_text');
                section0_accessory_text.put('emoji',true);
                if(runningInASandbox() == true){
                    section0_accessory_text.put('text','testaction :thumbsup:');
                }else{
                    section0_accessory_text.put('text','いいね :thumbsup:');
                }
            section0_accessory.put('text',section0_accessory_text);
            section0_accessory.put('style','primary');
            section0_accessory.put('value',myrep.id);//Event.id を埋め込む

            if(runningInASandbox() == true){
                section0_accessory.put('action_id','testaction');
            }else{
                section0_accessory.put('action_id','bizrep');
            }
            section0.put('accessory',section0_accessory);

            blocks.add(section0);
作り方はこんな感じになります。
基本はMapオブジェクトにキーとオブジェクトを入れて渡す形になります。
たまに、JSONの中でelementsみたいな複数項目が入るセクションが入ってきたりします。
そこは配列を作ってその中にデータを入れる形にする必要があるので注意してみてください。
このblocksをJSON.serializeしてAPIを叩きましょう。
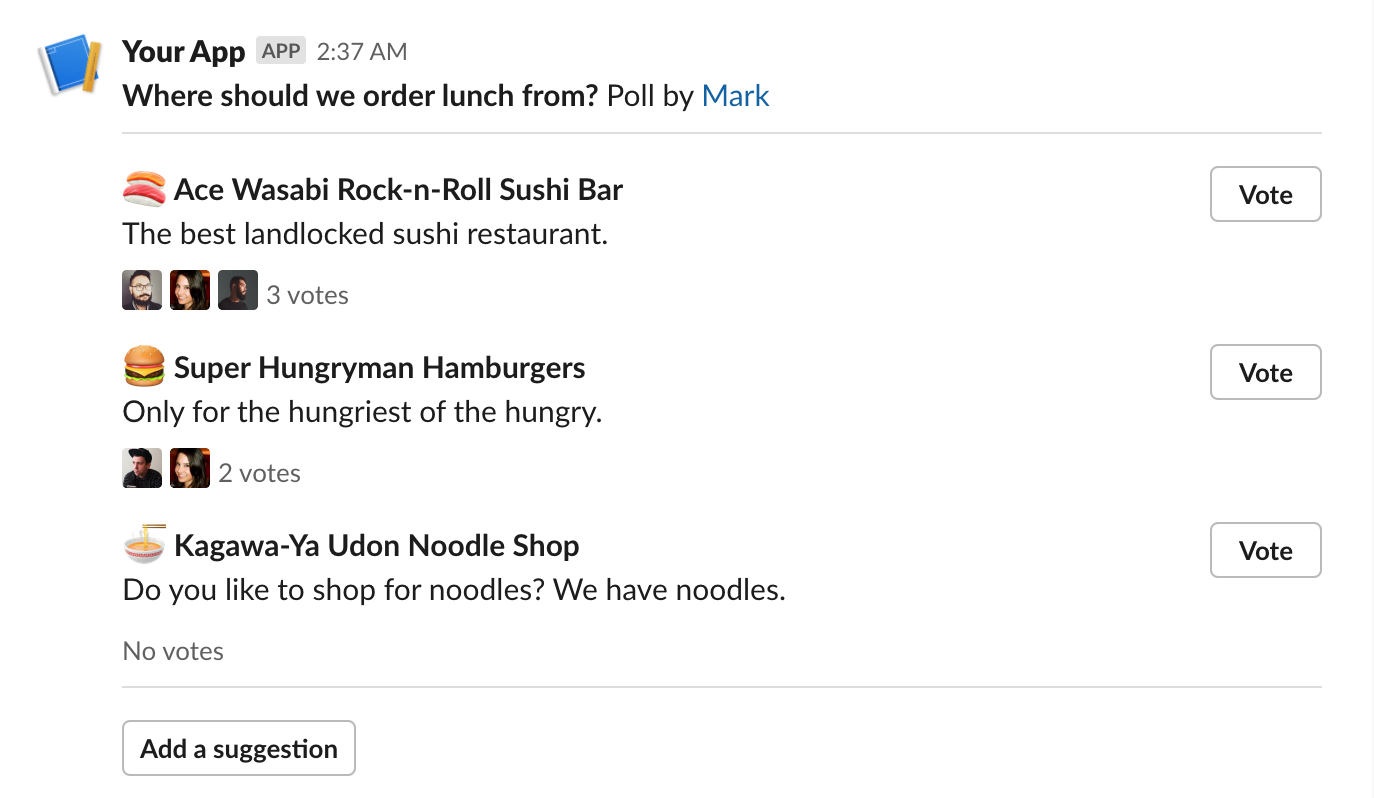
こんな感じでpostされれば第一段階は完成です。
いいねボタンを処理するslack botを作る
こちらを参考に作ると楽かなと思います。
https://qiita.com/geeorgey/items/656b59de6d738c740760
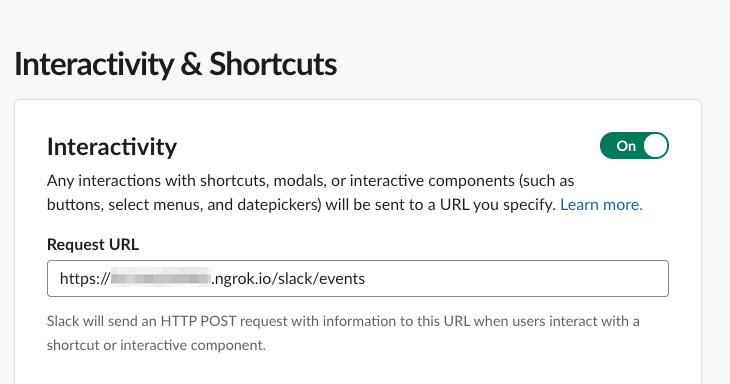
ボタンを押した時のレスポンスは,Slackアプリの「Interactivity & Shortcuts」のRequest URLに返ってきますのでその設定だけはしましょう。ボタンアクションに関しては特にscopeの設定は不要です。

botには Slack bolt for pythonを使っています。
@app.action("bizrep")
def addLike(body, ack, say, action):
    ack()
    user_id = body['user']['id']
    #処理書く
この中に出てきた
app.action("bizrep")
のbizrepっていうのはどこで定義したかというと、先程書いたApexの中のボタンのセクションです。
section0_accessory.put('action_id','bizrep');
こうやってaction_idを指定することでデータがbot側に渡ってきます。
ボタンを押した時にSalesforceのREST APIを叩く為に
Salesforce側にREST APIを作る
書き方はこちらを参照
https://qiita.com/TaaaZyyy/items/336ba4c49e112c08534c
@RestResource(urlMapping='/api_for_slackbot/*')
global with sharing class api_for_slackbot {

    @HttpPost
    global static LIST<LID_Timeline__c> handlePost(String user_id,String event_id) {
    	RestRequest req = RestContext.request;
        //https://qiita.com/TaaaZyyy/items/336ba4c49e112c08534c
        System.debug(LoggingLevel.DEBUG, 'user_id');
        System.debug(LoggingLevel.DEBUG, user_id);
        System.debug(LoggingLevel.DEBUG, '===== request =====');
        System.debug(LoggingLevel.DEBUG, '▼ PATH');
        System.debug(LoggingLevel.DEBUG, req.resourcePath);
        System.debug(LoggingLevel.DEBUG, '▼ URI');
        System.debug(LoggingLevel.DEBUG, req.requestURI);
        System.debug(LoggingLevel.DEBUG, '▼ METHOD');
        System.debug(LoggingLevel.DEBUG, req.httpMethod);
        System.debug(LoggingLevel.DEBUG, '▼ HEADER');
        System.debug(LoggingLevel.DEBUG, req.headers);
        System.debug(LoggingLevel.DEBUG, '▼ PARAM');
        System.debug(LoggingLevel.DEBUG, req.params);

        //処理書く
色々試してみたのですが、paramsは取れなかったですね。slack側からの渡し方が悪いのかもしれない。
REST APIが完成したら、次はbolt for python側からSalesforceで作ったREST APIを叩くための準備をしましょう。
REST APIを叩くには、pythonのsimple-salesforceというライブラリを使わせてもらいます。
https://github.com/simple-salesforce/simple-salesforce
pip install simple-salesforce
でインストールして下さい。
from simple_salesforce import Salesforce

@app.action("bizrep")
def addLike(body, ack, say, action):
    ack()

    user_id = body['user']['id']
    #print(user_id)#slackのユーザーID


    #SalesforceのREST APIを呼ぶ
    session = requests.Session()
    sf = Salesforce(
        instance_url=os.environ.get("SALESFORCE_INSTANCE_URL"),
        username=os.environ.get("SALESFORCE_USER_ID"),
        password=os.environ.get("SALESFORCE_USER_PASS"),
        organizationId=os.environ.get("SALESFORCE_ORG_ID")
        )
こんな感じでSalesforceのセッションを作ることが出来ます。
SALESFORCE_INSTANCE_URL:SalesforceのURLです。
https://xxxxxxxxxx.lightning.force.com
こんな形式のやつですね。
SALESFORCE_USER_ID:接続に使うユーザーのメールアドレスを入れて下さい
SALESFORCE_USER_PASS:当該ユーザのパスワードです。
SALESFORCE_ORG_ID:設定>組織の設定>会社情報 に記載された組織IDを使います。
ちなみにですが、Sandbox環境で使う場合は
    sf = Salesforce(
        domain='test',
        username=os.environ.get("SALESFORCE_USER_ID"),
        password=os.environ.get("SALESFORCE_USER_PASS"),
        organizationId=os.environ.get("SALESFORCE_ORG_ID")
        )
instance urlがdomain='test'に変わりますので注意して下さい。
    #SalesforceのREST APIを呼ぶ

    session = requests.Session()
    sf = Salesforce(
        domain='test',
        username='yoursandbox@email.com',
        password='yourpassord',
        organizationId='your organization Id'
        )

    payload = {'user_id': user_id,'event_id': action['value']}

    result = sf.apexecute('api_for_slackbot', method='POST', data=payload)
    print(json.dumps(result, indent=4))
    #SalesforceのREST APIを呼ぶ
こんな風にしてapexecuteを使うと、先程設定したSalesforceのREST APIを使うことが出来ます。
payloadのデータは引数に入りますのでそれをApex Classで受け取りましょう。
global static LIST<LID_Timeline__c> handlePost(String user_id,String event_id)
ここにある
String user_id,String event_id
の部分に入ります。
これで受け取ったデータを元に、レコードを足したり引いたりして、その結果を戻してあげれば
bolt側のresponseにデータが返ってくるという形になります。
返ってきたデータを元にして slack の表示を変更しよう
今度はboltの出番ですね。
from slack_sdk import WebClient

@app.action("bizrep")
def addLike(body, ack, say, action):
    #中略
    client = WebClient(token=os.environ.get("SLACK_BOT_TOKEN"))
    try:
        userinfo = client.users_info(
            user=user_id
        )
    except SlackApiError as e:
        print("Error fetching conversations: {}".format(e))
こんな感じにするとuserinfoデータが取得できます。
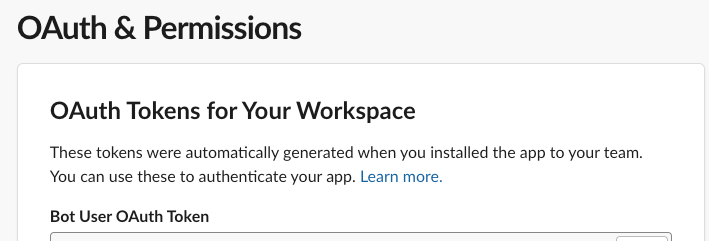
SLACK_BOT_TOKENはSlackアプリページの「OAuth & Permissions」ページにあるものです。
書き換えるべきは、最初に作ったblocksです。
blocksはどこにあるかというと、ここです。
blocks = body['message']['blocks']
この中に、最初にApexで作ったブロックが入っていますのでこれを書き換えてください。
書き換え終わったら
@app.action("bizrep")
def addLike(body, ack, say, action):
    #中略
    try:
        # Call the chat.chatDelete method using the built-in WebClient
        update_result = client.chat_update(
            channel=body['channel']['id'],
            ts=body['container']['message_ts'],
            blocks=blocks,
        )
        logger.info(update_result)
    except SlackApiError as e:
        logger.error(f"Error deleting message: {e}")
こんな形でchat_updateを使うことで上書きすることが出来ます。
もちろんSalesforce側にもデータが作られていることが確認できます。
処理の順番は以下の通りです
- Slackのボタンが押される
- SalesforceのREST APIを叩いてSalesforce側にレコードを作る
- そのレコードがapp.py側に返ってくる
- app.pyで処理したデータをSlackのpost宛にchat.updateをかける
以上、長くなりましたが、要点をまとめました。ぜひチャレンジしてみてください。
Tips
elementsの最大数は10
Slackのblocks内でアイコンを表示させている部分はcontextブロックを使っています。
contextブロックの中に入っているelementsブロックが配列を入れられるブロックになるのですが、elementsブロックに11以上のelementを突っ込むとエラーが出るので注意してください。
データはmessageの本体のみで持たないようにする
あ、例えば二人が同時に押した時に競合状態が発生して、どっちかが反映さないことが起きうるとかそういうのですね。まぁ reaction_added を使ったとしても実装次第では発生しうるのですが。。
— Kazuhiro Sera (瀬良) (@seratch_ja) June 16, 2021
データを外で持たない場合、処理が競合しちゃうことがあるようです。
今回はSalesforce側にレコードを持って処理することで、データが壊れないように配慮しています。
メッセージではなく、reactionを追加するようなやり方も、message本体ではないのでありのようですよ。


