カメラアプリを作ってる時に、SNOWみたくNavigationBarの真ん中にボタンを配置したくなったけど、NavigationBarには「Fixed / Flexible Space Bar button item」が使えないし、LeftBarButtonItemsとRightBarButtonItemsで分かれてるしでどうやって実装しようか悩んだ話。
悩んだ結果「NavigationItemのtitleViewに、追加したいボタンをUIButtonで作って入れる」という方法で解決できました。
検索してもストライクな記事が出てこなかったので、今回まとめておきます。
(初投稿なのでお手柔らかに)
開発環境
- Swift4.2
- Xcode10.1
目的
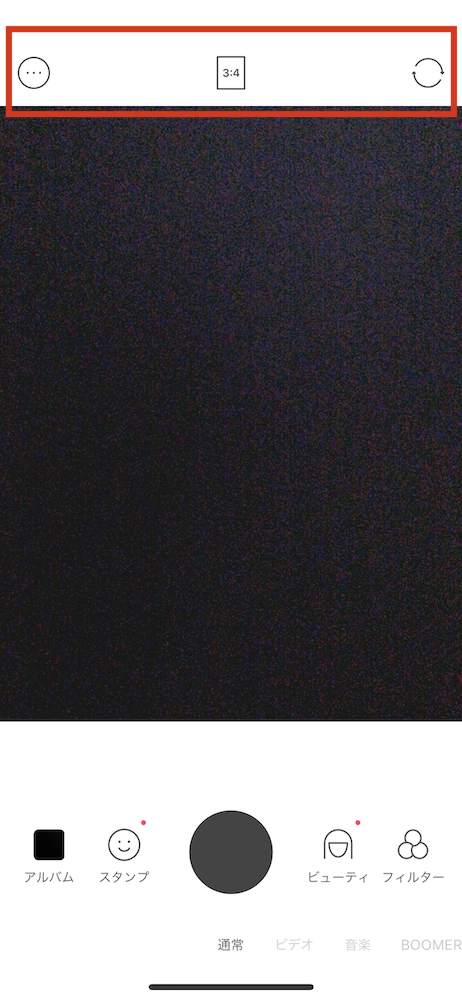
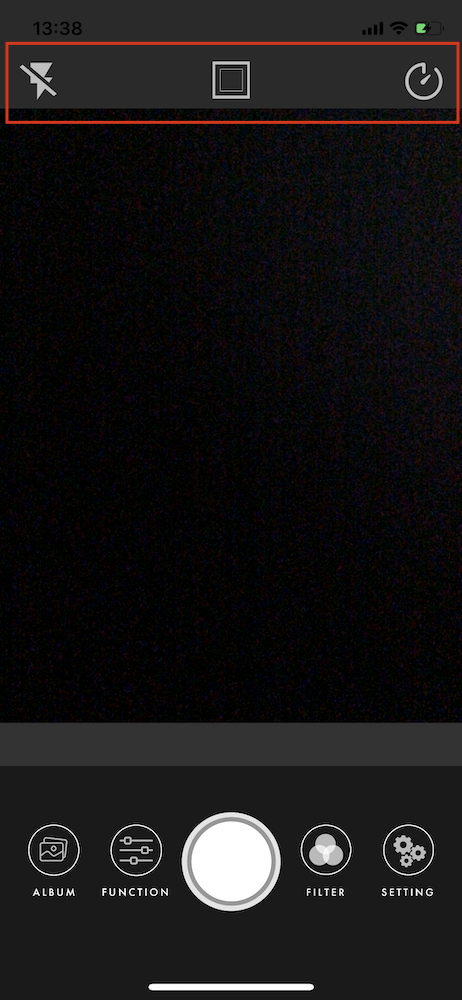
理想はこんな感じの画面を作りたい。(例:カメラアプリ「SNOW」)
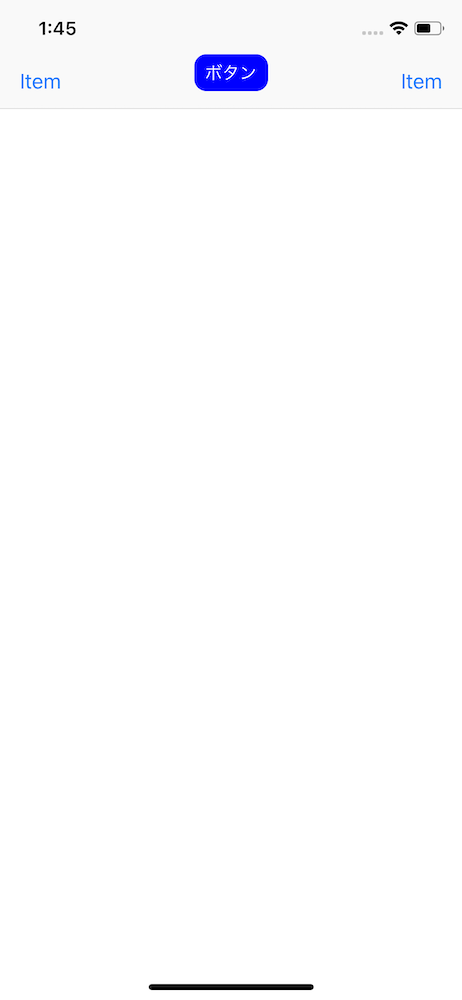
で、今回解説する方法で作ったのがこんな感じです。
というわけで作り方解説していきます。
最後に全体のサンプルコードを置いてるので、サンプルアプリを作る際はぜひぜひ。
NavigationBarの真ん中にボタンを配置する方法
1.真ん中に配置したいボタンをコードで作る
真ん中に配置したいボタンを適当にコードで作りましょう。
NabivationBarに置くボタンは普通はBarButtonItemですが、NavigatonBarの特性上、「左寄せのLeftButtonItems」と「右寄せのRightButtonItems」に分けられてて、奇数個のBarButtonItemを均等に配置することができません。(間違ってたらコメントください(汗))
なので、NavigationBarの真ん中にあるtitleViewに、UIButtonを代入する事で、中央配置のUIButtonを追加してます。
サンプルコードはこちら。
import UIKit

class ViewController: UIViewController {

    override func viewDidLoad() {
        super.viewDidLoad()

        // 1.真ん中に配置したいボタンをコードで作る ---------

        let sampleButton = UIButton(type: .system)

        sampleButton.frame = CGRect(x: 0, y: 0, width: 60, height: 30)
        sampleButton.backgroundColor = UIColor.blue
        sampleButton.setTitle("ボタン", for: .normal)
        sampleButton.setTitleColor(UIColor.white, for: .normal)
        sampleButton.layer.cornerRadius = 10
        sampleButton.addTarget(self, action: #selector(ViewController.tappedButton), for: .touchUpInside)

        // ----------------------------------------

    }

}
ここで注意なのがUIButtonのSize。
NavigationBarはHeight(高さ)が44の固定なので、UIButtonは44以下のHeightにする必要があります。
2.作ったボタンをnavigationItem.titleViewに入れる
navigationItem.titleViewに中央配置したいUIButtonを入れしましょう。
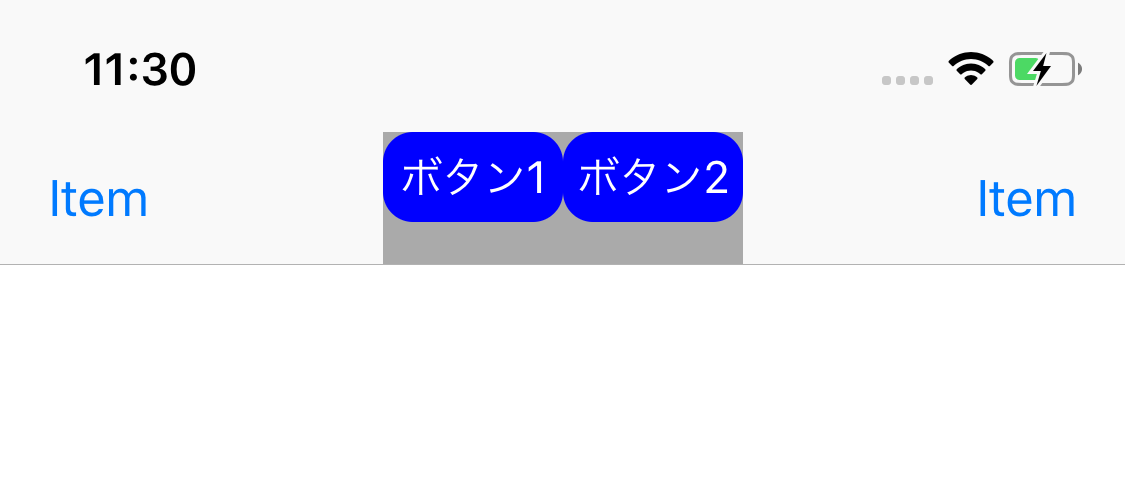
ちなみに、下の画像のように「2個以上を中央寄せ気味に配置したい」って時は、
適当に専用のUIViewを生成して、その中に作ったボタンをaddSubViewした物をtitleViewに代入すれば行けます。(FlexibleSpaceで行けそうな気もするけど)
import UIKit

class ViewController: UIViewController {

    override func viewDidLoad() {
        super.viewDidLoad()


        /* 1.真ん中に配置したいボタンをコードで作る
        let sampleButton = UIButton(type: .system)

        sampleButton.frame = CGRect(x: 0, y: 0, width: 60, height: 30)
        sampleButton.backgroundColor = UIColor.blue
        sampleButton.setTitle("ボタン", for: .normal)
        sampleButton.setTitleColor(UIColor.white, for: .normal)
        sampleButton.layer.cornerRadius = 10
        sampleButton.addTarget(self, action: #selector(ViewController.tappedButton), for: .touchUpInside)
        */

        //2.titleViewに追加する
        navigationItem.titleView = sampleButton

    }

    @objc func tappedButton() {
        print("Button tapped.")
    }

}
こちらのNavigationItem.titleViewは、画面でいうとタイトルの文字が表示される場所ですね。
こいつがUIViewを継承しているので、中央配置したいUIButtonをそのまま代入してあげれば中央配置ができるという寸法です。
3.完成
というわけで完成コードがこちら。悩んだ割にはめちゃめちゃ簡単なコードです笑
そのままコピペすれば動くと思います。
import UIKit

class ViewController: UIViewController {

    override func viewDidLoad() {
        super.viewDidLoad()

        let sampleButton = UIButton(type: .system)

        sampleButton.frame = CGRect(x: 0, y: 0, width: 60, height: 30)
        sampleButton.backgroundColor = UIColor.blue
        sampleButton.setTitle("ボタン", for: .normal)
        sampleButton.setTitleColor(UIColor.white, for: .normal)
        sampleButton.layer.cornerRadius = 10
        sampleButton.addTarget(self, action: #selector(ViewController.tappedButton), for: .touchUpInside)

        navigationItem.titleView = sampleButton

    }

    @objc func tappedButton() {
        print("Button tapped.")
    }

}
完成イメージはこんな感じです。
SNOWがどうやって中央配置させてるのか気になりますが、ひとまず同じものは作れましたね!
「他にもっといい方法あるよ!」という方はぜひコメントで教えて頂けると嬉しいです!