前提として
- Advanced Custom Fields で Google Map の設定などができてる
- Google Maps のAPIが有料なのは知ってる
有料化に伴いAPIもあれこれ変わったらしく、以前から利用していたサイトで「APIが有効化されてない」と表示されたので、覚書。
APIキーをとるとき
※有料化に関してなんやかんや登録しないといけないことは割愛
1 Google Maps Platform から「使ってるみる」をクリック
2 Enable Google Maps Platform で Maps を選択して CONTINUE

3 Select a project と Set up your billing は割愛
4 WP側にAPIキーを反映させるコードも割愛
ここから重要
ACF使わないでGoogle Mapを埋め込むだけなら上記で有効化されるAPIでOKなのですが、管理画面で Google Map を住所で検索する場合、追加で Places API for Web が必要になります。
(ちょっと気づかないよねこれ)

1 Maps API のコンソール を開いて、設定したいプロジェクトか確認します。
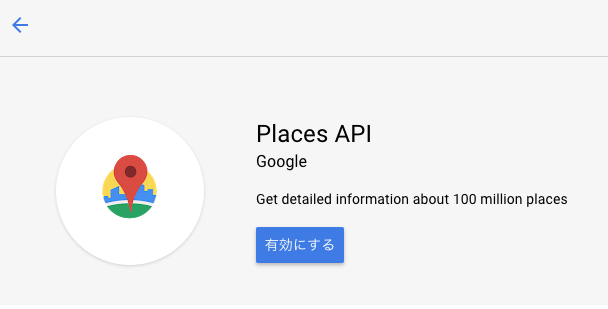
2 API メニューの「未使用の API」から「Places API for Web」をクリックして有効にします。

Google Maps Platform からの手順を書いてますが、通常のAPIコンソールから Places API for Web を有効化してもOK。
この手順で有効化されるAPI
-
Maps Embed API:
iframeで埋め込むとき必要 - Maps JavaScript API:JavaScriptで埋め込むときに必要
- Maps SDK for Android
- Maps SDK for iOS
- Maps Static API
- Places API for Web
- Street View API
「ACFのGoogle Mapを使うときは Maps のセットの他に Places API for Web も必要」 ということで現場からは以上です。