Arduinoで小型ステッピングモーターを動かして見る
購入したもの
Longruner 5個セット arduino用 電圧DC 5V ステッピングモーター+28BYJ-48 ULN2003ドライバテストモジュールボード 電作キット LK67
https://www.amazon.co.jp/gp/product/B0727P4L4H/ref=oh_aui_detailpage_o08_s00?ie=UTF8&psc=1
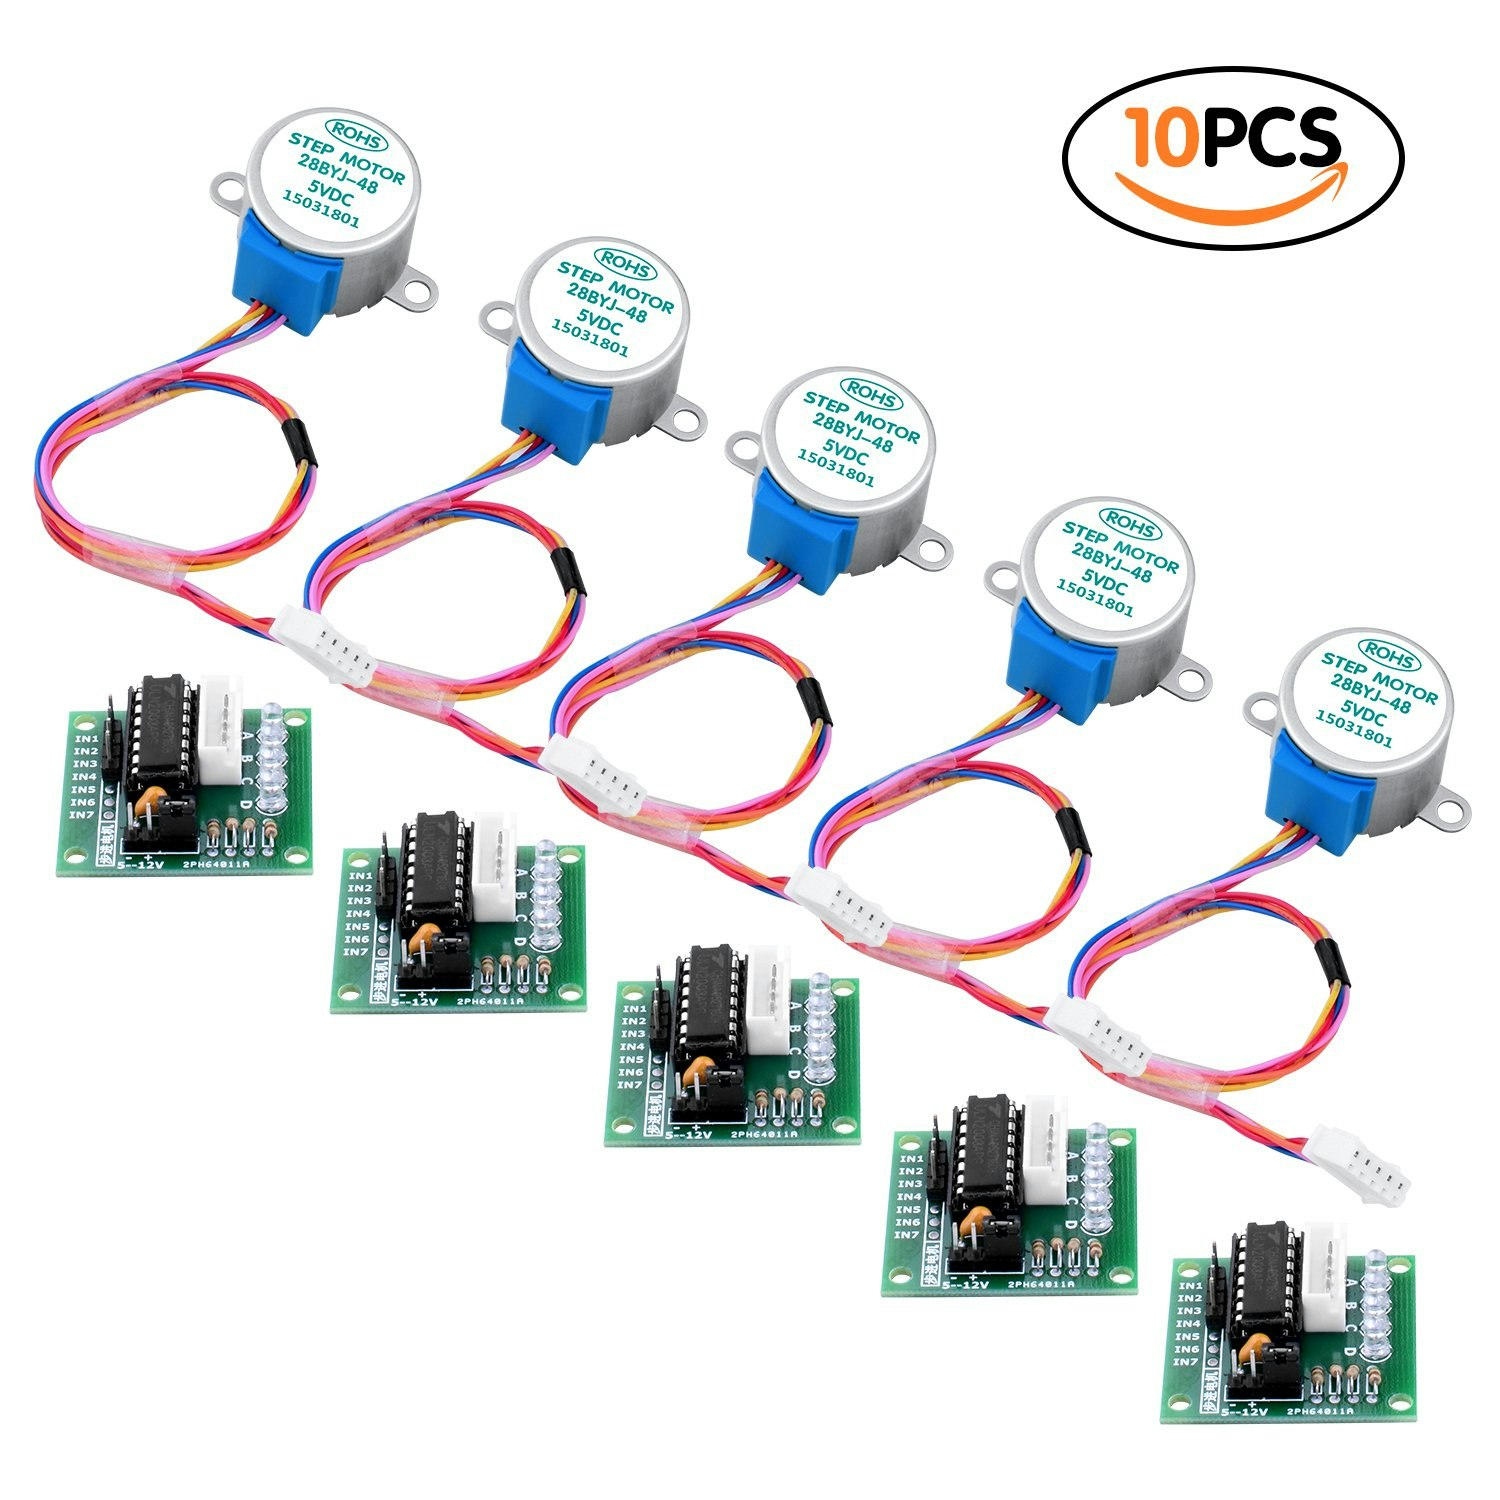
ステッピングモータとドライバがコネクタで繋がるので便利。ステッピングモーターとドライバのセットで約200円と安い
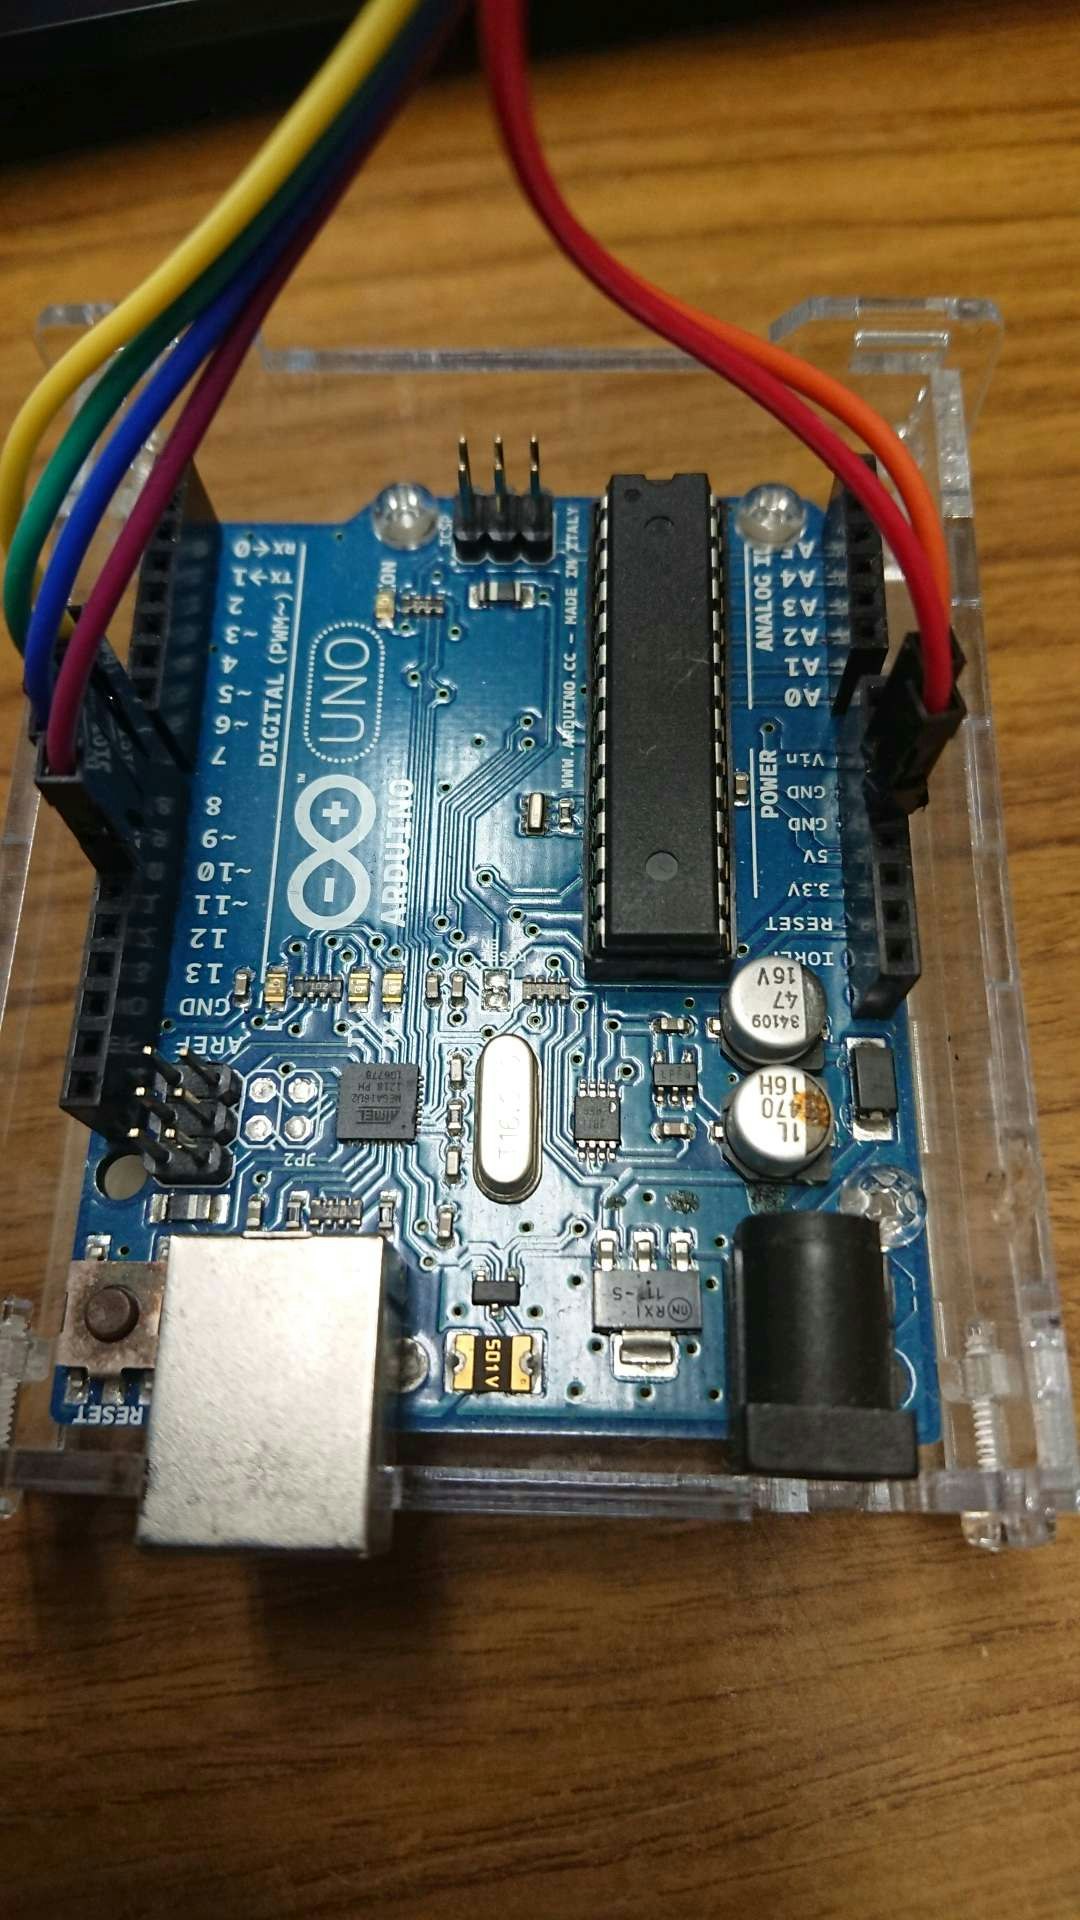
Arduino Uno
https://www.amazon.co.jp/gp/product/B013QV28CW/ref=oh_aui_detailpage_o05_s00?ie=UTF8&psc=1
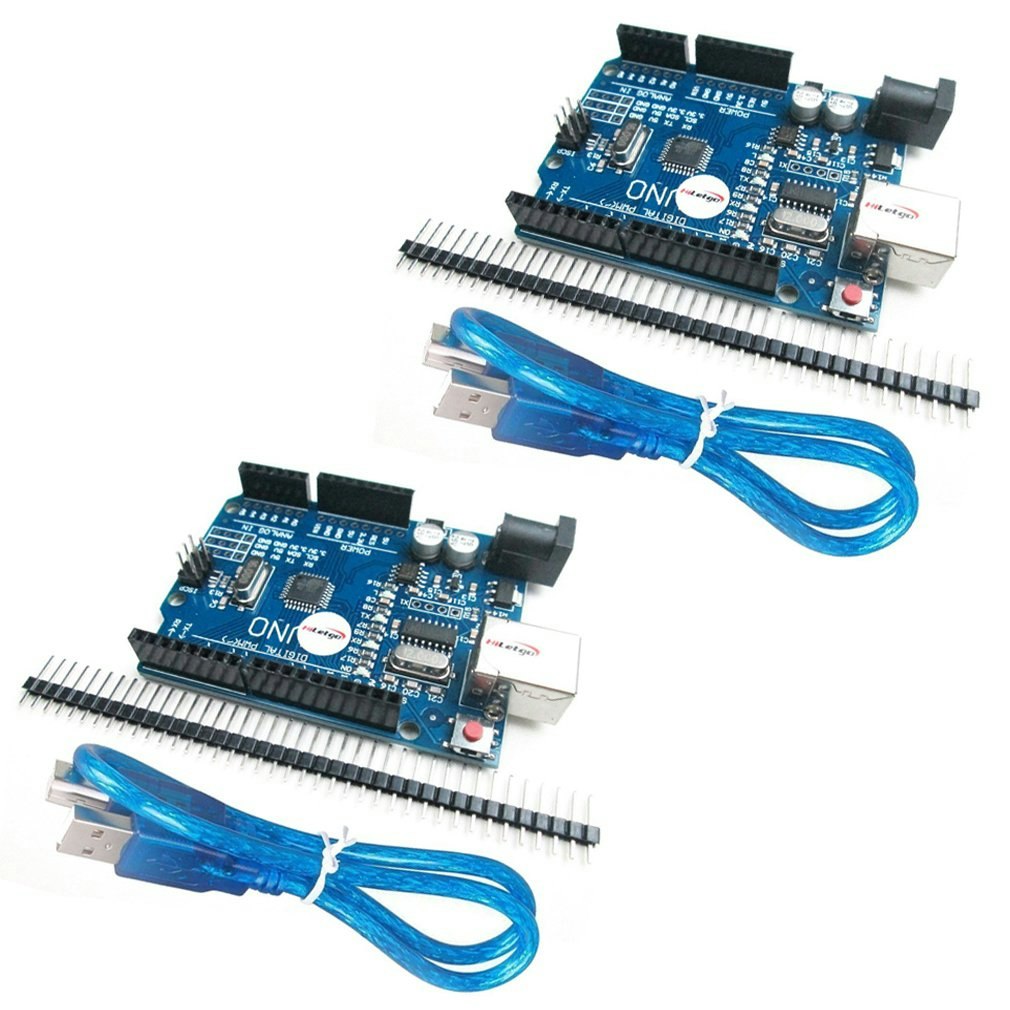
中華製で1個600円くらいで安い。遊ぶのに良い。
KKHMF ブレッドボード・ジャンパーワイヤ(オス-オス)(10cm)40本
https://www.amazon.co.jp/gp/product/B0177W93DS/ref=oh_aui_detailpage_o07_s00?ie=UTF8&psc=1
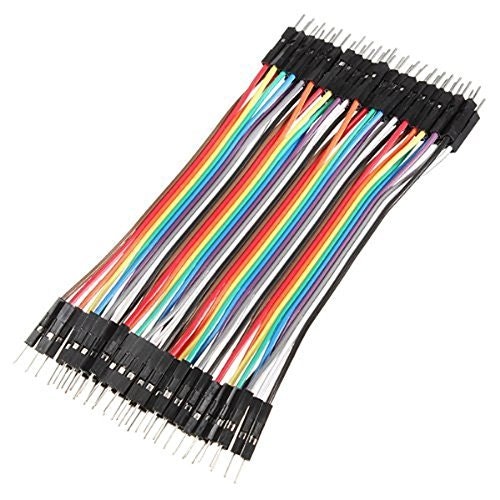
ステッピングモーターのドライバとArduinoの接続に使う。1セットに6本使用。
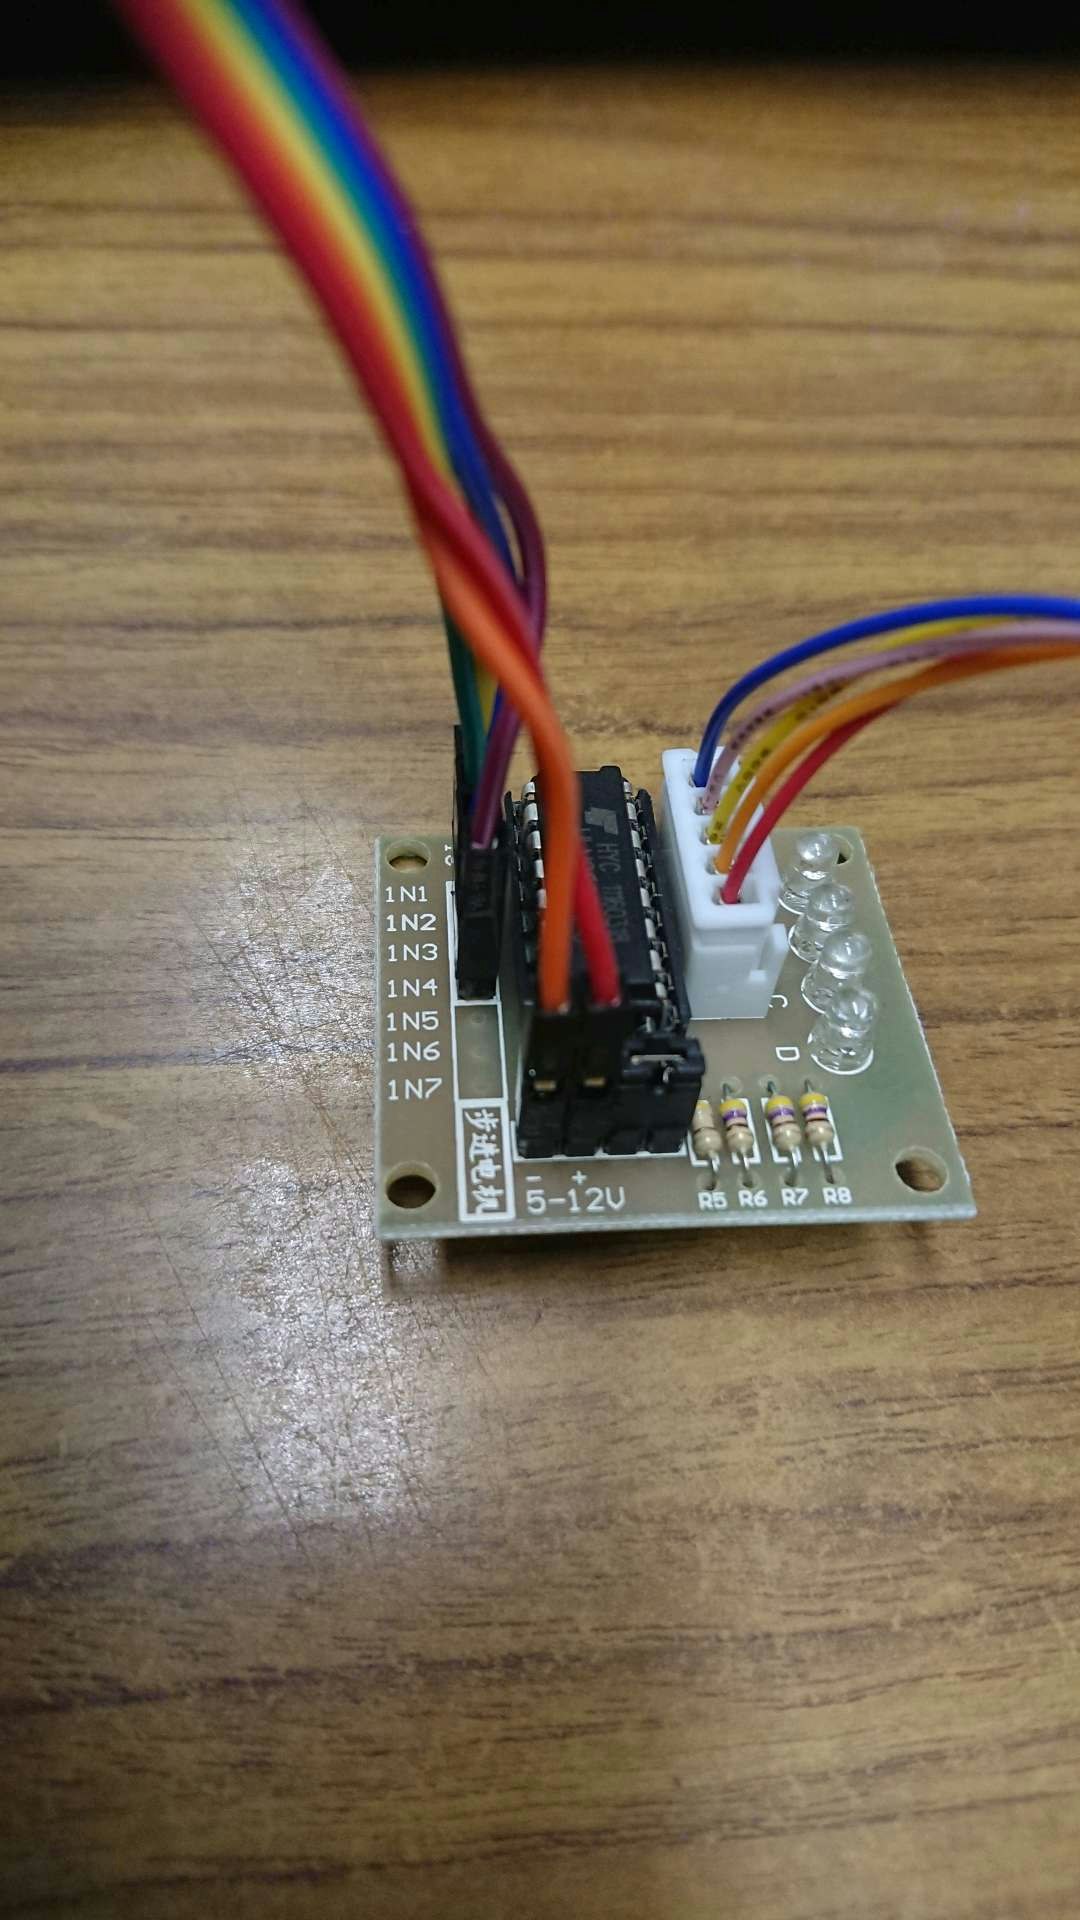
配線
①ステッピングモーターから出ているケーブルをドライバ基板につなぐ
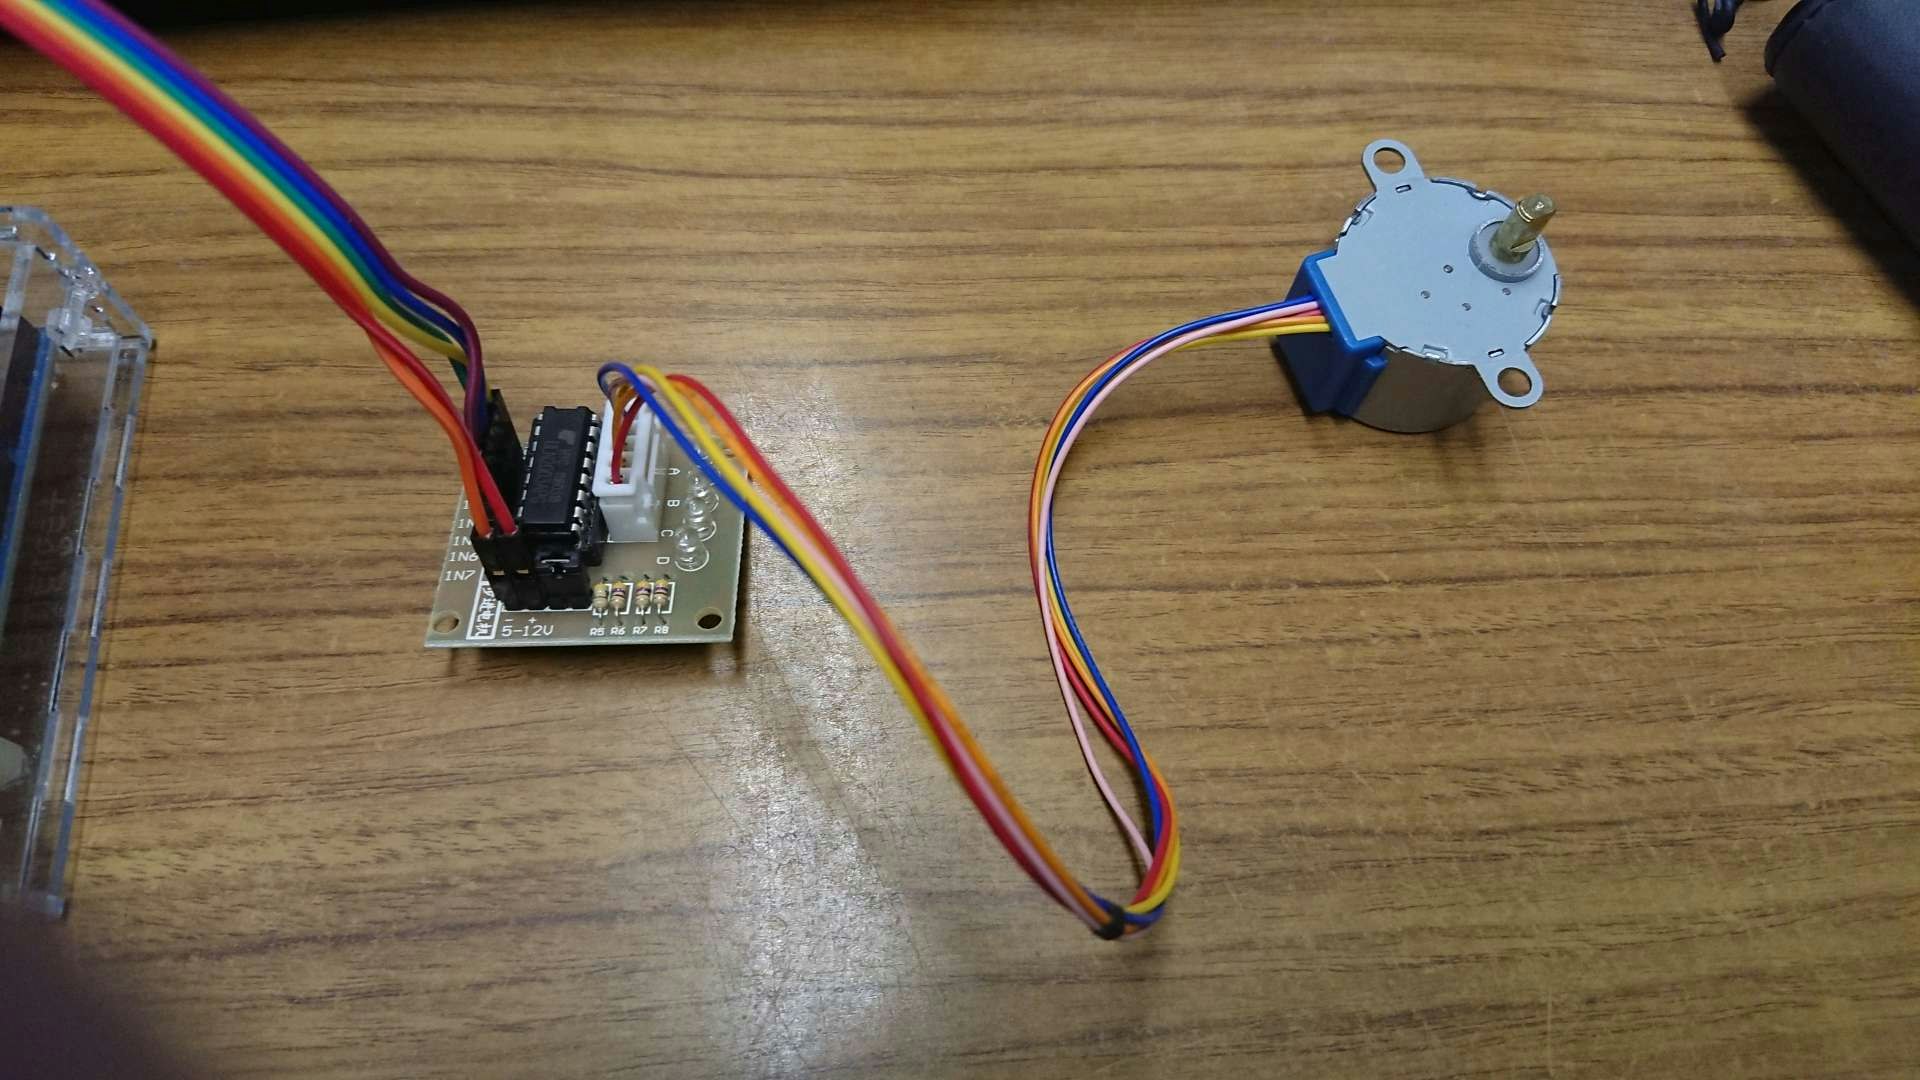
②ドライバ基板とArduinoをつなぐ
ドライバ基板の「-」とArduinoの「GND」
ドライバ基板の「+」とArduinoの「5V」
ドライバ基板の「IN1」とArduinoの「D8」
ドライバ基板の「IN2」とArduinoの「D9」
ドライバ基板の「IN3」とArduinoの「D10」
ドライバ基板の「IN4」とArduinoの「D11」をつなぐ
ソース
Arduinoに以下のコードを書き込む
# include <Stepper.h>

const int number_of_steps = 32;
const int steps_output_rev = 32 * 64; // 2048  減速比 1/64
const int CW = 1;
const int CCW = -1;

Stepper stepper(number_of_steps, 8, 10, 9, 11);//制御に使用するPIN(8-11)を指定

void setup() {
  stepper.setSpeed(300);
  //stepper.setSpeed(1000);//1分間の回転数
}

void loop() {
  int steps;

  steps = get_step_by_rev(CW, 1);
  stepper.step(steps);
  steps = get_step_by_rev(CCW, 1);
  stepper.step(steps);
}

int get_step_by_rev(int dir, float rev){
  return dir * (steps_output_rev * rev);
}