はじめに
Raspberry Pi4スターターキットの組み立てからRaspberry Pi Imagerを使用したOSインストールまでのセットアップ手順を記載します。
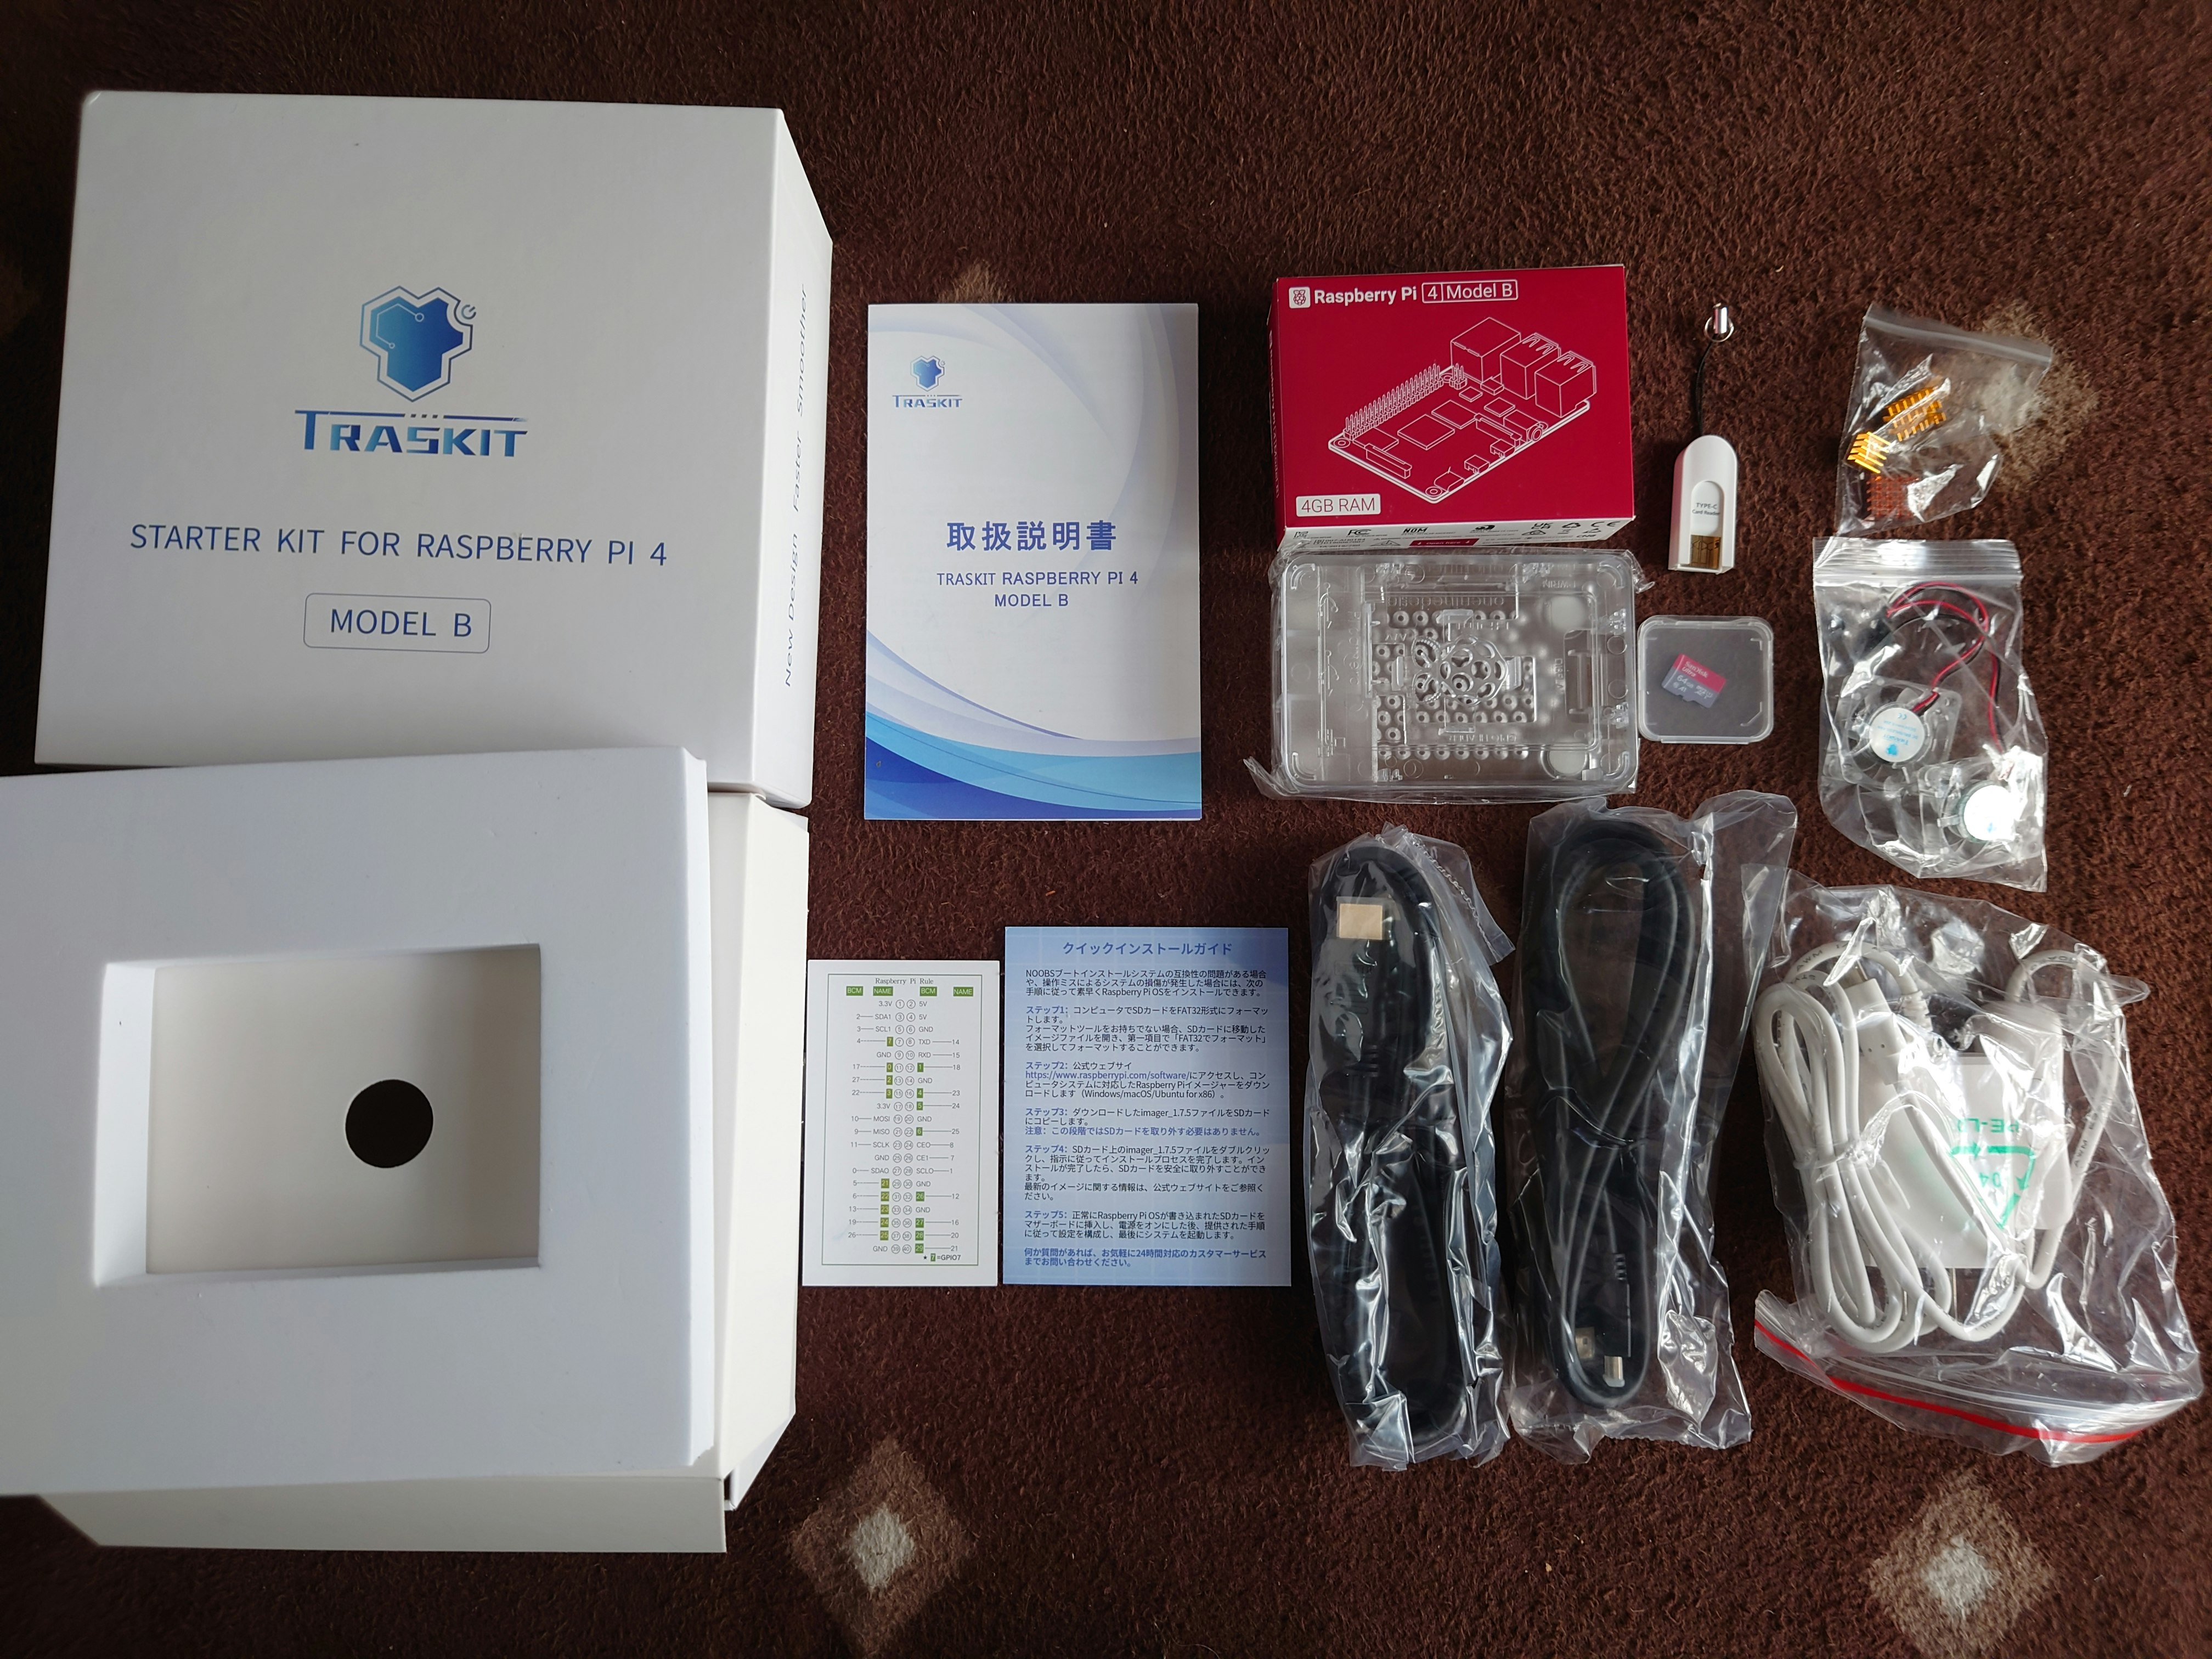
必要なもの
- Raspberry Pi4
- TRASKITのスターターキット(1.5万円程度)を購入しました
- TRASKITのスターターキット(1.5万円程度)を購入しました
- ディスプレイ
- 有線マウス
- 有線キーボード
- (PC)※付属のSDカードに用意されているOSを使用する場合は不要です
組み立て
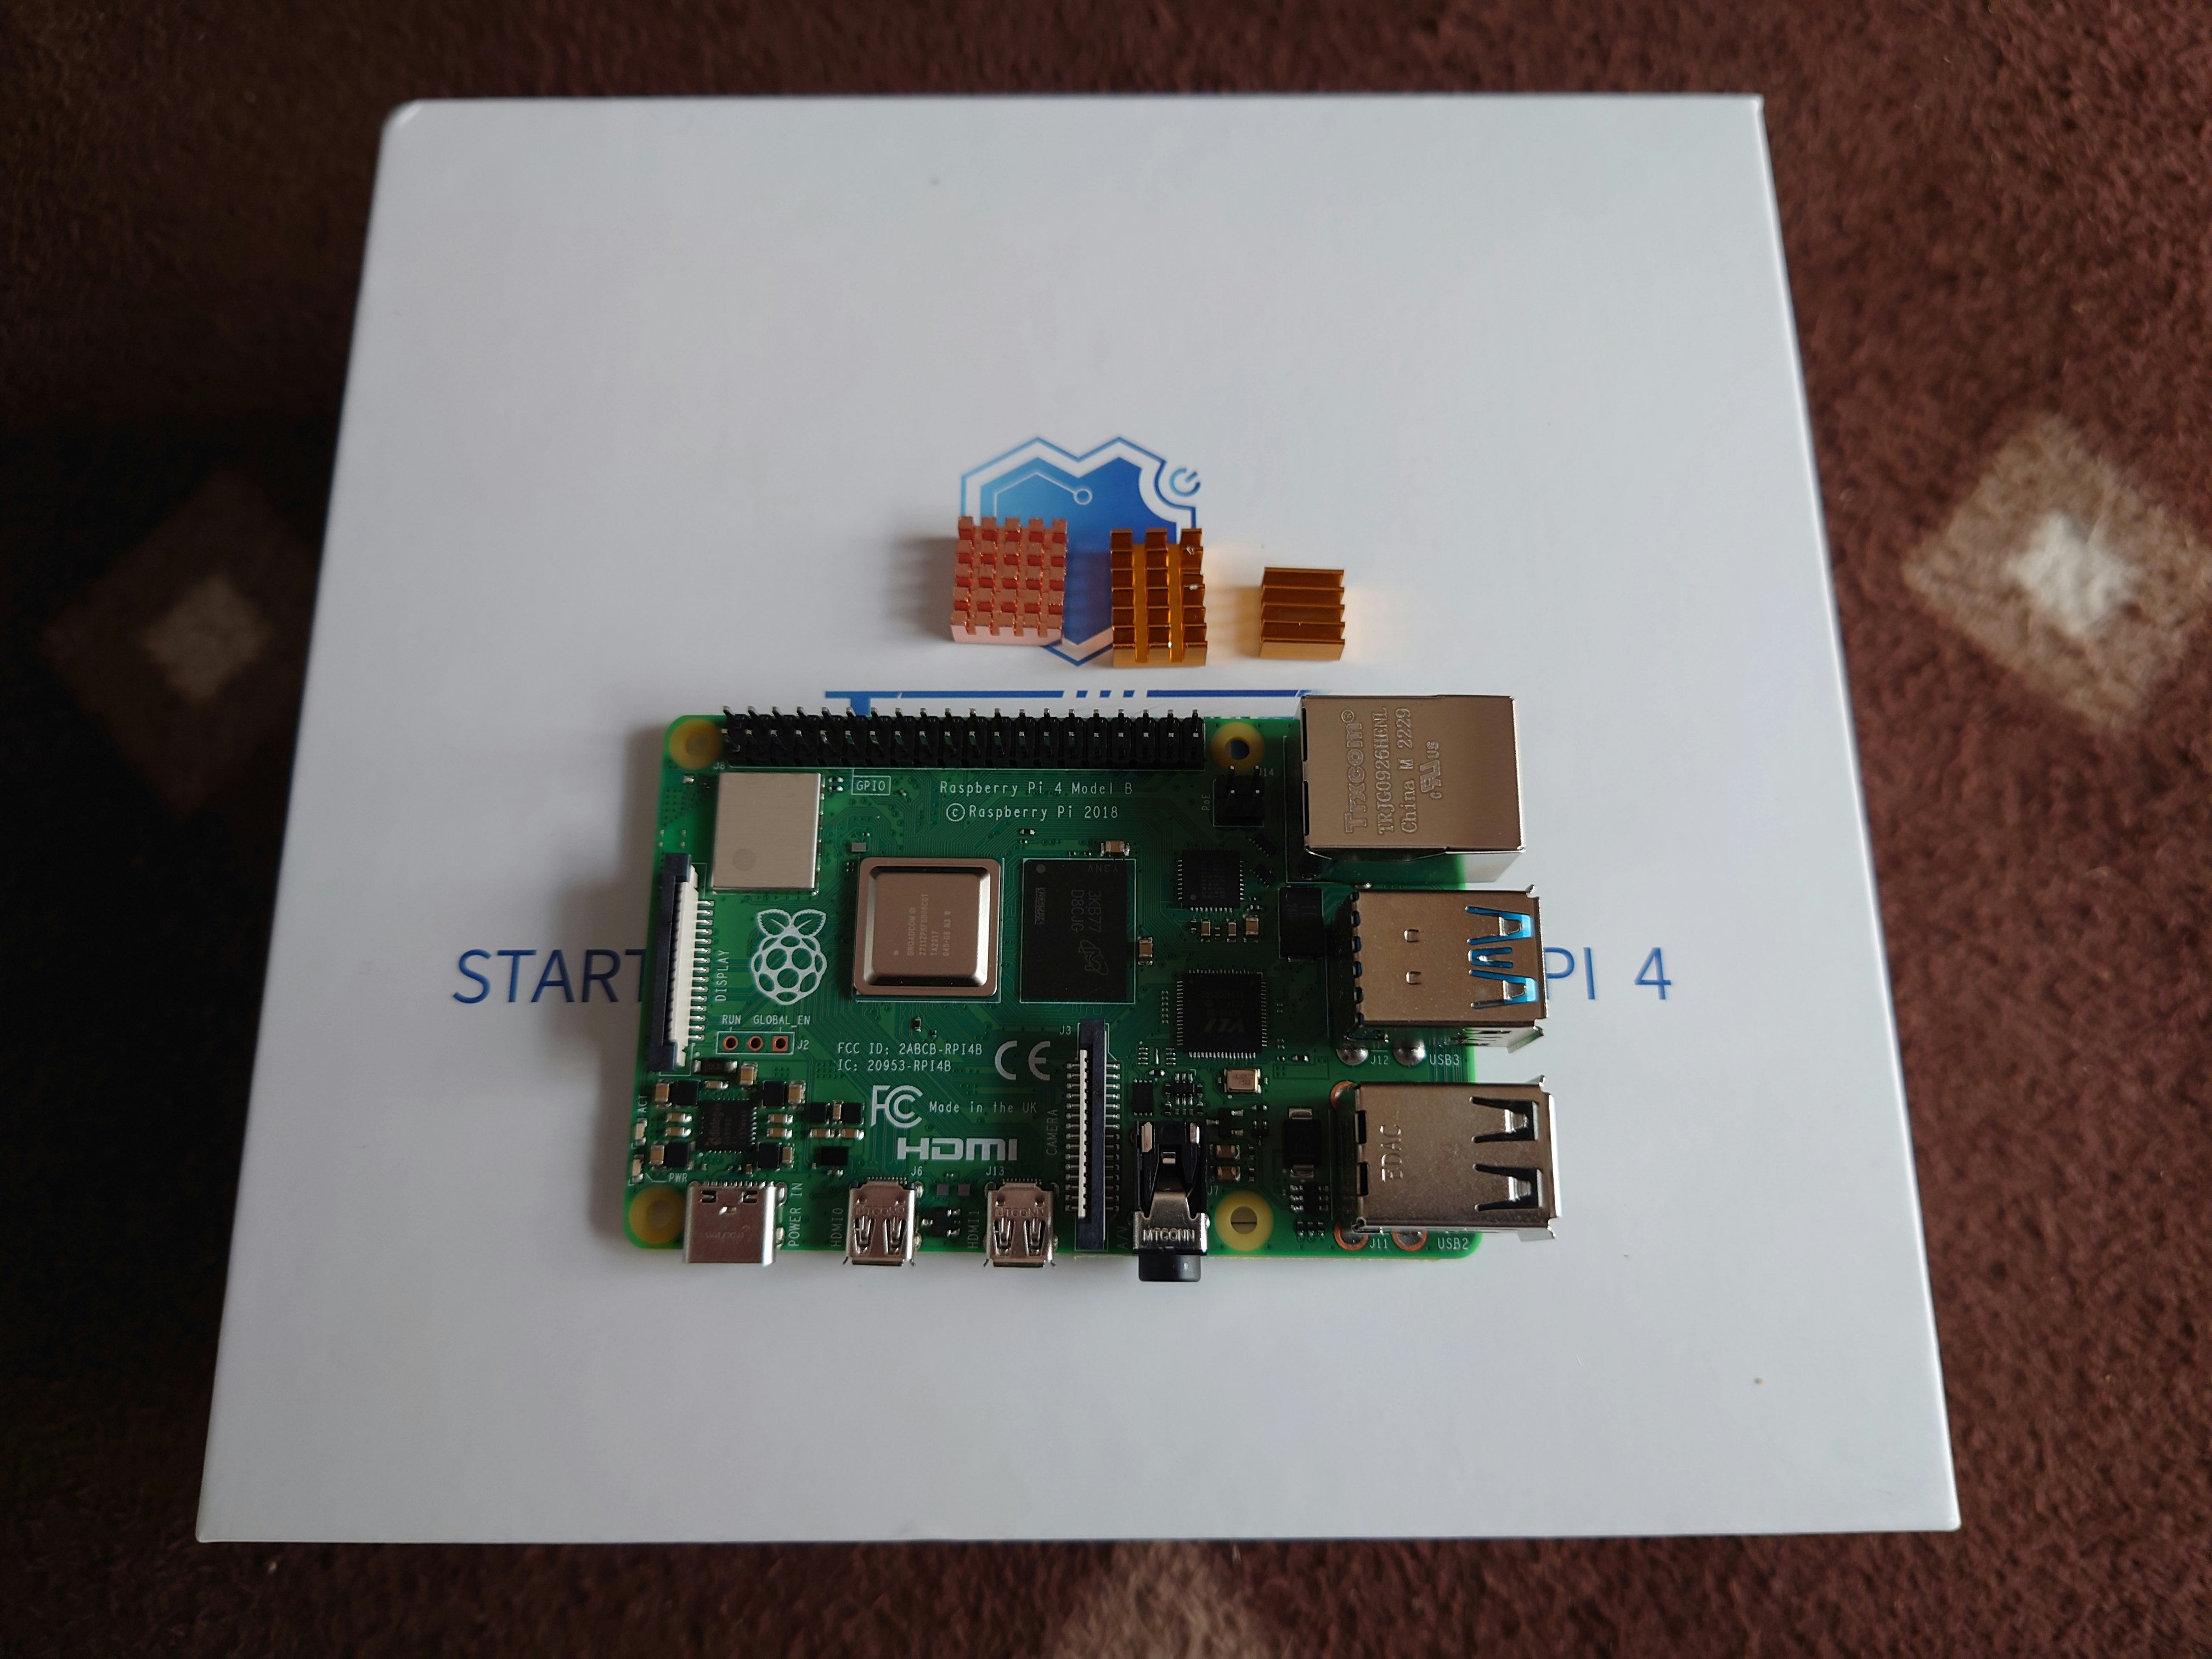
① 取扱説明書に記載通り、CPUと発熱しやすいパーツにヒートシンクを3箇所に貼り付けます。

② 冷却ファン及び基盤をケースに取り付けます。


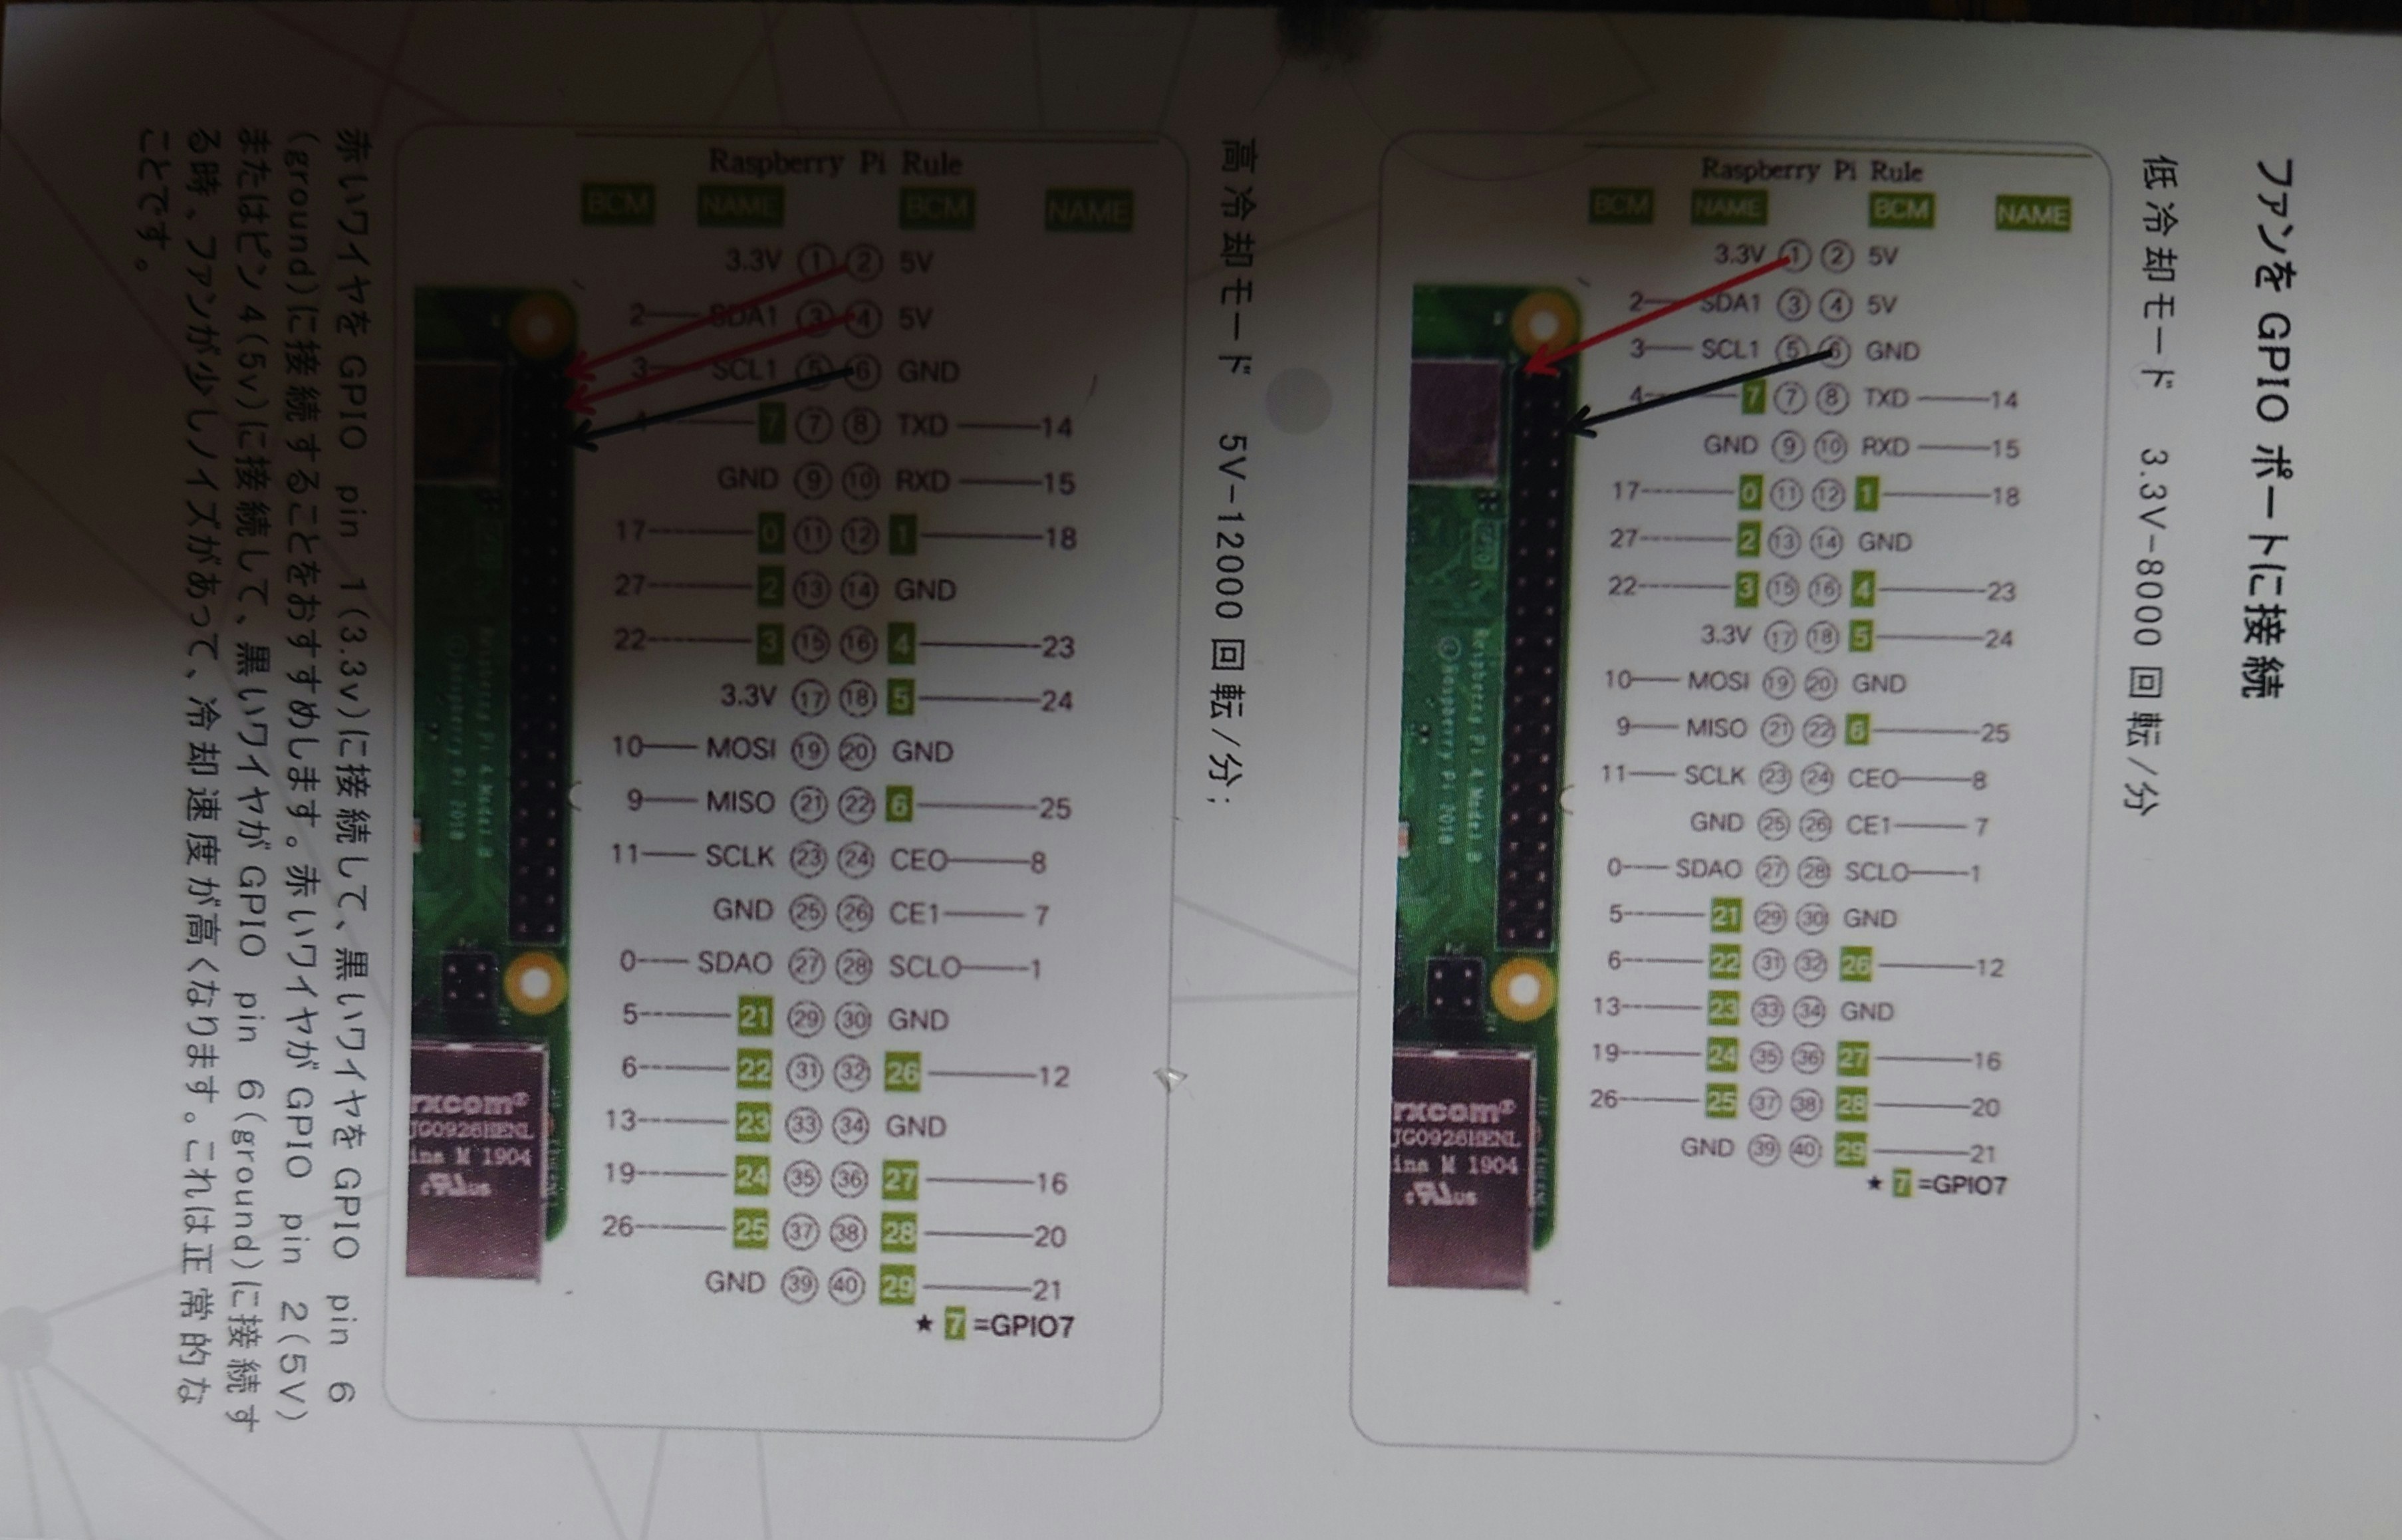
③ 取扱説明書通りに冷却ファンのコードをGPIOポートに接続します。
- 回転数によって接続箇所が異なります。
- 低冷却モード:赤を3.3V(左列1番目)、黒をGND(右列3番目)
- 高冷却モード:赤を5V(右列1or2番目)、黒をGND(右列3番目)
ファンは2種類付属されていたため、それぞれ試してみました。
- LED付きファンの場合
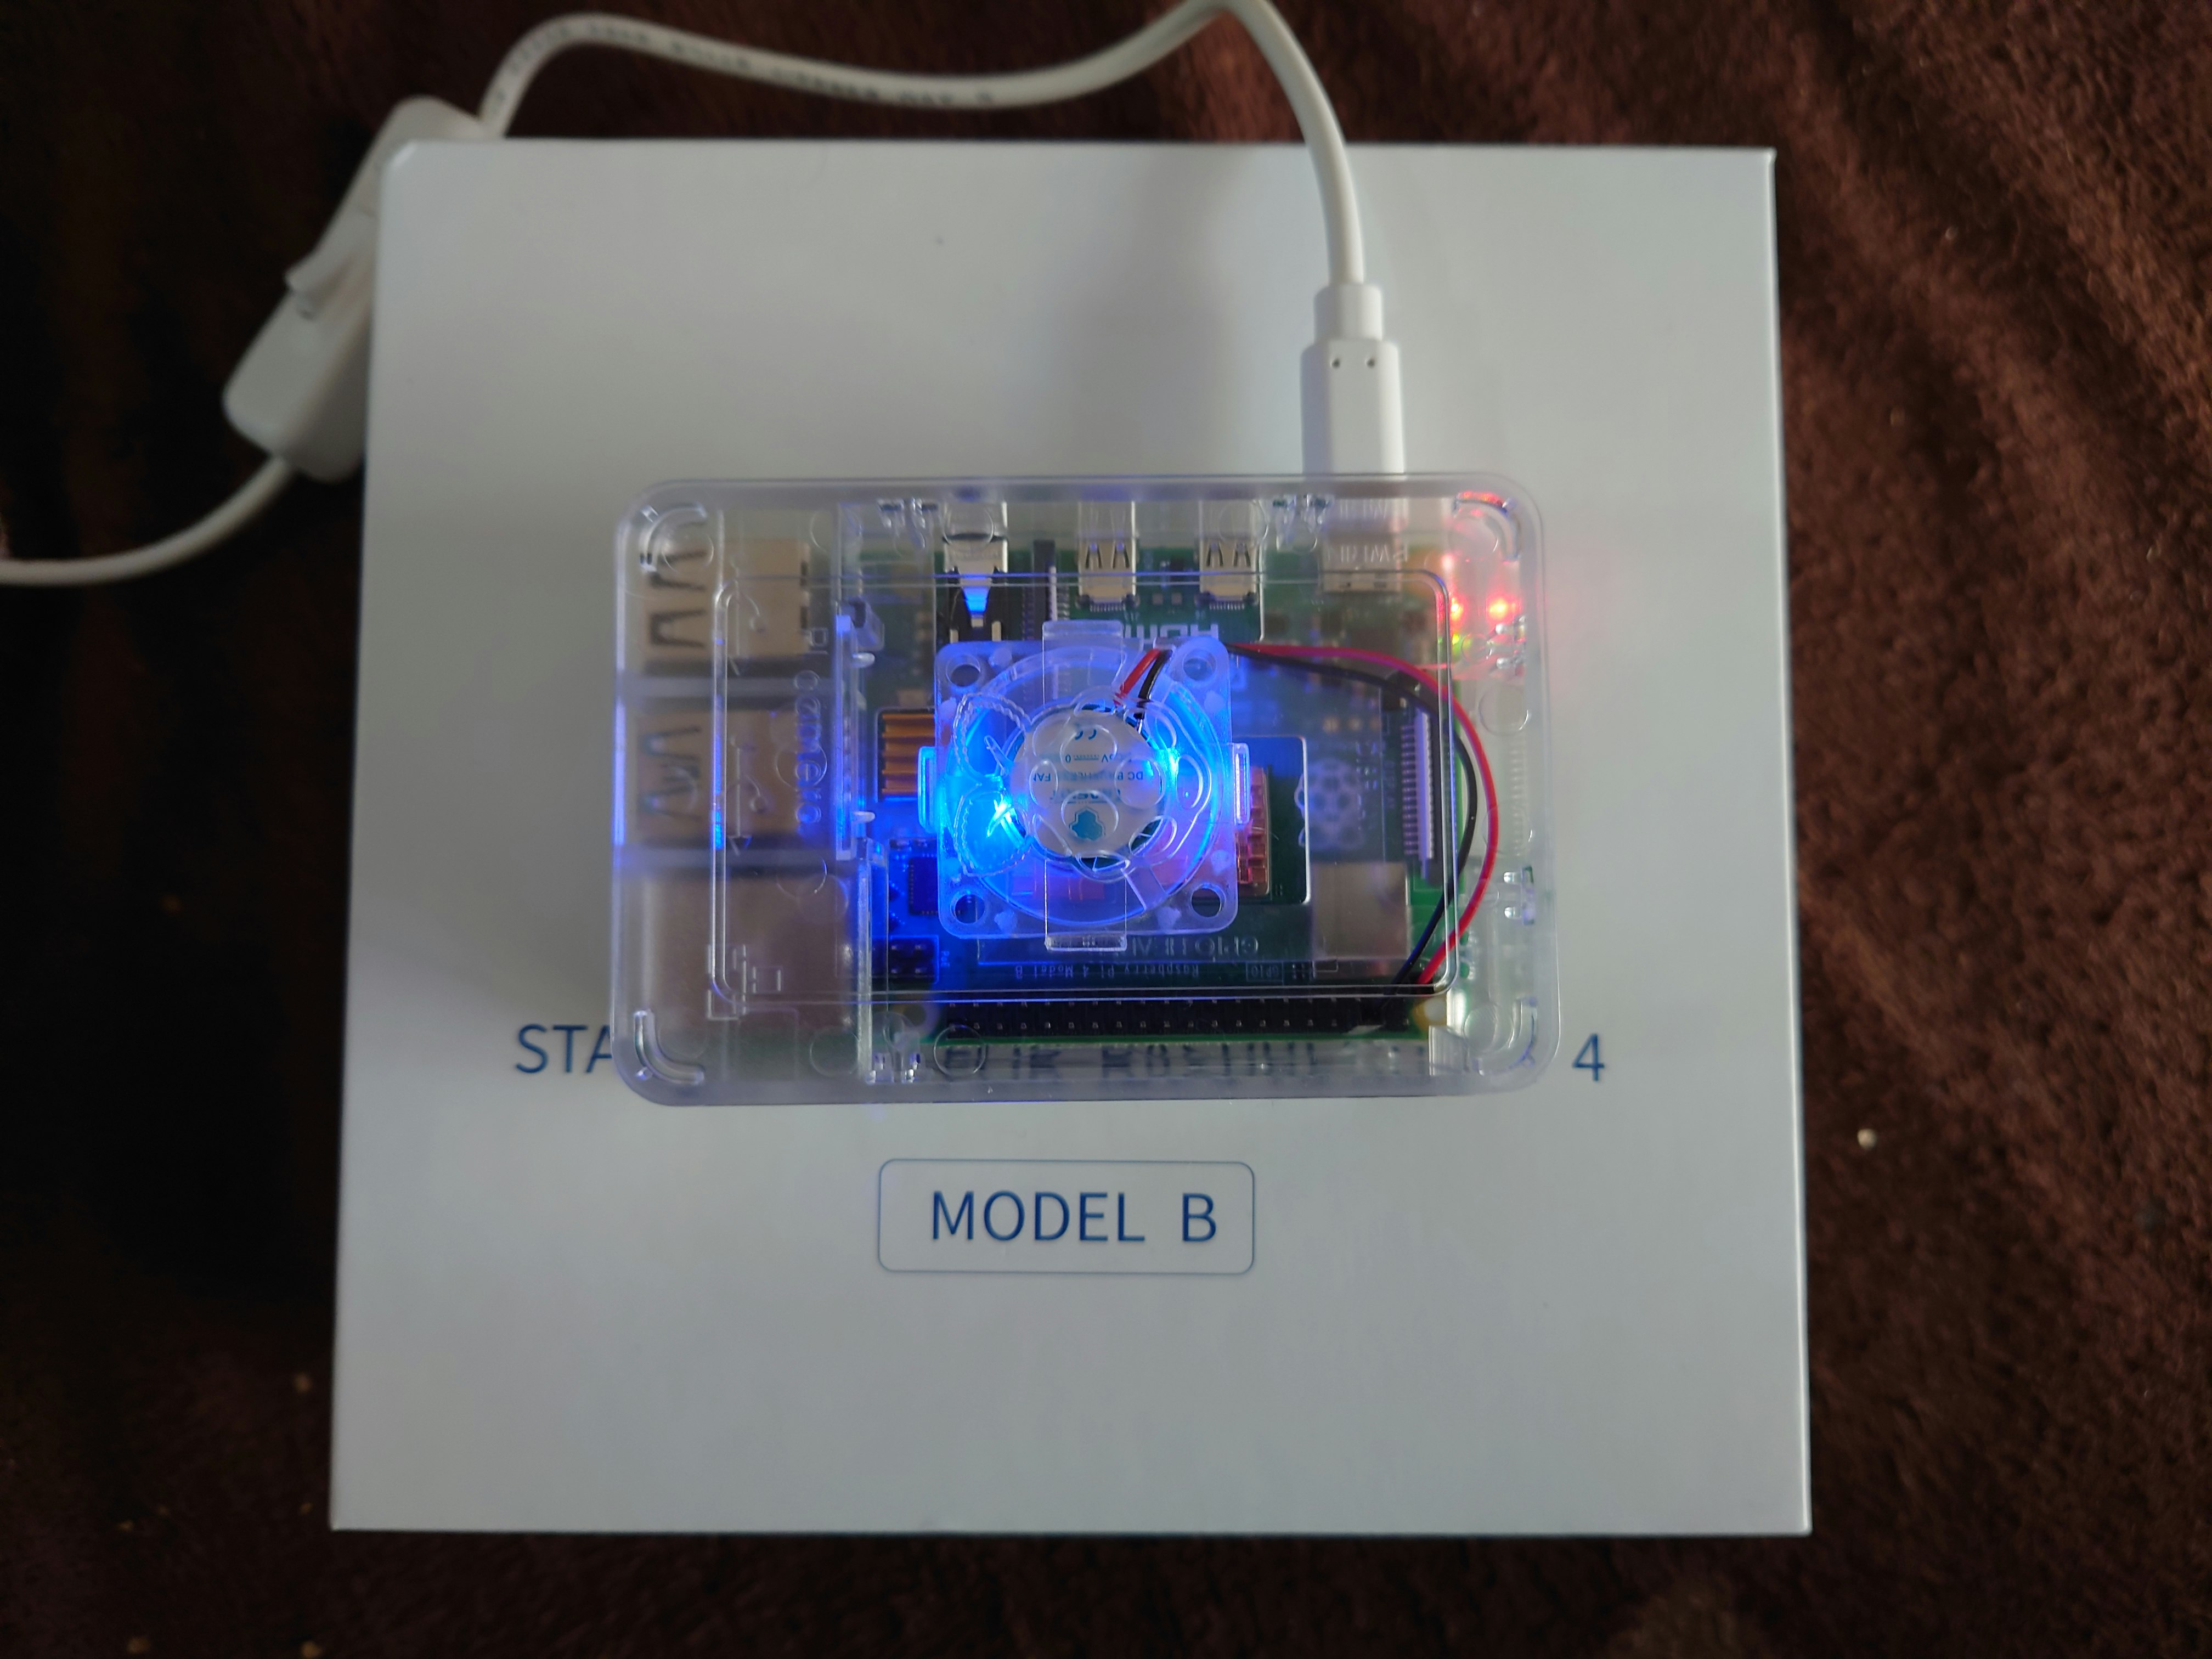
- LEDなしファンの場合

OS(Ubuntu)インストール
Raspberry Pi Imagerを使用したOSインストール
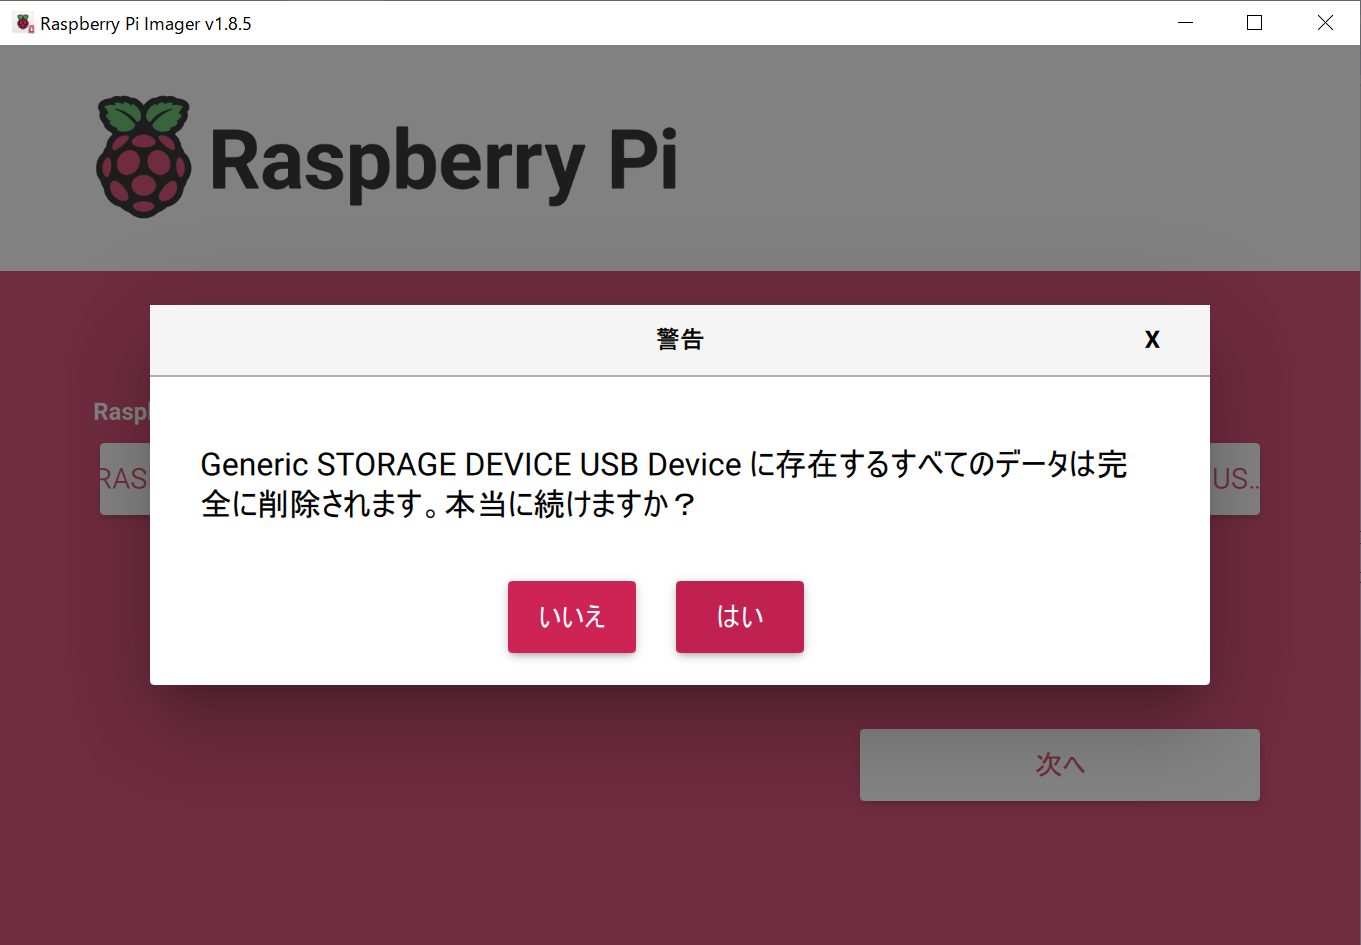
① PCにRaspberry Pi Imagerをインストールします。
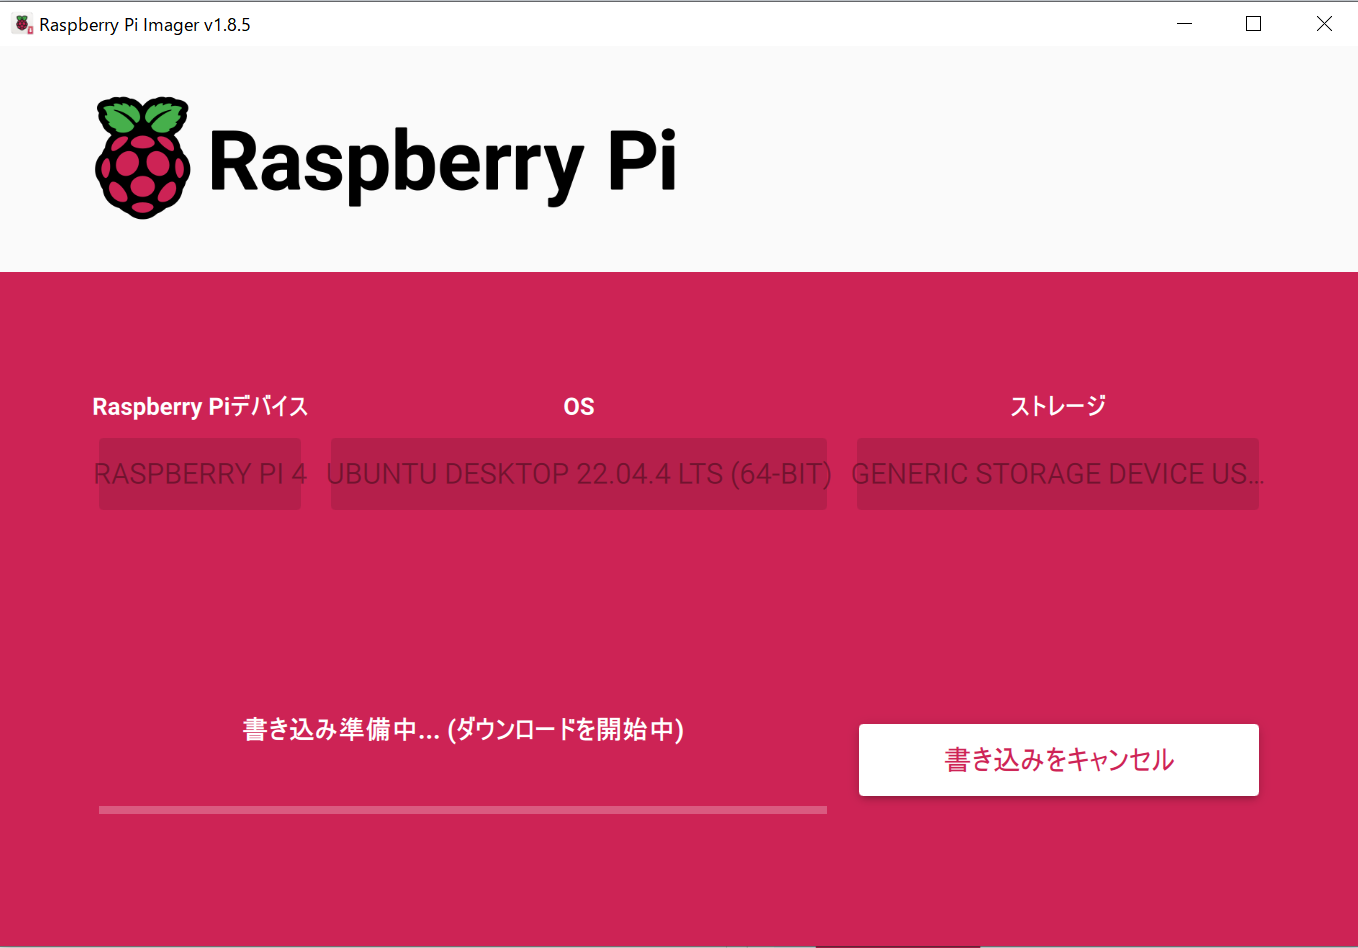
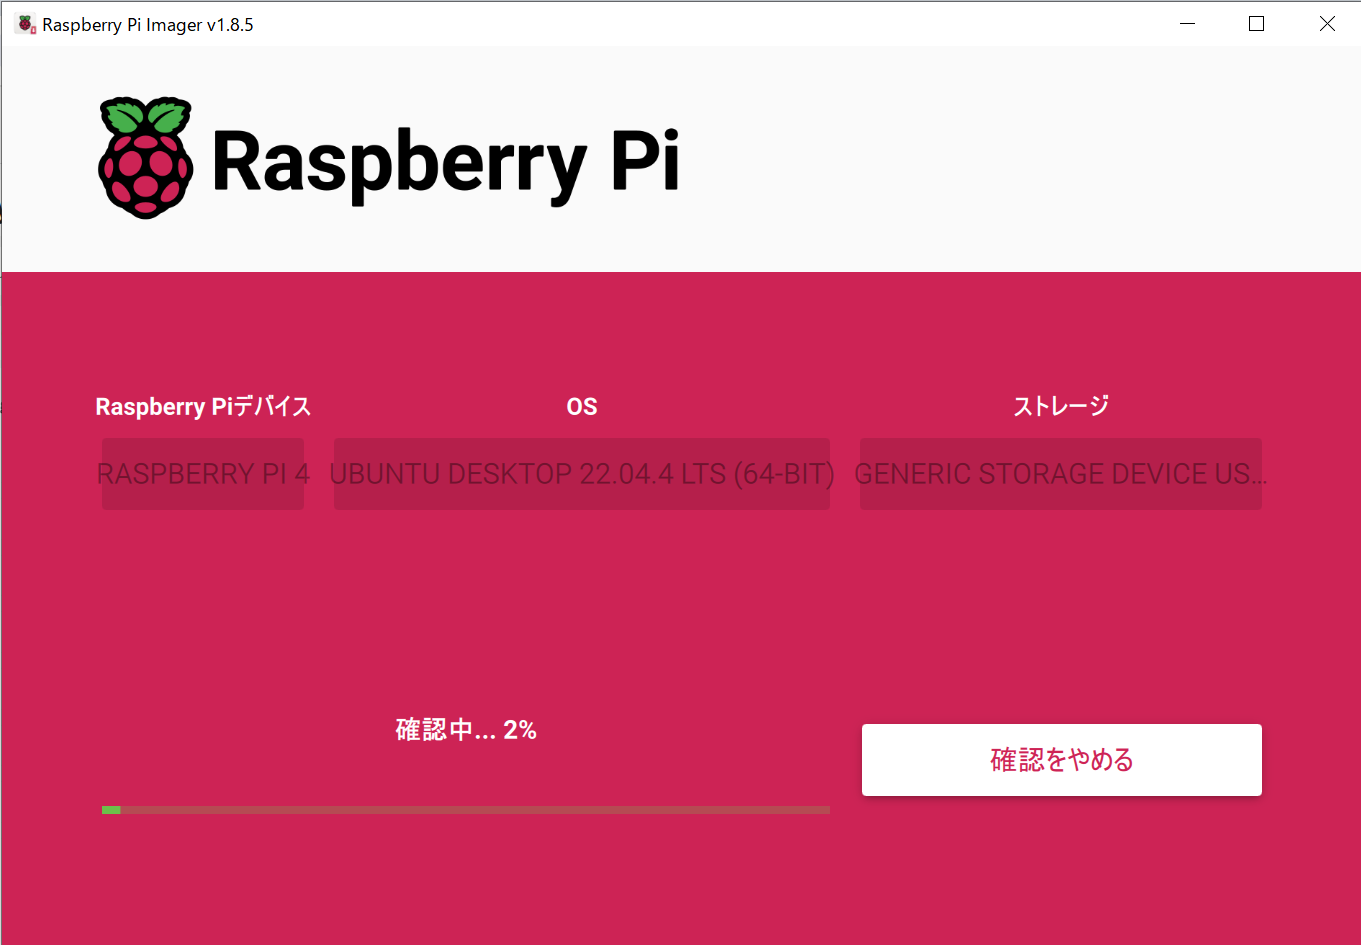
② 付属のSDカードをPCに接続し、Raspberry Pi Imagerを開き、RasberryPiデバイス・OS・ストレージをそれぞれ選択します。
- Rasberry Piデバイス:Rasberry Pi4
- OS:Other general-purporse OS > Ubuntu > Ubuntu Desktop 22.04.4LTS(64-bit)


- ストレージ:付属のSDカード

③ 次へのボタンを押します。

④ Raspberry Pi4にSDカードを差し込み、ディスプレイに接続します。

⑤ 画面の表示に従い下記システム設定を行います。
- 言語設定
- キーボードレイアウト
- 無線設定
- 地域
- コンピューター名、ユーザー名、パスワード
⑥ 完了しました。
