Go言語でのWEBアプリは、どうなもんか軽く触れてみようという事で、
簡単なログイン認証の機能を作ってみました。
参考
公式
goの環境構築
ginの環境構築
Go database/sql チュートリアル 01 - 概要 · golang.shop
環境
windows10
go1.14.7
エディタ:VisualStdioCode
1.goの実行環境インストール
以下のサイトの通りに実施する事で、特にはまることも無く構築できました。
goの環境構築
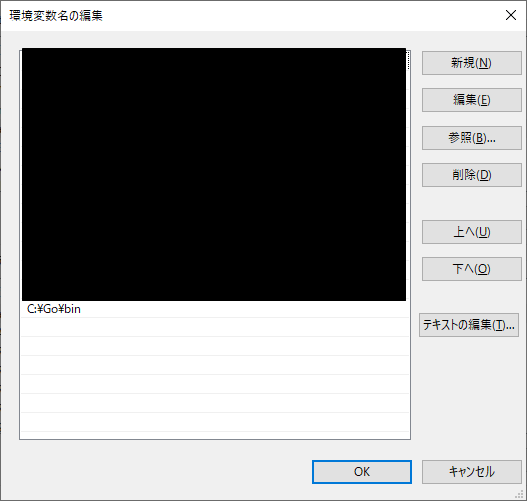
あと、インストーラがupdateされたのか、環境変数は手動で設定しませんでした。
インストール完了時点で自動で設定されるっぽい?
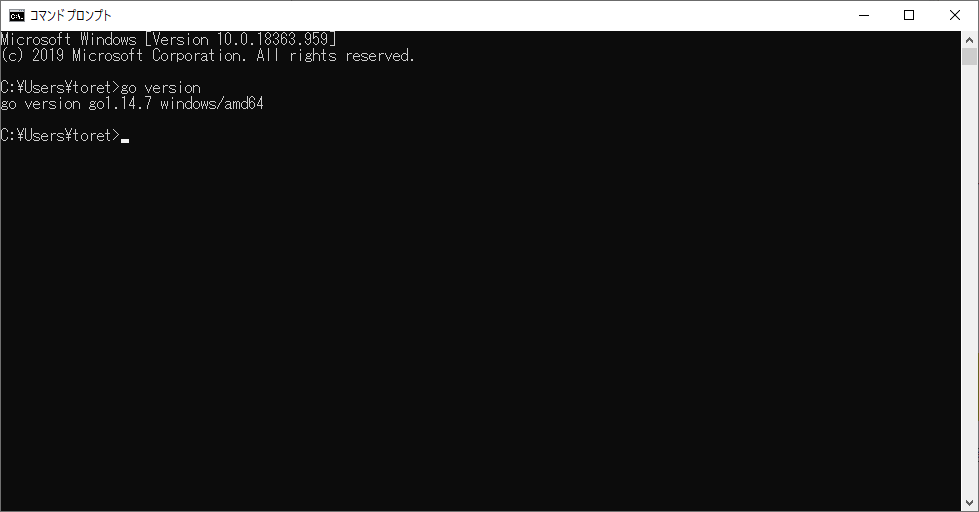
以下のファイルを用意して、動作確認。
package main

import (
  "fmt"
)

func main(){
	fmt.Print("Hello world!");

}
コマンド「go run sample.go」実行で「Hello world!」が表示されたら、OK!
2.ginのダウンロード&配置
こちらのサイトを見て、作ってみました。
ginの環境構築
まず、以下からダウンロードです。
https://github.com/gin-gonic/gin
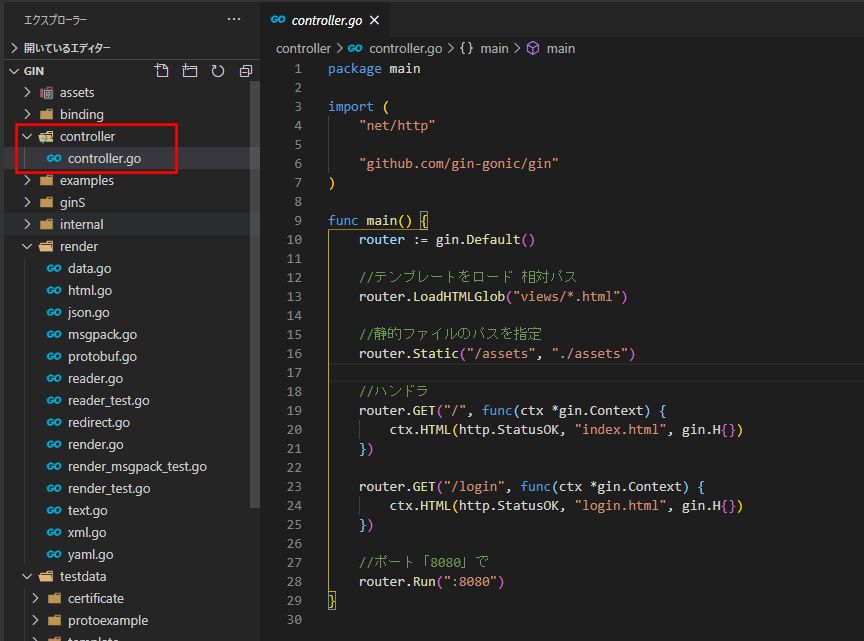
※自分は、「C:\lesson\gin」というフォルダを作って展開しました。
また、「gin-master」→「gin」にフォルダをリネームしてます。
3.サーバの起動
WEBサーバ起動用のファイル作成
MVCモデルでいう所のコントローラにも相当?
package main

import (
	"net/http"

	"github.com/gin-gonic/gin"
)

func main() {
	router := gin.Default()

	//テンプレートをロード 相対パス
	router.LoadHTMLGlob("views/*.html")

	//静的ファイルのパスを指定
	router.Static("/assets", "./assets")

	//ハンドラ
	router.GET("/", func(ctx *gin.Context) {
		ctx.HTML(http.StatusOK, "index.html", gin.H{})
	})

	router.GET("/login", func(ctx *gin.Context) {
		ctx.HTML(http.StatusOK, "login.html", gin.H{})
	})

	//ポート「8080」で
	router.Run(":8080")
}
HTMLも作ります。
<!DOCTYPE html>
<html lang="ja">

<head>
    <meta charset="UTF-8">
    <title>Sample App</title>
</head>

<body>
    <h1>Hello World!!!</h1>
</body>

</html>
<!DOCTYPE html>
<html lang="ja">

<head>
    <meta charset="UTF-8">
    <title>ログイン</title>
</head>

<body>
    <h1>ログインしてください。</h1>
    <label>ログインID:</label><input type="text" size="10" /><br />
    <label>パスワード:</label><input type="password" size="10" /><br />
    <button>ログイン</button>
</body>

</html>
そしたら、起動コマンドを実行
「go run controller/controller.go」

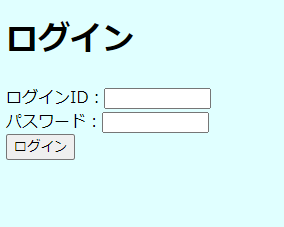
以下のように表示されるはず。
4.クライアント・サーバ間パラメータとDBとヘッダ・フッダ
WEBアプリでよく使いそうな、共通テンプレートやDBとかを扱ってみました。
なお、DBはMysqlを選択したのですが、リファレンス無いかと思って探していたら、以下のサイトがいい感じです。
Go database/sql チュートリアル 01 - 概要 · golang.shop
ライブラリのインストール
go get github.com/go-sql-driver/mysql
テストで使用したテーブルです。
「user_id」「user_pass」に適当に入力してレコード用意してください。
CREATE TABLE `logintest` (
  `id` int NOT NULL AUTO_INCREMENT COMMENT 'データID',
  `user_id` varchar(20) NOT NULL,
  `user_pass` varchar(20) NOT NULL,
  PRIMARY KEY (`id`)
)
以下から、ソースです。
body {
background-color: lightcyan;
}
package main

import (
	"database/sql"
	"fmt"
	"net/http"

	"github.com/gin-gonic/gin"
	_ "github.com/go-sql-driver/mysql"
)

//User is struct
type Login struct {
	user_id   string
	user_pass string
}

func main() {
	router := gin.Default()

	//テンプレートをロード 相対パス
	router.LoadHTMLGlob("views/*.html")

	//静的ファイルのパスを指定
	router.Static("/assets", "./assets")

	//ハンドラ
	//初期ページ(ログイン画面)
	router.GET("/", func(ctx *gin.Context) {
		//ログイン画面の表示
		ctx.HTML(http.StatusOK, "login.html", gin.H{
			"title":  "ログイン",
			"errmsg": "",
		})
	})

	//ログイン押下時(POSTにした)
	router.POST("/login", func(ctx *gin.Context) {

		userid := ctx.PostForm("userid")
		password := ctx.PostForm("password")
		println("userid: " + userid)
		println("password: " + password)

		if logincheck(userid, password) {
			//ログイン成功
			ctx.HTML(http.StatusOK, "menu.html", gin.H{
				"title":         "ログイン成功後",
				"paramuserid":   userid,
				"parampassword": password,
			})
		} else {
			//ログイン失敗
			ctx.HTML(http.StatusOK, "login.html", gin.H{
				"title":  "ログイン",
				"errmsg": "ログイン失敗",
			})
		}

	})

	//ポート「8080」で
	router.Run(":8080")
}

/**
 * ログイン認証
 */
func logincheck(id string, pass string) bool {

	//DB接続
	db, err := sql.Open("mysql", "userid:password@tcp(hostname:3306)/databasename")
	if err != nil {
		panic(err.Error())
	}
	defer db.Close() // 関数がリターンする直前に呼び出される

	//データベースへクエリを送信。引っ張ってきたデータがrowsに入る。
	rows, err := db.Query("SELECT user_id,user_pass FROM logintest where user_id = ? and user_pass = ? ", id, pass)
	defer rows.Close()
	if err != nil {
		panic(err.Error())
	}

	var find bool
	find = false

	for rows.Next() {
		var login Login //構造体Person型の変数personを定義
		err := rows.Scan(&login.user_id, &login.user_pass)

		find = true

		if err != nil {
			panic(err.Error())
		}
		fmt.Println("ログイン成功!")
	}
	err = rows.Err()
	if err != nil {
		panic(err.Error())
	}

	return find
}
DBの接続情報は、適宜書き換えてください。
「db, err := sql.Open("mysql", "userid:password@tcp(hostname:3306)/databasename")」の部分。
userid=ユーザID
password=パスワード
hostname:データベースホスト名
databasename:データベース名
フッタのテンプレート
{{ define "foot" }}

</html>
{{ end }}
ヘッダのテンプレート
{{ define "head" }}
<!DOCTYPE html>
<html lang=ja>

<head>
    <meta charset="utf-8">
    <meta name="description" content="ヘッダ">
    <link rel="stylesheet" href="/assets/common.css">
    <title>〇〇システム</title>
</head>
{{ end }}
ログイン画面
{{ template "head" }}

<body>
    <h1>{{ .title}}</h1>
    <form action="/login" method="post">
        <label>ログインID:</label><input type="text" name="userid" size="10" /><br />
        <label>パスワード:</label><input type="password" name="password" size="10" /><br />
        <button type="submit">ログイン</button>
        <span style="color: red;">{{.errmsg}}</span>
    </form>
</body>

{{ template "foot" }}
ログイン成功後の画面
{{ template "head" }}

<body>
    <h1>{{ .title}}</h1>
    <form action="/menu" method="post">
        <label>ログインID:</label><label>{{ .paramuserid}}</label><br />
        <label>パスワード:</label><label>{{ .parampassword}}</label><br />

    </form>
</body>

{{ template "foot" }}
動作
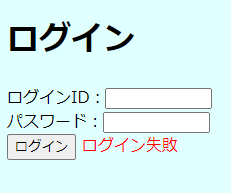
エラーメッセージがでます。
こんな感じ
本当に簡単な事しかしていないので、画面項目をModel化できるのか、とか。
json(ajax)通信とかのやり方とかも気が向いたら載せてみたいと思います。

