最近、Vue.jsが流行っており、「デザイナーがとっつきやすいのがVue.js」だとか、
「脱・jQueryできる」だとか、そんなような言葉をちらほら見かけます。
Vue.jsはできることが多く素晴らしいものですが、デザイン側としては
アニメーションなどのフロント面の実装することが多いので、その視点で果たして「脱・jQuery」が
どこまでできるものなのかどうか・・・というのが気になりました。
よって、今回は実際にjQueryでよく使っているやつをVue.jsでやってみることにしました。
※HTMLとCSSは省略します。すみません。
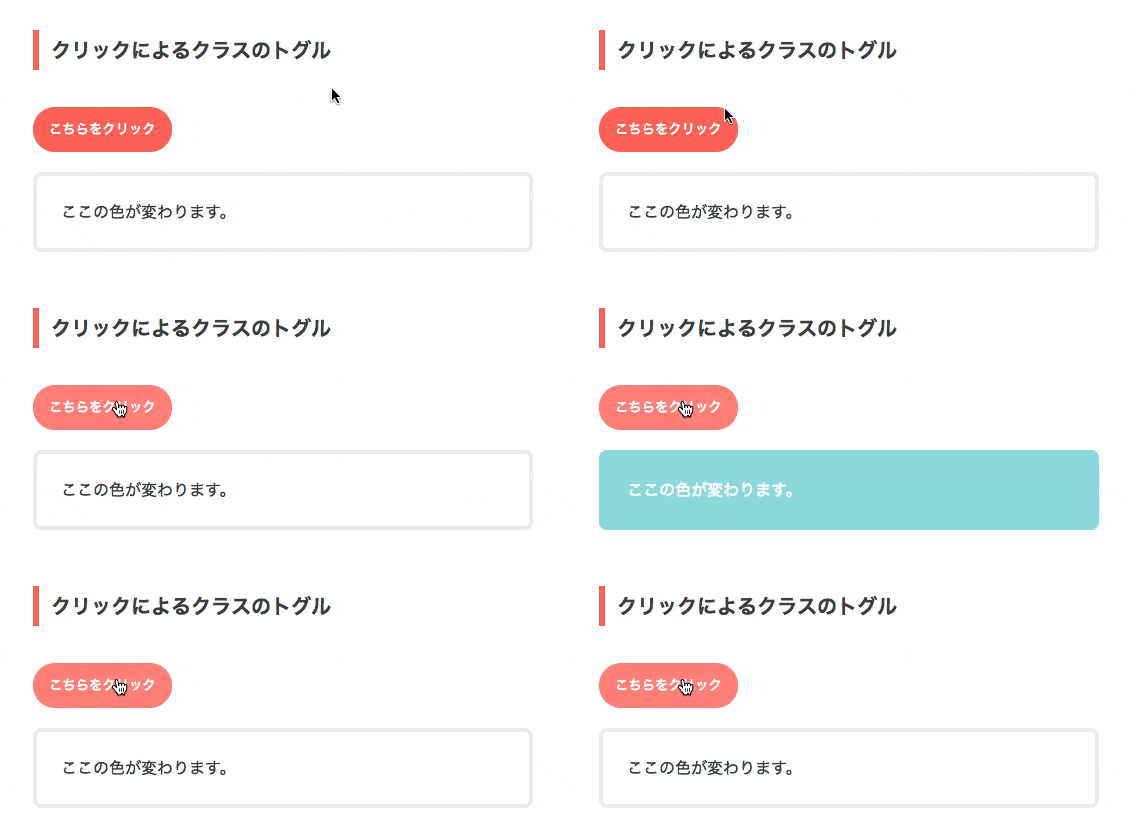
クリックしたらClassを付与(トグル)
jQueryの場合
$('.btn01').click(function() {
     $('hoge01').toggleClass('active');
});
Vue.jsの場合
<template>
  <div>
    <h2>クリックによるクラスのトグル</h2>
    <button class="btn01" v-on:click='isActive01=!isActive01'>こちらをクリック</button>
    <div class="hoge01" v-bind:class='{active:isActive01}'>
      ここの色が変わります。
    </div>
  </div>
</template>

<script>
export default {
    data(){
      return {
        isActive01: false
      }
    }
}
</script>
clickの挙動
jQueryだと
$('.btn01').on('click',function(){
がトリガーになっていましたが、
Vue.jsでは
v-on:click='isActive01=!isActive01'
がトリガーになっており、Vueのdataに指定している変数を
「true」にしたり「false」にしたりしています。
コンテンツの挙動
jQueryでは、
$('hoge01').toggleClass('active');
これで、変化させたい要素にClassを追加したり、消したりしてましたが、
Vue.jsでは
v-bind:class='{active:isActive01}'
v-bindによって、変数を評価して、「変数がtrueになったらactiveというclassを付与する」という指定をしています。
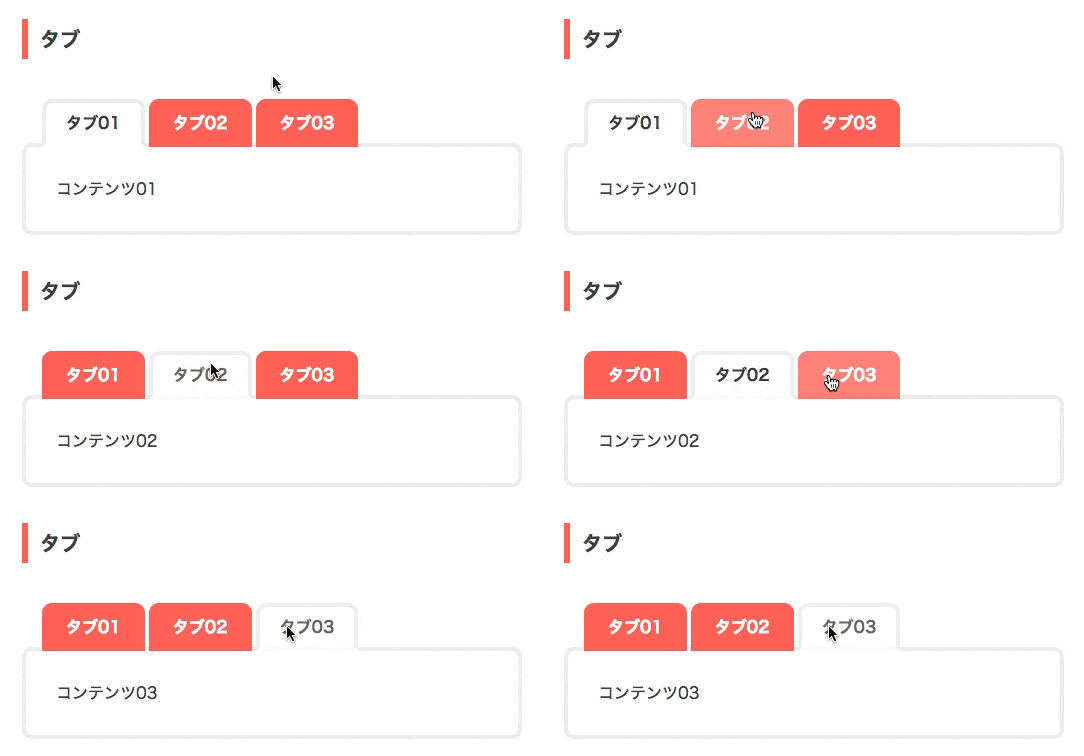
タブ
jQueryの場合
$('.tabs a').click(function() {
  var tabs = $('.tabs a').index(this);
  $('.content div').removeClass('tabcontent');
  $('.content div').eq(tabs).addClass('tabcontent');
  $('.tabs a').removeClass('active');
  $(this).addClass('active');
});
Vue.jsの場合
<template>
  <div>
    <h2>タブ</h2>
    <div id="tabs" class="container">
      <div class="tabs">
          <a v-on:click="activetab=1" v-bind:class="[ activetab === 1 ? 'active' : '' ]">タブ01</a>
          <a v-on:click="activetab=2" v-bind:class="[ activetab === 2 ? 'active' : '' ]">タブ02</a>
          <a v-on:click="activetab=3" v-bind:class="[ activetab === 3 ? 'active' : '' ]">タブ03</a>
      </div>
      <div class="content">
          <div v-show="activetab === 1" class="tabcontent">
              コンテンツ01
          </div>
          <div v-show="activetab === 2" class="tabcontent">
              コンテンツ02
          </div>
          <div v-show="activetab === 3" class="tabcontent">
              コンテンツ03
          </div>
      </div>
    </div>
  </div>
</template>

<script>
export default {
    data(){
      return {
        activetab: 1
      }
    }
}
</script>
clickの挙動
トグルと同じようにv-on:clickで挙動していますが、今回は
v-on:click="activetab=1"
v-on:click="activetab=2"
v-on:click="activetab=3"
のように、activetabに変数を代入しています。
ボタン、コンテンツの挙動
代入された変数の番号に応じて、Classを追加したり、要素を表示させたりしています。
例えばタブの場合は
v-bind:class="[ activetab === 1 ? 'active' : '' ]
のように、変数が1だったときはactiveというclassを追加するという書き方になっています。
コンテンツ部分は、
v-show="activetab === 3" class="tabcontent"
もし変数が3だった場合、この要素を表示する、
という書き方になっています。
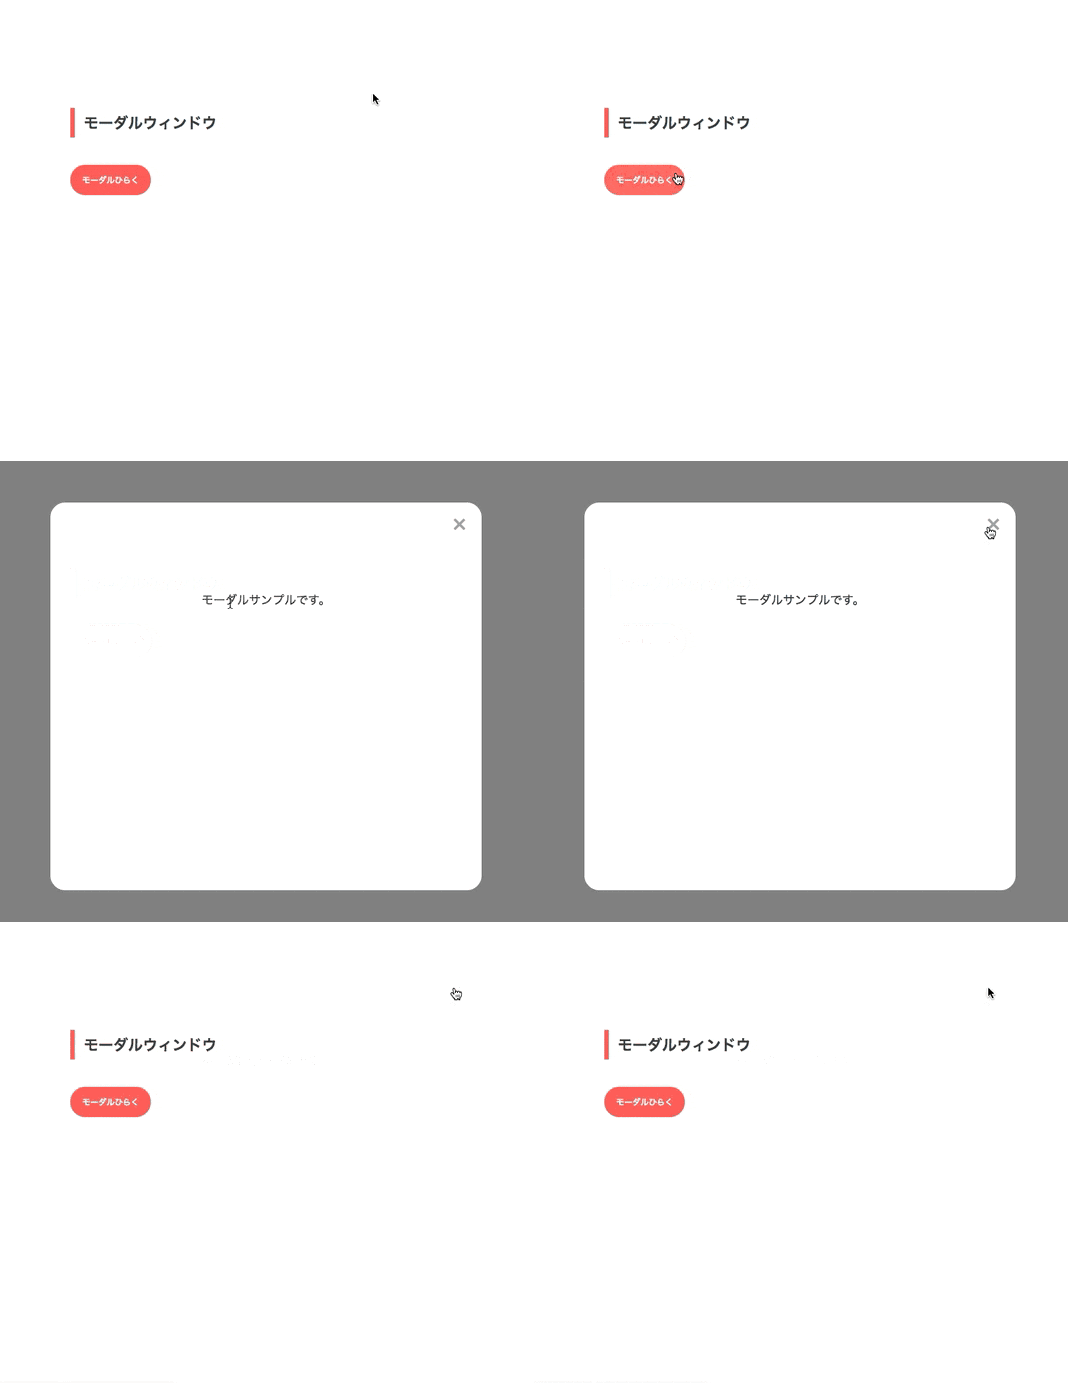
モーダルウィンドウ
jQueryの場合
$('.btn01').click(function() {
  var tabs = $('.tabs a').index(this);
  $('.modal').addClass('show');
  $('.modal').removeClass('default'); // display noneさせているclass
});
$('.close').click(function() {
  $('.modal').removeClass('show');
});
Vue.jsの場合
<template>
  <div>
    <h2>モーダルウィンドウ</h2>
    <button class="btn01" v-on:click='showModal=!showModal'>モーダルひらく</button>
    <transition name="modal">
      <div class="modal" v-if='showModal'>
        <div class="modal_inner">
          <p>モーダルサンプルです。</p>
          <a class="close" href="#" v-on:click='click01'>×</a>
        </div>
      </div>
    </transition>
  </div>
</template>

<script>
export default {
    data(){
      return {
        showModal: false
      }
    },methods: {
      click01: function (ev) {
        this.showModal = false
        ev.preventDefault()
      }
    }
}
</script>

<style>
.modal-enter-active, .modal-leave-active {
  transition:opacity 0.5s;
}
.modal-enter, .modal-leave-to {
  opacity: 0;
}
</style>
clickの挙動
ボタンをクリックした時の挙動は今まで通りですが、今回は「閉じる」をクリックした時の
挙動が前回と違います。
v-on:click='click01'
このように書くことによって、
methods: {
      click01: function (ev) {
        this.showModal = false
        ev.preventDefault()
      }
}
この処理を走らせています。
methods は、繰り返し行いたい処理などを格納しておく場所です。
jQuery的に言うと、「 function hogehoge() { 〜 } 」のようにして処理をまとめて使い回したい時あるかと思いますが、そのようなものを書いていきます。
今回はクリック後イベントの処理を押されるたびに呼びだしたいので、methodsに格納しました。
前回のようにhtml側でtrueにしたりfalseにしたり、ということをしなかったのは、**ev.preventDefault()**を使用し、aタグのアンカーが発動するのを防ぎたかったからです。
transitionの挙動
今回、transitionを使用しています。
transitionとは、Vue.jsで用意されているアニメーションのための処理です。
transitionで囲ってトリガーを指定した要素に、Vue.jsがアニメーション用のClassを追加してくれます。
transitionのname属性で追加されるclassのプリフィックスを指定することができます。
<transition name="modal">
      <div class="modal" v-if='showModal'>  //ここにVue特有のClassが追加される
        <div class="modal_inner">
          <p>モーダルサンプルです。</p>
          <a class="close" href="#" v-on:click='click01'>×</a>
        </div>
      </div>
</transition>
この場合、ボタンをクリックすると、showModalがtrueの時、
<style>
.modal-enter-active, .modal-leave-active {
  transition:opacity 0.5s;
}
</style>
このclassが指定され、falseの時には
<style>
.modal-enter, .modal-leave-to {
  opacity: 0;
}
</style>
このclassが指定されます。
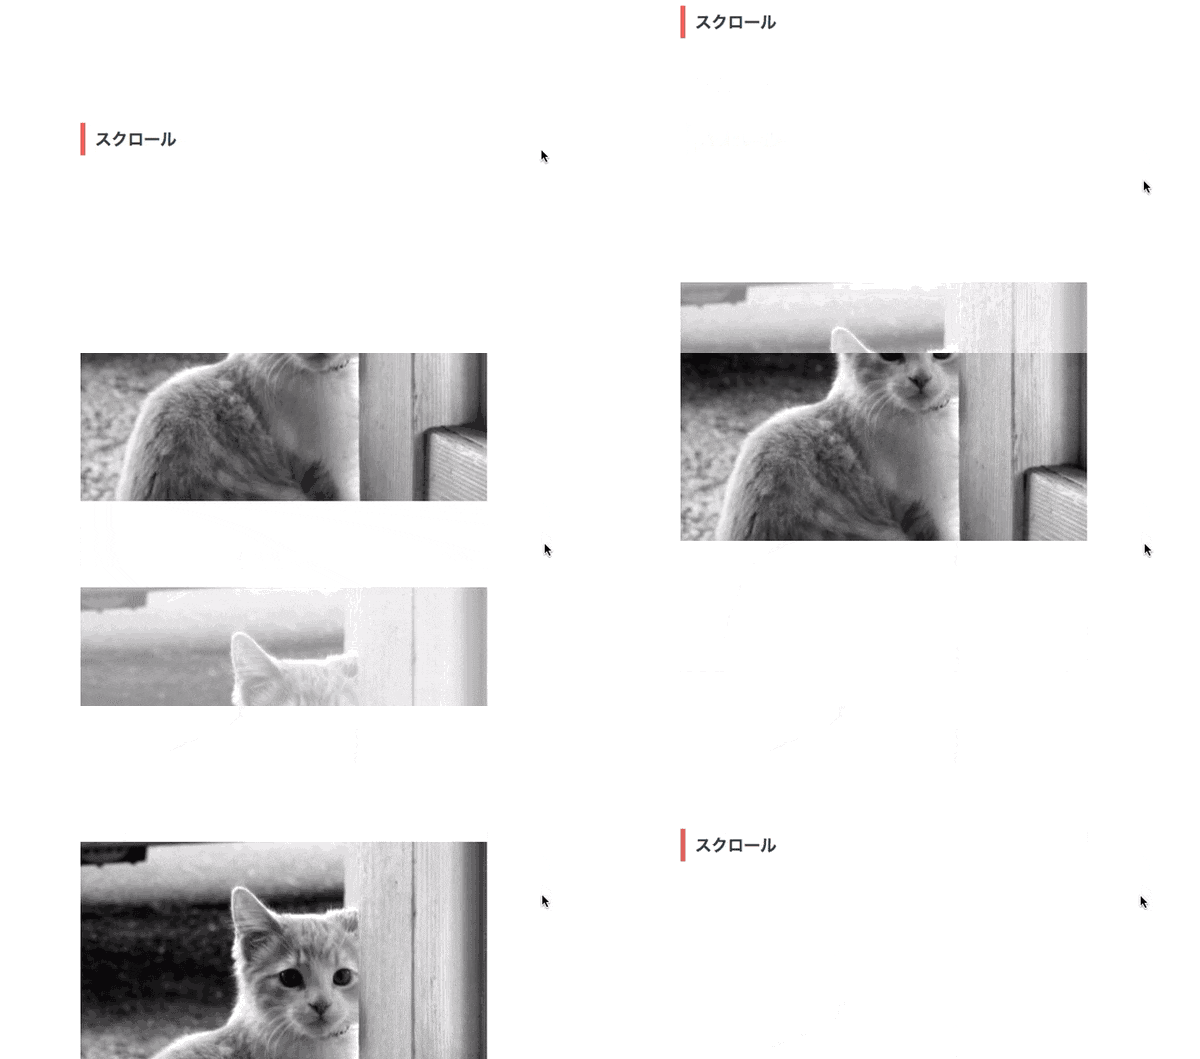
スクロールイベント
jQueryの場合
$(window).on('scroll',function(){
    var scroll_top = $(window).scrollTop();
    $('.scroll_area').each(function(){
      var offset_top = $(this).offset().top - $(this).height();
      if( scroll_top > offset_top){
          $(this).addClass('show');
      }else{
          $(this).removeClass('show');
      }
    });
});
Vue.jsの場合
// スクロール用のプラグイン
import VueObserveVisibility from 'vue-observe-visibility'
Vue.use(VueObserveVisibility)
<template>
  <div>
    <h2>スクロール</h2>
    <div
    v-observe-visibility="visibilityChanged01"
    v-bind:class='{active:isVisible01}'
    class="scroll_area"><img src="http://placekitten.com/g/500/400" alt=""></div>
    <div
    v-observe-visibility="visibilityChanged02"
    v-bind:class='{active:isVisible02}'
    class="scroll_area"><img src="http://placekitten.com/g/500/400" alt=""></div>
</div>
</template>

<script>
export default {
    data(){
      return {
        isVisible01: false,
        isVisible02: false
      }
    },
    methods: {
      visibilityChanged01(isVisible01, entry) {
        this.isVisible01 = isVisible01
      },
      visibilityChanged02(isVisible02, entry) {
        this.isVisible02 = isVisible02
      }
  }
}
</script>
main.jsでやっていること
今回は、スクロールイベントを実装するためにプラグインを使用しています。
プラグインは基本的にvue-cliの場合はプロジェクトディレクトリで
npm install vue-observe-visibility --save
のように叩くとインストールできますので、あとはそれぞれのプラグインのオプションを参照しつつ、基本的にはimportとvue.useを使用して読みこませます。
あとは、
このプラグインの書き方に従い、isVisible02のtrueとfalseによって要素を表示、非表示にしています。
ページトップ
jQueryの場合
$('.page_top a').click(function() {
    PageTop_href = $(this).attr('href');
    PageTop_Speed = 500;
    PageTop_target = $(PageTop_href == '#' || PageTop_href == '' ? 'html' : PageTop_href);
    PageTop_position = PageTop_target.offset().top;
    $('html, body').animate({
        scrollTop: PageTop_position
    }, PageTop_Speed, 'swing');
    return false;
});
Vue.jsの場合
// ページトップ用のプラグイン
import VueScrollTo from 'vue-scrollto'
Vue.use(VueScrollTo)
<template>
  <div>
    <!--ページトップ-->
    <div class="page_top">
      <a href="#" v-scroll-to="'body'">
        TOP
      </a>
    </div>
</div>
</template>
やっていること
こちらも、今回はプラグインを使用しています。
オプションを色々指定できますが、上の記述だけでもアニメーションをしながらページトップの動作が動いてくれます。
v-scroll-to="'body'"
この値をbodyではなくid名などにすることによって、その要素へジャンプすることができるので便利なプラグインです。
リサイズ
jQueryの場合
$(window).resize(function() {
    if (Timer !== false) {
        clearTimeout(Timer);
    }
    Timer = setTimeout(function() {
        ResizeWidth = $(window).width();
        if (769 > ResizeWidth) {
            $('.show_text').addClass('show');
        } else {
            $('.show_text').removeClass('show');
        }
    }, 200);
});
Vue.jsの場合
<template>
  <div>
    <h2>リサイズ</h2>
    <p class="show_text" v-if="width < 769">表示されました!</p>
</div>
</template>

<script>
var _ = require('lodash');
export default {
  data(){
    return {
      width: window.innerWidth
    }
  },
  methods: {
    setWindowWidth: _.debounce(function(){
      this.width = window.innerWidth;
    }, 200)
  },
  created: function() {
    window.addEventListener('resize', this.setWindowWidth, false);
  }
}
</script>
やっていること
リサイズイベントの処理として、連続して発火するのを抑えるためにsettimeoutを使用していますが、今回はlodashを使用しています。
プロジェクトディレクトリで
npm install vue-lodash --save
を叩く必要があります。
それ以外は、ほぼほぼjavascriptで書いています。
今回はjavascriptによってDOMを検知するため、Vueのライフサイクルを使用しています。
createdでmethods内のsetWindowWidthを走らせ、横幅を取得しwidthという変数に渡しています。
その値をv-ifで検知し、DOMを表示させたり、消したりしています。
余談
今年もPANTONEから「来年の色」が発表されましたね。
来年の色は「Living Coral」だそうです。今回、ボタンの色などはこの「Living Coral」を使用しました。
配色例は以下から見れますよ。
https://www.pantone.com/color-intelligence/color-of-the-year/color-of-the-year-2019-palette-exploration


