空間ビデオ(Spatial Video)を青赤メガネで立体視する
iOS 17.2から、iPhone 15 ProとiPhone 15 Pro Maxは、空間ビデオを撮影できるようになりました
ざっくりまとめると、iPhoneの2つのカメラで同時に撮影し、撮影した映像をApple Vision Proでそれぞれ左右の目に提示することで、立体的に動画を視聴することができるようです、たぶん(すごい!)
しかし、せっかく空間ビデオで撮影してもApple Vision Proは日本では未発売(2024年1月現在)なので、Spatialな空間感を感じることができません
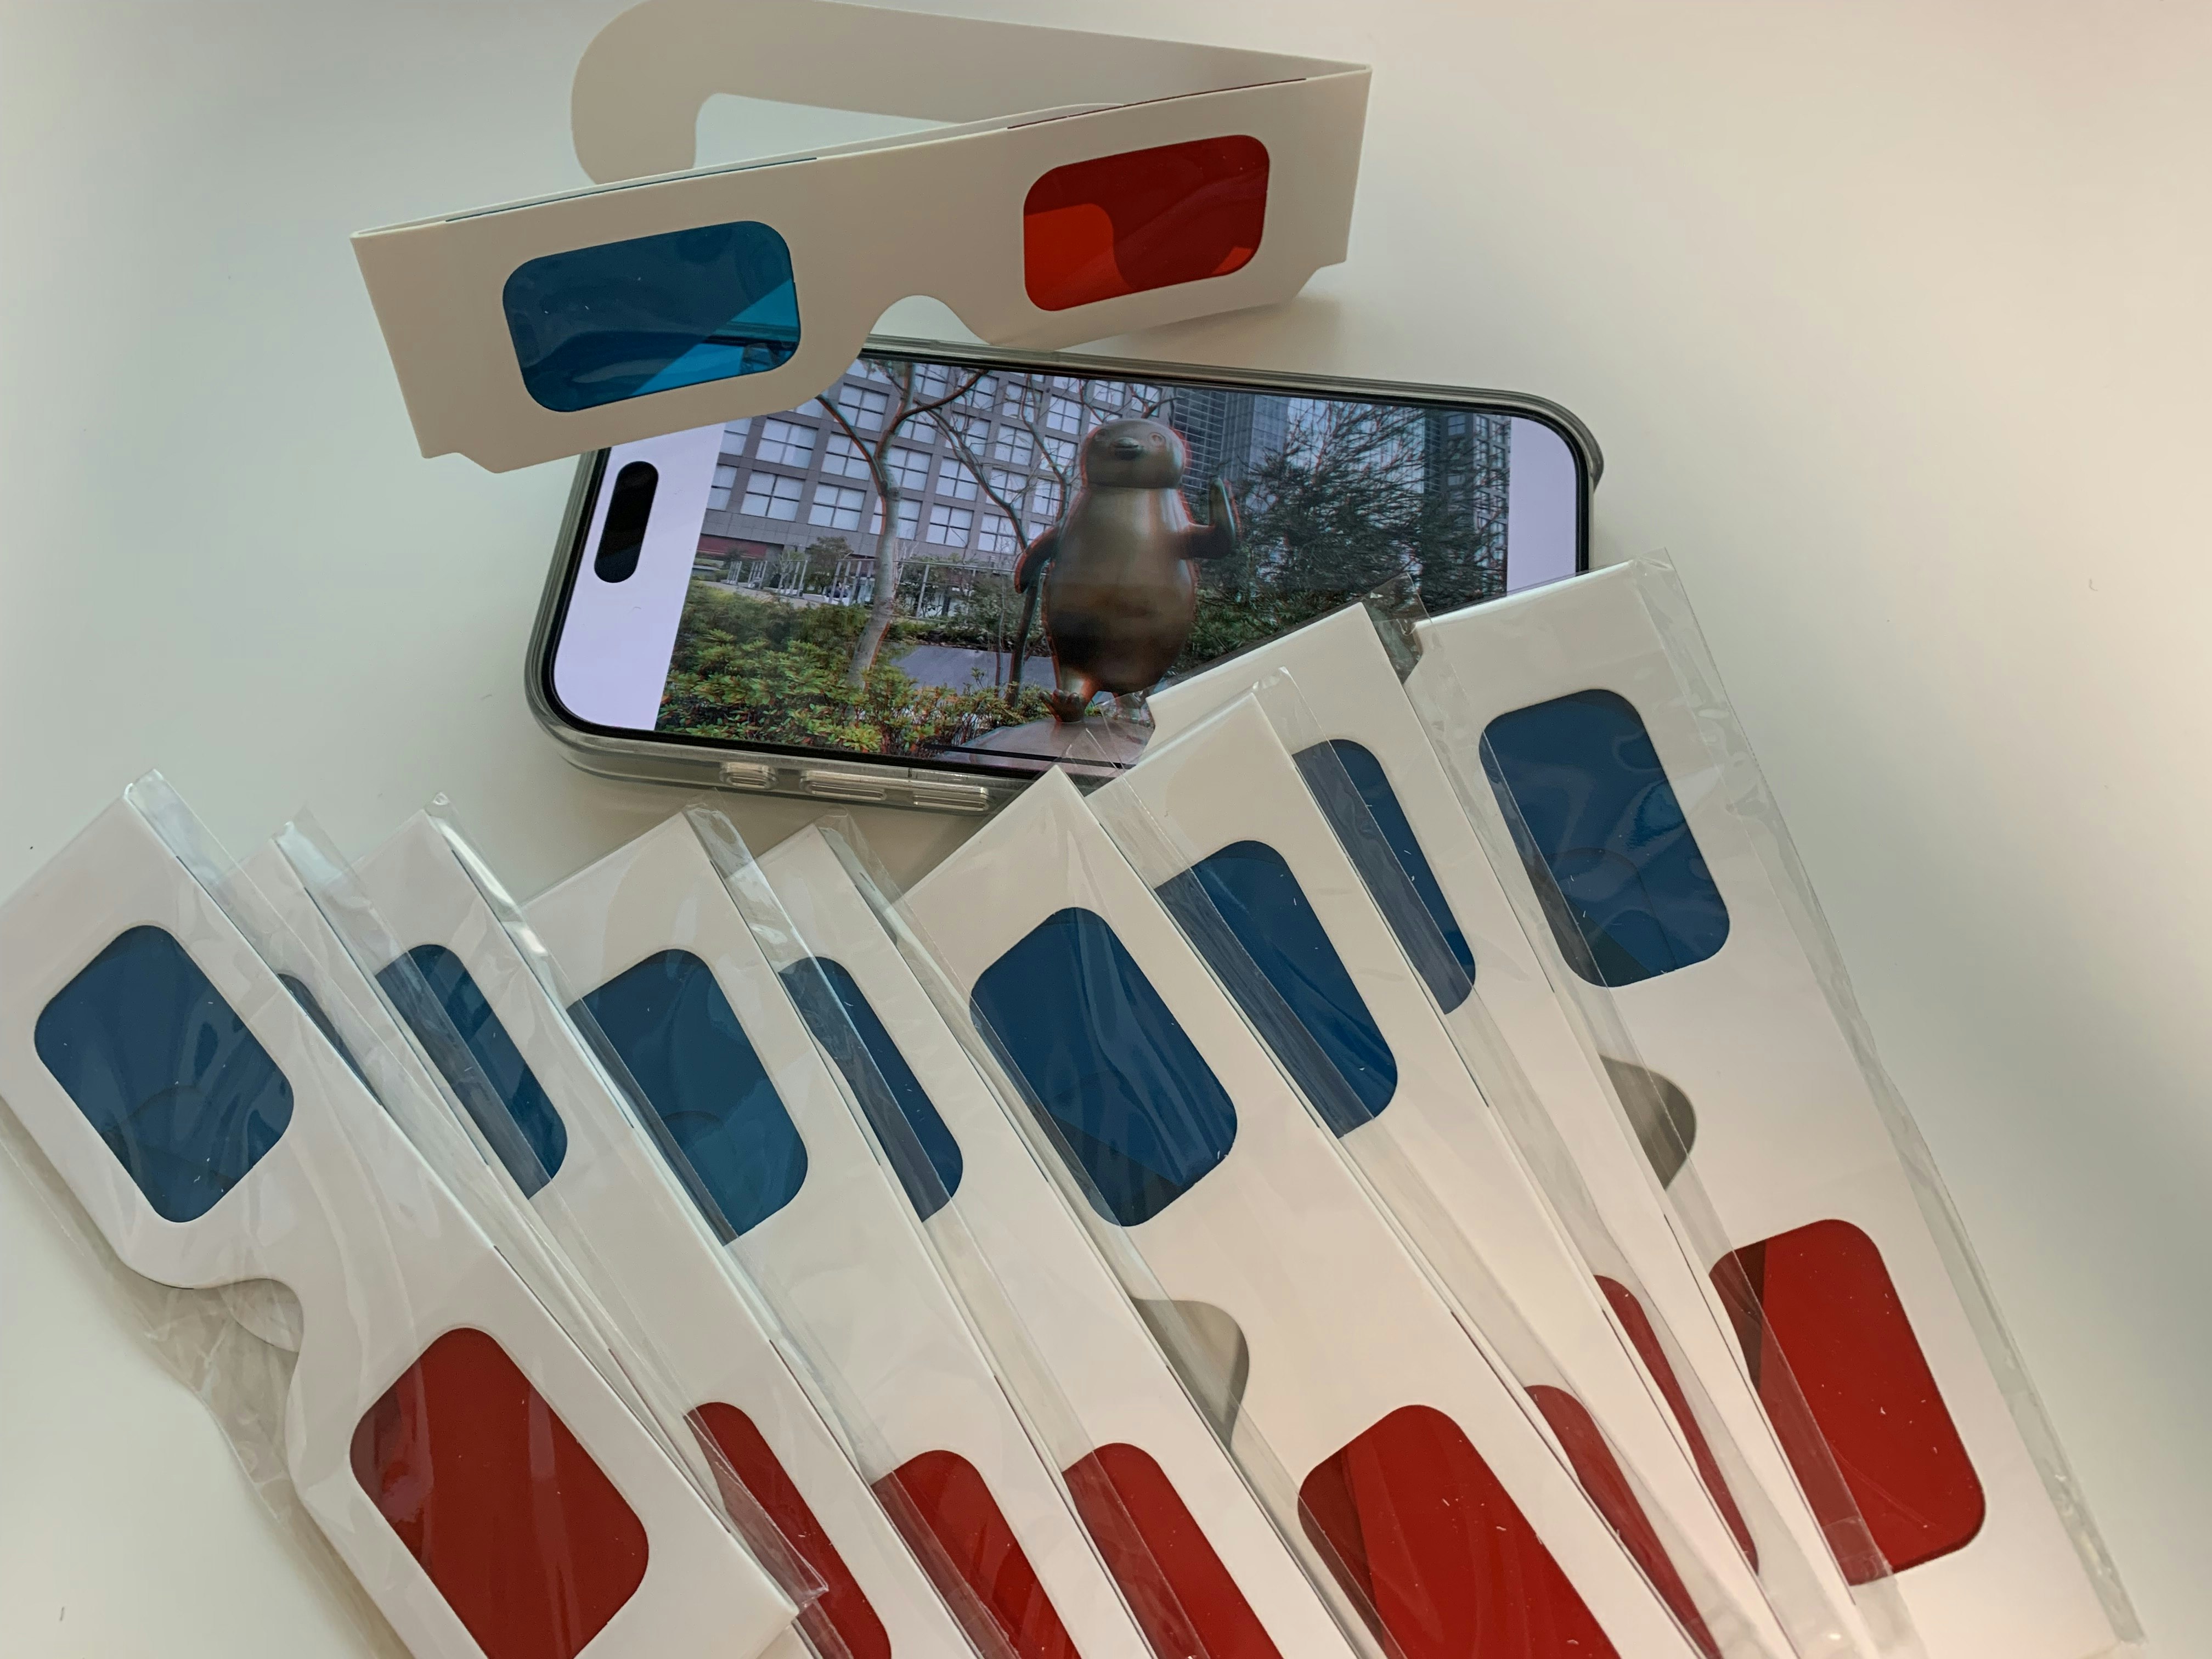
そこで、空間ビデオの左右の目用のそれぞれの映像を取得し、伝統的?な立体視の手法である赤青のメガネで見ると立体的に見えるアナグリフで表示することで、空間ビデオを立体視してみました
空間ビデオを赤青のメガネで立体視できるように表示できた! pic.twitter.com/Z9mJNVtA1w
— ふじき (@fzkqi) January 25, 2024
リポジトリはこちら
空間ビデオの撮影
iOS17.2以降にアップデートし、「設定」>「カメラ」>「フォーマット」の「Apple Vision Pro用の空間ビデオ」をオンにします
カメラアプリのビデオ撮影モードの右下にApple Vision Proのようなアイコンが表示されるので、有効化して撮影します
空間ビデオをアナグリフで表示
空間ビデオの取得
普通に?Photos Frameworkを使ってAVAssetを取得します
let assets: PHFetchResult = PHAsset.fetchAssets(with: .video, options: nil)
let asset = assets.lastObject!

let resources = PHAssetResource.assetResources(for: asset)
print("originalFilenames: \(resources.map({ $0.originalFilename }))")

let options = PHVideoRequestOptions()
options.isNetworkAccessAllowed = true
options.version = .original
options.deliveryMode = .highQualityFormat
PHImageManager().requestAVAsset(forVideo: asset, options: options) { [unowned self] (asset: AVAsset?, _: AVAudioMix?, _: [AnyHashable : Any]?) in
    handle(asset: asset!)
}
左右の目用の映像の取得
AVPlayerVideoOutput という仕組みがiOS17.2から追加されたようです
stereoscopicForVideoOutputを利用できるように設定しておきます
また、画面の更新に合わせて動画の表示を更新するために、CADisplayLinkを使います
func handle(asset: AVAsset) {
    let player = AVPlayer(playerItem: AVPlayerItem(asset: asset))

    let specification = AVVideoOutputSpecification(tagCollections: [.stereoscopicForVideoOutput()])
    let videoOutput = AVPlayerVideoOutput(specification: specification)
    player.videoOutput = videoOutput

    let displayLink = CADisplayLink(target: self, selector: #selector(onDisplayLink(link:)))
    displayLink.add(to: .main, forMode: .common)
    player.play()
}
videoOutput.taggedBuffers から左右の目用のpixelBufferを取得します
この2つのpixelBufferをアナグリフとして見えるように合成します
@objc func onDisplayLink(link: CADisplayLink) {
    guard let taggedBuffers = videoOutput.taggedBuffers(forHostTime: CMClockGetTime(CMClockGetHostTimeClock())) else { return }

    let buffL = taggedBuffers.taggedBufferGroup.first { $0.tags.contains(.stereoView(.leftEye)) }!
    let buffR = taggedBuffers.taggedBufferGroup.first { $0.tags.contains(.stereoView(.rightEye)) }!

    guard case let .pixelBuffer(pbL) = buffL.buffer,
          case let .pixelBuffer(pbR) = buffR.buffer else { return }

    let ciL = CIImage(cvPixelBuffer: pbL)
    let ciR = CIImage(cvPixelBuffer: pbR)

    // ciLとciRからアナグリフの画像を作成
}
アナグリフに変換
左目のRGBのGBを右目のGBに置き換えて表示します
これで、左目の映像はRのみ、右目の映像はGBのみとなります
Metal Shaderを利用するために、Build Settingsで Other Metal Compiler Flags に -fcikernel 、MTLLINKER_FLAGS に -cikernel を追加します
#include <metal_stdlib>
using namespace metal;
#include <CoreImage/CoreImage.h>

extern "C" {
    namespace coreimage {
        float4 anaglyph(coreimage::sample_t l, coreimage::sample_t r, coreimage::destination dest) {
            l.gb = r.gb;
            return l;
        }
    }
}
CIKernelを用いて適用します
let kernel: CIColorKernel = {
    let url = Bundle.main.url(forResource: "default", withExtension: "metallib")!
    let data = try! Data(contentsOf: url)
    return try! CIColorKernel(functionName: "anaglyph", fromMetalLibraryData: data)
}()

let context = CIContext()

@objc func onDisplayLink(link: CADisplayLink) {
    guard let taggedBuffers = videoOutput.taggedBuffers(forHostTime: CMClockGetTime(CMClockGetHostTimeClock())) else { return }

    let buffL = taggedBuffers.taggedBufferGroup.first { $0.tags.contains(.stereoView(.leftEye)) }!
    let buffR = taggedBuffers.taggedBufferGroup.first { $0.tags.contains(.stereoView(.rightEye)) }!

    guard case let .pixelBuffer(pbL) = buffL.buffer,
          case let .pixelBuffer(pbR) = buffR.buffer else { return }

    let ciL = CIImage(cvPixelBuffer: pbL)
    let ciR = CIImage(cvPixelBuffer: pbR)

    // ciLとciRからアナグリフの画像を作成
    let ci = kernel.apply(extent: ciL.extent, arguments: [ciL, ciR])!
    let cg =  context.createCGImage(ci, from: ci.extent)!
    image = UIImage(cgImage: cg)
}
アナグリフの計算はこちらを参考にさせて頂きました
https://3dtv.at//knowhow/anaglyphcomparison_en.aspx
結果
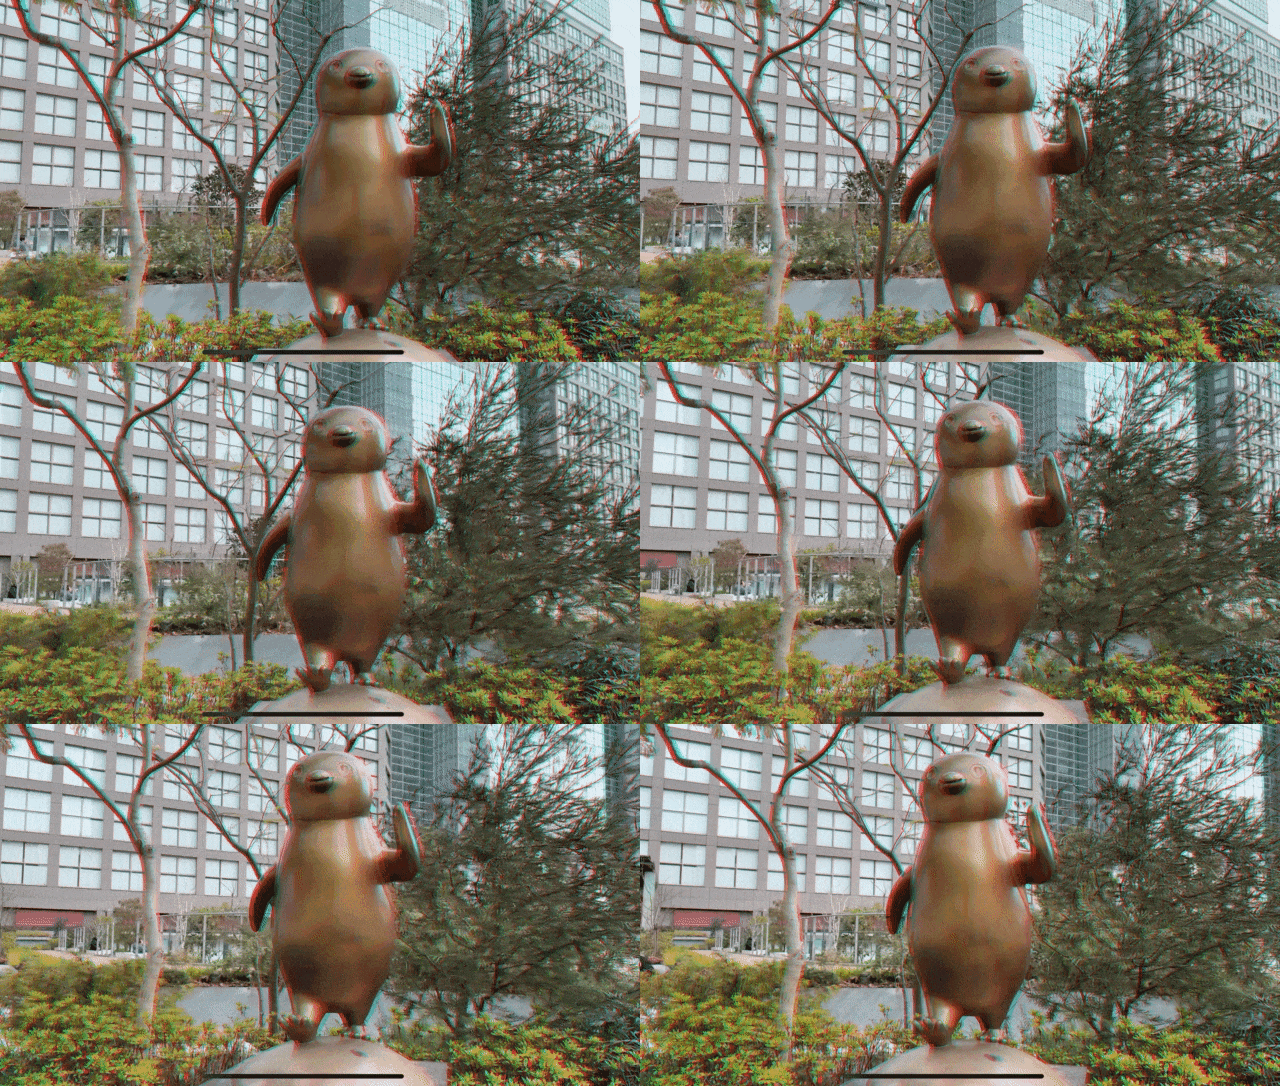
作成したアナグリフの動画がこちらです
赤青メガネで見てみると、それっぽい立体感を感じる気がします
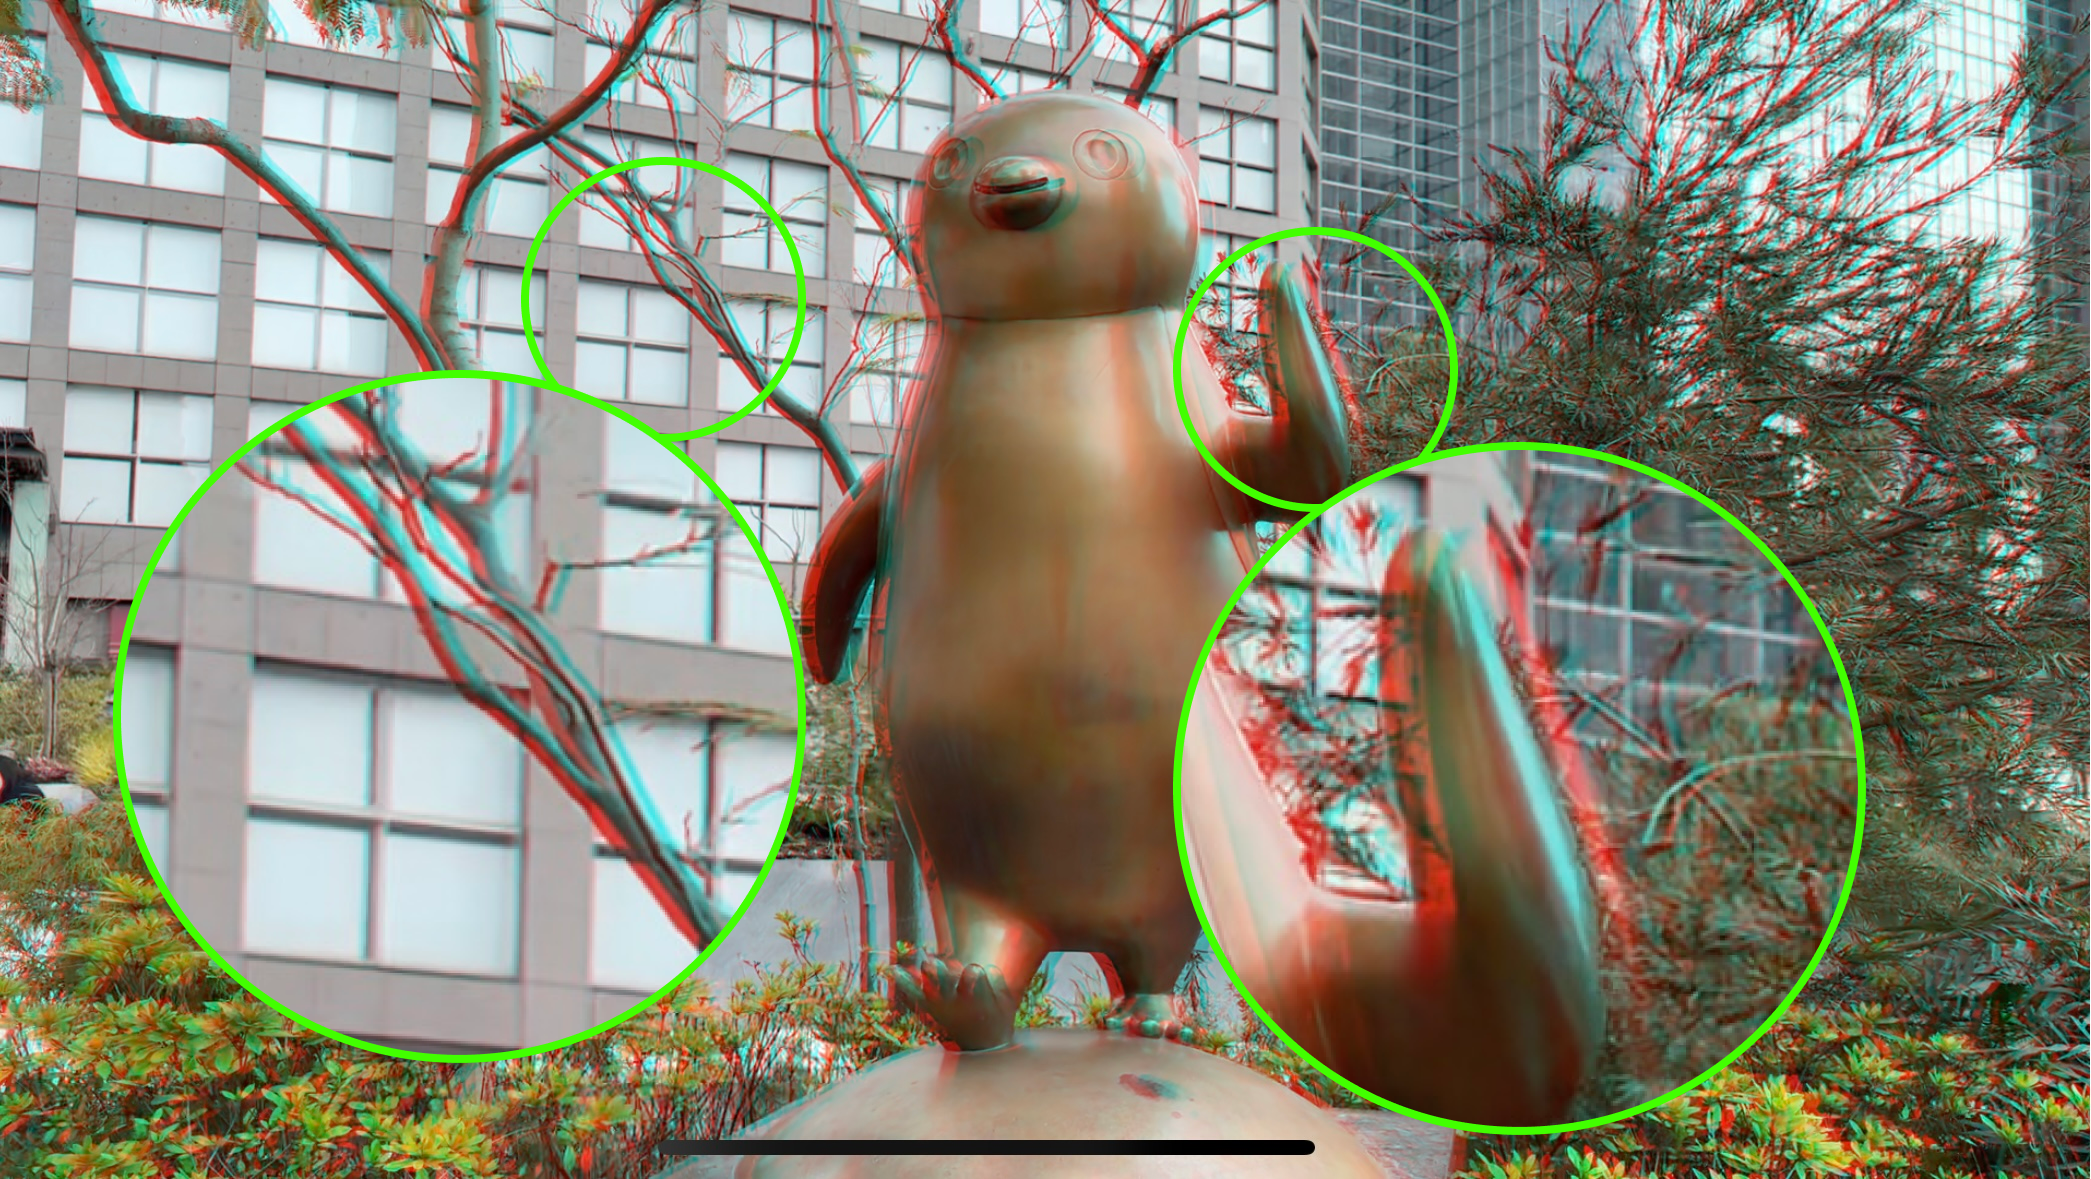
画像を重ねると確かに左右の目用に異なる画像が撮影されていることがわかります
また、手前にいる某ペンギンさんは左右の目用の画像の差が大きく、遠くにある枝は差が小さく、さらに遠くにあるビルは差がほとんどないこともわかります
まとめ
iOS 17.2から、iPhone 15 ProとiPhone 15 Pro Maxで撮影できるようになった空間ビデオをアナグリフで表示してみました
空間ビデオをサポートするそのまんまの名前のAPIが新規に追加されており、シンプルに実現できました
もしよろしければ、Apple Vision Proを手に入れるまで、赤青メガネで空間ビデオを楽しんでみるのはいかがでしょうか?w


