packer -> Vagrant -> Ansible
なんとなく、流れとして作っておくと良さそう
packer -> Vagrant box作成
外部からpacker templateを入手する
自分で作ってもいいけど、最初からEnterを押すなどの操作を起こすのはだるいので、
既存のpacker templateを取ってくるようにする。
個人的におすすめなのはchef社のbento。
packer templateは、
以下にある。
chefインストールスクリプトを削除
僕としては、chefは利用しない形なので、
provisionerからchefのインストール箇所を削除して利用する。
Ubuntu 14.04のtemplate.jsonを例に取ると、
以下の部分を削除する。chef.shを削除するだけ。
diff --git packer/ubuntu-14.04-amd64.json packer/ubuntu-14.04-amd64.json
index 0522db4..41e62d8 100644
--- packer/ubuntu-14.04-amd64.json
+++ packer/ubuntu-14.04-amd64.json
@@ -182,7 +182,6 @@
         "scripts/ubuntu/sudoers.sh",
         "scripts/common/vagrant.sh",
         "scripts/common/vmtools.sh",
-        "scripts/common/chef.sh",
         "scripts/ubuntu/cleanup.sh",
         "scripts/common/minimize.sh"
       ],
packer templateよりVagrant boxを作成する
packer templateを編集し終えたら、
> packer build template.json
を実行し、Vagrant boxを作成する。
先ほどあげたbentoのテンプレートを利用している場合は、
以下の形でVagrant boxを作成することになる。
> git clone git@github.com:opscode/bento.git
> cd bento/packer
> sed -i '/chef\.sh/d' ubuntu-14.04-amd64.json
> packer build ubuntu-14.04-amd64.json
暫し待つ

出来上がったVagrant boxを登録
> cd ../builds/virtualbox/
> vagrant box add ubuntu-14.04 opscode_ubuntu-14.04_chef-provisionerless.box
> vagrant box list
ubuntu-14.04                                             (virtualbox, 0)
Vagrant
適当なディレクトリで、Vagrantfileを作成する
> mkdir
> vagrant init
Vagrantfileの編集
コア数、ネットワーク設定などをいじっておく
# -*- mode: ruby -*-
# vi: set ft=ruby :

# Vagrantfile API/syntax version. Don't touch unless you know what you're doing!
VAGRANTFILE_API_VERSION = "2"

Vagrant.configure(VAGRANTFILE_API_VERSION) do |config|
  config.vm.box = "ubuntu-14.04"

  config.vm.network "private_network", ip: "192.168.33.10"

  config.ssh.forward_agent = true

  config.vm.provider "virtualbox" do |vb|
    vb.gui = false
    vb.customize ["modifyvm", :id, "--cpus", "2"]
    vb.customize ["modifyvm", :id, "--memory", "1024"]
    # 参考: http://qiita.com/d_nishiyama85/items/c50c95795865ae7f714b
    vb.customize ["modifyvm", :id, "--ioapic", "on"]
    # 参考: http://shibayu36.hatenablog.com/entry/2013/08/12/090545
    vb.customize ["modifyvm", :id, "--natdnshostresolver1", "off"]
    vb.customize ["modifyvm", :id, "--natdnsproxy1", "off"]
  end
end
作成したVagrant boxの立ち上げ
> vagrant up
で立ち上げ。

Ansibleでアプリケーション動作環境を整える
Ansibleを利用し、アプリケーション動作環境を整える。
ミドルウェアのインストールをAnsibleで行う。
インストール対象とするアプリ
GitLabに決めてみた。
Ubuntu-14.04向けであれば、パッケージが配布されている!
なんと楽なんだろう。Gitlabをaptコマンドでインストールするときにはchefが使われるけど...
Ansible playbookを用意する
パッケージをインストールするためのAnsible playbookを書いてみる。
- インストール対象のOSはUbuntu 14.04 LTS
- インストールを行うアプリはGitLab
- aptでインストール可能な状態でパッケージ配布されている
という条件なので、特に考えずにパッケージインストールするだけの
Ansible playbookを書いた。
.
├── README.md
├── Vagrantfile
├── gitlab.yml
└── roles
    └── gitlab
        └── tasks
            ├── install.yml
            ├── main.yml
            ├── reconfigure.yml
            ├── setup.yml
            └── update-gitlab.rb.yml
/etc/gitlab/gitlab.rb
ホスト名を設定するファイルだが、
Ansible playbookの中で、テンプレートをコピーする形で対応する。
Vagrantで作成する仮想マシンを立ち上げる時に割り当てる
プライベートIPアドレスを割り当てされるようにしておく。
---
- name: update gitlab.rb
  lineinfile: dest=/etc/gitlab/gitlab.rb
              regexp=^external_url
              line="external_url 'http://192.168.33.10/'"
VagrantfileにAnsible playbookを利用する形に更新する
先ほど書いたVagrantfileにAnsible playbookを利用する形に更新を行う。
Ansible playbookのroot以下にVagrantfileをコピーしておく。
# -*- mode: ruby -*-
# vi: set ft=ruby :

# Vagrantfile API/syntax version. Don't touch unless you know what you're doing!
VAGRANTFILE_API_VERSION = "2"

Vagrant.configure(VAGRANTFILE_API_VERSION) do |config|
  config.vm.box = "ubuntu-14.04"

  config.vm.network "private_network", ip: "192.168.33.10"

  config.ssh.forward_agent = true

  config.vm.provider "virtualbox" do |vb|
    vb.gui = false
    vb.customize ["modifyvm", :id, "--cpus", "2"]
    vb.customize ["modifyvm", :id, "--memory", "1024"]
    vb.customize ["modifyvm", :id, "--ioapic", "on"]
    vb.customize ["modifyvm", :id, "--natdnshostresolver1", "off"]
    vb.customize ["modifyvm", :id, "--natdnsproxy1", "off"]
  end

  config.vm.provision "ansible" do |ansible|
    ansible.playbook = "gitlab.yml"
    ansible.limit = "all"
  end
end
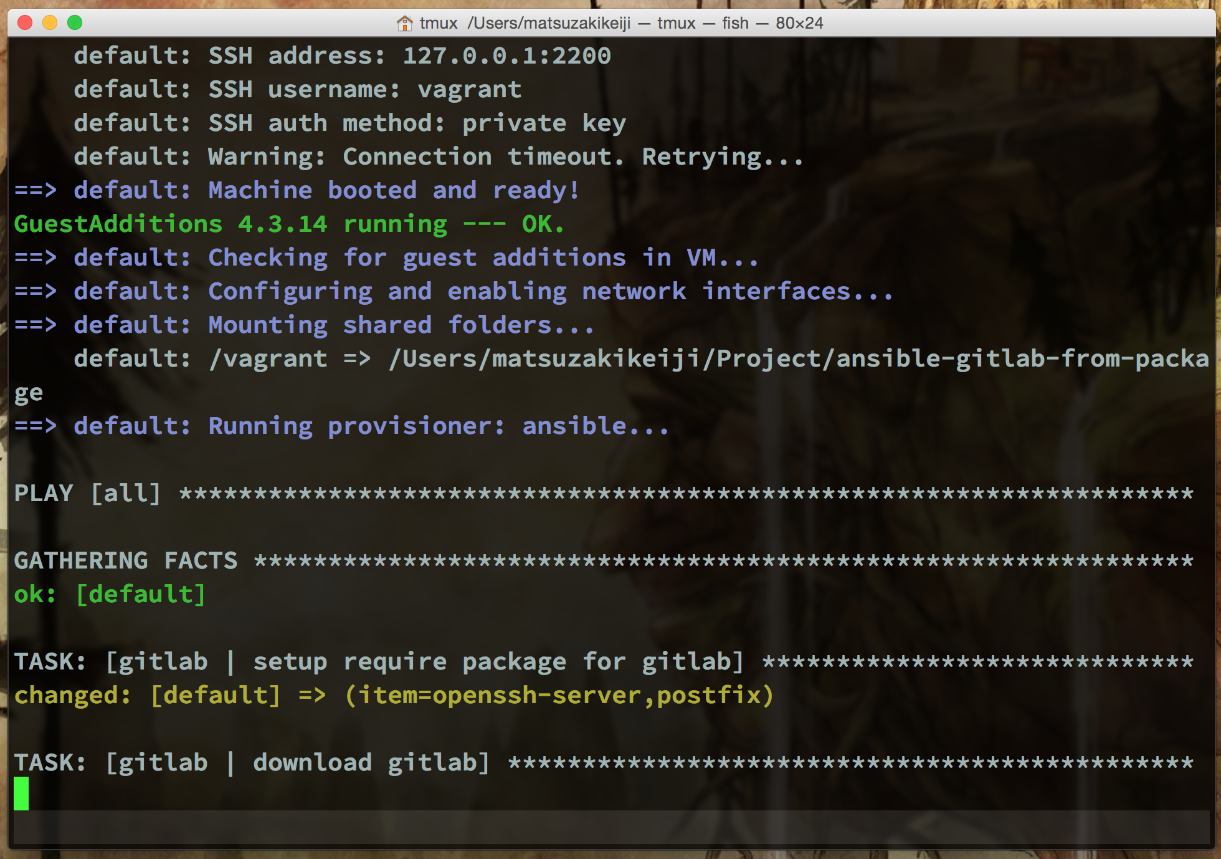
Vagrant boxにプロビジョニング適用
> vagrant up --provision
でプロビジョニングが終わるまで暫く待つ。
Gitlabパッケージのインストールには、時間がかかる。
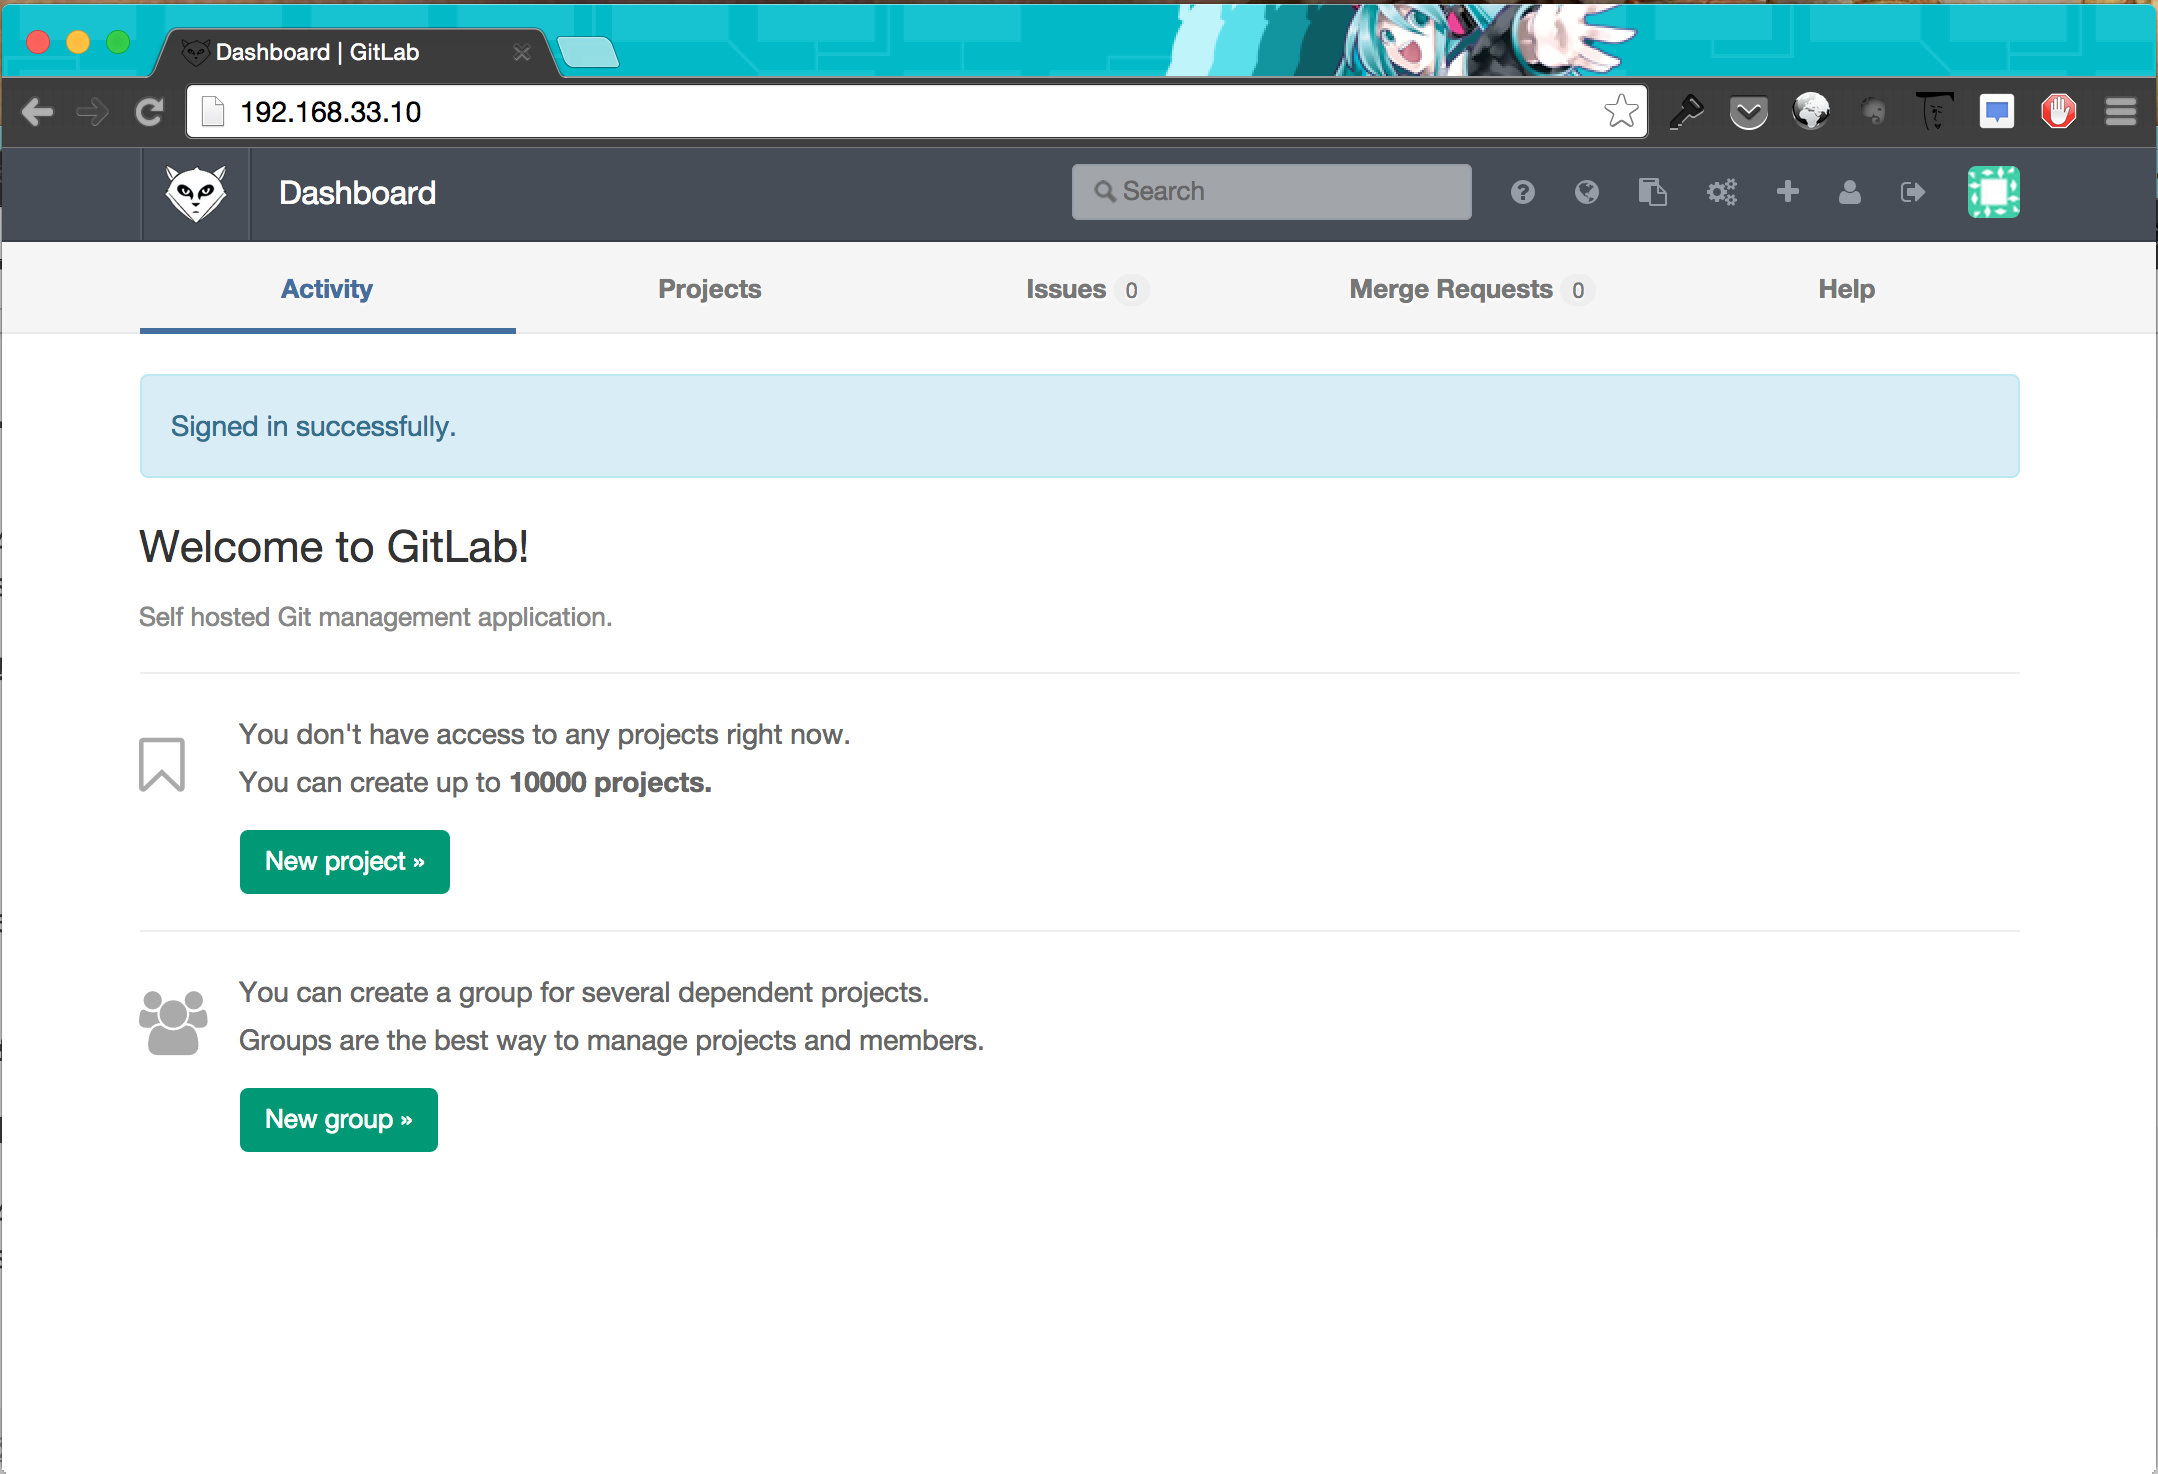
Gitlabにアクセス
Gitlabのインストールを終え、gitlab-ctl reconfigureも終えている。
Gitlabにアクセスしてみよう。
> open http://192.168.33.10/
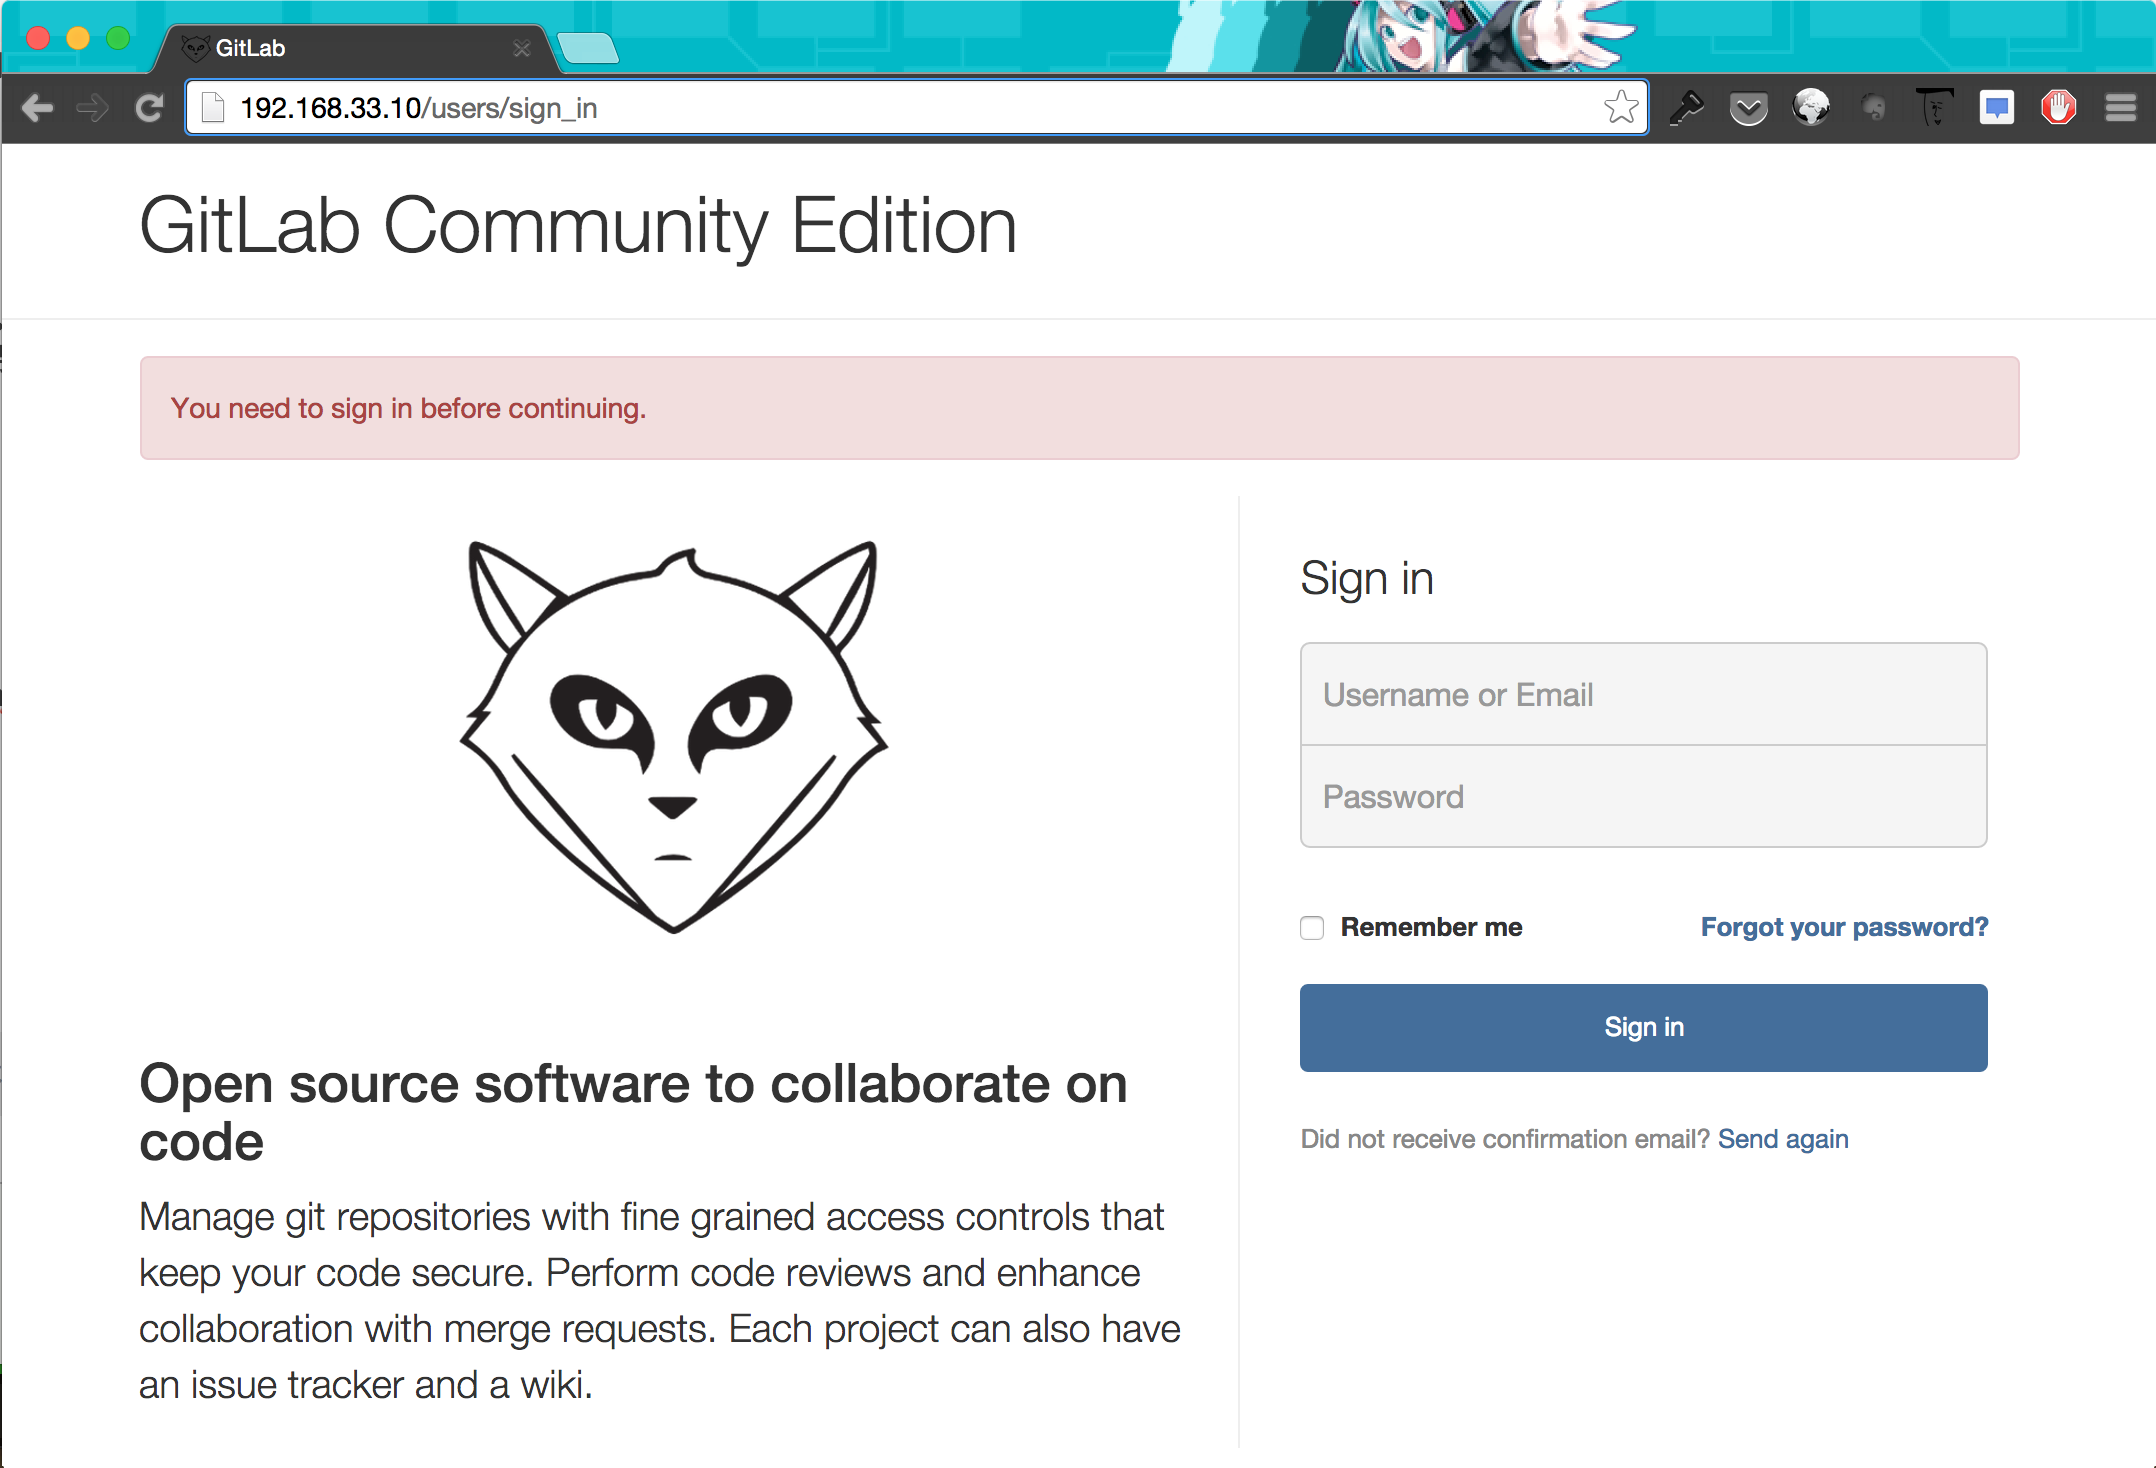
サインイン画面が出た!
Giglabにサインイン
Username: root
Password: 5iveL!fe
ということなので、フォームに入力してログインをしてみる。
パスワード変更画面が出たので適当に変更し、
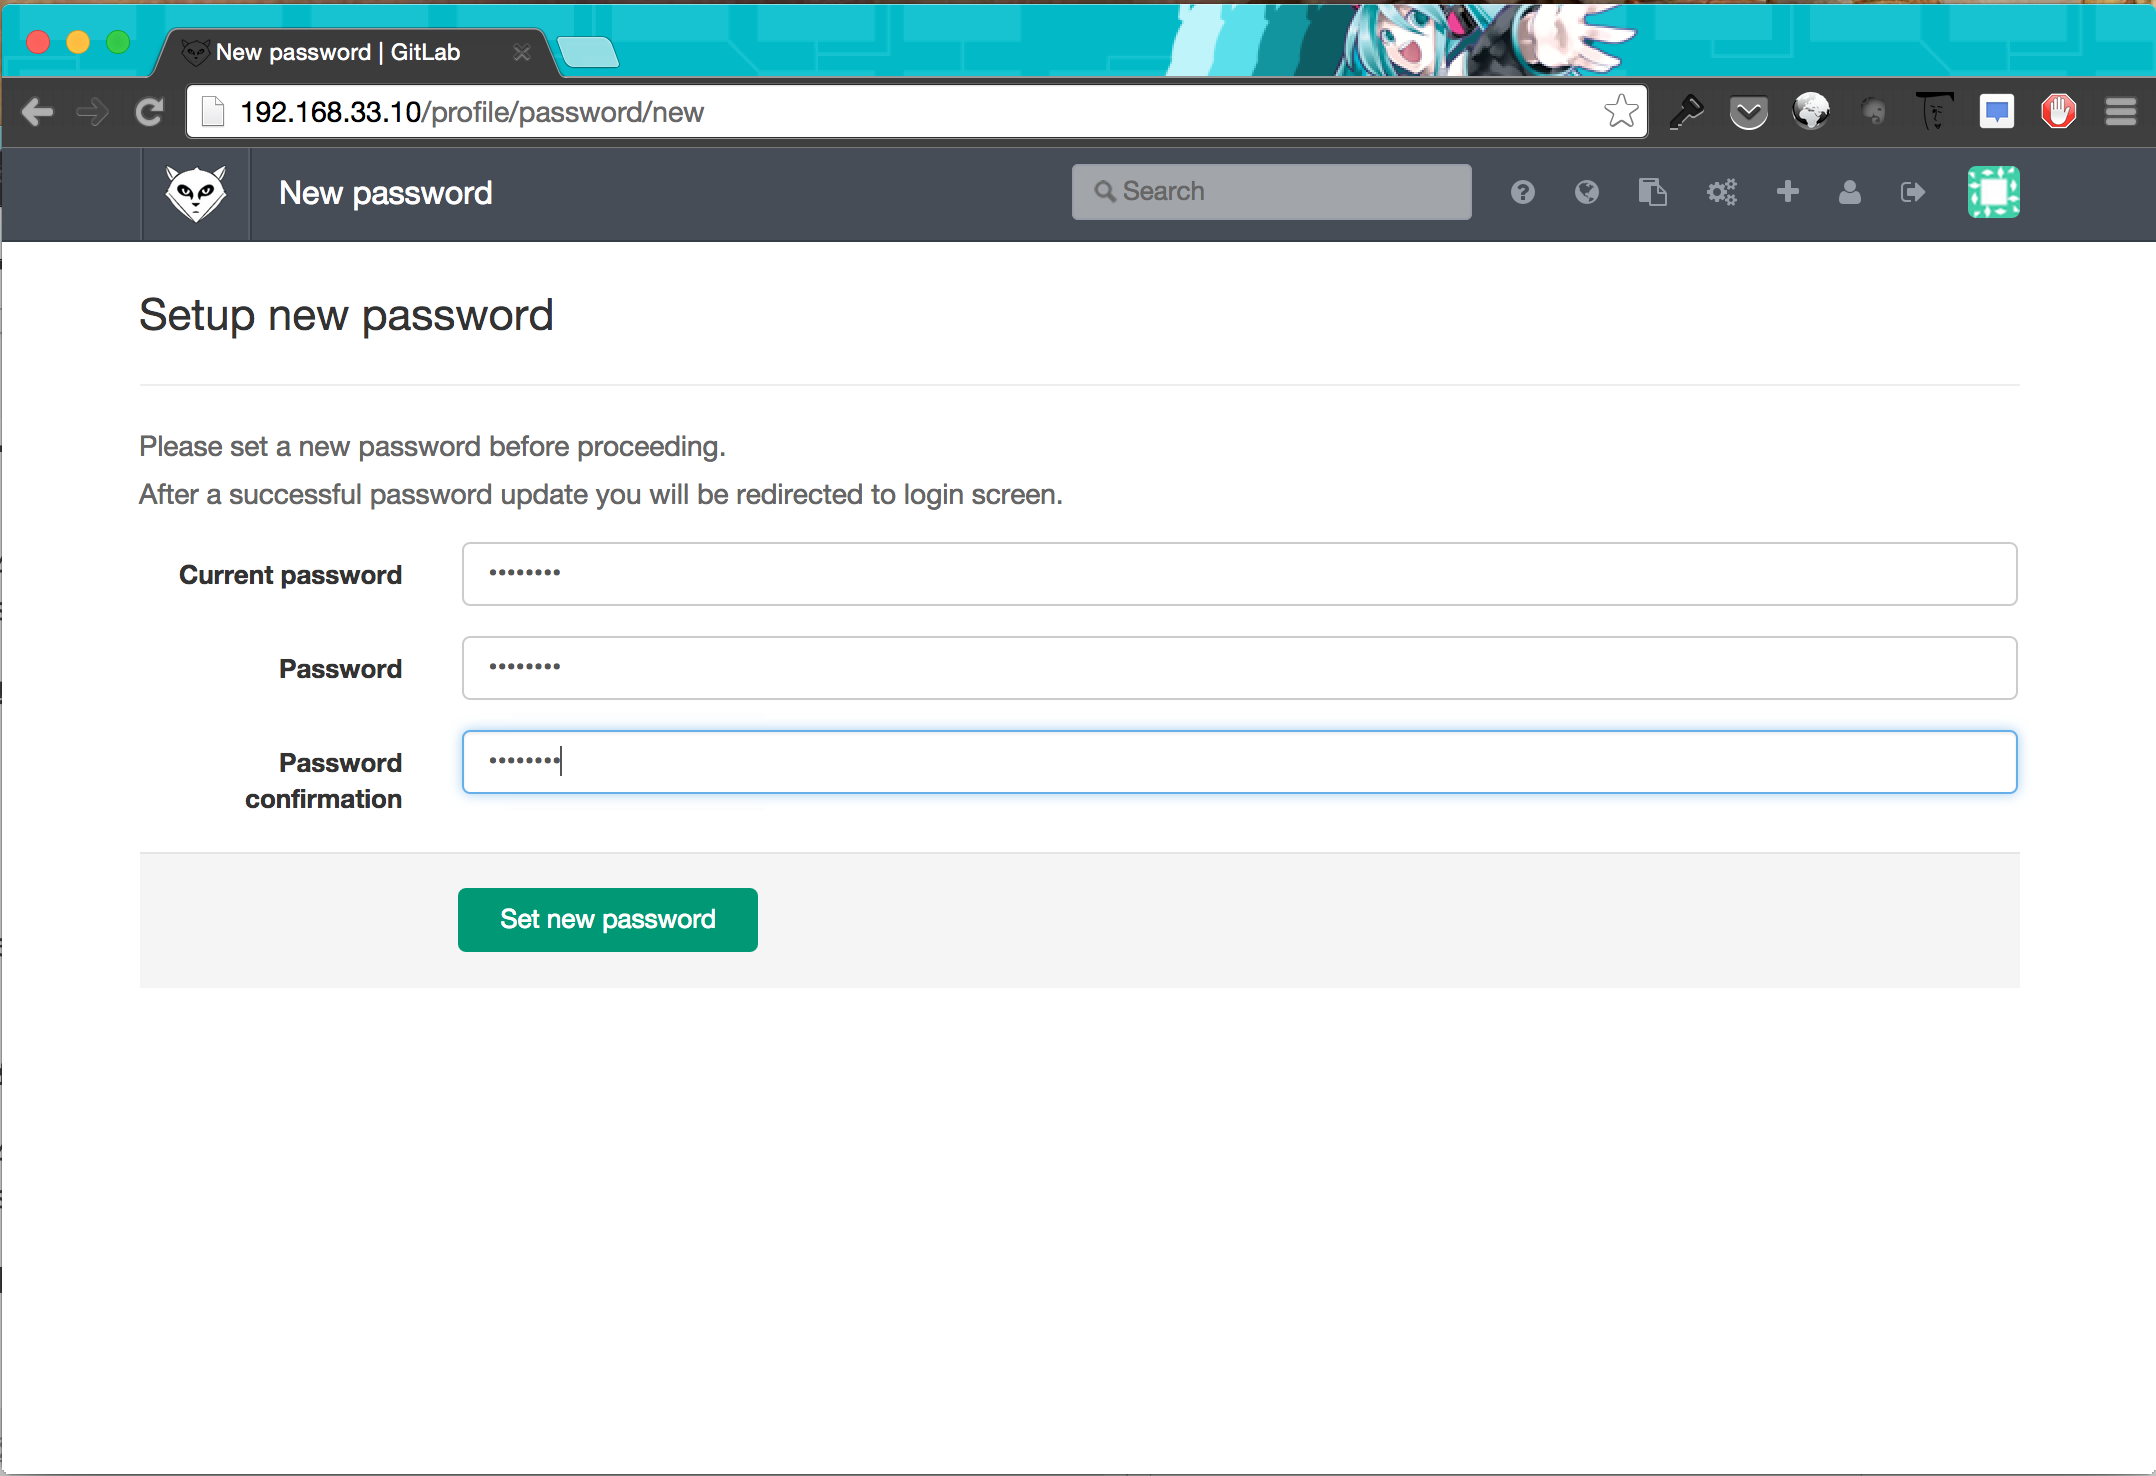
ログイン成功!
Gitlabってインストール楽なんだな...(ディストリは選ぶものの)
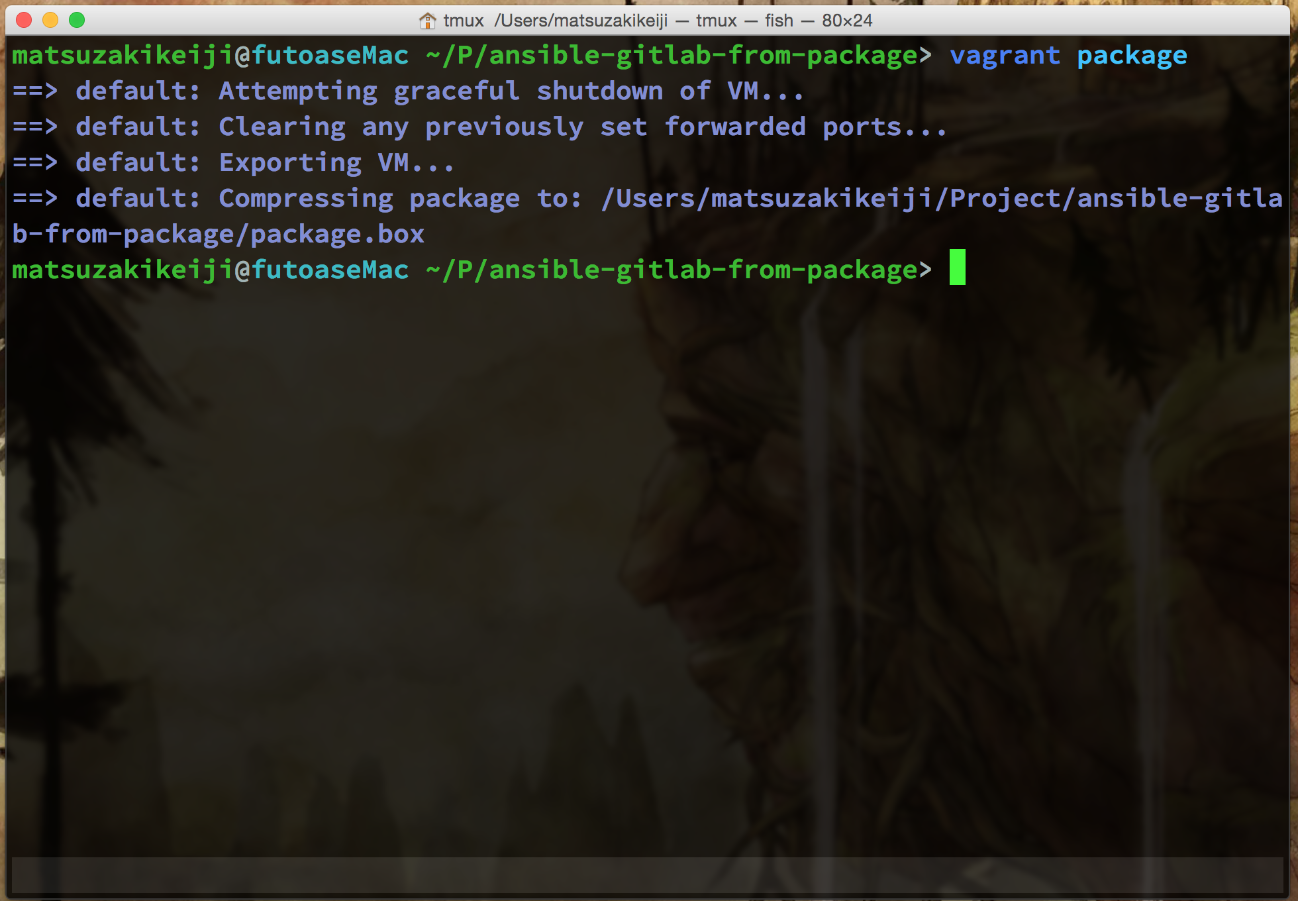
出来上がったVagrant boxをpackage化
Vagrant boxをpackage化しておく。
いちいちpacker -> Vagrant -> ansibleでのプロビジョニングを
踏まなくても良いように。他人にとりあえず共有したかったり、環境バックアップの意味でも。
Vagrantfileのあるディレクトリ、
この場合はAnsible playbookのあるディレクトリなのだけど、
そこで以下のコマンドを打つ。
> vagrant package
時間がかかるが、現状動作しているVagrant boxが作成される。
出来上がったVagrant boxをどっかに保存するなりしておけば、
Vagrant boxをダウンロードした後にvagrant upを実行するだけになるので楽だ。
安定してきた感のあるVagrant運用
Vagrantで立ち上げた仮想マシンは、
/vagrantでrootディレクトリをマウントしていたり、
そもそも開発環境を仮想環境とはいえ統一できる(ディストリの差などはカーネルのバージョン差があったりするから特に)ので良いと思う。
packer -> ansible -> Vagrant って行ってしまえばいいような気もするけど。