JSON Server

いつだったか、mizchiさんがTwitterに書いていた
JSON Serverというものを思い出した。
jsonファイルを用意しておけばAPIのリクエストを受け取り、また返してくれる
APIのモックアップが作れそうだった。試しに触ってみる。
システムにインストール
> npm install -g json-server
で終わり
試しに一つAPIを定義
db.jsonを以下のように書く
db.json
{
  "users": [
    {
      "id": 1,
      "name": "futoase"
    },
    {
      "id": 2,
      "name": "hogehoge"
    }
  ],
  "limit": 100
}
json-serverにdb.jsonを食わせる
> json-server db.json

立ち上げ時にルーティング内容が出力される。
jsonの構造として以下の形になる。とても便利だ。
{
  "ルーティングのためのキー名その1": [
    { "主キー": "value" }
  ],
  "ルーティングのためのキー名その2": "value"
}
エンドポイントにアクセスする
db.json に入っているデータを取得することが可能。
以下に例を複数示す。
ユーザー全体
curl -i http://localhost:3000/users
HTTP/1.1 200 OK
X-Powered-By: Express
Vary: X-HTTP-Method-Override
Access-Control-Allow-Origin: *
X-Content-Type-Options: nosniff
Content-Type: application/json; charset=utf-8
Content-Length: 91
ETag: W/"5b-2142539650"
Date: Sat, 02 Aug 2014 04:50:29 GMT
Connection: keep-alive

[
  {
    "id": 1,
    "name": "futoase"
  },
  {
    "id": 2,
    "name": "hogehoge"
  }
]~
id=1であるユーザを取得
> curl -i http://localhost:3000/users/1
HTTP/1.1 200 OK
X-Powered-By: Express
Vary: X-HTTP-Method-Override
Access-Control-Allow-Origin: *
X-Content-Type-Options: nosniff
Content-Type: application/json; charset=utf-8
Content-Length: 34
ETag: W/"22-1912283588"
Date: Sat, 02 Aug 2014 02:02:00 GMT
Connection: keep-alive

{
  "id": 1,
  "name": "futoase"
}
limitの値を取得
> curl -i http://localhost:3000/limit
HTTP/1.1 200 OK
X-Powered-By: Express
Vary: X-HTTP-Method-Override
Access-Control-Allow-Origin: *
X-Content-Type-Options: nosniff
Content-Type: application/json; charset=utf-8
Content-Length: 3
ETag: W/"3-595022058"
Date: Sat, 02 Aug 2014 02:04:20 GMT
Connection: keep-alive

100
POST形式でリクエストする。
POST形式でリクエストすると、db.jsonに
送信したデータが保存できる。
> curl -X POST http://localhost:3000/users -d name=fugafuga
これで、"name": "fugafuga" なレコードが追加される。
usersを取得
> curl -i http://localhost:3000/users
curl -i http://localhost:3000/users
HTTP/1.1 200 OK
X-Powered-By: Express
Vary: X-HTTP-Method-Override
Access-Control-Allow-Origin: *
X-Content-Type-Options: nosniff
Content-Type: application/json; charset=utf-8
Content-Length: 136
ETag: W/"88-570413263"
Date: Sat, 02 Aug 2014 04:52:15 GMT
Connection: keep-alive

[
  {
    "id": 1,
    "name": "futoase"
  },
  {
    "id": 2,
    "name": "hogehoge"
  },
  {
    "name": "fugafuga",
    "id": 3
  }
]~
PUTによるレコードの更新
レコードの更新についても対応している。
> curl http://localhost:3000/users/3
{
  "name": "fugafuga",
  "id": 3
}~
> curl -X PUT http://localhost:3000/users/3 -d name=uhyohyo
> curl http://localhost:3000/users/3
{
  "name": "uhyohyo",
  "id": 3
}~
db.jsonのスナップショット
スナップショットを取り、バックアップを作成することが可能。
JSON Serverを立ち上げている状態で、
s を押下する。
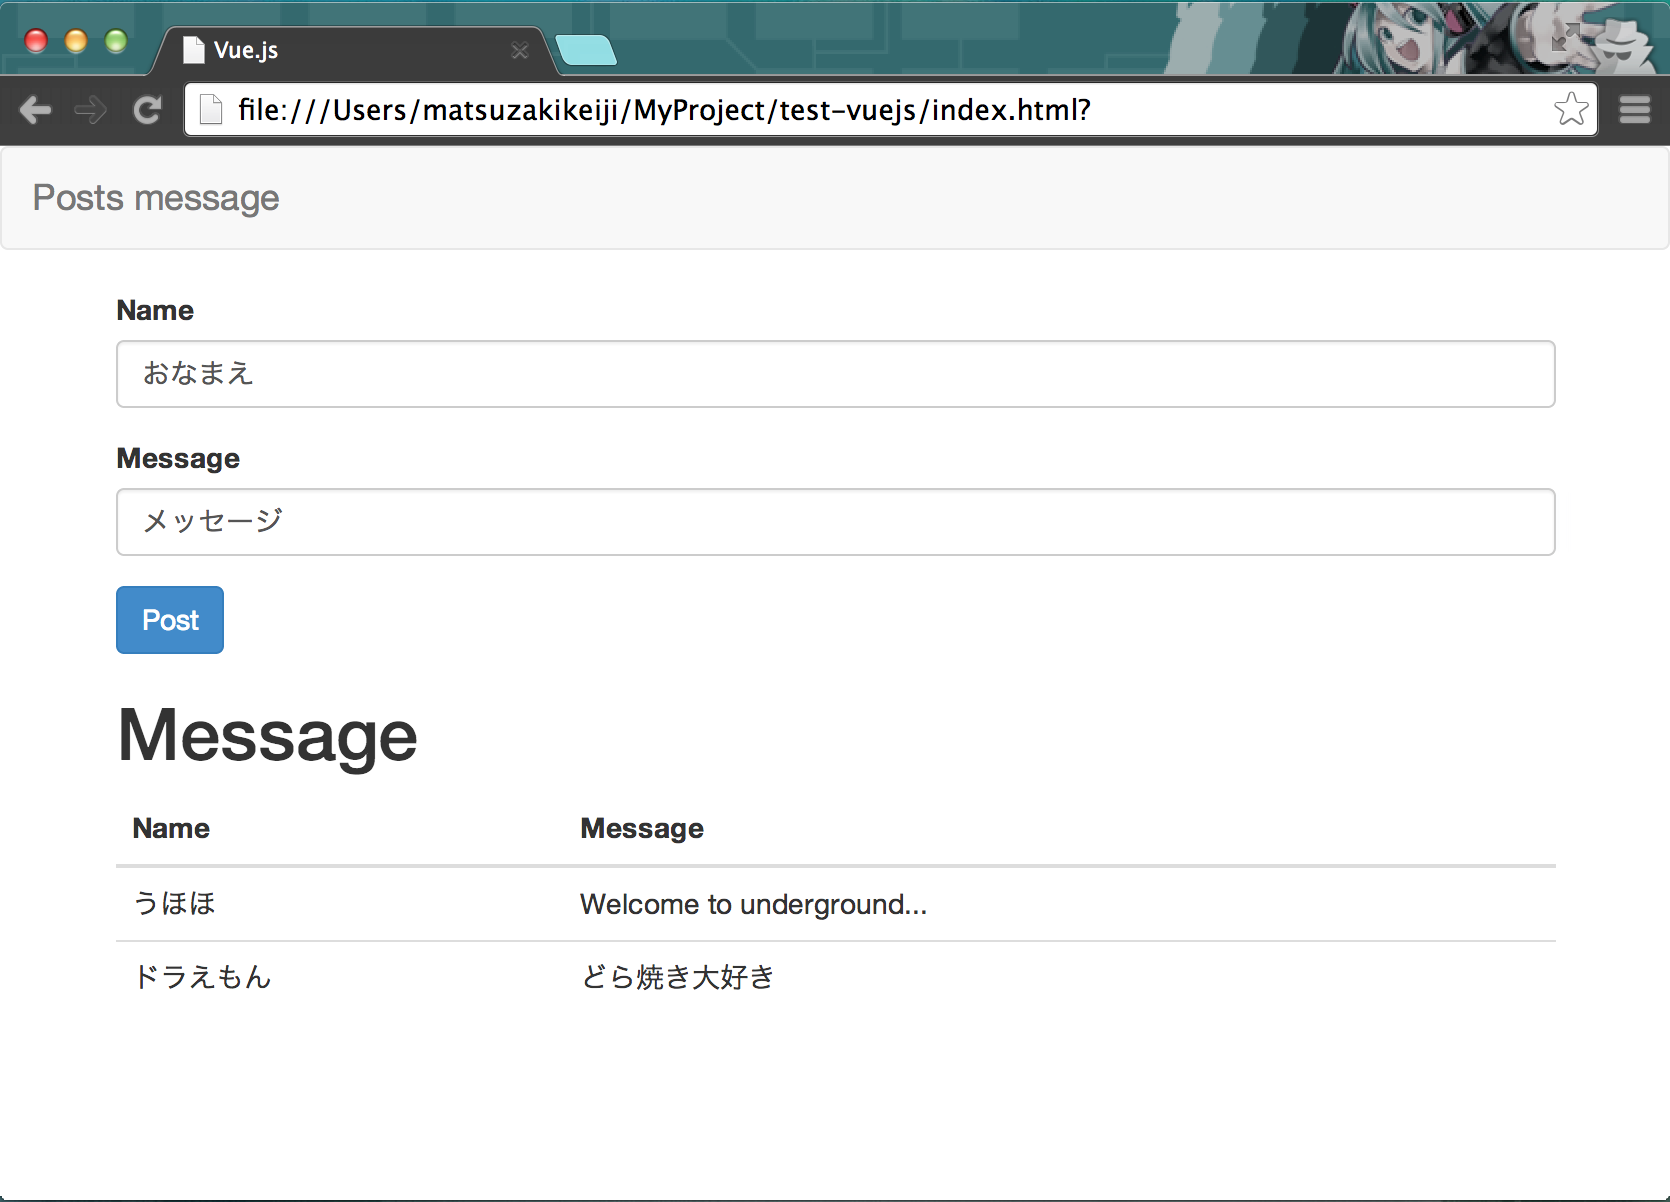
JSON Serverをストレージとして利用してメッセージボードを作る
試しにVue.jsをちょろっと使ったサンプルを作ってみた。
つなぎ込みを行うためのサーバ側の実装が楽だった。db.json作ってJSON Serverを立ち上げるだけだから、か。
JSON Serverの立ち上げ
> echo '{"posts": []}' > db.json
> json-server db.json
メッセージボード
ソースは以下の通り。
githubにリポジトリを作っておいた。
index.js
$(function() {
  var apiUrl = 'http://localhost:3000/posts';

  var message = new Vue({
    el: "#post",

    methods: {
      sendPosts: function(e) {
        var self = this;
        $.ajax({
          type: 'POST',
          url: apiUrl,
          dataType: 'json',
          data: {
            name: $("#name").val(),
            message: $("#message").val()
          }
        });
      }
    }
  });

  $.ajax({
    type: 'GET',
    url: apiUrl,
    dataType: 'json',
    success: function(json) {
      message.$data.posts = json;
      console.dir(json);
    },
    data: null
  });
});
index.html
<!DOCTYPE html>
<html>
  <head>
    <title>Vue.js</title>
    <link href="http://maxcdn.bootstrapcdn.com/bootstrap/3.2.0/css/bootstrap.min.css" rel="stylesheet">
    <script src="http://cdnjs.cloudflare.com/ajax/libs/vue/0.10.5/vue.js"></script>
    <script src="https://code.jquery.com/jquery-2.1.1.min.js"></script>
    <script src="http://maxcdn.bootstrapcdn.com/bootstrap/3.2.0/js/bootstrap.min.js"></script>
    <script src="./index.js"></script>
  </head>
  <body>
    <nav class="navbar navbar-default" role="navigation">
      <div class="container-fluid">
        <div class="navbar-header">
          <a class="navbar-brand" href="#">Posts message</a>
        </div>
      </div>
    </nav>
    <div class="container">
      <div id="post">
        <form role="form">
          <div class="form-group">
            <label for="name">Name</label>
            <input type="text" class="form-control" id="name"/>
          </div>
          <div class="form-group">
            <label for="message">Message</label>
            <input type="text" class="form-control" id="message"/>
          </div>
          <button class="btn btn-primary" v-on="click: sendPosts">Post</button>
        </form>
        <h1>Message</h1>
        <div>
          <table class="table">
            <thead>
              <tr>
                <th>Name</th>
                <th>Message</th>
              </tr>
            </thead>
            <tbody>
              <tr v-repeat="posts">
                <td>{{name}}</td>
                <td>{{message}}</td>
              </tr>
            </tbody>
          </table>
        </div>
    </div>
  </body>
</html>
触ってみて
モックアップを作るためのテストライブラリはあるけど、
APIの設計をしてみたい場合は使ってみると良いと思った。
SOAを考慮したものの構築も良いし、フロントエンドから気軽に叩ける何かを用意したいときにも良さそう。