背景
- MQTTの勉強を兼ねて、IoTデバイスからのデータをMQTTでホームネットワーク内の機器に配信するアプリをRasPi上に作りたい
- 前回はBLEのアドバタイズパケットを拾って温湿度センサからの情報を取得する機能を作ったので、今回は温湿度情報をMQTTでPublishする機能を作る
- 前回の記事
システム構成

- 前回から一部のコンポーネントの名前を変更
- Observerクラスの削除
MqttManager
機能
- MQTTライブラリのlibmosquittoとやりとりをするするクラス
- 起動時にMQTTブローカーに接続し、トピックとメッセージを受け取るとそれをPublishする
- ブローカーはRaspberryPi上にインストールしたmosquitoを使うので、再接続等やTLSの設定は今回は行わない
init
- libmosquittoを使う際、一番最初にmosquitto_lib_init()を呼ぶ必要がある
- mosquitto_lib_init()はスレッドセーフでないとのことなので、一応lockguardをかけてクリティカルセクションにしておく
- mosquitto_new()を呼ぶことでmosquittoのクライアントを作ることができる
- 第二引数がtrueだとブローカーとの接続が切れた際にメッセージやサブスクリプションを削除する
- 今回はブローカーはローカルにいるのでtrueで十分だと考えた
- 第三引数には任意のポインタを入れることができ、mosquitto_message_callback_setなどでセットされたコールバック関数の中で使うことができる
- 今回は使わないのでnullptr
- 第二引数がtrueだとブローカーとの接続が切れた際にメッセージやサブスクリプションを削除する
- mosquitto_connect()でブローカーに接続する
- 第二・第三引数にブローカーのIPアドレスとポートを指定する
- local hostとデフォルトのポート1883を指定
- 第四引数はkeepaliveの時間の秒数を指定する
- MQTTではkeepalive時間内にデータのやり取りがなければ接続が切断される
- 何もやりとりするべきデータがなければPING/PINGRESPと呼ばれるパケットを送りあってkeepaliveを維持する
- 今回は適当に60秒にした
- 第二・第三引数にブローカーのIPアドレスとポートを指定する
- 以下のように実装した
bool MqttManager::init()
{
    {
        std::lock_guard<std::mutex> lock(m_mutex);
        if(mosquitto_lib_init()!=MOSQ_ERR_SUCCESS)
        {
            std::cerr << "Failed to initialize mosquitto library" << std::endl;
            return false;
        }
    }

    m_mosq = mosquitto_new("iot_device_hub", true, nullptr);
    if (!m_mosq)
    {
        std::cerr << "Failed to create mosquitto instance" << std::endl;
        return false;
    }

    // constexpr uint16_t MQTT_PORT = 1883U;
    if (mosquitto_connect(m_mosq, "localhost", MQTT_PORT, 60) != MOSQ_ERR_SUCCESS)
    {
        std::cerr << "Failed to connect to broker" << std::endl;
        return false;
    }

    // TODO: Reconnection logic to be implemented

    return true;
}
start
-
mosquittoクライアントを動かすには
mosquitto_loop_foreverとmosquitto_loop_startの二つの関数がある -
mosquitto_loop_foreverはブロックリクエストのため、呼ぶとコールバックの処理くらいしかできなくなる -
mosquitto_loop_startは別スレッドを立てて動かす -
mosquitto_loopという関数もあるが、こちらは自分でスレッドを立てて定期的にこの関数を呼ぶ必要がある-
mosquitto_loop_startでやっていることをマニュアルで実行したいときに使うものと思われる
-
-
以下のように実装した
void MqttManager::start()
{
    mosquitto_loop_start(m_mosq);
}
publishMessage
- topicとmessageをstringで受け取るとそれをブローカーまでPublishするようにリクエストする関数
-
mosquitto_publish関数でpublishできる- 第六引数にQoSを設定できる
- QoSは色々なところで解説されていると思うので詳細な説明は省くが、ざっくりと0なら送りっぱなし、1なら少なくとも一回は受け取ったことを確認する、2なら一回しか受け取らないようにする
- 今回は0
- QoSは色々なところで解説されていると思うので詳細な説明は省くが、ざっくりと0なら送りっぱなし、1なら少なくとも一回は受け取ったことを確認する、2なら一回しか受け取らないようにする
- 第七引数にRetainするかどうかを指定する
- Retainすると新しい購読者に最新のメッセージを配信するようになる
- 今回はfalse
- Retainすると新しい購読者に最新のメッセージを配信するようになる
- 第六引数にQoSを設定できる
- 以下のように実装した
bool MqttManager::publishMessage(const std::string topic, const std::string message)
{
    const char *t = topic.c_str();
    const char *m = message.c_str();
    size_t msize = message.size();
    int messageId = 0;
    auto ret = mosquitto_publish(m_mosq, &messageId, t, static_cast<int>(msize), m, 0, false);
    if (ret != MOSQ_ERR_SUCCESS) {
        std::cerr << "Error: failed to publish message" << std::endl;
        mosquitto_disconnect(m_mosq);
        return false;
    }
    std::cout << "Message published to topic " << topic << std::endl;

    std::this_thread::sleep_for(std::chrono::seconds(1));
    return true;
}
deinit
- 終了処理を以下のように追加
- mosquittoクライアントをちゃんと消すためにmosquitto_destroyを呼ぶ必要がある
- destroyし忘れるのが怖いのでスマートポインタで管理できたらいいのだが、可能なのだろうか?
void MqttManager::deinit()
{
    mosquitto_destroy(m_mosq);
    mosquitto_lib_cleanup();
}
IoTDeviceHubManager
run()
- アドバタイズパケット内のバイト列から配信したいデータを取り出してMqttMessage構造体にして返す
createPublishMessagesをSensorDataHandlerに追加 - SensorDataHandlerのサブクラス内で、デバイスに応じたMqttMessageを返すように実装
-
createPublishMessagesの詳細な中身については前回のprint_sensor_dataとほぼ同じなので省略 - WoSensorTHDataHandlerで作成するMqttMessageは以下の二つ
- 温度
- topic: iot_device_hub/sensor_data/bed_room/temperature
- message: セルシウス温度
- 湿度
- topic: iot_device_hub/sensor_data/bed_room/humidity
- message: 湿度
- 温度
-
- run()を以下のように更新
// SensorDatahandlerl.h
struct MqttMessage
{
    std::string topic;
    std::string message;
};

// IotDeviceHubManager.cpp
void IotDeviceHubManager::run()
{
  std::vector<uint8_t> adv_data;

  for(int i = 0; i < 5; i++)
  {
    adv_data = m_bluez->get_adv_data();
    if (!adv_data.empty())
    {
        // Add function to create MqttMessage from byte
        std::vector<MqttMessage> messages = m_sensorDataHandler->createPublishMessages(adv_data);
        for(auto message : messages)
        {
            // Call publishMessage()
            m_mqtt->publishMessage(message.topic, message.message);
        }
        adv_data.clear();
    }
    sleep(1);
  }
}
MQTTブローカーのインストール
- Raspberry Pi上でmosquittoをインストール
sudo apt-get install mosquitto - デフォルトの設定では別のホストからブローカーに接続できないようになっているが、今回は動作確認のため一時的に許可するように設定を変更した
- /etc/mosquitto/mosquitto.confに
allow_anonymous trueを追加するとアクセスできるようになる
- /etc/mosquitto/mosquitto.confに
$ vim /etc/mosquitto/mosquitto.conf
# Place your local configuration in /etc/mosquitto/conf.d/
#
# A full description of the configuration file is at
# /usr/share/doc/mosquitto/examples/mosquitto.conf.example
:
allow_anonymous true
:
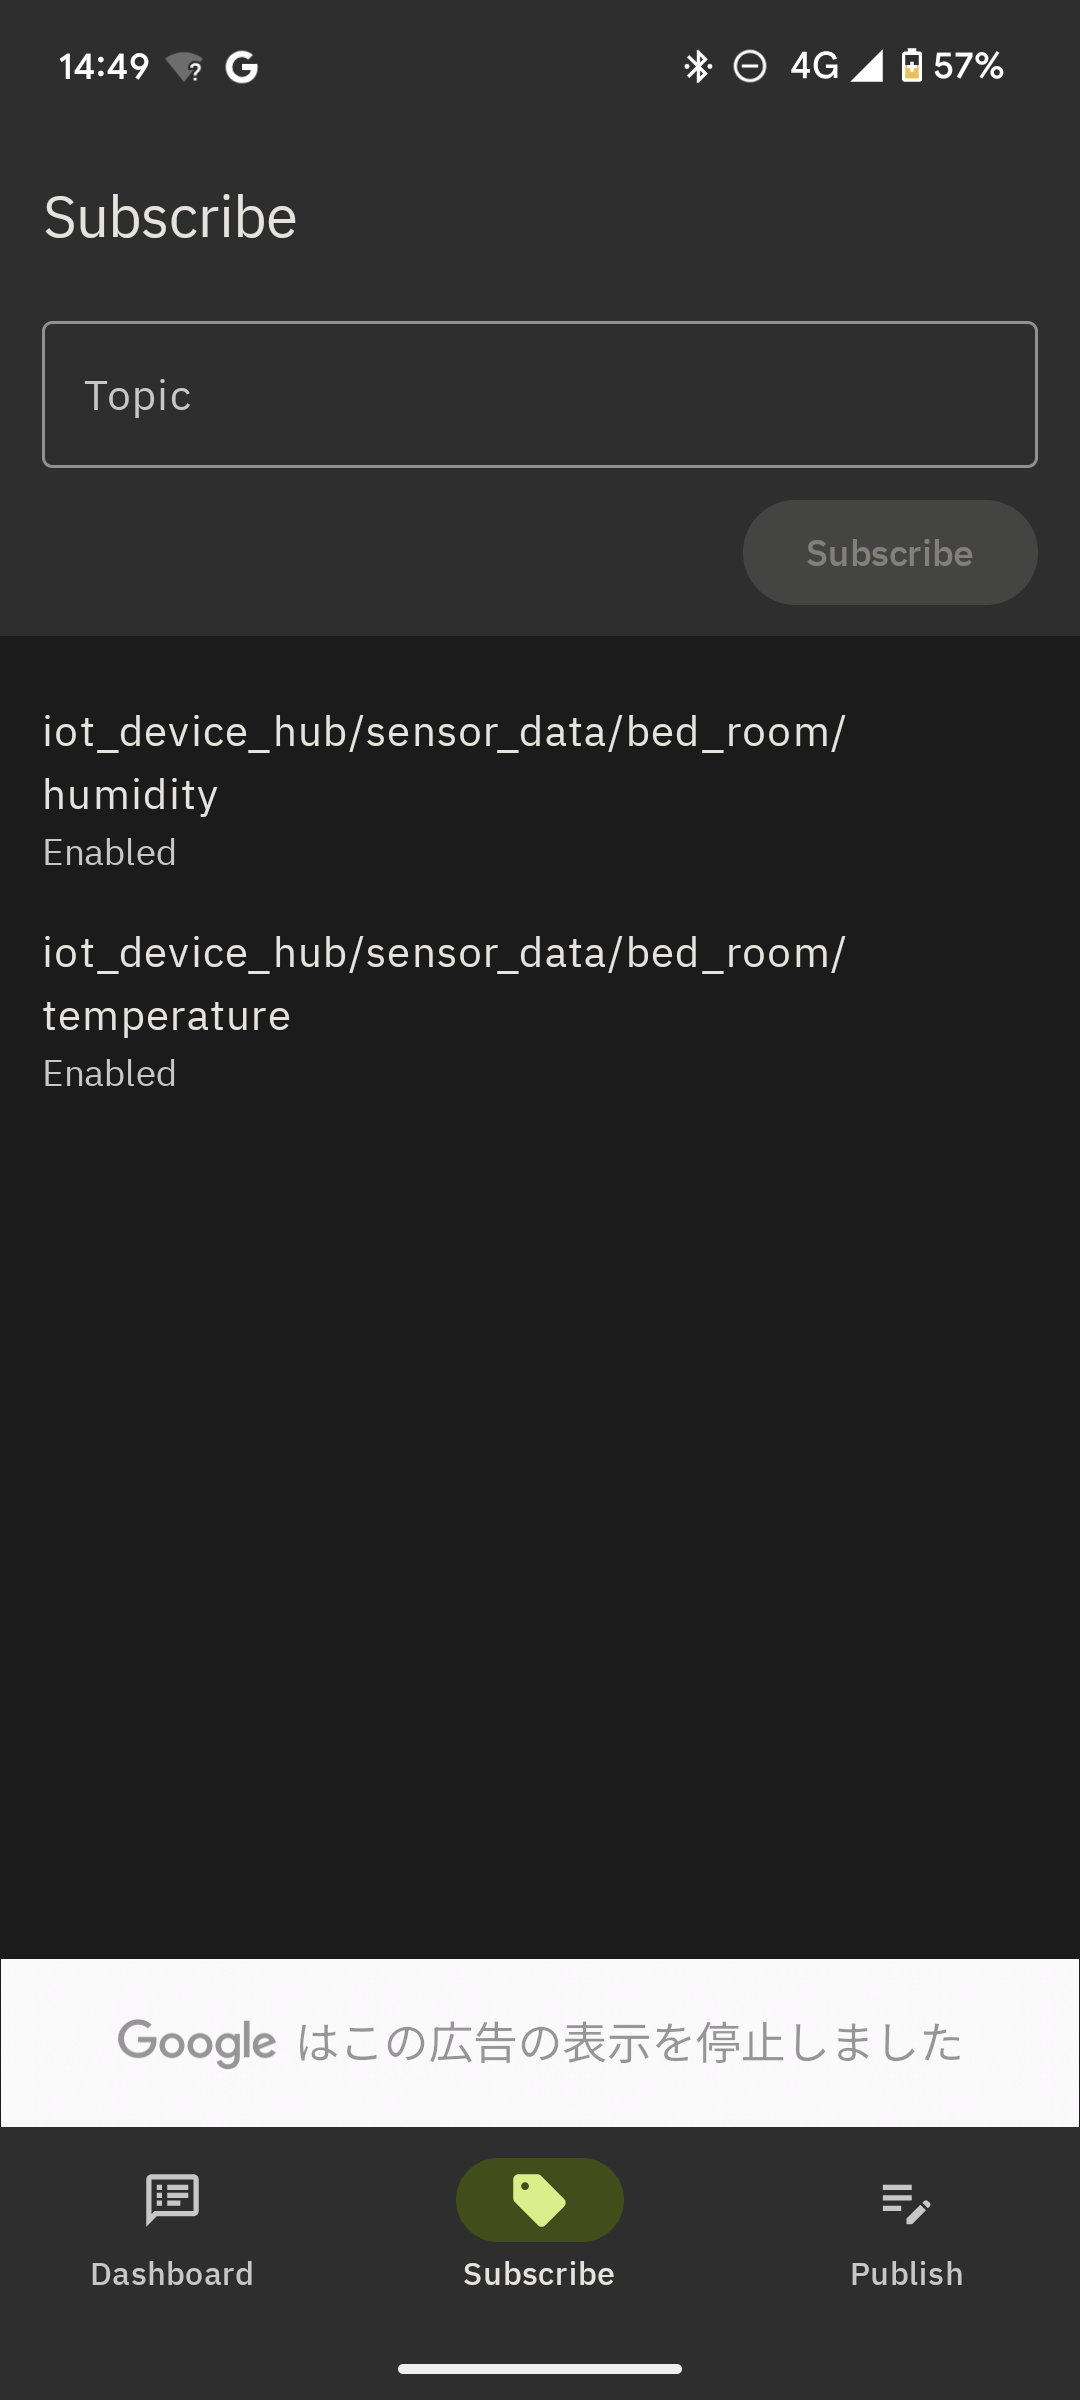
Mqtt Subscriber
- スマホにMQTTのクライアントアプリをインストールする
- 今回はMyMqttをインストールした
-
インストール後、アプリを開いてRasPiのIPアドレスと1883ポートを指定する
-
Subscribeタブを押し、上述の温度と湿度に関するトピックを追加
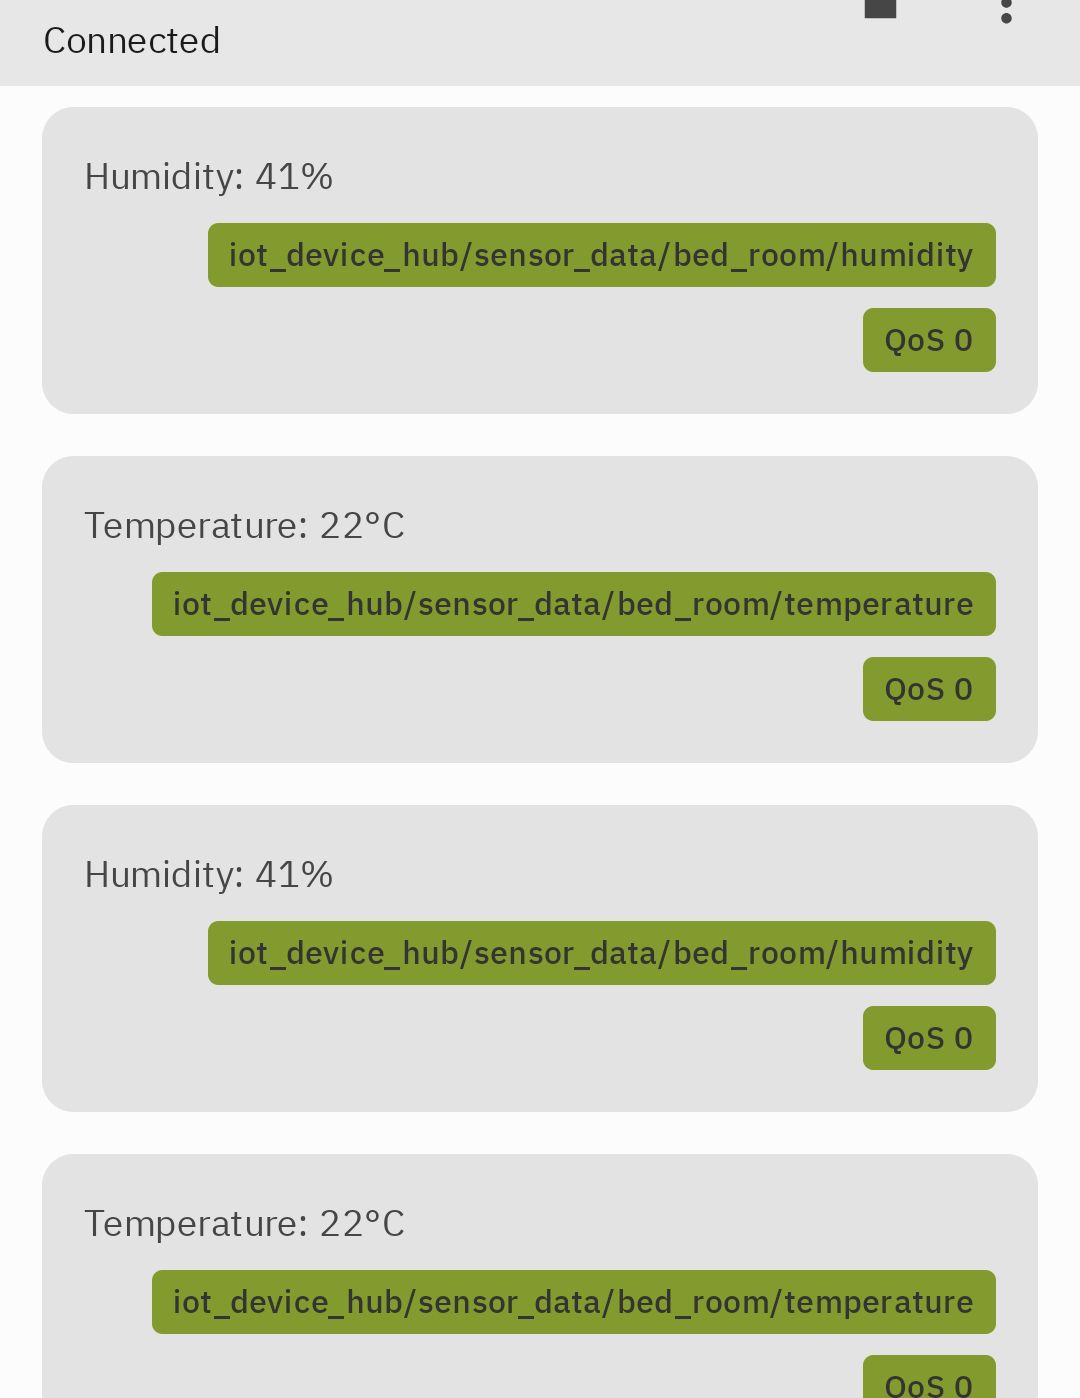
-
Dashboarタブからブローカーに接続し、RasPiからIotDeviceHubを実行する
-
するとBLEで受信した温度と湿度を受信することができた
今後の課題
- IoTデバイスの拡張性を高める
- ブローカーのセキュリティ設定をする
- Subscribe側のアプリも作ってみる
参考