はじめに
APIって聞いたことはあるけど、よくわからない方に向けて書いてみました。
今回は、天気を取得できるAPI(OpenWeatherMap)を使っていきます。
APIとは
エンジニアを目指している方、駆け出しの方、一度は耳にしたことがあるであろうAPI(Application Programming Interface)。
結論から言うと、「他の方が作った便利な機能を使えちゃうよ」ってやつです。
例えば、自分のアプリにQRコードを読み込む機能が必要なとき、この機能を1から実装するのは大変ですよね。
APIを使えばその実装の手間が省けるっていうのがメリットになります。
下準備
①こちらからアカウントを作ります。
②右上のprofileから「My API keys」を選びます。
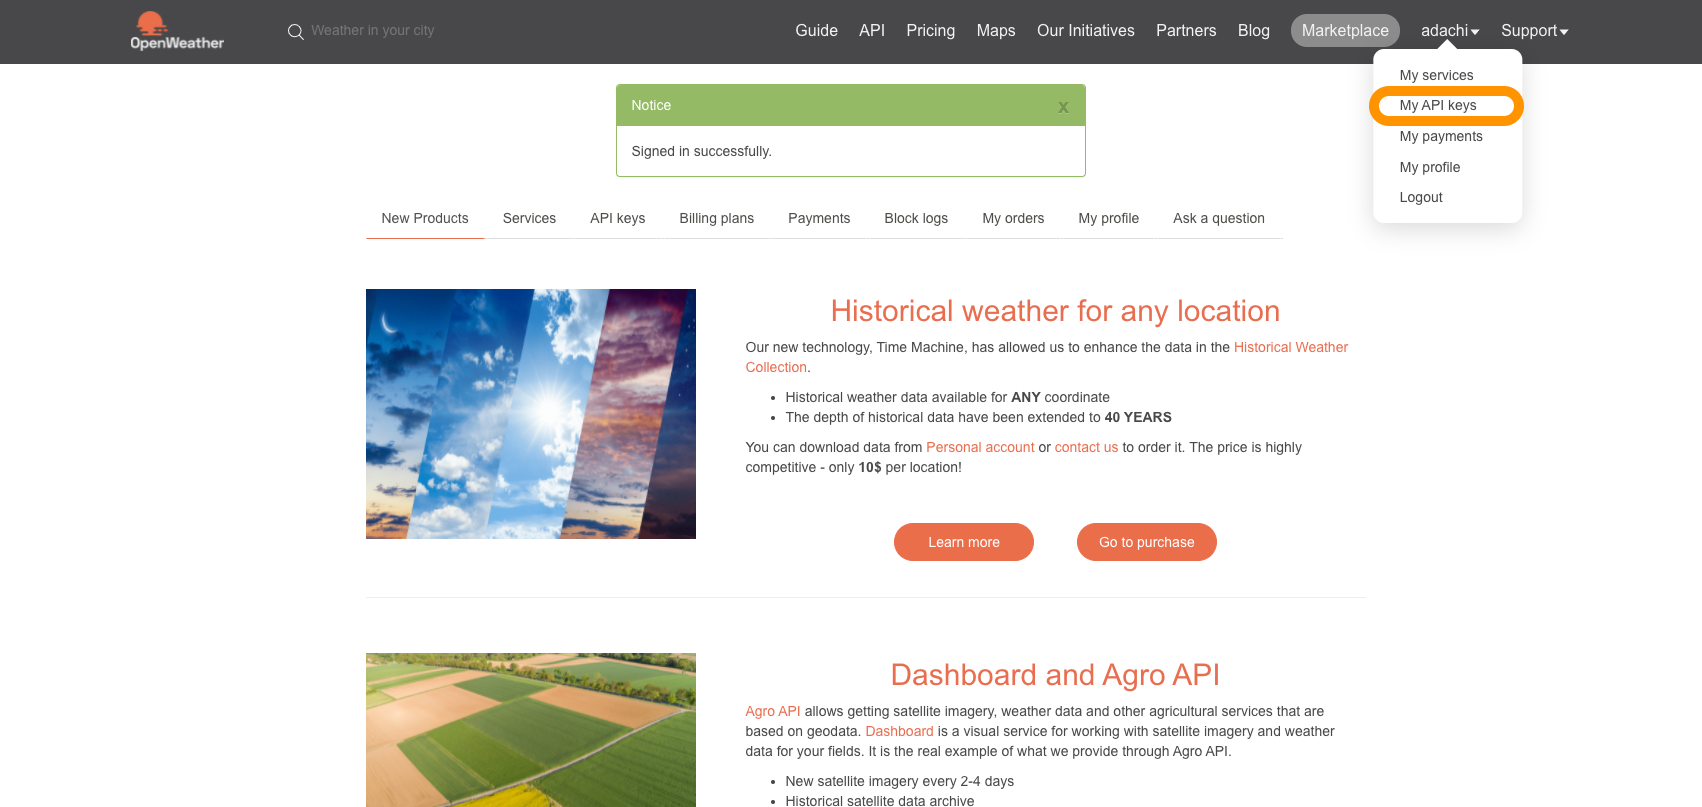
③API_KEY をコピーして下さい。
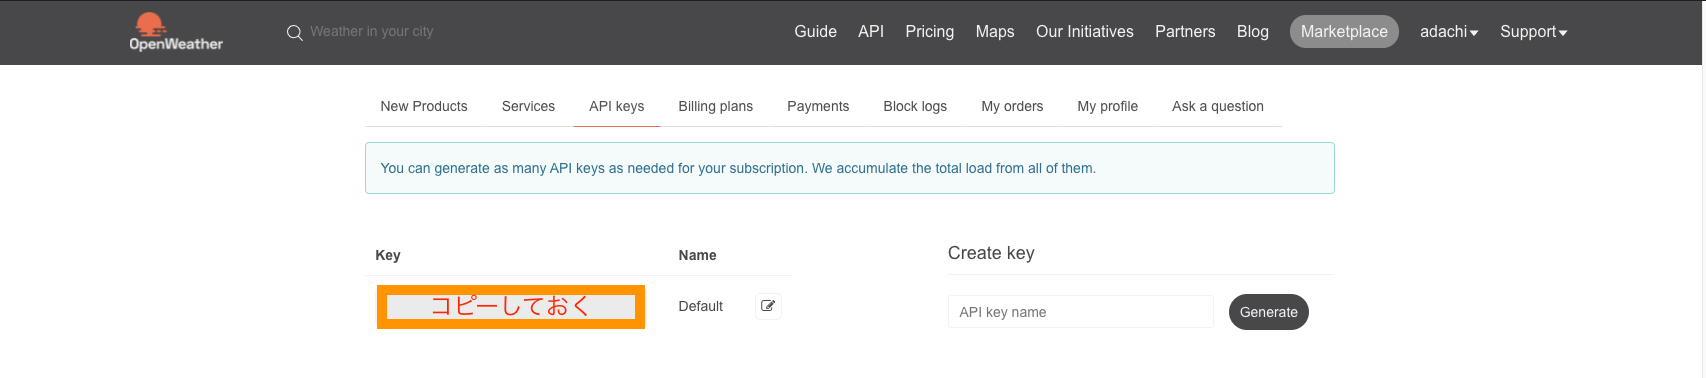
これで下準備は完了です。
Guzzleパッケージをインストール
$ composer require guzzlehttp/guzzle
API用のコントローラーを作成
$ php artisan make:controller WeatherAPIController
.envに追記
..env
OPEN_WHATHER_MAP_API_KEY=先程コピーしたKEY
OPEN_WHATHER_MAP_URL=http://api.openweathermap.org/data/2.5/forecast
services.phpに追記
config.services.php
<?php

return [

    /*
    |--------------------------------------------------------------------------
    | Third Party Services
    |--------------------------------------------------------------------------
    |
    | This file is for storing the credentials for third party services such
    | as Mailgun, Postmark, AWS and more. This file provides the de facto
    | location for this type of information, allowing packages to have
    | a conventional file to locate the various service credentials.
    |
    */

    'mailgun' => [
        'domain' => env('MAILGUN_DOMAIN'),
        'secret' => env('MAILGUN_SECRET'),
        'endpoint' => env('MAILGUN_ENDPOINT', 'api.mailgun.net'),
    ],

    'openweathermap' => [
        'key' => env('OPEN_WHATHER_MAP_API_KEY'),
        'url' => env('OPEN_WHATHER_MAP_URL'),
    ]
];
ルーティングの設定
routes/web.php
<?php

use Illuminate\Support\Facades\Route;

/*
|--------------------------------------------------------------------------
| Web Routes
|--------------------------------------------------------------------------
|
| Here is where you can register web routes for your application. These
| routes are loaded by the RouteServiceProvider within a group which
| contains the "web" middleware group. Now create something great!
|
*/


Route::get('/', 'WeatherAPIController@weatherData'); // 追加
WeatherAPIControllerの修正
app/Http/Controllers/WeatherAPIController.php
<?php

namespace App\Http\Controllers;

use Illuminate\Http\Request;
use GuzzleHttp\Client;

class WeatherAPIController extends Controller
{
    public function weatherData() {
        $API_KEY = config('services.openweathermap.key');
        $base_url = config('services.openweathermap.url');
        $city = 'Tokyo';

        $url = "$base_url?units=metric&q=$city&APPID=$API_KEY";

        // 接続
        $client = new Client();
        $response = $client->request('GET', $url);

        $weather_data = $response->getBody();
        $weather_data = json_decode($weather_data, true);

        return response()->json($weather_data);
    }
}
実際にAPIを叩いてみる
localhostにアクセスしてみましょう。
気温や都市名が返ってきてますね!
list: [
    {
        dt: 1632042000,
        main: {
        temp: 27.28,
        feels_like: 27.55,
        temp_min: 24.56, // 最低気温
        temp_max: 27.28, // 最高気温
        pressure: 1013,
        sea_level: 1013,
        grnd_level: 1009,
        humidity: 48,
        temp_kf: 2.72
    },
    weather: [
    {
        id: 802,
        main: "Clouds",
        description: "scattered clouds",
        icon: "03n"
    }
    ],
    clouds: {
        all: 47
    },
    wind: {
        speed: 7.14,
        deg: 64,
        gust: 9.1
    },
        visibility: 10000,
        pop: 0,
        sys: {
            pod: "n"
    },
        dt_txt: "2021-09-19 09:00:00"
    }
    ...
city: {
    id: 1850144,
    name: "Tokyo", // 都市名
    coord: {
        lat: 35.6895,
        lon: 139.6917
    },
    country: "JP",
    population: 12445327,
    timezone: 32400,
    sunrise: 1631996799,
    sunset: 1632041026
}
おわりに
以上がAPIの叩き方でした🙌
他にも様々なAPIがあるので、これを機に色々試してもらえたらなと思います!
最後まで読んでいただきありがとうございました。