Scroll Magicとは
スクロールアニメーション定番のライブラリです
scrollの発火地点や長さを細かく指定でき
version2からはjqueryやGSAPから独立しました
scroll検出はjsのintersectionobserverなどもありますが
scrollmagicは記述が少なくデバッグ用のトリガーも
細かく表示ができるため使い勝手が良いと思います。
またGSAPと組み合わせることで
WEBページのアニメーションをリッチにすることが可能です。
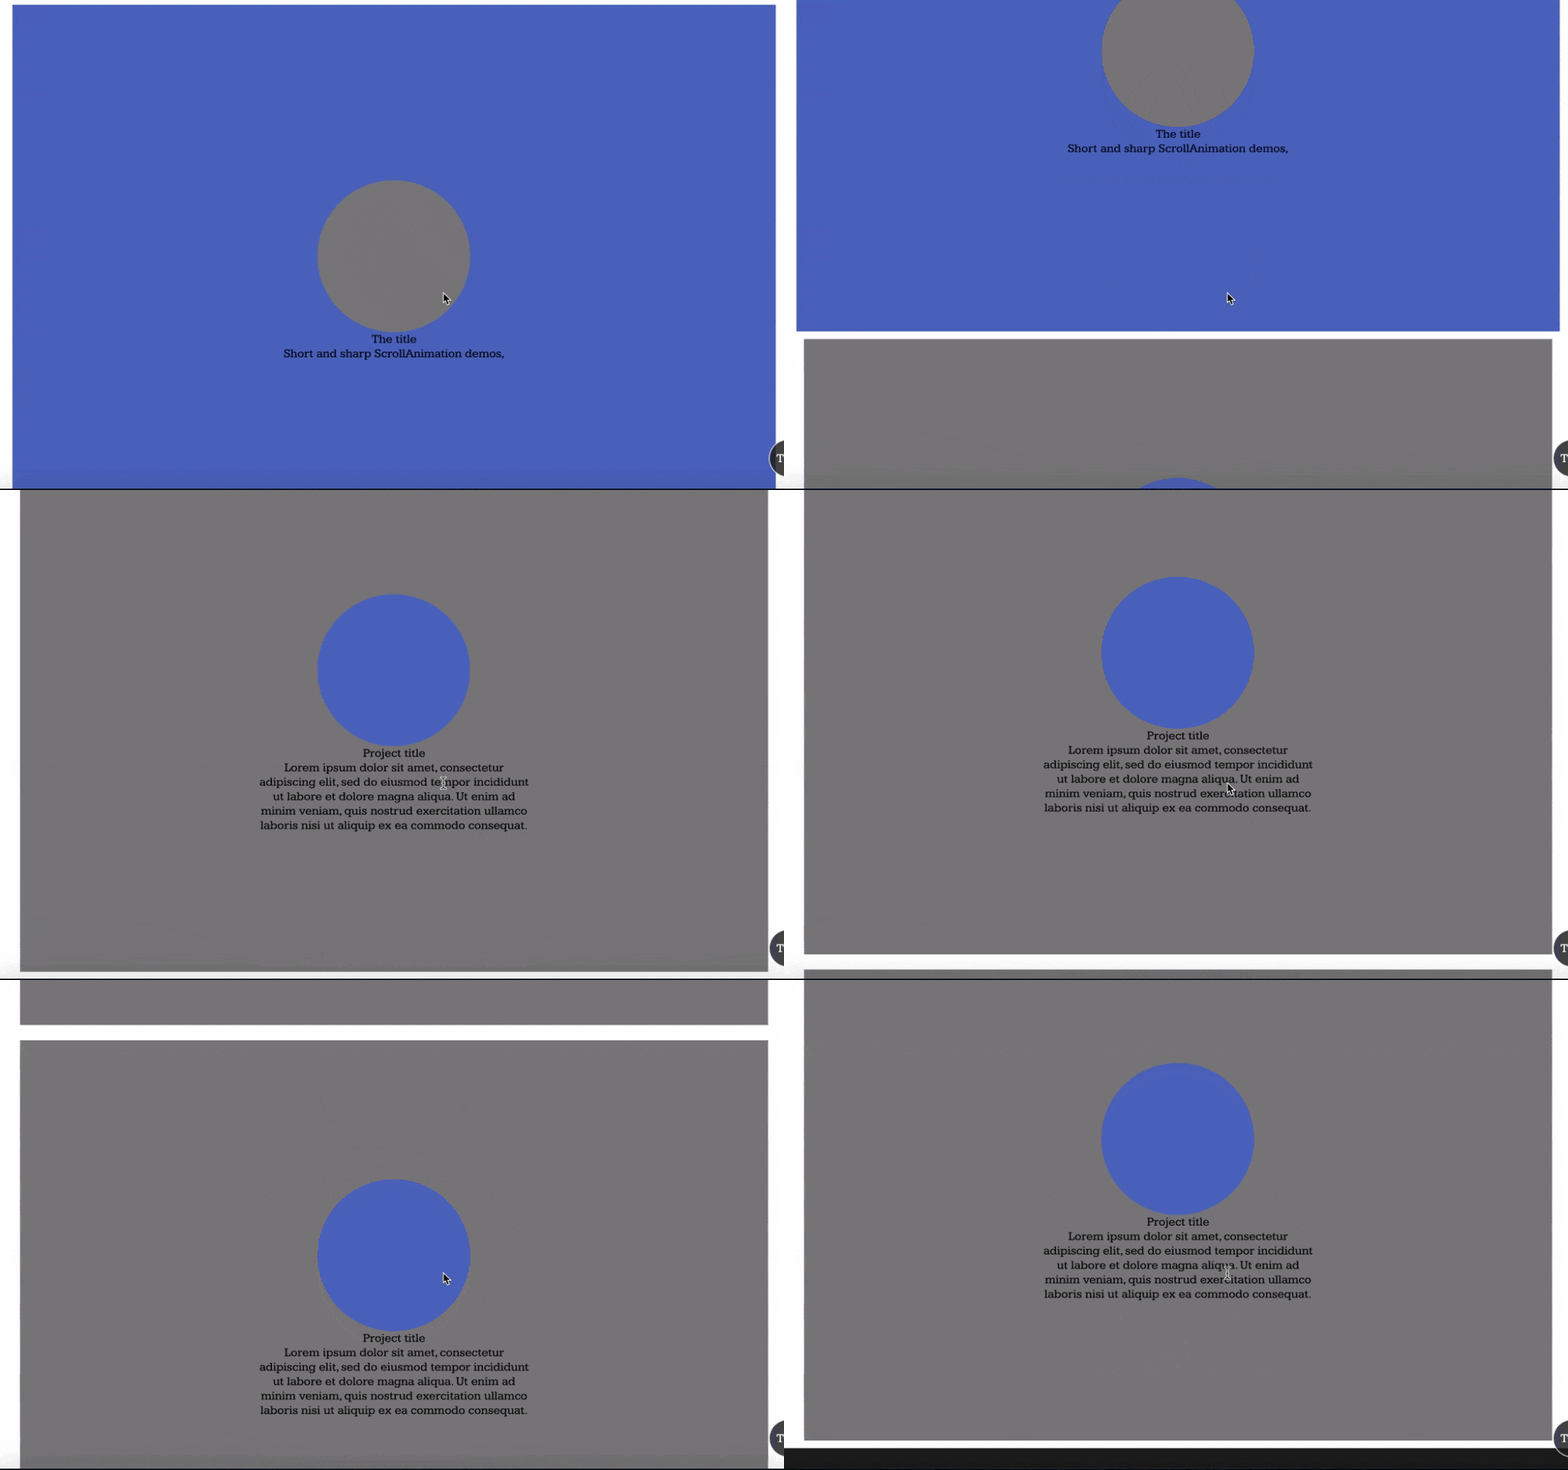
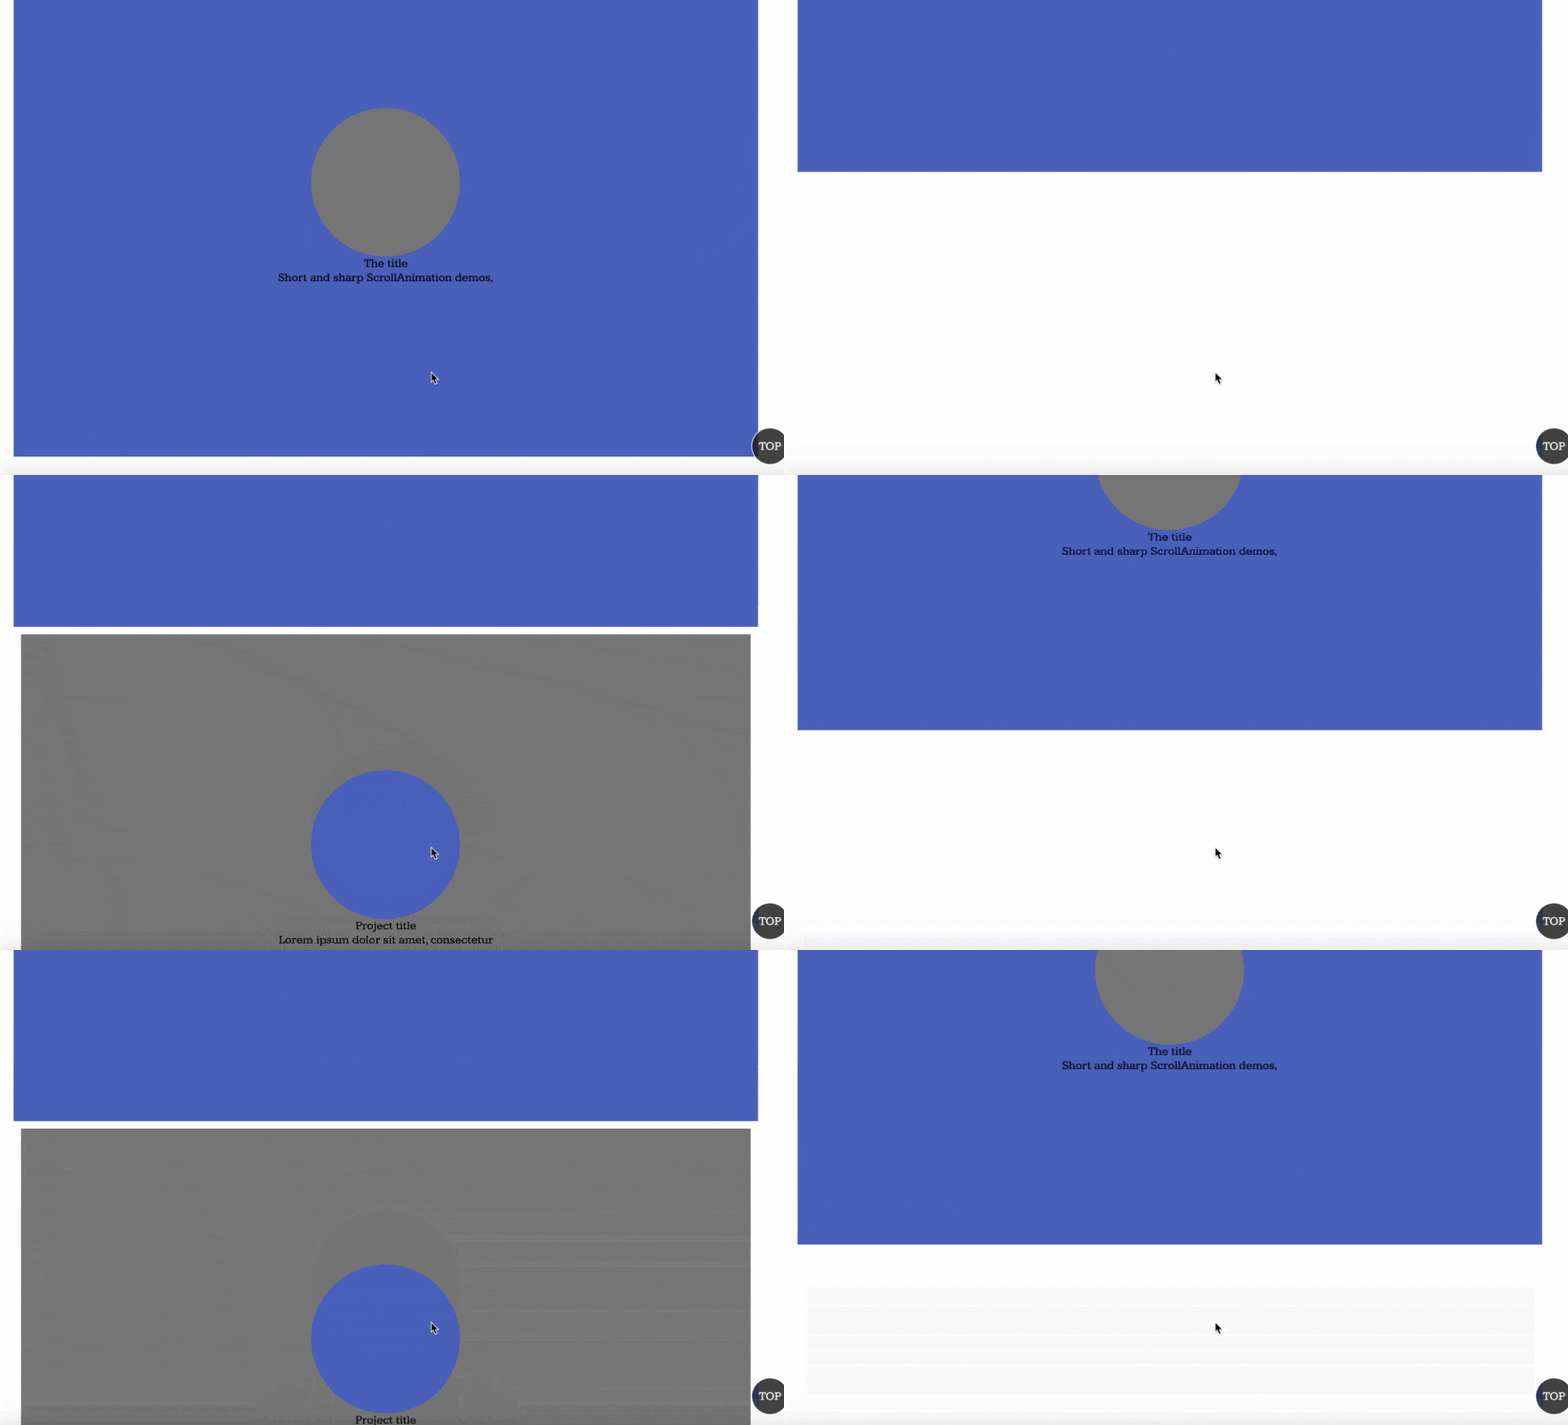
完成イメージ
まず以下のような簡単なスクロールアニメーションを作成します。
準備
今回も読み込みはCDNを使用します。
Scroll Magic→JSシートの順番です
デバッグ用のCDNも忘れずに読み込みましょう
//scroll Magic読み込み
<script src = "https://cdnjs.cloudflare.com/ajax/libs/ScrollMagic/2.0.7/ScrollMagic.min.js"></script>
//scroll Magicデバッグ
<script src = "https://cdnjs.cloudflare.com/ajax/libs/ScrollMagic/2.0.7/plugins/debug.addIndicators.min.js"></script>
今回は簡単なHTML/CSS(SCSSを使用しています)で以下を作成しています。
    <div id="intro">
      <div class="content">
        <div class="img-logo"></div>
        <h1>The title</h1>
        <p>
          Short and sharp ScrollAnimation demos,<br>
        </p>
      </div>
    </div>

    <div class="main-container" id="main">

      <div id="project01" class="project">
        <div class="img"></div>
        <h1>Project title</h1>
        <p class=info>
          Lorem ipsum dolor sit amet, consectetur<br>
          adipiscing elit, sed do eiusmod tempor incididunt<br>
          ut labore et dolore magna aliqua. Ut enim ad<br>
          minim veniam, quis nostrud exercitation ullamco<br>
          laboris nisi ut aliquip ex ea commodo consequat.
        </p>
      </div>

      <div id="project02" class="project">
        <div class="img"></div>
        <h1>Project title</h1>
        <p class=info>
          Lorem ipsum dolor sit amet, consectetur<br>
          adipiscing elit, sed do eiusmod tempor incididunt<br>
          ut labore et dolore magna aliqua. Ut enim ad<br>
          minim veniam, quis nostrud exercitation ullamco<br>
          laboris nisi ut aliquip ex ea commodo consequat.
        </p>
      </div>

      <div id="project03" class="project">
        <div class="img"></div>
        <h1>Project title</h1>
        <p class=info>
          Lorem ipsum dolor sit amet, consectetur<br>
          adipiscing elit, sed do eiusmod tempor incididunt<br>
          ut labore et dolore magna aliqua. Ut enim ad<br>
          minim veniam, quis nostrud exercitation ullamco<br>
          laboris nisi ut aliquip ex ea commodo consequat.
        </p>
      </div>
    </div>
.project{
  border: 10px solid white;
  height: 100vh;
  width: 100%;
  background-color: gray;
  display: flex;
  flex-direction: column;
  justify-content: center;
  align-items: center;
  .info{
    text-align: center;
  }
  .img{
    width: 200px;
    height: 200px;
    background-color:rgb(82,107,195);
    border-radius: 50%;
  }
}
Controllerの呼び出しとScene作成
ScrollMagicを使用するには
まず制御用のコントローラーと
スクロール検出用のシーンを作成します。
//コントローラーの作成
const controller = new ScrollMagic.Controller();

//シーンの作成
const ourScene = new ScrollMagic.Scene({
  triggerElement: '#project01'
})
今回はproject01(一番上の灰色領域)をスクロールイベントのトリガーとします
.setClassToggle('#project01','fade-in')
.addTo(controller);
setClassToggleを使用してトリガーポイントで
fade-inというクラスを付与するよう設定し
最後にcotrollerへ.addToでイベントを渡します。
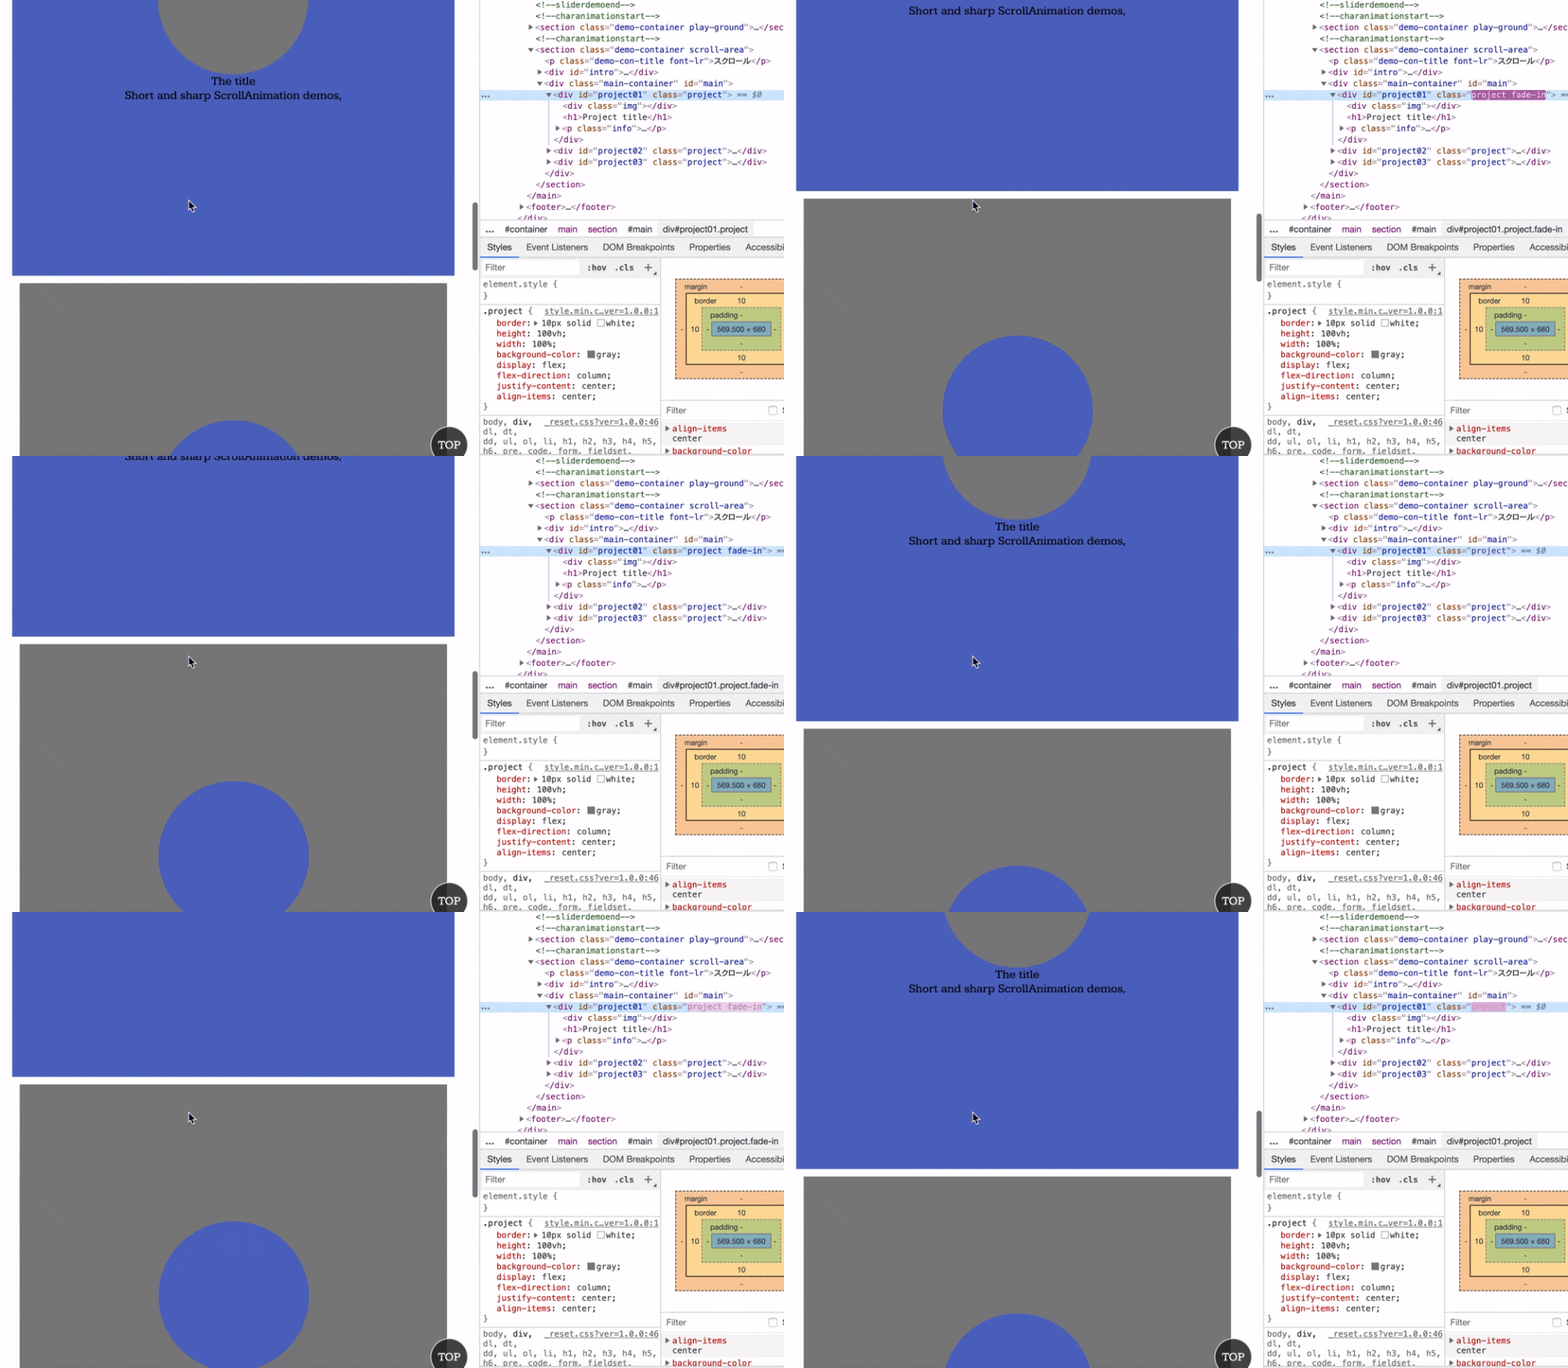
アニメーションは設定していませんが検証すると
ブラウザの中心までscrollすると#project01に
fade-inというクラスがtoggleされています。
あとはCSSを使用してクラスを利用したアニメーションをつけます。
※SCSSを使用しています。
 .project{
  border: 10px solid white;
  height: 100vh;
  width: 100%;
  background-color: gray;
  display: flex;
  flex-direction: column;
  justify-content: center;
  align-items: center;
  opacity:0; //追加
  transform:translateY(50px); //追加
  transition: all 1s ease-out; //追加
  &.fade-in{
    opacity: 1; //追加
    transform:translateY(0); //追加
  }
  .info{
    text-align: center;
  }
  .img{
    width: 200px;
    height: 200px;
    background-color:rgb(82,107,195);
    border-radius: 50%;
  }
}
ブラウザーの中心でフェードインさせることができました。
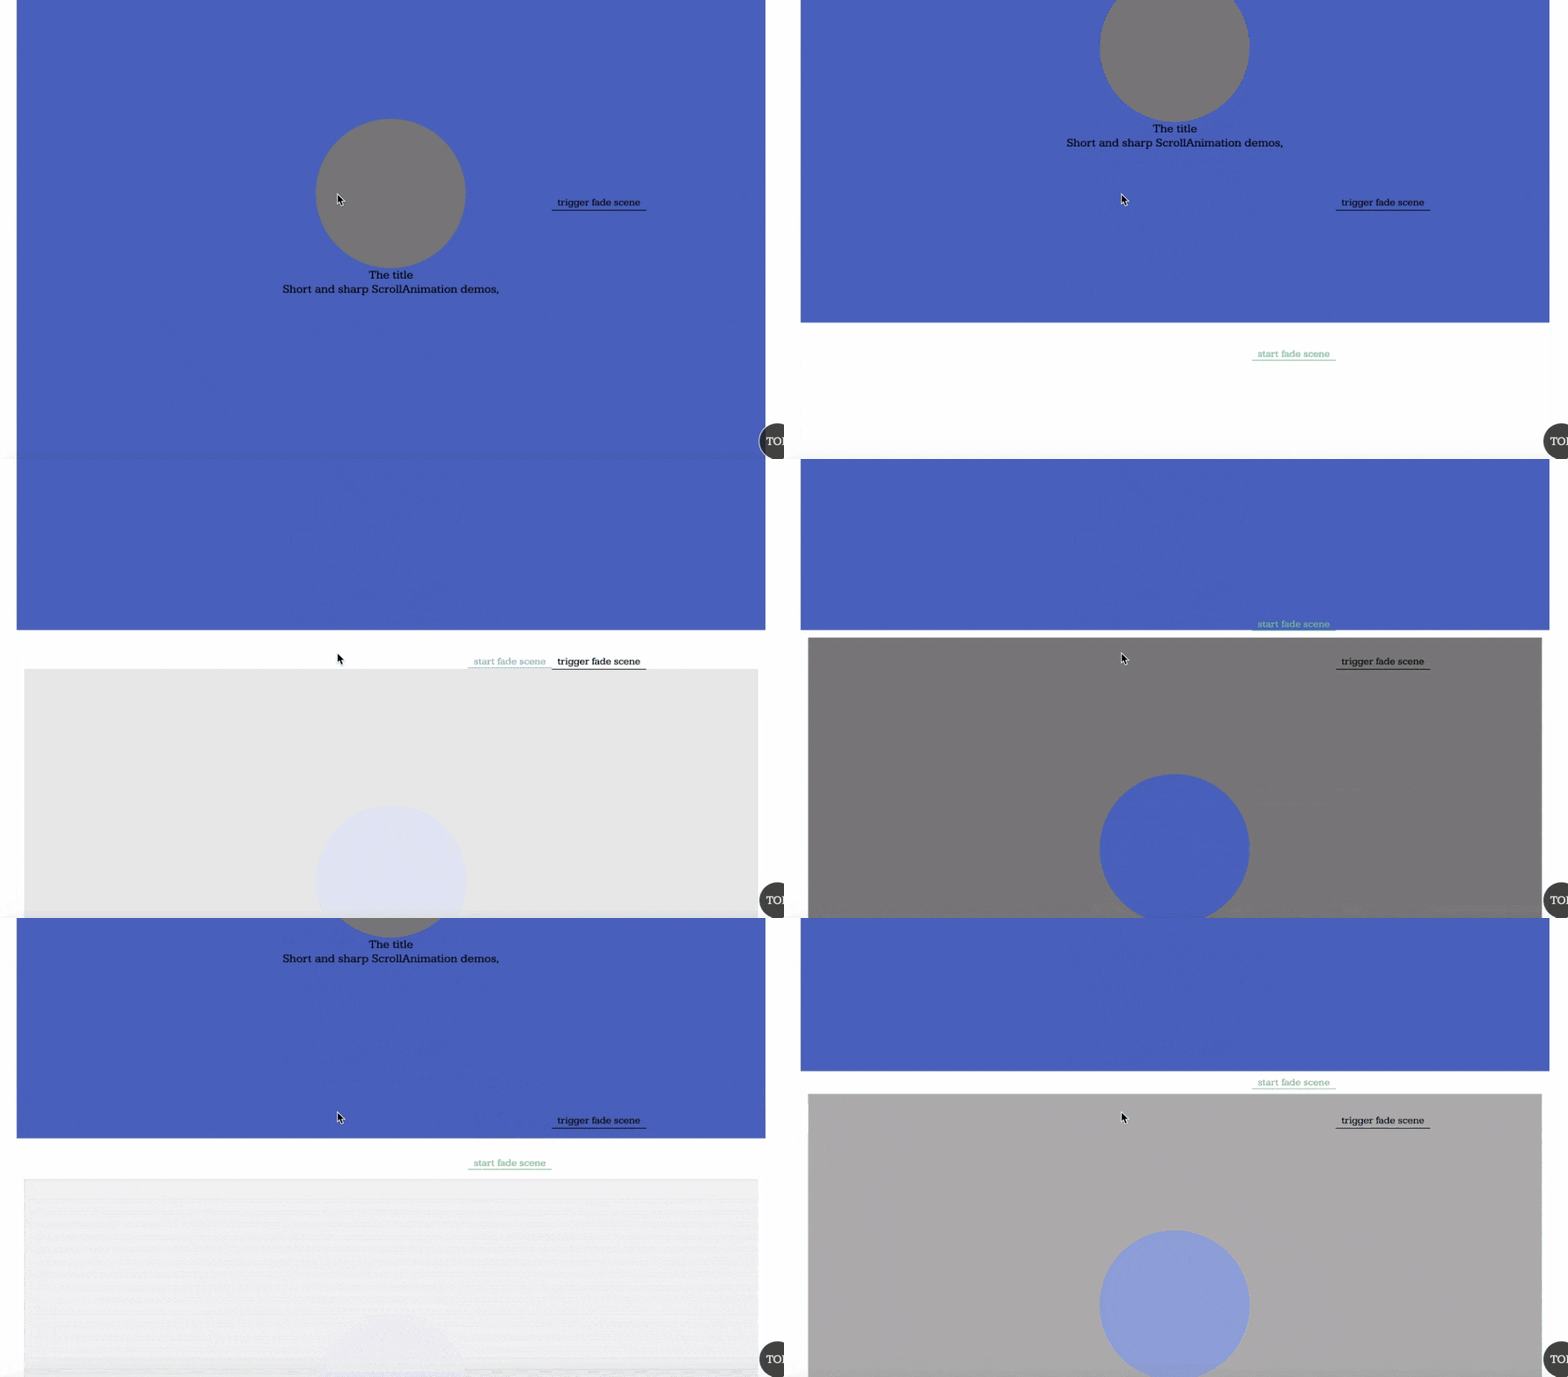
デバッグ用Indicatorの設置
イベントの発火ポイントを可視化するために
indicatorを設置しましょう
const controller = new ScrollMagic.Controller();

const ourScene = new ScrollMagic.Scene({
  triggerElement: '#project01'
})

.setClassToggle('#project01','fade-in')
.addIndicators({ //追加
  name:'fade scene',
  colorTrigger: 'black',
  indent: 200,
  colorStart:'#75C695'
})
.addTo(controller);
indicatorを設置することでtriggerの交差点がわかりやすくなります
また色や名前もプロパティとして変更する事ができます。
indicatorのプロパティ
次回はdurationとtriggerHookの設定です
