※投稿日は2018/05/03です
Oops!
当記事を書き進めている途中で『CentOS7にElixir+Phoenixを入れてみる』という優秀な記事を発見したため、これから書かれる内容はこれと似通ってるかもしれません。ただ、先の記事の最終更新日時が2015年だったので、2018年の今でも正しくインストールできることを示すためにも、今一度同じ手順を踏んでみようと思います。
0. 想定環境
使用したマシンイメージ: Amazon Linux AMI 2018.03.0 (HVM), SSD Volume Type - ami-28ddc154
$ uname -a
Linux ip-10-0-0-37 4.14.33-51.34.amzn1.x86_64 #1 SMP Fri Apr 13 18:18:26 UTC 2018 x86_64 x86_64 x86_64 GNU/Linux
1. Erlangのインストール
まずは開発に必要なライブラリをインストールします。
$ sudo yum -y install git
$ sudo yum -y groupinstall "Development Tools"
$ sudo yum -y install ncurses-devel
『Erlangをソースから入れる』によるとこれらのツール群も必要なのでインストールします。
$ sudo yum -y install openssl openssl-devel gcc-c++ unixODBC unixODBC-devel fop java-1.6.0-openjdk-devel
次にErlangをインストールします。otp_src_20.3.tar.gzというファイル名は、ダウンロードするErlangのバージョンによって名前が変わるはずなので、適宜読み替えてください。2018/5/2現在、バージョン20.3が最新ですが、最新バージョンをインストールしたい場合はここからURLを探してみてください。
$ wget http://erlang.org/download/otp_src_20.3.tar.gz
これをDLしたら解凍してインストール作業をします。
$ tar zxvf otp_src_20.3.tar.gz
$ cd otp_src_20.3
$ ./configure
$ make
$ sudo make install
./configureで次のような警告が出ますが、wxがなくても動くみたいなので気にせず進みます。
*********************************************************************
**********************  APPLICATIONS INFORMATION  *******************
*********************************************************************

wx             : wxWidgets not found, wx will NOT be usable

*********************************************************************
次のコマンドによってErlangのインタラクティブシェルが立ち上がり、無事にErlangがインストールできました。
$ erl
2. Elixirのインストール
次にElixirをソースからインストールします。GitHub - Elixirから最新リリースをダウンロードして解凍します。ビルドのやり方はREADME.mdの通りです。
$ wget https://github.com/elixir-lang/elixir/archive/v1.6.4.tar.gz
$ tar zxvf v1.6.4.tar.gz
$ mv elixir-1.6.4 elixir
$ cd elixir/
$ make clean test
$ cd ~
$ sudo cp -ap elixir /usr/local/lib
Pathを通して適用します。
$ echo "PATH=\$PATH:/usr/local/lib/elixir/bin" >> ~/.bashrc
$ source ~/.bashrc
これでElixirがインストールできました。iexでElixirのインタラクティブシェルが立ち上がります。
$ iex
Erlang/OTP 20 [erts-9.3] [source] [64-bit] [smp:1:1] [ds:1:1:10] [async-threads:10] [hipe] [kernel-poll:false]

Interactive Elixir (1.6.4) - press Ctrl+C to exit (type h() ENTER for help)
iex(1)> [99, 100]
'cd'
3. Phoenixのインストール
専らPhoenix公式ガイドの通りにやっていけばインストールできるのですが、Amazon Linuxの場合、Node, PostgreSQL, inotify-toolsをインストールする必要があり、その作業が煩雑だったのでここに記します。
まず始めに、Hexをインストールします。HexはElixirのパッケージマネージャーです。
$ mix local.hex
Are you sure you want to install "https://repo.hex.pm/installs/1.6.0/hex-0.17.7.ez"? [Yn] Yを入力
* creating .mix/archives/hex-0.17.7
次に、公式からarchiveをダウンロードします。
$ mix archive.install https://github.com/phoenixframework/archives/raw/master/phx_new.ez
Are you sure you want to install "https://github.com/phoenixframework/archives/raw/master/phx_new.ez"? [Yn] Yを入力
* creating .mix/archives/phx_new
プロジェクトを作成。Fetch and install dependencies? [Yn] と聞かれたらYを入力します。
$ mix phoenix.new hello_phoenix
* creating hello_phoenix/config/config.exs
* creating hello_phoenix/config/dev.exs
* creating hello_phoenix/config/prod.exs
* creating hello_phoenix/config/prod.secret.exs
* creating hello_phoenix/config/test.exs
* creating hello_phoenix/lib/hello_phoenix.ex
* creating hello_phoenix/lib/hello_phoenix/endpoint.ex
* creating hello_phoenix/test/views/error_view_test.exs
* creating hello_phoenix/test/support/conn_case.ex
* creating hello_phoenix/test/support/channel_case.ex
* creating hello_phoenix/test/test_helper.exs
* creating hello_phoenix/web/channels/user_socket.ex
* creating hello_phoenix/web/router.ex
* creating hello_phoenix/web/views/error_view.ex
* creating hello_phoenix/web/web.ex
* creating hello_phoenix/mix.exs
* creating hello_phoenix/README.md
* creating hello_phoenix/web/gettext.ex
* creating hello_phoenix/priv/gettext/errors.pot
* creating hello_phoenix/priv/gettext/en/LC_MESSAGES/errors.po
* creating hello_phoenix/web/views/error_helpers.ex
* creating hello_phoenix/lib/hello_phoenix/repo.ex
* creating hello_phoenix/test/support/model_case.ex
* creating hello_phoenix/priv/repo/seeds.exs
* creating hello_phoenix/.gitignore
* creating hello_phoenix/brunch-config.js
* creating hello_phoenix/package.json
* creating hello_phoenix/web/static/css/app.css
* creating hello_phoenix/web/static/css/phoenix.css
* creating hello_phoenix/web/static/js/app.js
* creating hello_phoenix/web/static/js/socket.js
* creating hello_phoenix/web/static/assets/robots.txt
* creating hello_phoenix/web/static/assets/images/phoenix.png
* creating hello_phoenix/web/static/assets/favicon.ico
* creating hello_phoenix/test/controllers/page_controller_test.exs
* creating hello_phoenix/test/views/layout_view_test.exs
* creating hello_phoenix/test/views/page_view_test.exs
* creating hello_phoenix/web/controllers/page_controller.ex
* creating hello_phoenix/web/templates/layout/app.html.eex
* creating hello_phoenix/web/templates/page/index.html.eex
* creating hello_phoenix/web/views/layout_view.ex
* creating hello_phoenix/web/views/page_view.ex
プロジェクトのディレクトリに移動します。
$ cd hello_phoenix/
3.1 Node.jsのインストール
『centos + node.js + npm + nvm インストール』が参考になります。nvmはnodeのバージョンを簡単に切り替えることのできるアプリケーションです。今回はnvmを用いてnpmをインストールします。
$ git clone git://github.com/creationix/nvm.git ~/.nvm
$ source ~/.nvm/nvm.sh
$ vim ~/.bashrc

# 下記のコードを追記する
if [[ -s ~/.nvm/nvm.sh ]];
 then source ~/.nvm/nvm.sh
fi
.bashrcを変更したら適用します。今回は2018/5/3現在最新のLTSであるv8.11.1のnodeをインストールし、hello_phoenixプロジェクトに必要なnodeモジュールをnpm installでインストールします。
$ source ~/.bashrc
$ nvm ls-remote
$ nvm install v8.11.1
$ npm install
3.2 PostgreSQLをインストール
全体の流れとしてはPostgreSQL wikiが参考になります。
まずはじめにPostgreSQL9.6のAmazon Linux向けリポジトリを取得します。今回の9.6は私が適当に選んだバージョンなので、9.6に何か意味があるわけではありません。もし違うバージョンのPostgreSQLをダウンロードしたい場合はyum.postgresql.orgから適したバージョンを選んでください。
$ sudo yum -y install https://download.postgresql.org/pub/repos/yum/9.6/redhat/rhel-6-x86_64/pgdg-ami201503-96-9.6-2.noarch.rpm
PostgreSQLをインストールします。
$ sudo yum -y install postgresql96-server
無事インストールされたことを確認。
$ rpm -qa | grep postgres
postgresql96-9.6.8-1.80.amzn1.x86_64
postgresql96-libs-9.6.8-1.80.amzn1.x86_64
postgresql96-server-9.6.8-1.80.amzn1.x86_64

$ psql --version
psql (PostgreSQL) 9.6.8
OSを再起動しても自動で立ち上がるように設定します。
$ chkconfig --list postgresql96
postgresql96   	0:off	1:off	2:off	3:off	4:off	5:off	6:off
$ sudo chkconfig postgresql96 on
$ chkconfig --list postgresql96
postgresql96   	0:off	1:off	2:on	3:on	4:on	5:on	6:off
PostgreSQLは最初にデータベースの初期化をする必要があるので下記を実行。なおデータベースのルートディレクトリはデフォルトの場合、/var/lib/pgsql96/となっています。
$ sudo service postgresql96 initdb
macなどの場合はこの次にservice postgres startなどとすればpostgresが利用可能になりますが、Amazon Linuxの場合、この状態でpostgresを開始してしまうと、この先に実行する予定のmix ecto.createコマンドの段階で28000エラーを起こしてしまいます。なのでGithub issueを参考に、postgresユーザーのパスワードの設定、ならびに/var/lib/pgsql96/data/pg_hba.confの該当部分の変更を行います。
3.2.1 postgresユーザーのパスワードの設定
$ sudo su - postgres

-bash-4.2$ psql -c "ALTER USER postgres PASSWORD 'postgres';"
-bash-4.2$ psql postgres

postgres=# ALTER ROLE postgres WITH LOGIN;
postgres=# ALTER USER postgres CREATEDB;

Ctrl+Dを押してpostgresシェルを抜ける
Ctrl+Dを押してsuから抜ける
3.2.2 /var/lib/pgsql96/data/pg_hba.confの該当部分の変更
$ sudo vim /var/lib/pgsql96/data/pg_hba.conf

変更前
# TYPE  DATABASE        USER            ADDRESS                 METHOD
# "local" is for Unix domain socket connections only
local   all             all                                     peer
# IPv4 local connections:
host    all             all             127.0.0.1/32            ident
# IPv6 local connections:
host    all             all             ::1/128                 ident

変更後!(identをmd5に変更した)
# TYPE  DATABASE        USER            ADDRESS                 METHOD
# "local" is for Unix domain socket connections only
local   all             all                                     peer
# IPv4 local connections:
host    all             all             127.0.0.1/32            md5
# IPv6 local connections:
host    all             all             ::1/128                 md5
サービスを開始する。
$ sudo service postgresql96 start
これでようやくPhoenixのDBモジュールが正常に利用できるようになります。
$ mix ecto.create
3.3 inotify-toolsのインストール
CentOS7では普通にyum install inotify-toolsでインストールできるらしいが、CentOS6系であるAmazon Linuxではここからリポジトリを落としてくる必要がある。下記を実行すればOKです。
$ sudo yum -y install http://dl.fedoraproject.org/pub/epel/6/x86_64/Packages/i/inotify-tools-3.14-1.el6.x86_64.rpm
4. アクセスできることを確認
Phoenixサーバーを起動する。
$ mix phx.server
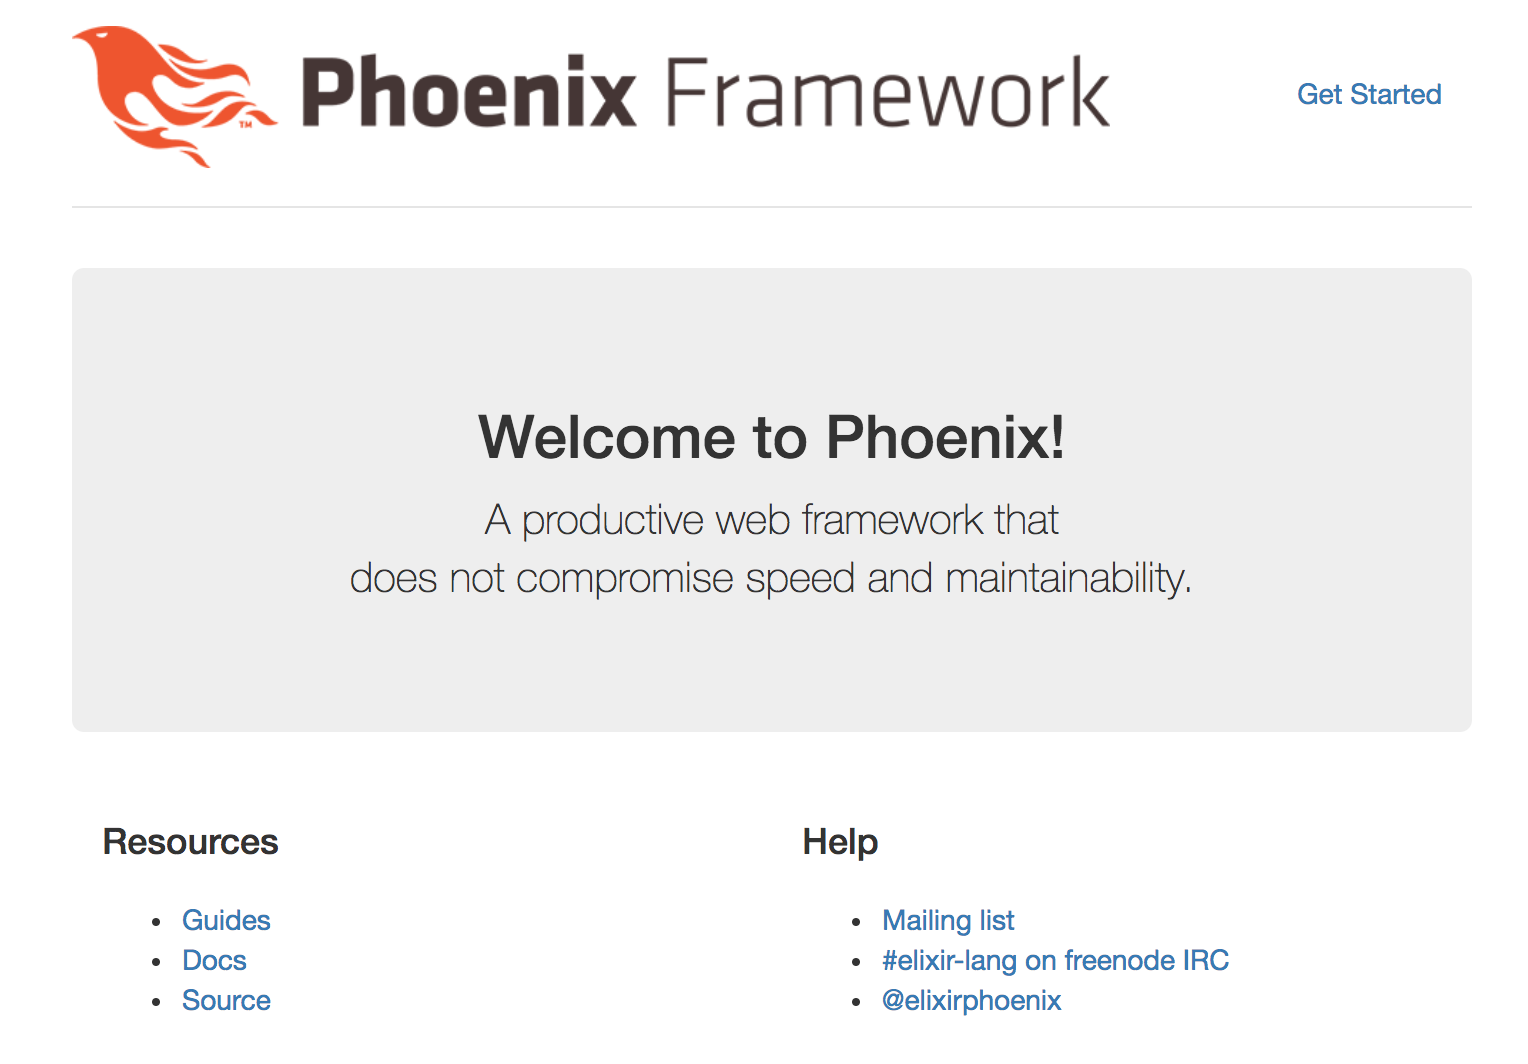
ブラウザでhttp://[EC2のPublic IP]:4000を叩いてこのような画面が出たら成功です。

なおターミナルには以下のようなログが出てきます。
[info] Running HelloPhoenix.Endpoint with Cowboy using http://0.0.0.0:4000
13:49:58 - info: compiled 6 files into 2 files, copied 3 in 1.1 sec
info] GET /
[debug] Processing with HelloPhoenix.PageController.index/2
  Parameters: %{}
  Pipelines: [:browser]
[info] Sent 200 in 66ms
[info] GET /
[debug] Processing with HelloPhoenix.PageController.index/2
  Parameters: %{}
  Pipelines: [:browser]
[info] Sent 200 in 226µs
[info] GET /
[debug] Processing with HelloPhoenix.PageController.index/2
  Parameters: %{}
  Pipelines: [:browser]
[info] Sent 200 in 222µs
参考記事まとめ
- CentOS7にElixir+Phoenixを入れてみる
- Erlangをソースから入れる
- ./configure;make;make installにはどんな意味がある?
- GitHub - Elixir
- Phoenix公式ガイド
- centos + node.js + npm + nvm インストール
- PostgreSQL wiki - Yum Installation
おまけ - configure, make, make install
configure, make, make installとはなんぞやと思いましたので、端的に書かれた記事を引用させていただきました。
これからインストールを行うOSのCPUやバージョンを調べたり,必要な関連ツールを調査する。そして,これらの状況を記述したMakefileファイルを作成する。
参考: 『./configure;make;make installにはどんな意味がある?』
configureで環境を調べてMakefile生成、makeでビルド、make installで適切な位置にファイルをコピーするといったところでしょうか。make installするときはMakefileに書かれているインストール位置を把握しとくといいのかもしれません。