背景
- 最近、Ethereumのプライベートネットワークを構築し、スマートコントラクトを用いたアプリケーションの開発を行っています。
- このプライベートネットワークを一般的なProof of Workのコンセンサスアルゴリズムにて構築すると、マイニングの速度が12~13秒程度になるように、difficultyが調整されており、参加ノードが限定されているプライベートネットにおいて、マイニングに対する報酬すら必要ないにもかかわらず、1トランザクション実行する度に10秒以上待たされることや、複雑な問題を解くためにCPUリソースが奪われていき、辛いなと思っていました。
- そこで、なんとかして、difficultyを低くしたいと思っていましたが、Proof of Workでは difficultyを定数にする設定はなく、gethのソースコードであるgo-ethereumのCalcDifficulty関数の戻り値を1に修正するなどして強引にしのごうとしていました。
- しかし、go-ethereumのソースコードをあさっている内に、もう一つのCalcDifficulty関数が存在することに気が付き、こちらは私の望む定数を返していることがわかりました。
- 後者のCalcDifficultyはPoA(Proof of Authority)と呼ばれる、Ethereumネットワーク上で、マイニングに参加できるノードを限定できるコンセンサスアルゴリズムのソースコードであることがわかり、PoAでプライベートネットワークを作成すれば、私の望むdifficultyが固定されたEthereumネットワークが構築できると考えました。
- PoAについてはこちらの記事などを参照ください。
- そこで、以下2つの記事を参考にさせていただきながら、複数ノードでのPoAネットワークの構築を試み、無事に構築に成功したため、構築手順を備忘録として残すことにしました。
Ethereum PoA(Proof of Authority)ネットワークの構築手順
前提条件
- go-ethereumがインストールされていること
- Macでのインストール手順はこちら
- gethのバージョンは
1.8.3-stableにて実施 - 最新版のgethにアップデートしておくことを推奨します。
ワークスペースの作成
- 今回のプライベートネットワークを作る上での、rootとなるワークスペースを作成します。
$ mkdir devnet
$ cd devnet
devnet$ mkdir node1 node2
Ethereumアカウントの作成
- 作成したnode1とnode2のそれぞれで、アカウントの作成を行います。
node1のアカウント
devnet$ geth --datadir node1/ account new
Your new account is locked with a password. Please give a password. Do not forget this password.
Passphrase: hogehoge (これはあくまで例です)
Repeat passphrase: hogehoge
Address: {92d366c53b5789c2208db13a86acb5e8400ef8f0}
node2のアカウント
devnet$ geth --datadir node2/ account new
Your new account is locked with a password. Please give a password. Do not forget this password.
Passphrase: fugafuga (これはあくまで例です)
Repeat passphrase: fugafuga
Address: {06cb591585e3d12c881da2b7d2edb0bb9268c706}
作成したアカウントのパスワードを以下のコマンドで保存しておきます。
devnet$ echo 'hogehoge' > node1/password.txt
devnet$ echo 'fugafuga' > node2/password.txt
genesisファイルの作成
- go-ethereumに付属しているpuppethツールを使うと、簡単にgenesis.jsonを作ることができます。
- puppethを起動するためには以下のコマンドを実行します。
devnet$ puppeth
対話式の質問が表示されるので、まず、適当なネットワーク名を指定します。
Please specify a network name to administer (no spaces, please)
> devnet
新しいgenesisファイルを作成するため、2を選択します
What would you like to do? (default = stats)
 1. Show network stats
 2. Configure new genesis
 3. Track new remote server
 4. Deploy network components
> 2
今回はPoAでのネットワーク構築のため、2を選択します。
Which consensus engine to use? (default = clique)
 1. Ethash - proof-of-work
 2. Clique - proof-of-authority
> 2
ブロックが生成される時間間隔を指定します。 1以上の値を指定できます。
How many seconds should blocks take? (default = 15)
> 5 // for example
マイニングできるaccountを指定します。
ここでは、先ほど作成したアドレスを指定します。
Which accounts are allowed to seal? (mandatory at least one)
> 0x92d366c53b5789c2208db13a86acb5e8400ef8f0
> 0x06cb591585e3d12c881da2b7d2edb0bb9268c706
こちらも同様です。
Which accounts should be pre-funded? (advisable at least one)
> 0x92d366c53b5789c2208db13a86acb5e8400ef8f0
> 0x06cb591585e3d12c881da2b7d2edb0bb9268c706
今回のネットワークのネットワークIDを指定します。
1~10の値は指定しないでください。
Specify your chain/network ID if you want an explicit one (default = random)
> 1515 // for example. Do not use anything from 1 to 10
ここは特に何も入力しなくてOKです。
Anything fun to embed into the genesis block? (max 32 bytes)
>
genesis fileを出力するため、ここでは2を選択します。
What would you like to do? (default = stats)
 1. Show network stats
 2. Manage existing genesis
 3. Track new remote server
 4. Deploy network components
> 2
以下では2を選択します。
 1. Modify existing fork rules
 2. Export genesis configuration
 3. Remove genesis configuration
> 2
genesis fileのファイル名を指定し、ファイルを出力します。
Which file to save the genesis into? (default = devnet.json)
> genesis.json
INFO [01-23|15:16:17] Exported existing genesis block
Control + Cで終了し、genesis.jsonが出力されていることを確認します。
What would you like to do? (default = stats)
 1. Show network stats
 2. Manage existing genesis
 3. Track new remote server
 4. Deploy network components
> ^C
nodeの初期化
以下のコマンドを打って、node1, node2の初期化を行います。
devnet$ geth --datadir node1/ init genesis.json
devnet$ geth --datadir node2/ init genesis.json
bootnodeの構築
bootnodeコマンドのPATH設定 (Mac環境のみ?)
- プライベートネットワークでお互いのnodeが検出できるように、bootnodeサーバを立てる必要があります。
- なお、Mac環境で、Homebrewでインストールを行った場合など、bootnodeコマンドが標準設定では叩けない場合があるようなので、bootnodeのバイナリへのシンボリックリンクを
/usr/local/bin/以下などに作成する必要があります。 - 以下では、MacでHomebrewでインストールを行った際のbootnodeの、シンボリックリンクへの作成例です。
-
your-home-directoryの部分はご自身の、ホームディレクトリのpathへ置き換えてください。
sudo ln -s /Users/your-home-directory/Library/Caches/Homebrew/ethereum--git/build/bin/bootnode /usr/local/bin/bootnode
bootnodeの初期設定
- 以下のコマンドを打って、bootnodeを初期設定し、bootのためのkeyを出力します。
bootnode -genkey boot.key
bootnodeの起動
以下のコマンドを叩くと port: 30310でbootnodeが起動し、bootnodeのURLが表示されます。
bootnode -nodekey boot.key -addr localhost:30310
INFO [04-15|15:02:27] UDP listener up self=enode://cb5cbc52b004449197b77cf227047ec8ef15ccbb3398ed60872bc02e3c6b2cf9ee3f8f47047f84a872125ca7c4fea83dbcb4d9eef72957ad54df1f3a0ea6b3b5@127.0.0.1:30310
この例では、以下がbootnodeのアドレスになり、node1とnode2の起動時に指定します。
enode://cb5cbc52b004449197b77cf227047ec8ef15ccbb3398ed60872bc02e3c6b2cf9ee3f8f47047f84a872125ca7c4fea83dbcb4d9eef72957ad54df1f3a0ea6b3b5@127.0.0.1:30310
ノードの起動
- さて、ようやくnode1 ~ node2を準備が整ったので、以下のコマンドで、node1, node2のそれぞれのノードを起動させます。
node1の起動
- コマンドの実行例は以下のとおりです。
geth --datadir node1/ --syncmode 'full' --port 30311 --rpc --rpcaddr 'localhost' --rpcport 8501 --rpcapi 'personal,db,eth,net,web3,txpool,miner' --bootnodes 'enode://cb5cbc52b004449197b77cf227047ec8ef15ccbb3398ed60872bc02e3c6b2cf9ee3f8f47047f84a872125ca7c4fea83dbcb4d9eef72957ad54df1f3a0ea6b3b5@127.0.0.1:30310' --networkid 1515 --gasprice '0' --unlock '0x92d366c53b5789c2208db13a86acb5e8400ef8f0' --password node1/password.txt --mine
幾つかのオプションについての説明
- port
- enodeとしてnode間で検出するためのportを設定します。 今回の例では node1, node2, bootnode が同じインスタンス上で起動されているため、bootnodeやnode2と異なるポートをアサインする必要がありますが、ことなるIPアドレスを持っている場合は、同じでも構いません。
- bootnodes
- bootnodeの起動時に表示されるbootnodeのアドレスを指定します。
- networkid
- genesisファイルに設定したNetwork IDを指定します。
- gasprice
- Miningを実施する、Transactionの最低gas priceを設定します。
- ここではprivate networkなので、無償でも受け付けOKとして、0を設定しています。
- unlock
- 必須ではないですが、起動時にアンロックするアカウントのアドレスを指定します。
- password
- アカウントのパスワードが記載されたファイル名を指定します。
node2の起動
- node2も同様に以下のコマンドで立ち上げます。
- port, rpcportはbootnodeやnode1とは異なるものを設定します。
geth --datadir node2/ --syncmode 'full' --port 30312 --rpc --rpcaddr 'localhost' --rpcport 8502 --rpcapi 'personal,db,eth,net,web3,txpool,miner' --bootnodes 'enode://cb5cbc52b004449197b77cf227047ec8ef15ccbb3398ed60872bc02e3c6b2cf9ee3f8f47047f84a872125ca7c4fea83dbcb4d9eef72957ad54df1f3a0ea6b3b5@127.0.0.1:30310' --networkid 1515 --gasprice '0' --unlock '0x06cb591585e3d12c881da2b7d2edb0bb9268c706' --password node2/password.txt --mine
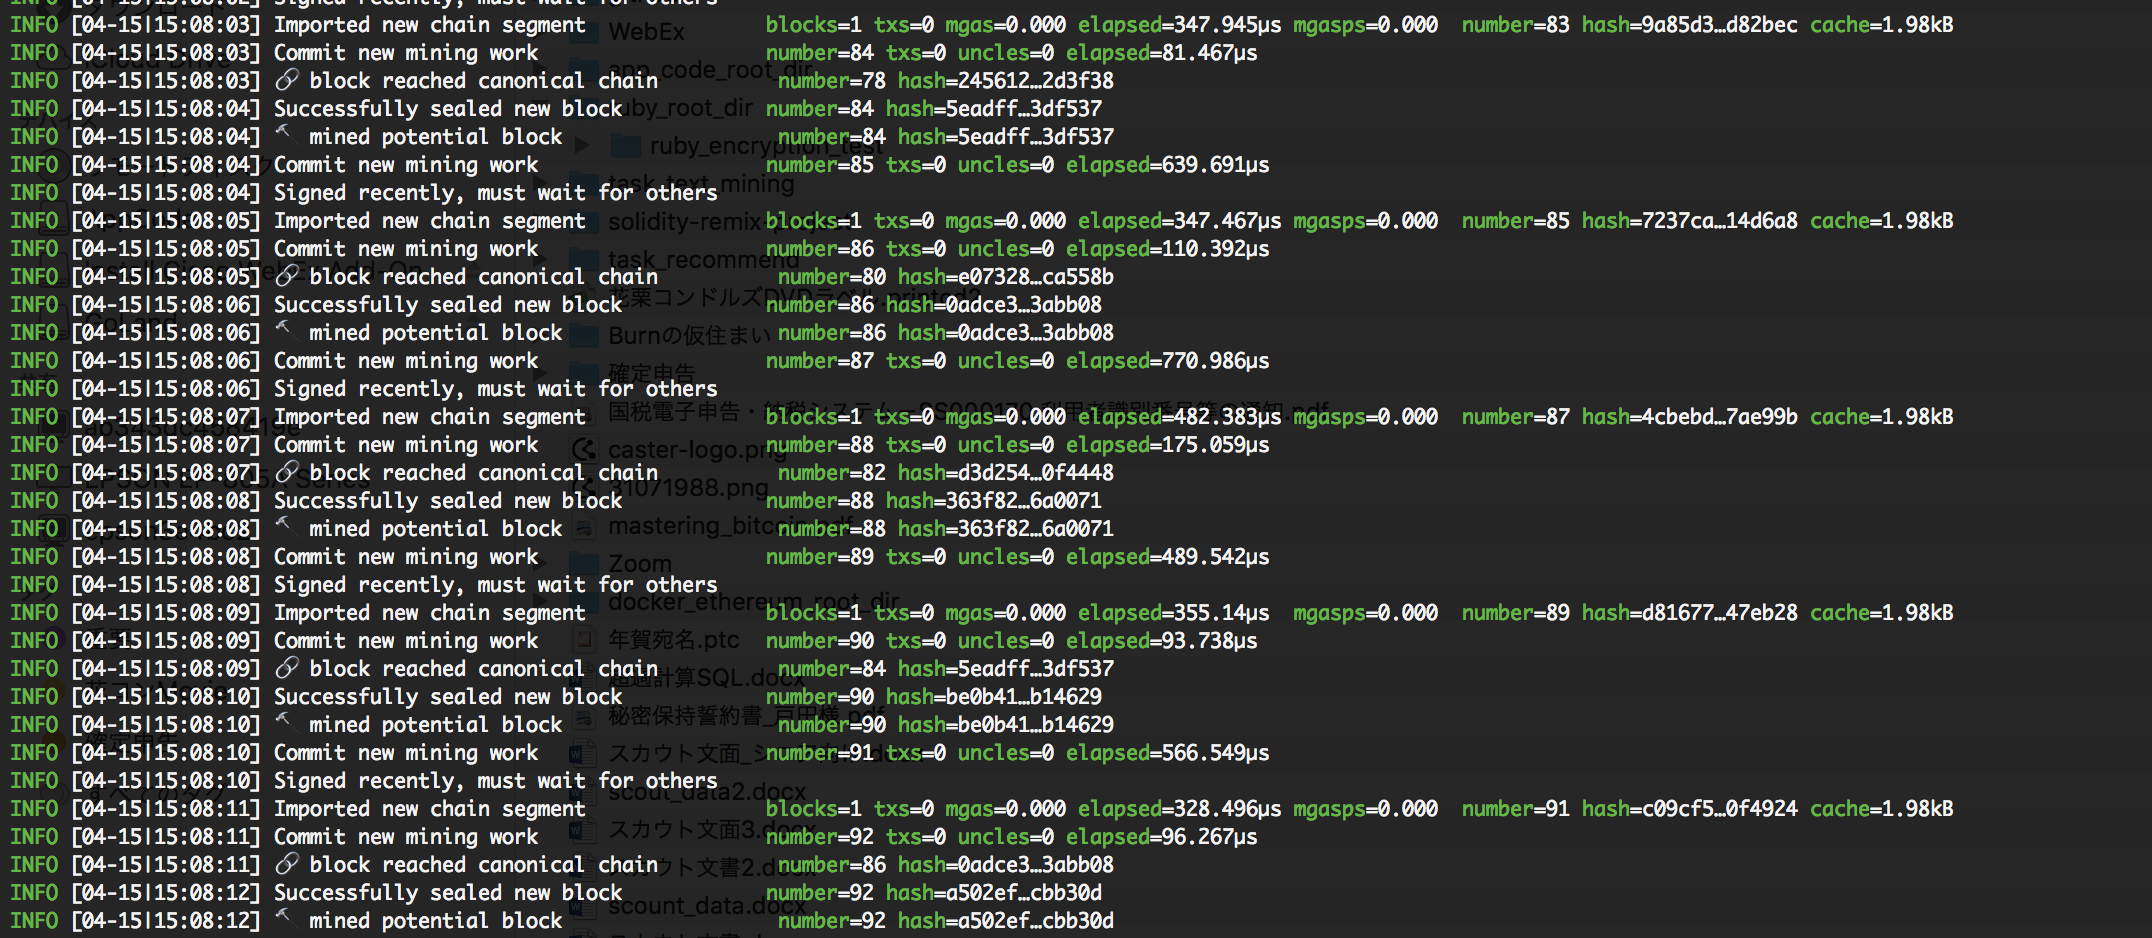
起動に成功すると以下のように、それぞれのnodeにおいて、miningが開始します。
起動したプライベートネットワークでのトランザクションの実行
- 無事、node1, node2が起動し、プライベートネットワークが起動したため、Geth Javascript Consoleからの送金処理などを行ってみます。
- 別のコンソールを立ち上げ、以下のコマンドを実行し、IPC接続によって起動させます。
$ cd devnet
devnet$ geth attach node1/geth.ipc
Welcome to the Geth JavaScript console!

instance: Geth/v1.8.3-stable/darwin-amd64/go1.10.1
coinbase: 0x92d366c53b5789c2208db13a86acb5e8400ef8f0
at block: 36 (Sun, 15 Apr 2018 15:07:16 JST)
 datadir: /Users/atsushi-fukuda/devnet/node1
 modules: admin:1.0 clique:1.0 debug:1.0 eth:1.0 miner:1.0 net:1.0 personal:1.0 rpc:1.0 txpool:1.0 web3:1.0

>
起動したコマンドで、試しにコマンドを実行してみます。
> net.version
"1515"
> eth.blockNumber
435
> eth.coinbase
"0x92d366c53b5789c2208db13a86acb5e8400ef8f0"
無事動いていることを確認し、node2への送金処理を行ってみます。
> eth.sendTransaction({'from':eth.coinbase, 'to':'0x06cb591585e3d12c881da2b7d2edb0bb9268c706', 'value':web3.toWei(3, 'ether')})
"0x92044963438540aa14941ae252e041c32c3ed8923227272ee5928ed4e9900b01"
Transactionが処理されたかどうかを以下のコマンドで確認します。
> eth.getTransactionReceipt("0x92044963438540aa14941ae252e041c32c3ed8923227272ee5928ed4e9900b01")
{
  blockHash: "0xe6a2b8e3ba698c940c5a54053effd3129ebc05b034ab49088ac557c442d801eb",
  blockNumber: 509,
  contractAddress: null,
  cumulativeGasUsed: 21000,
  from: "0x92d366c53b5789c2208db13a86acb5e8400ef8f0",
  gasUsed: 21000,
  logs: [],
  logsBloom: "0x00000000000000000000000000000000000000000000000000000000000000000000000000000000000000000000000000000000000000000000000000000000000000000000000000000000000000000000000000000000000000000000000000000000000000000000000000000000000000000000000000000000000000000000000000000000000000000000000000000000000000000000000000000000000000000000000000000000000000000000000000000000000000000000000000000000000000000000000000000000000000000000000000000000000000000000000000000000000000000000000000000000000000000000000000000000",
  status: "0x1",
  to: "0x06cb591585e3d12c881da2b7d2edb0bb9268c706",
  transactionHash: "0x92044963438540aa14941ae252e041c32c3ed8923227272ee5928ed4e9900b01",
  transactionIndex: 0
}
まとめ
- こちらの手順で、無事、PoAのプライベートネットワークにて、送金処理が実行できました。
- PoAはdifficultyが定数に固定されているため、プライベートネットワーク前提でのEthereum構築においては、高速なマイニング速度や高い安定性、そして低いマシンスペックでも動く省エネルギー性を獲得することができます。
- PoWのネットワーク構築で、どうも動きが不安定だという方は、是非こちらの手順を試してみていただければと思います。
- PoAで後から参加ノードを追加する方法についても、また別の記事にて記載していきたいと思います。
謝辞
- 今回の記事を作成するにあたり、下記2つの記事を参考にさせていただきました。
- 非常にわかりやすい内容で、有用な情報を提供いただいたことを心より感謝いたします。