SiteGuard Liteとは
WEBサーバーで動作するホスト型のWAFです。Apache、IIS、Nginxに対応。
プラグインモジュールとして動作するのでSSL通信も特別意識することなく対応可能。
WEBサーバーの台数が数台程度であれば価格的にゲートウェイ型WAFよりも安価。設定はエクスポート/インポート機能を利用することで複数台への展開を安易に行えます。
※本記事ではLinux環境のApacheを使用
インストール
SiteGuard LiteはApacheのプラグインモジュールとして動作しますので、先にApacheをインストールしておく必要があります。
またJDK、JREなどのjava環境も必要になります。
事前の手間は少々かかるかもしれませんが、インストール自体はrpmコマンドで簡単に入ります。
詳細はマニュアルを参照下さい。
インストール後の設定(CUI)
対話型のセットアップスクリプトを起動し、質問に答えていくことで設定が完了します。
カスタマイズしたい設定があれば変更できますが、ほぼEnterキー連打(デフォルト値)で進めます。
# cd /opt/jp-secure/siteguardlite/
# ./setup.sh
------------------------------------------------------
  SiteGuard Lite setup start...
------------------------------------------------------


please enter Apache Config File. [/etc/httpd/conf/httpd.conf] -->
Apache Config File=[/etc/httpd/conf/httpd.conf]
is correct? [yes]|no -->

please enter Apache Binary File (httpd). [/usr/sbin/httpd] -->
Apache Binary File (httpd)=[/usr/sbin/httpd]
is correct? [yes]|no -->

do you want to use the web administrative console?
* to use the console, you will need JDK or JRE is installed.
please select. [yes]|no -->

please enter JDK or JRE directory. [/usr/lib/jvm/jre-1.8.0] -->
JDK or JRE directory=[/usr/lib/jvm/jre-1.8.0]
is correct? [yes]|no -->

please enter the port number of the web console for https.
please enter port number. [9443] -->9443
port number=[19443]
is correct? [yes]|no -->

please enter the addresses allowed to access the web console for https.
ex:192.168.1. 10.0.0.0/24
please enter allowed addresses. [ALL] -->
allowed addresses=[ALL]
is correct? [yes]|no -->

please enter the ssl certificate file (crt file) path.
please enter ssl certificate file path. [/opt/jp-secure/siteguardlite/conf/ssl/server.crt] -->
ssl certificate file path=[/opt/jp-secure/siteguardlite/conf/ssl/server.crt]
is correct? [yes]|no -->

please enter the ssl server key file (key file) path.
please enter ssl server key file path. [/opt/jp-secure/siteguardlite/conf/ssl/server.key] -->
ssl server key file path=[/opt/jp-secure/siteguardlite/conf/ssl/server.key]
is correct? [yes]|no -->
update httpd.conf done.
update Makefile done.
------------------------------------------------------
  Starting services...
------------------------------------------------------
Starting Tomcat(WebUI for siteguardlite):                  [  OK  ]
Starting Notify Service:                                   [  OK  ]

Apache restart. Are you sure? [yes]|no -->
stopping apache ...
starting apache ...
apache restart done.
------------------------------------------------------
  finished SiteGuard Lite setup
------------------------------------------------------
  Please access following URL for starting service.
  https://hostname:9443/
  (default user:admin, default password:admin)
設定が完了すると、Apacheの設定ファイルの末尾にSiteGuardの設定ファイルへのパスが追記されます。Apacheの設定ファイルを入れ替える場合は注意して下さい。
# tail -n 2 /etc/httpd/conf/httpd.conf
include /opt/jp-secure/siteguardlite/conf/siteguardlite.conf
include /opt/jp-secure/siteguardlite/conf/httpd.conf.siteguardlite_admin_ssl
インストール後の設定(GUI)
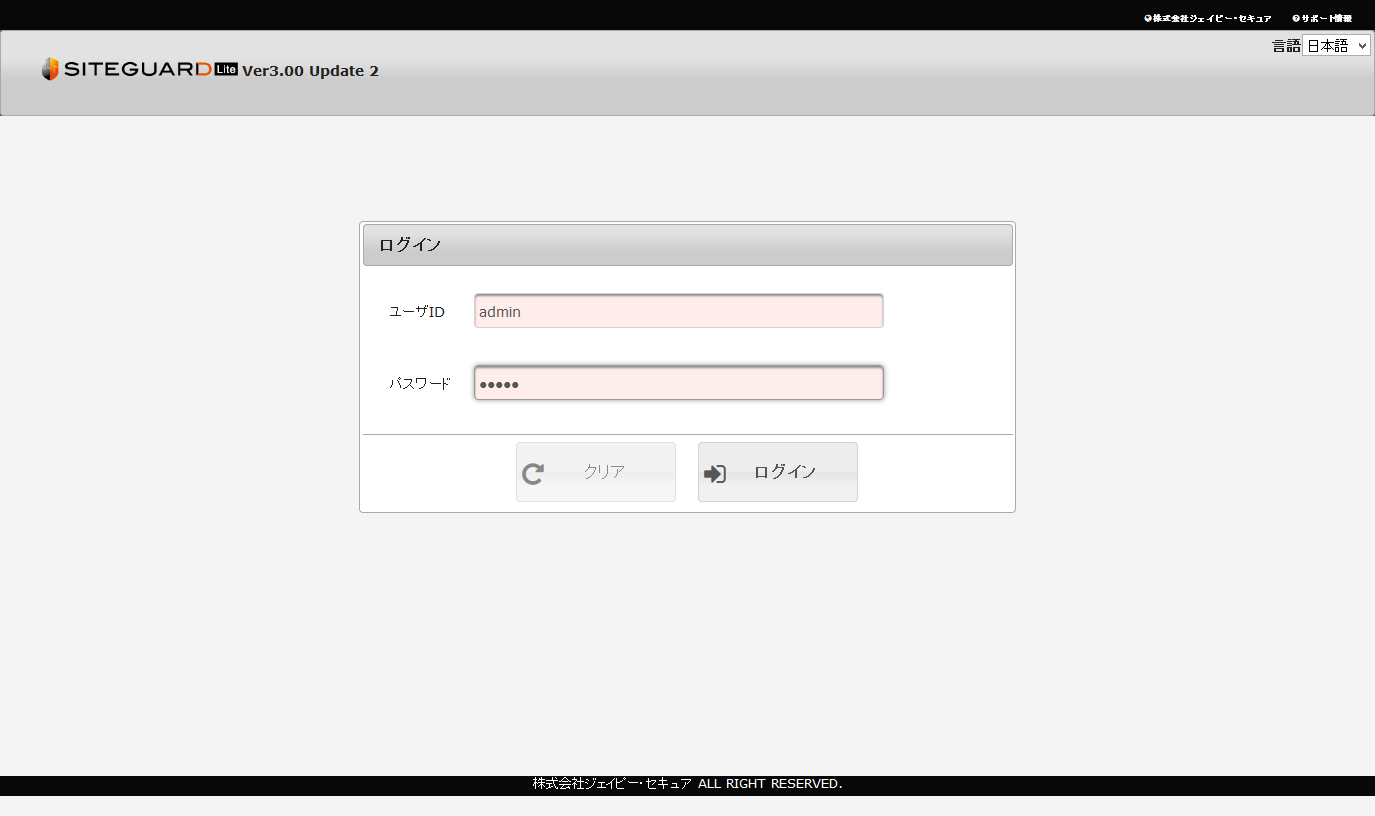
管理画面へのログイン
WEBブラウザにて前手順で設定したポートへ接続します。
https://hostname:9443/
※管理画面へのログインになりますので、Firewallや前手順での送信元IPアドレス制限を推奨します。デフォルトでパスワード3回間違えるとロックアウトされてしまいます。解除にはコマンドの投入がが必要になります。
デフォルトで管理ユーザーはadmin、パスワードもadmin
※初回ログイン後にパスワード変更画面が開きますので、パスワード変更を行います。
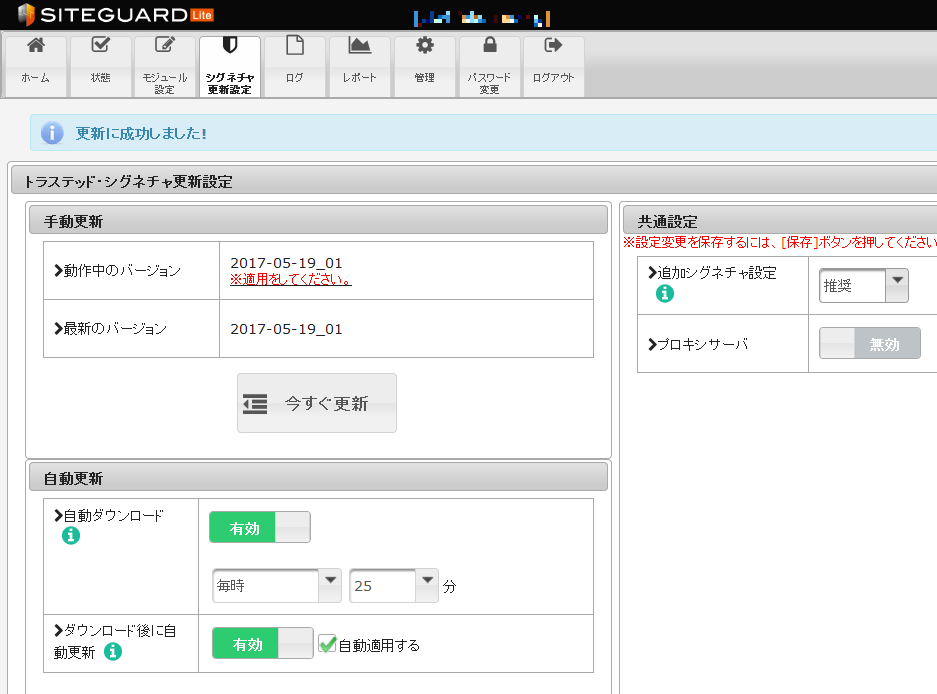
シグネチャ更新設定
ベンダーから提供されるシグネチャの更新タイミングを設定できます。
更新時にはApacheサービスの再起動が発生しますので、利用者の少ない時間帯を設定したほうがいいでしょう。但し時間指定ですと1日1回のタイミングでしか更新されません。とは言え過去のシグネチャの提供頻度をみると、1ヶ月に1回あるかどうかなので毎時ではなく1日1回の確認でいいかもしれません。
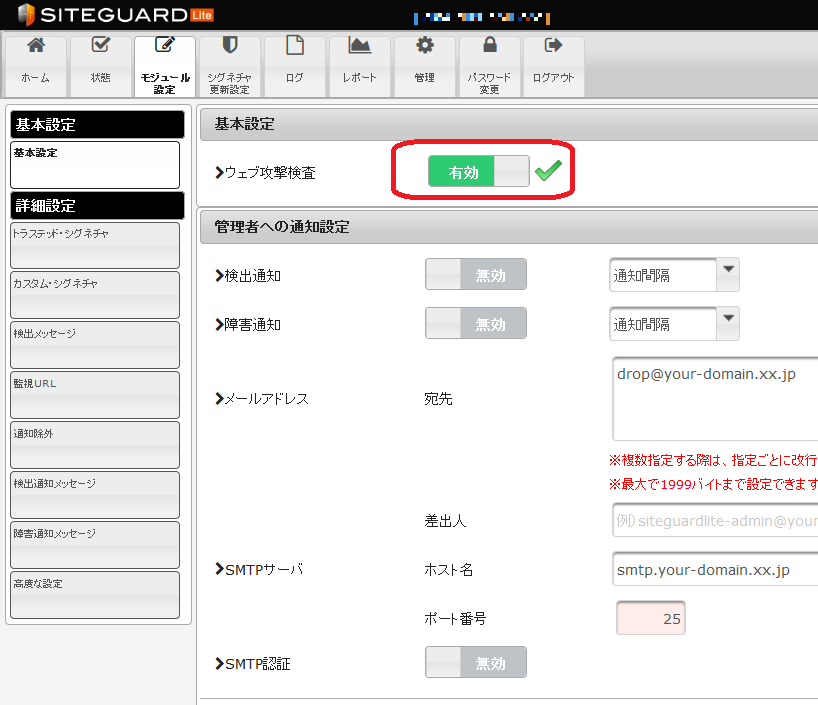
ウェブ攻撃検査
有効にすることでウェブアクセスへのセキュリティチェックが始まります。
デフォルトでは無効になっていますので、有効にしないとWAFを入れた意味がありません。
動作テスト
実際に攻撃を仕掛けてもいいのですがテストURLがあるので、そちらを利用します。
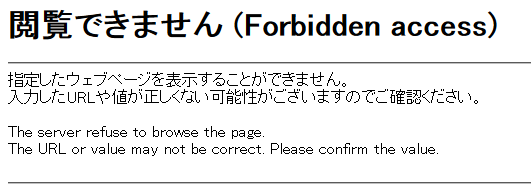
以下のように「WAF-TEST-SIGNATURE」をURLの後ろに入れてWEBブラウザからアクセスします。
http://hostname/WAF-TEST-SIGNATURE
WEBブラウザにブロックメッセージが表示されることを確認します。
SiteGuard Liteのログを表示し該当アクセスがブロックされていることも確認します。

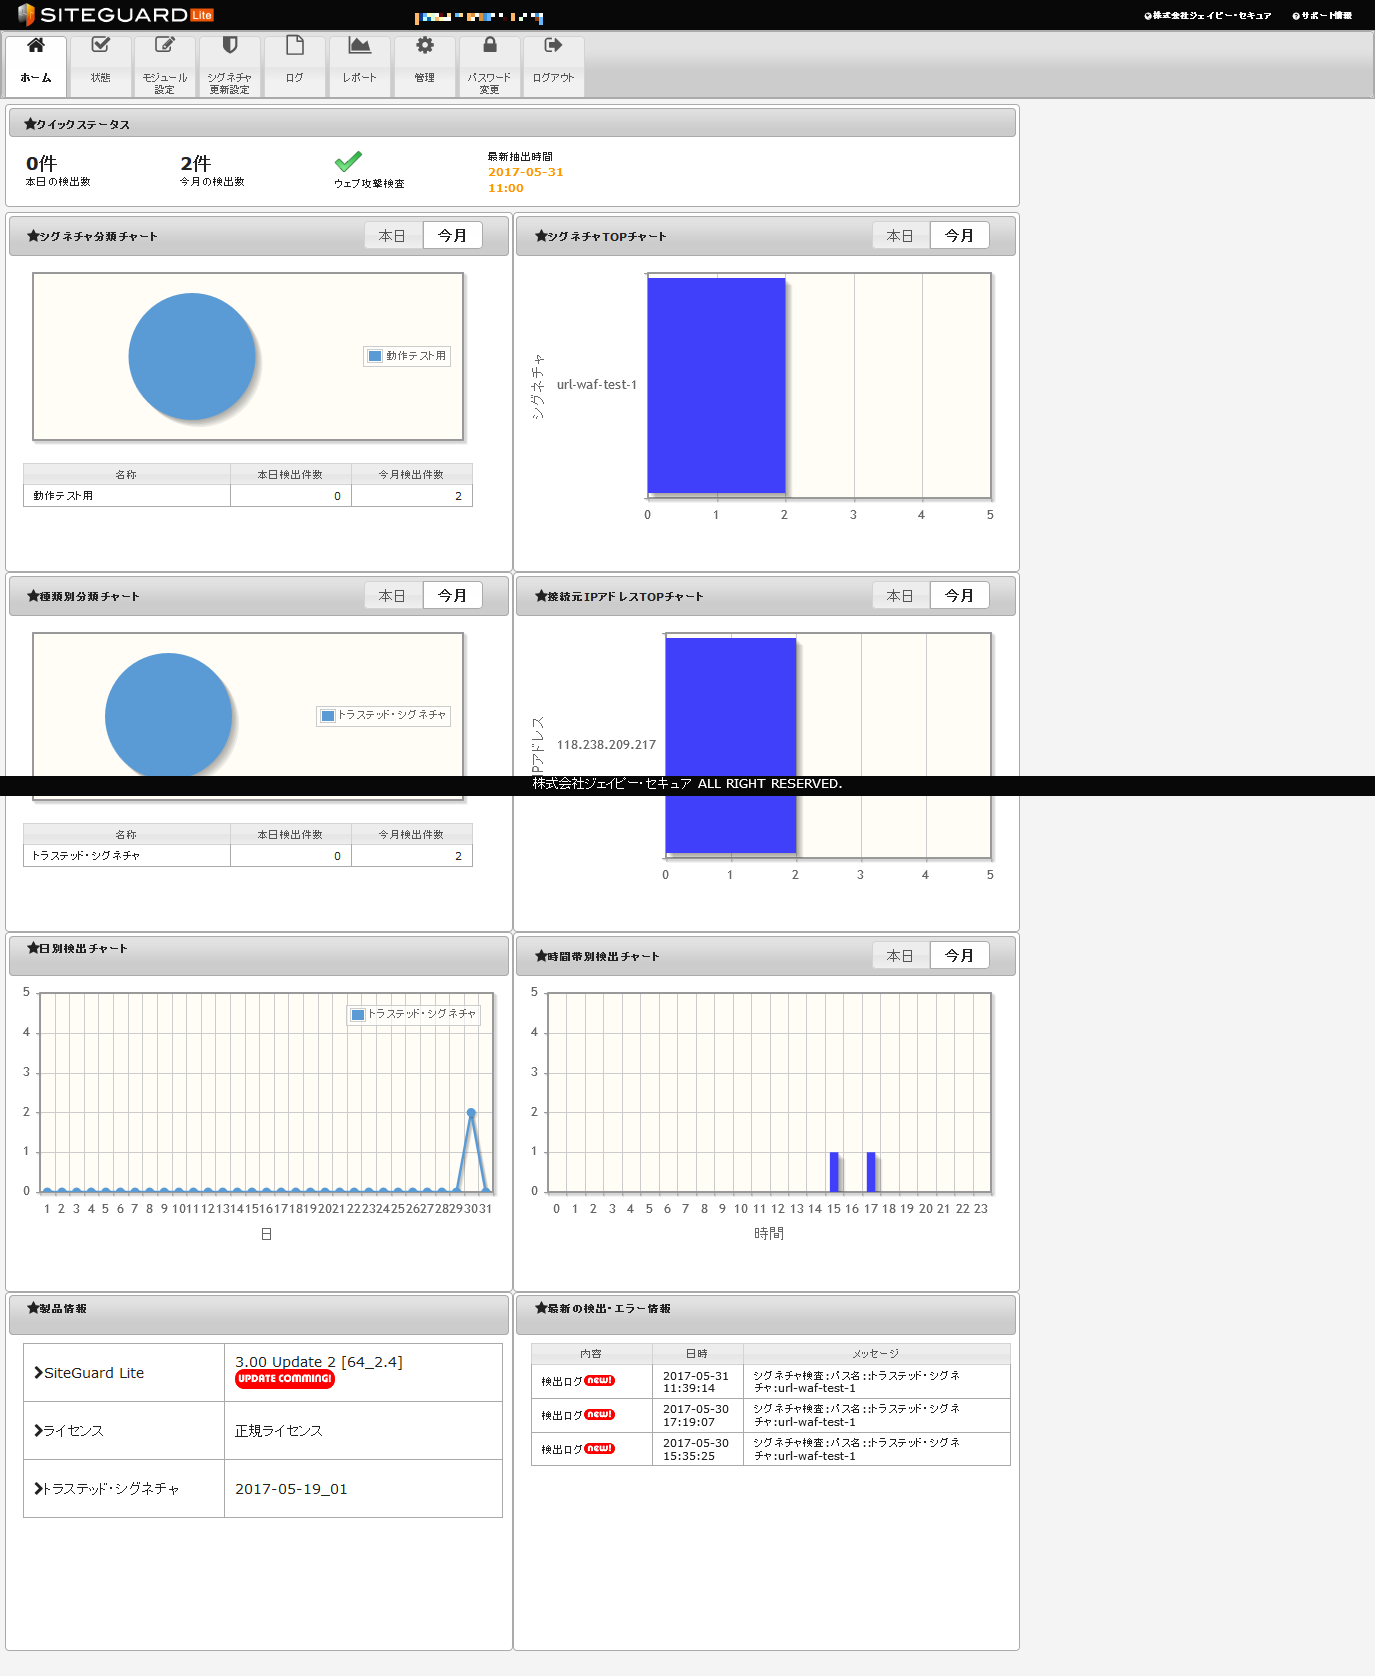
SiteGuard Liteのトップ画面でも各種チャートにて検出された攻撃を確認できます。
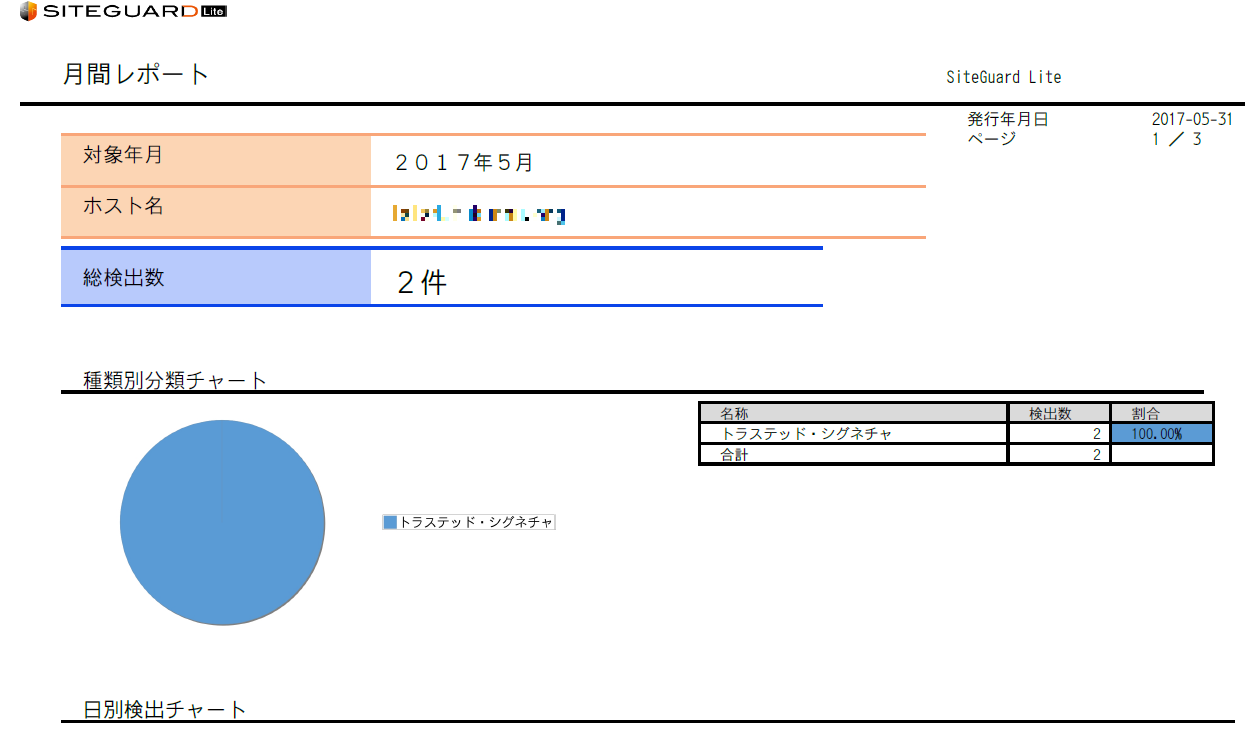
SiteGuard Liteのレポートからも出力されたPDFレポートから検出された攻撃を確認できます。
どんな攻撃を防げるか
基本はトラステッド・シグネチャといわれるベンダー提供のシグネチャを使い、WEBに特化したパターンマッチングを行います。ですのでトラステッド・シグネチャに定義されているものが防御対象となります。
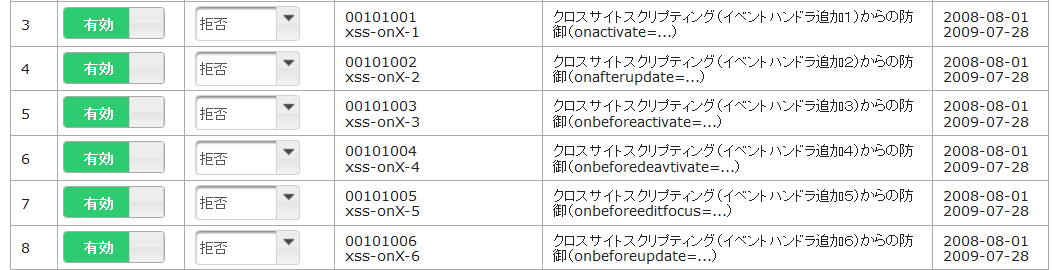
トラステッド・シグネチャを見てみると
クロスサイトスクリプティング関連
※これが半数ほどありました
SQLインジェクション関連
※2割程度占めています

OSコマンドインジェクション関連
※1割程度占めています

他にも以下の脆弱性に対応しています。
ディレクトリトラバーサル関連
改行コードインジェクション関連
Apache Struts/Apache Struts2脆弱性
WordPress関連
他
2017年5月31日現在で444件のシグネチャ
まとめ
トラステッド・シグネチャを使って防御するという用途であれば比較的簡単に導入できました。
Webサーバ台数が少ない構成にWAFを導入するならホスト型のSiteGuard Liteは安価に導入できるのでオススメです。