はじめに
比較的おしゃれなスマホアプリを開発しようとすると、OS固有のデフォルトでは無いちょっとしたカスタマイズを行いたくなることが結構あります。
が、検索しても一発で実現方法がわからないようなケースが多々あります。今回はそんなお話。
やりたいことは比較的単純なのに、解決法が見つからなかったので情報共有してみます。
Xamarin.Forms(iOS)のデフォルトのSearchBar
<?xml version="1.0" encoding="utf-8" ?>
<ContentPage xmlns="http://xamarin.com/schemas/2014/forms"
             xmlns:x="http://schemas.microsoft.com/winfx/2009/xaml"
             xmlns:d="http://xamarin.com/schemas/2014/forms/design"
             xmlns:mc="http://schemas.openxmlformats.org/markup-compatibility/2006"
             xmlns:ios="clr-namespace:Xamarin.Forms.PlatformConfiguration.iOSSpecific;assembly=Xamarin.Forms.Core"
             ios:Page.UseSafeArea="true"
             mc:Ignorable="d"
             x:Class="XamLabo2.MainPage">

    <SearchBar VerticalOptions="Start"/>
</ContentPage>
 |
|---|
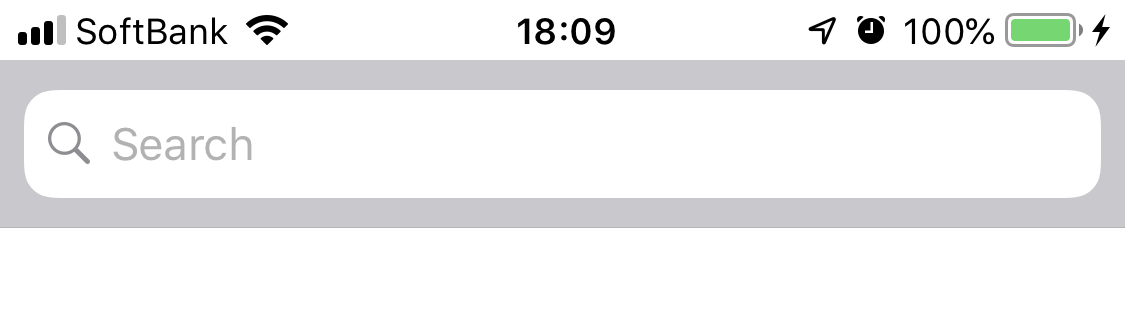
こんな感じ。PlaceHolderを設定すると
<SearchBar VerticalOptions="Start" Placeholder="Search"/>
 |
|---|
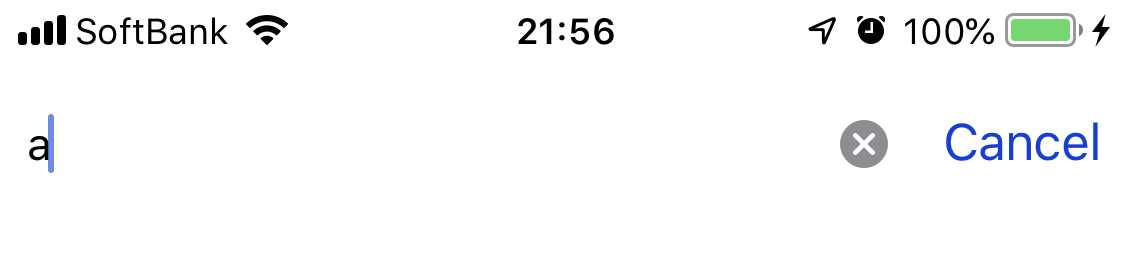
こんな感じ。で、何か文字を打つとxボタンとキャンセルの文字が表示される。
 |
|---|
普通ですね。
個人的にやってみたいカスタマイズは
- 虫眼鏡のアイコンを消す
- 角丸の入力欄を角丸じゃ無くす
- 灰色の背景を無くす
虫眼鏡アイコンを無くす
SearchBarなのに虫眼鏡無くすって!って思われるかもですが、諸事情あってやってみたい時も実際あります。
英語でググってみると一番多いのは無くす(消す)よりも入力欄の右端に置きたいって要件が多いみたいです。
実際にiOSのAPIレベルで解決策を用意してくれてるわりに実現するのがなぜか困難なカスタマイズでした。
やってみたのは
    public partial class AppDelegate : global::Xamarin.Forms.Platform.iOS.FormsApplicationDelegate
    {
        //
        // This method is invoked when the application has loaded and is ready to run. In this
        // method you should instantiate the window, load the UI into it and then make the window
        // visible.
        //
        // You have 17 seconds to return from this method, or iOS will terminate your application.
        //
        public override bool FinishedLaunching(UIApplication app, NSDictionary options)
        {
            global::Xamarin.Forms.Forms.Init();
            LoadApplication(new App());

            UISearchBar.Appearance.SetImageforSearchBarIcon(new UIImage(), UISearchBarIcon.Search, UIControlState.Normal);
            return base.FinishedLaunching(app, options);
        }
    }
SearchBarIconに空っぽのイメージを渡す方法です。これでアイコンを消すこと自体は実現できました。
 |
|---|
が、透明な空間が空いちゃうんですよねー透明なアイコン画像設定してるだけやから当たり前なのですが。
しかし、これも解消方法がきちんと用意されています。
SetPositionAdjustmentforSearchBarIconメソッドを使います。いかにもそれ専用って感じの長い名前ですね。
カスタムレンダラーを使います。
[assembly: ExportRenderer(typeof(SearchBar), typeof(SearhBarCustomRenderer))]
namespace XamLabo2.iOS
{
    public class SearhBarCustomRenderer : SearchBarRenderer
    {
        protected override void OnElementChanged(ElementChangedEventArgs<SearchBar> e)
        {
            base.OnElementChanged(e);
            if (e.NewElement != null)
            {
                var bar = this.Control;//e.NewElementでも同じ
                bar.SetPositionAdjustmentforSearchBarIcon(new UIOffset(-22, 0), UISearchBarIcon.Search);
            }
        }
    }
}
うまくいきました。(iPhone8+実機)
 |
|---|
が、同じコードが現時点で最新のiOSシミュレーターだとめり込んで表示されます。
エミュレータあるあるですが、なるべく実機で検証しましょう。
 |
|---|
角丸の解消と灰色の背景取り除き
APIで出来そうなところはなるべくAPIで実現するようにカスタムレンダラーを書き換えて
[assembly: ExportRenderer(typeof(SearchBar), typeof(SearhBarCustomRenderer))]
namespace XamLabo2.iOS
{
    public class SearhBarCustomRenderer : SearchBarRenderer
    {
        protected override void OnElementChanged(ElementChangedEventArgs<SearchBar> e)
        {
            base.OnElementChanged(e);
            if (e.NewElement != null)
            {
                var bar = this.Control;//e.NewElementでも同じ
                bar.SetPositionAdjustmentforSearchBarIcon(new UIOffset(-22, 0), UISearchBarIcon.Search);
                bar.SearchBarStyle = UISearchBarStyle.Minimal;//周囲の灰色を消す
                //SearchBarの入力欄の角丸解消
                var textField = (UITextField) bar.ValueForKey(new NSString("searchField"));
                textField.BorderStyle = UITextBorderStyle.None;
                textField.Layer.CornerRadius = 0f;
            }
        }
    }
}
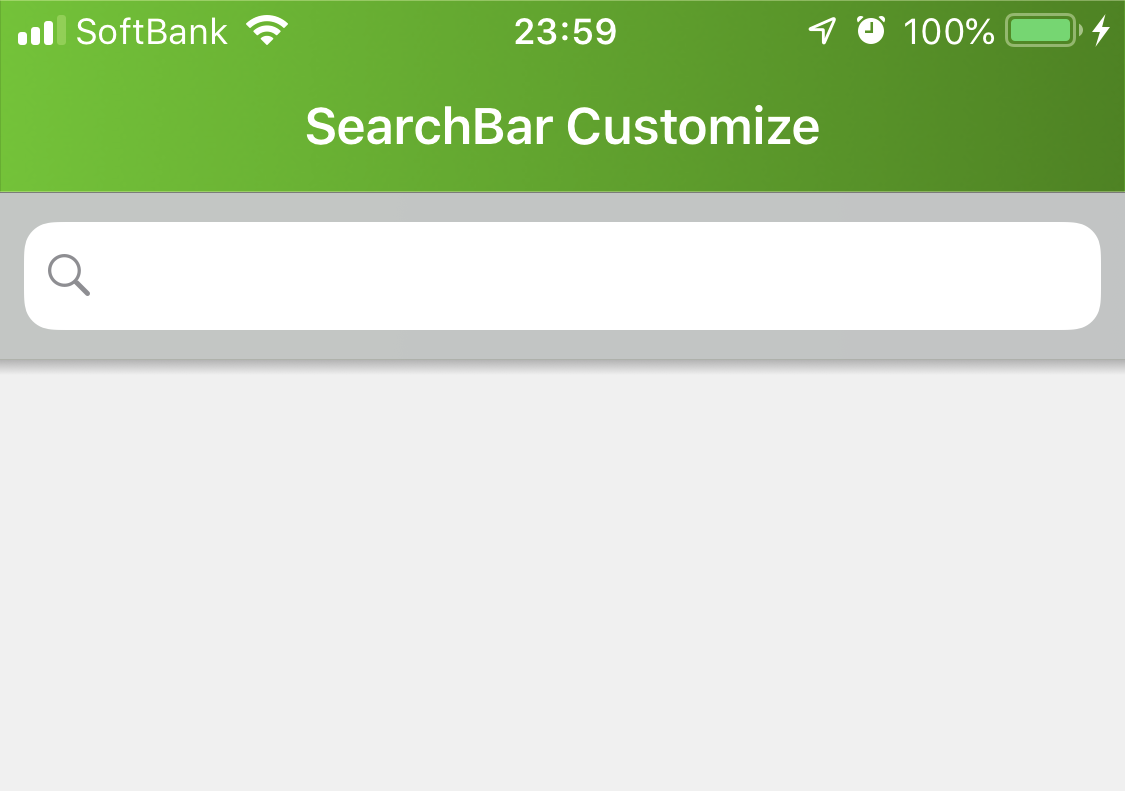
実現できました。
カーソルが入ってないと何がなんだかわかりませんね。
 |
|---|
 |
|---|
個人的にはこれでやりたかったカスタマイズは完了です。
結果発表
もう少し調整して実際にアプリに組み込むとこういう感じ。
| カスタムレンダリング | デフォルトレンダリング |
|---|---|
 |
 |
iOSの標準スタイルでも十分と言えば十分なのですが、ゴリゴリにカスタマイズしたテーマにしたい時に実現手段がわからないと厳しい。
なので、フルにカスタマイズ出来る引き出しを持っておけばよりユーザーフレンドリーなアプリを作ることもできるかと思います。
それでは、良いプログラミングライフを!