はじめに
Laravel7でLINE認証機能を実装しました。
記事自体はポチポチあるけど、古い記事が多いしやり方も色々あってなんかうまくいかない...。
少し手間取りましたが、無事実装できたので備忘録として纏めます。
偉大な参考記事
ほとんど下記URLの作成者様のコーディングを参考にして書いております。
https://tdomy.com/2020/08/how-to-use-laravel-socialite/
上記記事に加えてLINEのDevelopersの詳細等を補足して説明します。
上記記事ではLaravel6っぽいです。
私のはLaravel7でやってみます。
実装環境
・XAMPP
・Windows10
・PHP 7.4.11
・Laravel 7.31
LINE Developersで諸々登録
まずLINE Developersに登録してアプリで使うidやらなんやらを取得します。
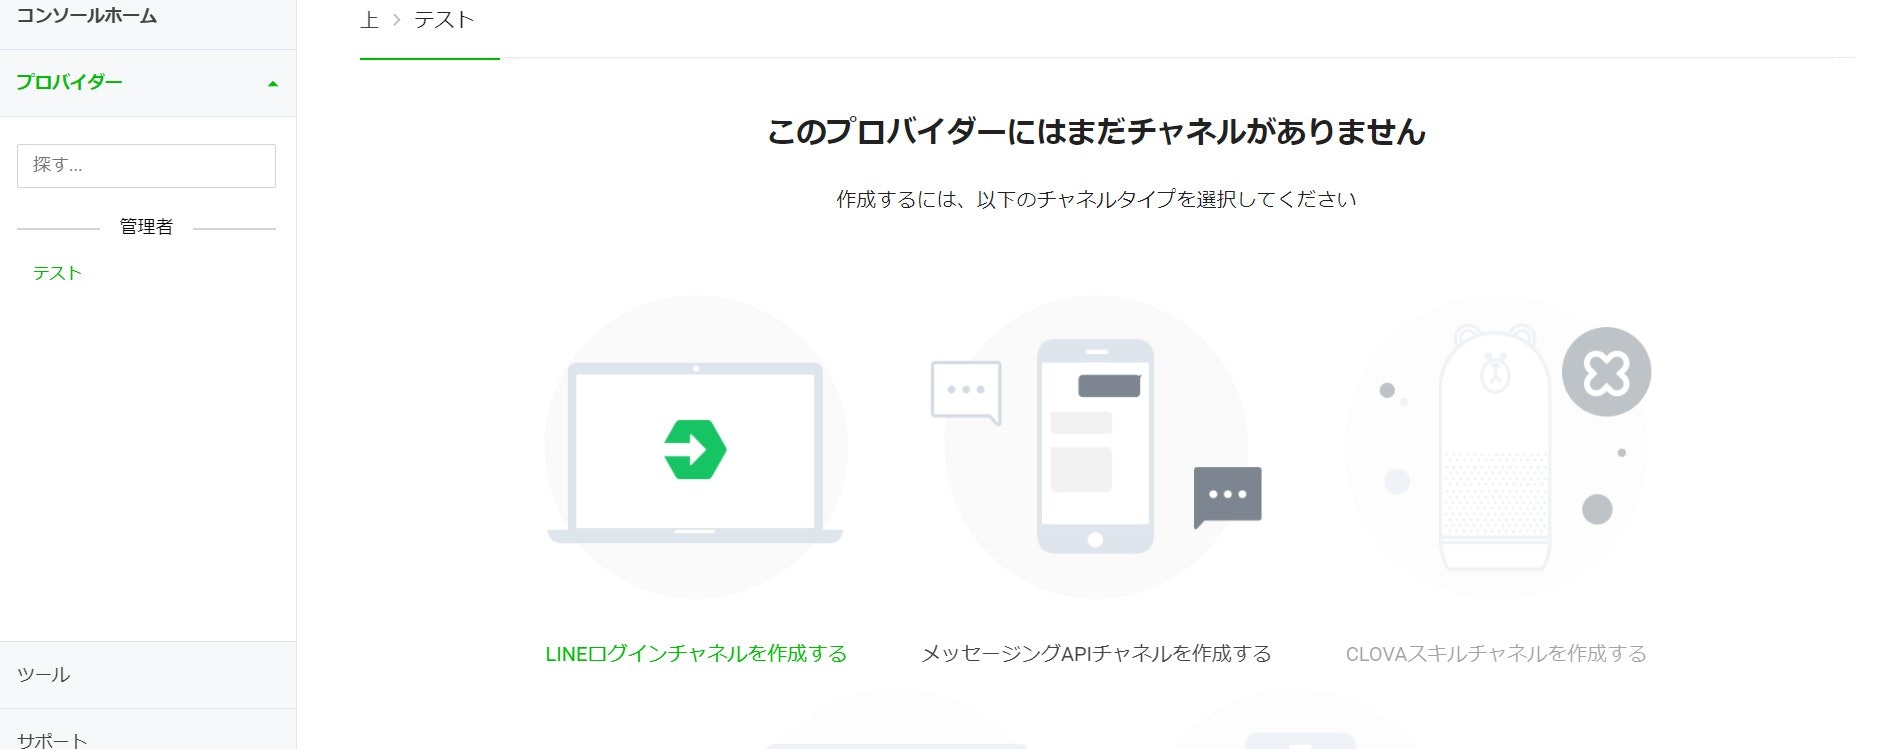
登録したら早速プロバイダーを作成してみましょう。名前は何でもオッケーです。
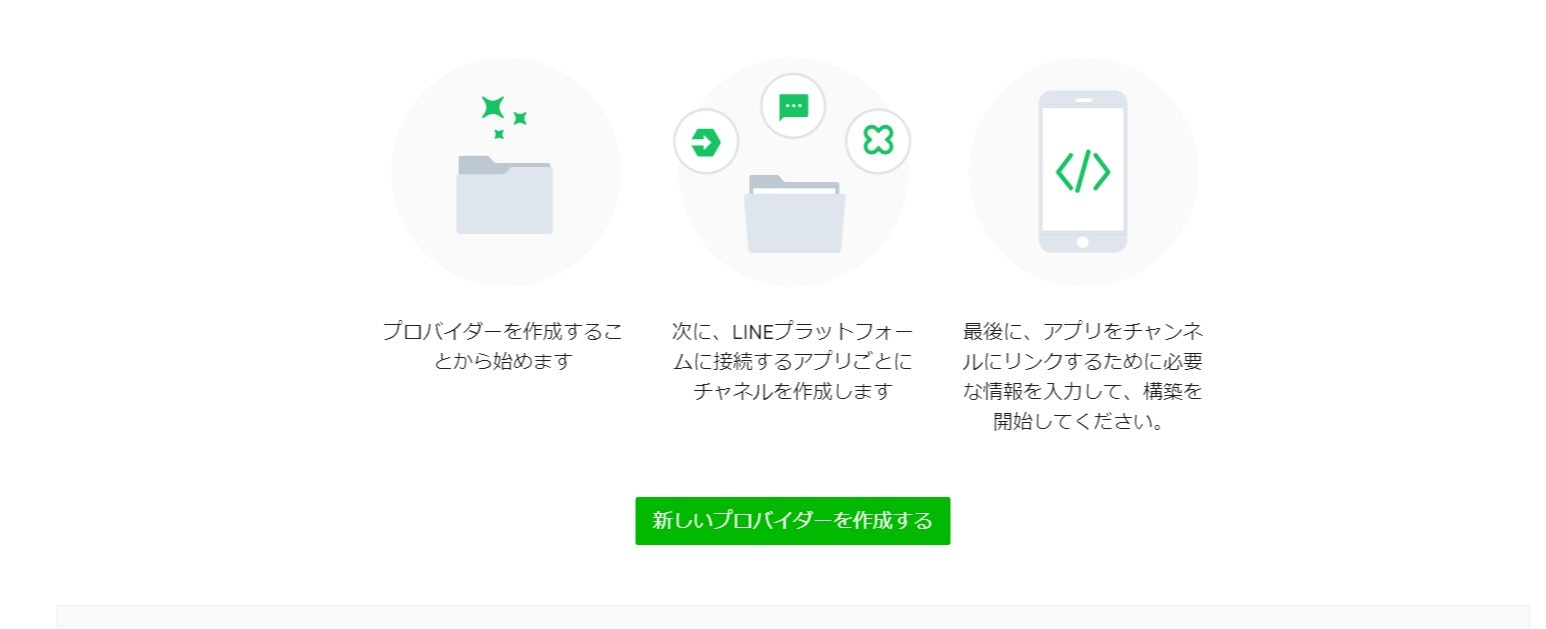
そしたらLINEログインチャンネルを作成しましょう。
チャネル作成の画面でチャネル名だのなんだのを設定できます。
ここでの名前は自分の覚えやすい名前等で登録します。
・チャネルタイプはLINE Loginを選択
・アプリの種類は該当のものにチェック
その他は埋めるところは埋めましょう。
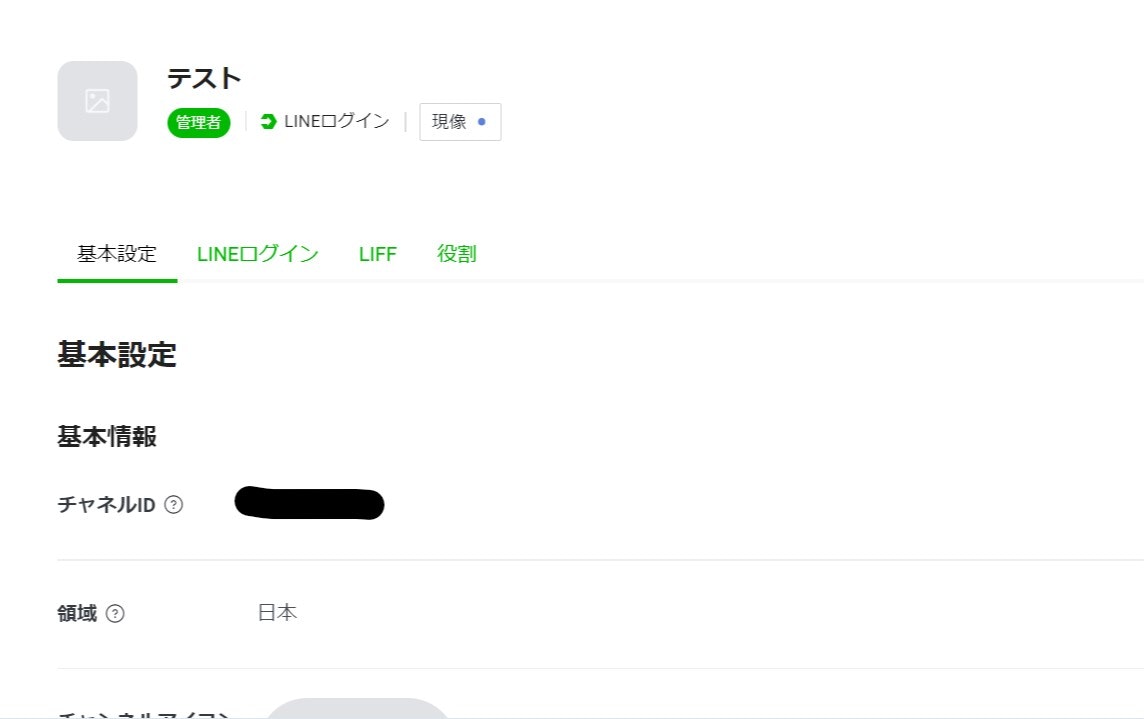
チャネルを作成できたら上記画面のようになります。
このページでチャネルIDとチャネルシークレットは後々使用します。
ここのLINEログインをクリックしてコールバックURLを設定しましょう。
URLはhttps://localhost/アプリ名/public/login/line/callback みたいな感じで。
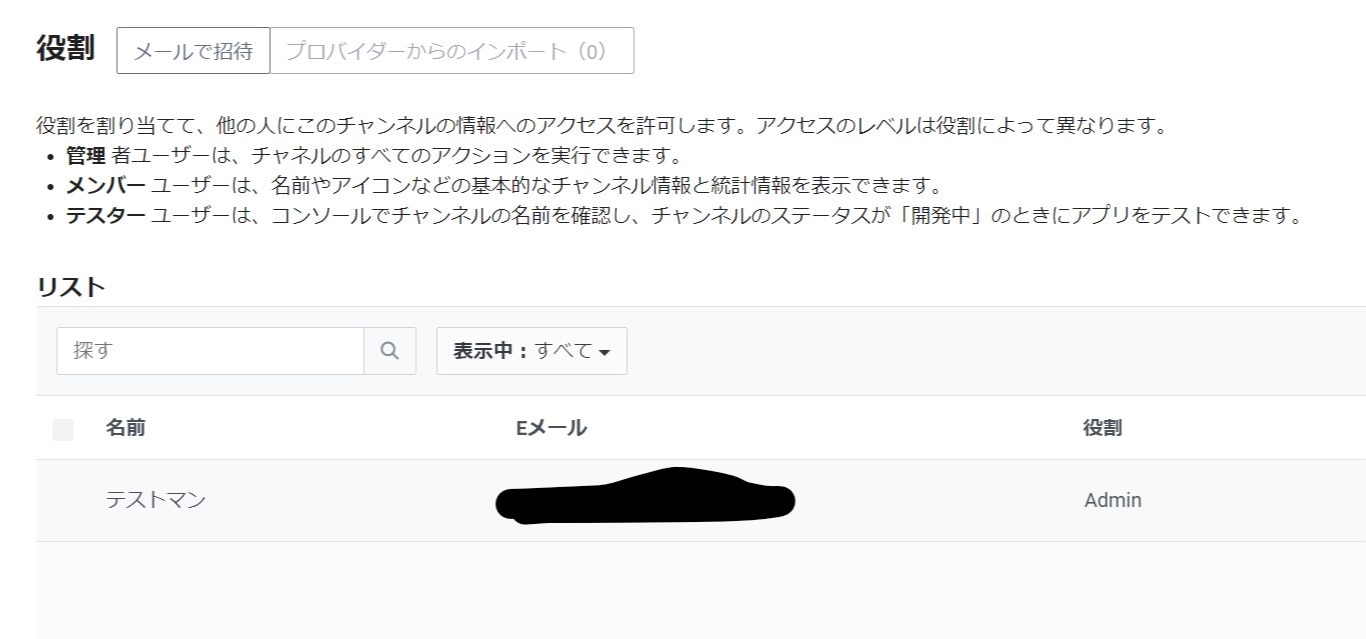
それでは次はログインで使用するLINEアカウントに権限をつけましょう。
LINE Developersで登録したアカウントを今回ログインで使用するものと同じであればやらなくておkです。
ビジネスアカウントとかで登録している場合は下記をしないとエラーになるのでやりましょう。
これで準備オッケー!
それではLaravelに移りましょー。
Socialiteを導入
Laravelのcreateからauthの導入は省きます。
それでは下記コマンドでsocialiteを入れましょう。
$composer require laravel/socialite
これでfacebookやgoogleとかは使えるのですが、
残念ながらLINEは対象外...。
ということで追加でLINE専用プロパイダーを入れましょう。
$ composer require socialiteproviders/line
これでプロパイダーはオッケー。次は環境変数ですね。
環境変数を入れる
先ほどLINE Developersで取得したIDだのを記載します。
'line' => [
      'client_id'     => env('LINE_CLIENT_ID'),
      'client_secret' => env('LINE_CLIENT_SECRET'),
      'redirect'      => env('LINE_CLIENT_CALLBACK'),
  ],
LINE_CLIENT_ID=ここにclientIDを入れる
LINE_CLIENT_SECRET=ここにシークレットIDを入れる
LINE_CLIENT_CALLBACK=/login/line/callback
こんな感じでオッケーです。
プロパイダー追加の記述
LINEのように別途でプロパイダーを追加した場合は下記の記述をします。
'providers' => [

    // デフォルトでいろいろ書かれてます

    SocialiteProviders\Manager\ServiceProvider::class, // ここを追記
];
もういっちょ
protected $listen = [

    // デフォルトでなんかいろいろ書かれてる

    \SocialiteProviders\Manager\SocialiteWasCalled::class => [
        'SocialiteProviders\\Line\\LineExtendSocialite@handle', //ここの二行を追記
    ],
];
よっしゃこれでSocialiteを使う準備オッケー!
Usersテーブルを変更する
LaravelではデフォルトでUsersテーブルがありますが、
今回のユーザー新規登録ではname,provider,provided_user_idで登録させるとします。
<?php

use Illuminate\Database\Migrations\Migration;
use Illuminate\Database\Schema\Blueprint;
use Illuminate\Support\Facades\Schema;

class CreateUsersTable extends Migration
{
    /**
     * Run the migrations.
     *
     * @return void
     */
    public function up()
    {
        Schema::create('users', function (Blueprint $table) {
          $table->bigIncrements('id');
          $table->string('name');
          $table->enum('provider', ['line', 'twitter']);
          $table->string('provided_user_id');
          $table->timestamps();

          $table->unique(['provider', 'provided_user_id']);
        });
    }

    /**
     * Reverse the migrations.
     *
     * @return void
     */
    public function down()
    {
        Schema::dropIfExists('users');
    }
}
編集し終えたら忘れずにmigrateします。
Userモデルを実装
Userモデルもデフォルトであるのでそれを使います。
<?php

namespace App;

use Illuminate\Contracts\Auth\Authenticatable as AuthenticatableContract;
use Illuminate\Database\Eloquent\Model;
use Illuminate\Notifications\Notifiable;
use Illuminate\Auth\Authenticatable;

class User extends Model implements AuthenticatableContract
{
    use Authenticatable, Notifiable;

    /**
     * The attributes that are mass assignable.
     *
     * @var array
     */
    protected $fillable = [
        'name', 'provider', 'provided_user_id',
    ];

    /**
     * Get the password for the user.
     *
     * @return string
     */
    public function getAuthPassword()
    {
        // We don't use password login.
        return '';
    }

    /**
     * Get the column name for the "remember me" token.
     *
     * @return string
     */
    public function getRememberTokenName()
    {
        // We don't use this.
        return '';
    }
}
これでモデルもオッケーです。
次はコントローラー記述です。
コントローラー実装
Authを作ったときに自動でLoginControllerが作られるのでそれを使います。
<?php

namespace App\Http\Controllers\Auth;

use App\Http\Controllers\Controller;
use App\Providers\RouteServiceProvider;
use Illuminate\Foundation\Auth\AuthenticatesUsers;
use Illuminate\Support\Facades\Auth; //追記
use Laravel\Socialite\Facades\Socialite; //追記
use App\User; //追記


class LoginController extends Controller
{
    /*
    |--------------------------------------------------------------------------
    | Login Controller
    |--------------------------------------------------------------------------
    |
    | This controller handles authenticating users for the application and
    | redirecting them to your home screen. The controller uses a trait
    | to conveniently provide its functionality to your applications.
    |
    */

    use AuthenticatesUsers;

    /**
     * Where to redirect users after login.
     *
     * @var string
     */
    protected $redirectTo = RouteServiceProvider::HOME;

    /**
     * Create a new controller instance.
     *
     * @return void
     */
    public function __construct()
    {
        $this->middleware('guest')->except('logout');
    }

    /**ここから下が追記 */
    /**
     * Redirect the user to the provider authentication page.
     *
     * @param string $provider
     * @return \Illuminate\Http\Response
     */
    public function redirectToProvider($provider)
    {
        return Socialite::driver($provider)->redirect();
    }

    /**
     * Obtain the user information from the provider.
     *
     * @param string $provider
     * @return \Illuminate\Http\Response
     */
    public function handleProviderCallback($provider)
    {
        $provided_user = Socialite::driver($provider)->user();

        $user = User::where('provider', $provider)
            ->where('provided_user_id', $provided_user->id)
            ->first();

        if ($user === null) {
            // redirect confirm
            $user = User::create([
              'name'               => $provided_user->name,
              'provider'           => $provider,
              'provided_user_id'   => $provided_user->id,
            ]);
        }

        Auth::login($user);

        return redirect()->route('home');
    }

    /**
     * Log the user out of the application.
     *
     * @return \Illuminate\Http\Response
     */
    public function logout()
    {
        Auth::logout();

        return redirect()->route('home');
    }
}
return redirect先のパスは各自好きなrouteを指定してください。
今回はデフォルトでルート付けされているhomeにしています。
ルーティングを作る
さて、最後にloginとlogoutに関するルーティングをして終わりです!
<?php

use Illuminate\Support\Facades\Route;

/*
|--------------------------------------------------------------------------
| Web Routes
|--------------------------------------------------------------------------
|
| Here is where you can register web routes for your application. These
| routes are loaded by the RouteServiceProvider within a group which
| contains the "web" middleware group. Now create something great!
|
*/

Route::get('/', function () {
    return view('welcome');
});

Auth::routes();

Route::get('/home', 'HomeController@index')->name('home');

Route::get('/login/{provider}', 'Auth\LoginController@redirectToProvider');
Route::get('/login/{provider}/callback', 'Auth\LoginController@handleProviderCallback');
Route::get('/logout', 'Auth\LoginController@logout')->name('logout');
これでルート付けもできた!ということでLineログインまで飛んでみましょう。
今回はURLで飛んでみます。
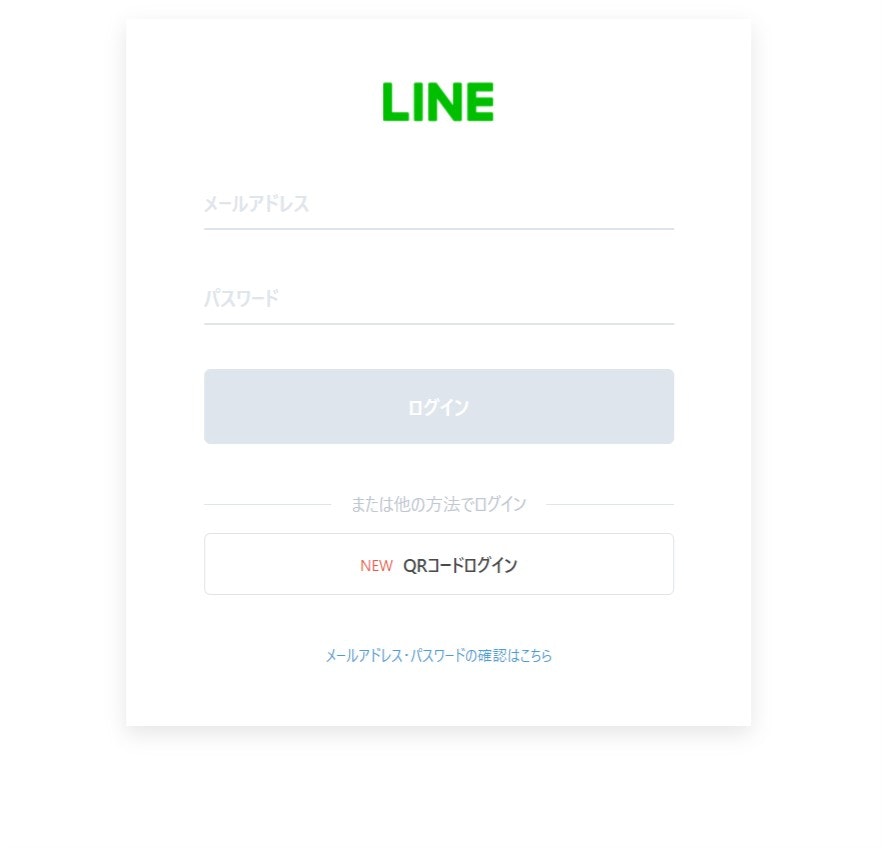
https://locallhost/アプリ名/public/login/line で飛んでみると....。
ここでメアドとパスワードを入れてみる。
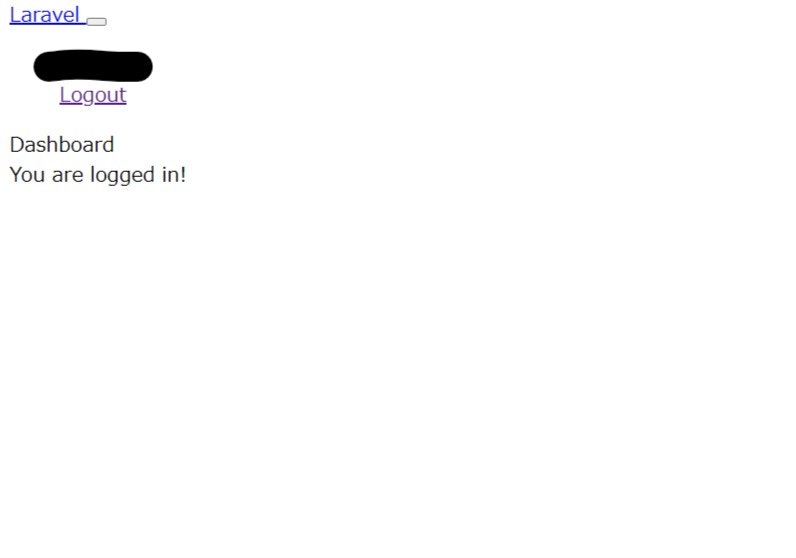
You are logged in!!!!!!!!!!!!!!!!!
やったー!ログインできた!ついでにMySQLを見るとしっかりidが追加されてました!
感想
Laravel7の記事がとても少ないし、LINEのプロパイダー記事も古い記事が多く割と躓きました。
参考記事の方はlaravel6だったのですが、同じ方法で7もできました。
他のプロパイダーを追加した場合の記事も完成次第投稿したいと思います。
