はじめに
LaravelのGraphQLフレームワーク「Lighthouse」でGraphQLサーバーを構築します。
また、構築したGraphQLサーバーにPostmanやNext.jsのApollo Clientで実際にクエリを実行してみます。
GraphQLとは
GraphQL は、API のためのクエリ言語であり、既存のデータを使ってクエリを実行するためのランタイムです。
https://graphql.org/
公式で説明されているとおり、GraphQLは、APIのためのクエリ言語です。
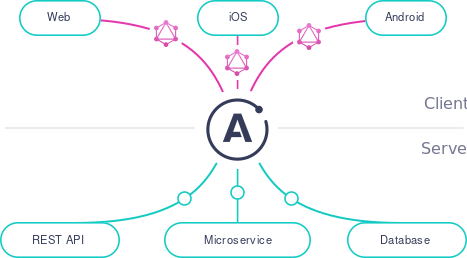
GraphQLでは一つのエンドポイントにリクエストを送信することでデータの取得や更新を行います。
特徴として以下のようなメリット、デメリットが挙げられます。
メリット
- 型を指定できる
- RESTの問題点(オーバーフェッチ、アンダーフェッチ)を解消できる
- 必要な情報のみ取得できる
- 複数の情報を少ないリクエストで取得できる
デメリット
- N+1問題が発生する
- HTTPキャッシュ方式をサポートしていない
- クエリが複雑化する
GraphQLの問題点についてはこの記事が参考になります。
環境
- PHP 8.2.0
- Laravel 9.43.0
- nuwave/lighthouse 5.68
- React 18.2.0
- Next.js 13.0.6
- Apollo Client 3.7.2
GraphQLサーバー構築
Lighthouseのインストール
それでは公式ドキュメントに沿ってGraphQLサーバーを構築していきます。
まずパッケージをインストールします。
$ composer require nuwave/lighthouse
次にスキーマ定義のファイルを作成します。
$ php artisan vendor:publish --tag=lighthouse-schema
/graphqlディレクトリ配下にschema.graphqlが作成されます。
このファイルにスキーマ定義を記述していくことになります(デフォルトでUserのスキーマが定義されています)。
scalar DateTime
    @scalar(class: "Nuwave\\Lighthouse\\Schema\\Types\\Scalars\\DateTime")

type Query {
    user(
        id: ID @eq @rules(apply: ["prohibits:email", "required_without:email"])

        email: String
            @eq
            @rules(apply: ["prohibits:id", "required_without:id", "email"])
    ): User @find

    users(
        name: String @where(operator: "like")
    ): [User!]! @paginate(defaultCount: 10)
}

type User {
    id: ID!
    name: String!
    email: String!
    email_verified_at: DateTime
    created_at: DateTime!
    updated_at: DateTime!
}
@eqや@rulesについてはディレクトリと呼ばれるもので、たとえば@rulesではバリデーションを定義することができます。
/graphqlエンドポイントへのリクエストを通すためcorsの設定をしておきます。
return [
-     'paths' => ['api/*', 'sanctum/csrf-cookie'],
+     'paths' => ['api/*', 'graphql', 'sanctum/csrf-cookie'],
    ...
テストデータの作成
ファクトリーでテストデータを作成しておきます。
usersテーブルのスキーマ
public function up()
{
    Schema::create('users', function (Blueprint $table) {
        $table->id();
        $table->string('name');
        $table->string('email')->unique();
        $table->timestamp('email_verified_at')->nullable();
        $table->string('password');
        $table->rememberToken();
        $table->timestamps();
    });
}
postsテーブルのスキーマ
public function up()
{
    Schema::create('posts', function (Blueprint $table) {
        $table->id();
        $table->foreignIdFor(User::class)->constrained();
        $table->text('contents');
        $table->timestamps();
    });
}
UserFactory.php
public function definition()
{
    return [
        'name' => $this->faker->name(),
        'email' => $this->faker->unique()->safeEmail(),
        'email_verified_at' => now(),
        'password' => '$2y$10$92IXUNpkjO0rOQ5byMi.Ye4oKoEa3Ro9llC/.og/at2.uheWG/igi', // password
        'remember_token' => Str::random(10),
    ];
}
PostFacotry.php
public function definition()
{
    return [
        'user_id' => 1,
        'contents' => $this->faker->realText(32),
    ];
}
DatabaseSeeder.php
public function run()
{
    User::factory(1)->create();
    Post::factory(10)->create();
}
Postmanからクエリを投げてみる
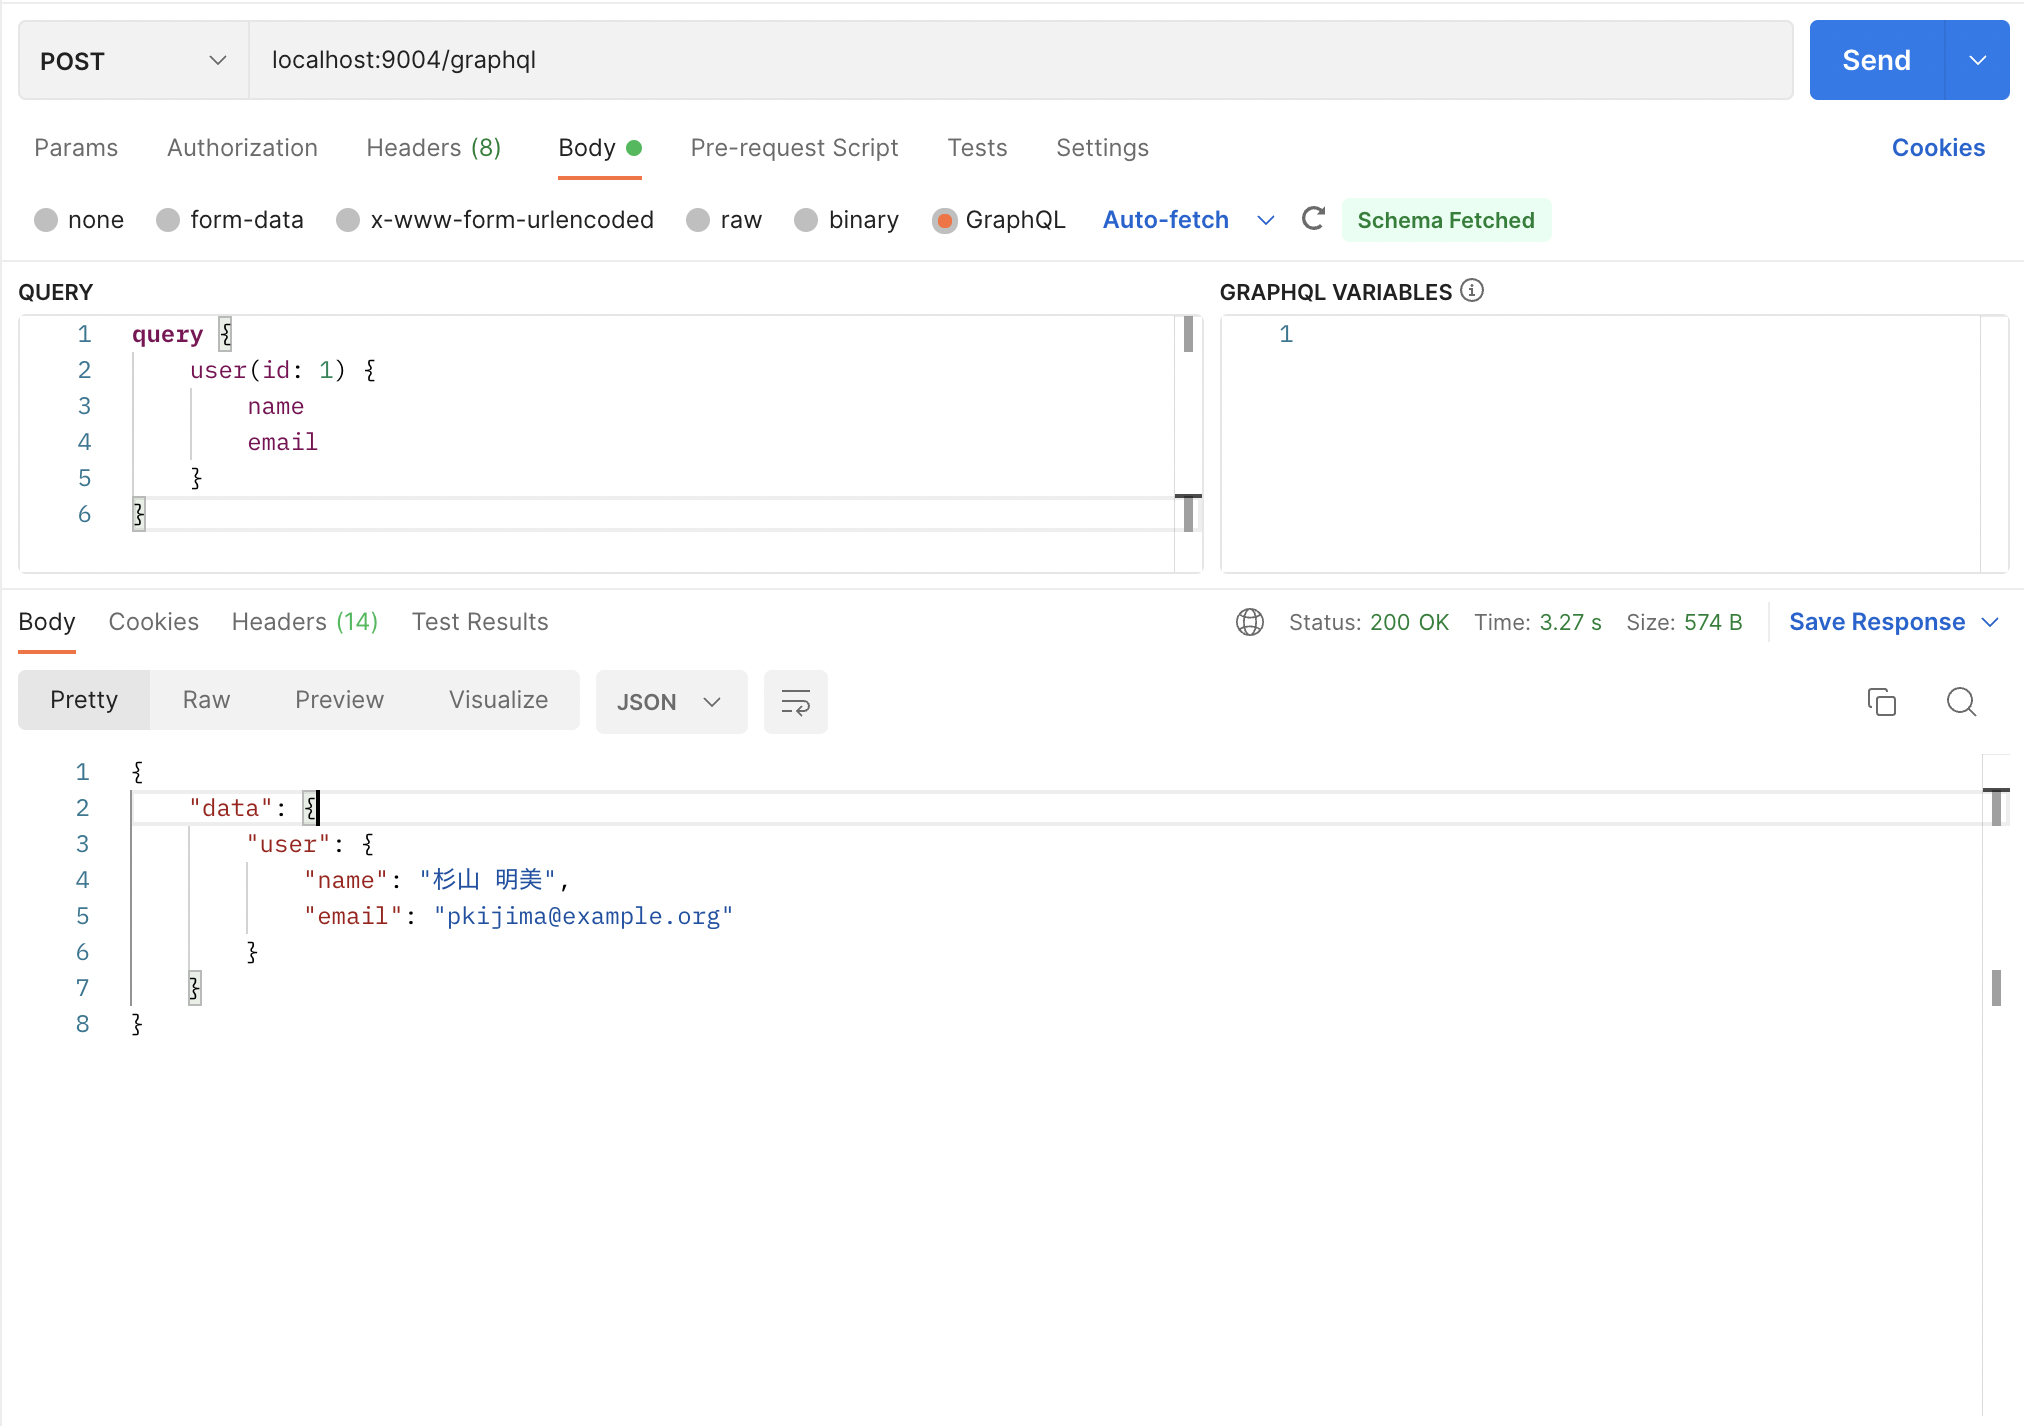
それではgraphqlのエンドポイントにクエリを投げてみます。
HTTPメソッドはPOSTである必要があります。
Next.jsからもクエリを投げてみる
Next.jsのプロジェクトを立ち上げてApollo Clientをインストールしておきます。
$ npx create-next-app --ts
$ yarn add @apollo/client graphql
index.tsxを修正して、取得したデータをコンソールに表示してみます。
import { ApolloClient, InMemoryCache, gql } from '@apollo/client';

const client = new ApolloClient({

  uri: 'http://localhost:9004/graphql',
  cache: new InMemoryCache(),
});

export default function Home() {
  client
    .query({
      query: gql`
        query GetUsers {
          user(id: 1) {
            name
            email
          }
        }
      `,
    })
    .then((result) => console.log(result));
    ...
リレーション先のデータもまとめて取得する
リレーションが設定されているデータもまとめて取得してみます。
まずモデルのリレーション定義をします。
public function posts(): HasMany
{
    return $this->hasMany(Post::class);
}
public function user(): BelongsTo
{
    return $this->belongsTo(User::class);
}
GraphQLのスキーマにPostの定義を追加します。
type User {
    id: ID!
    name: String!
    email: String!
    email_verified_at: DateTime
+   posts: [Post]
    created_at: DateTime!
    updated_at: DateTime!
}

+ type Post {
+    id: ID!
+    user_id: Int!
+    contents: String!
+    created_at: DateTime!
+    updated_at: DateTime!
+ }
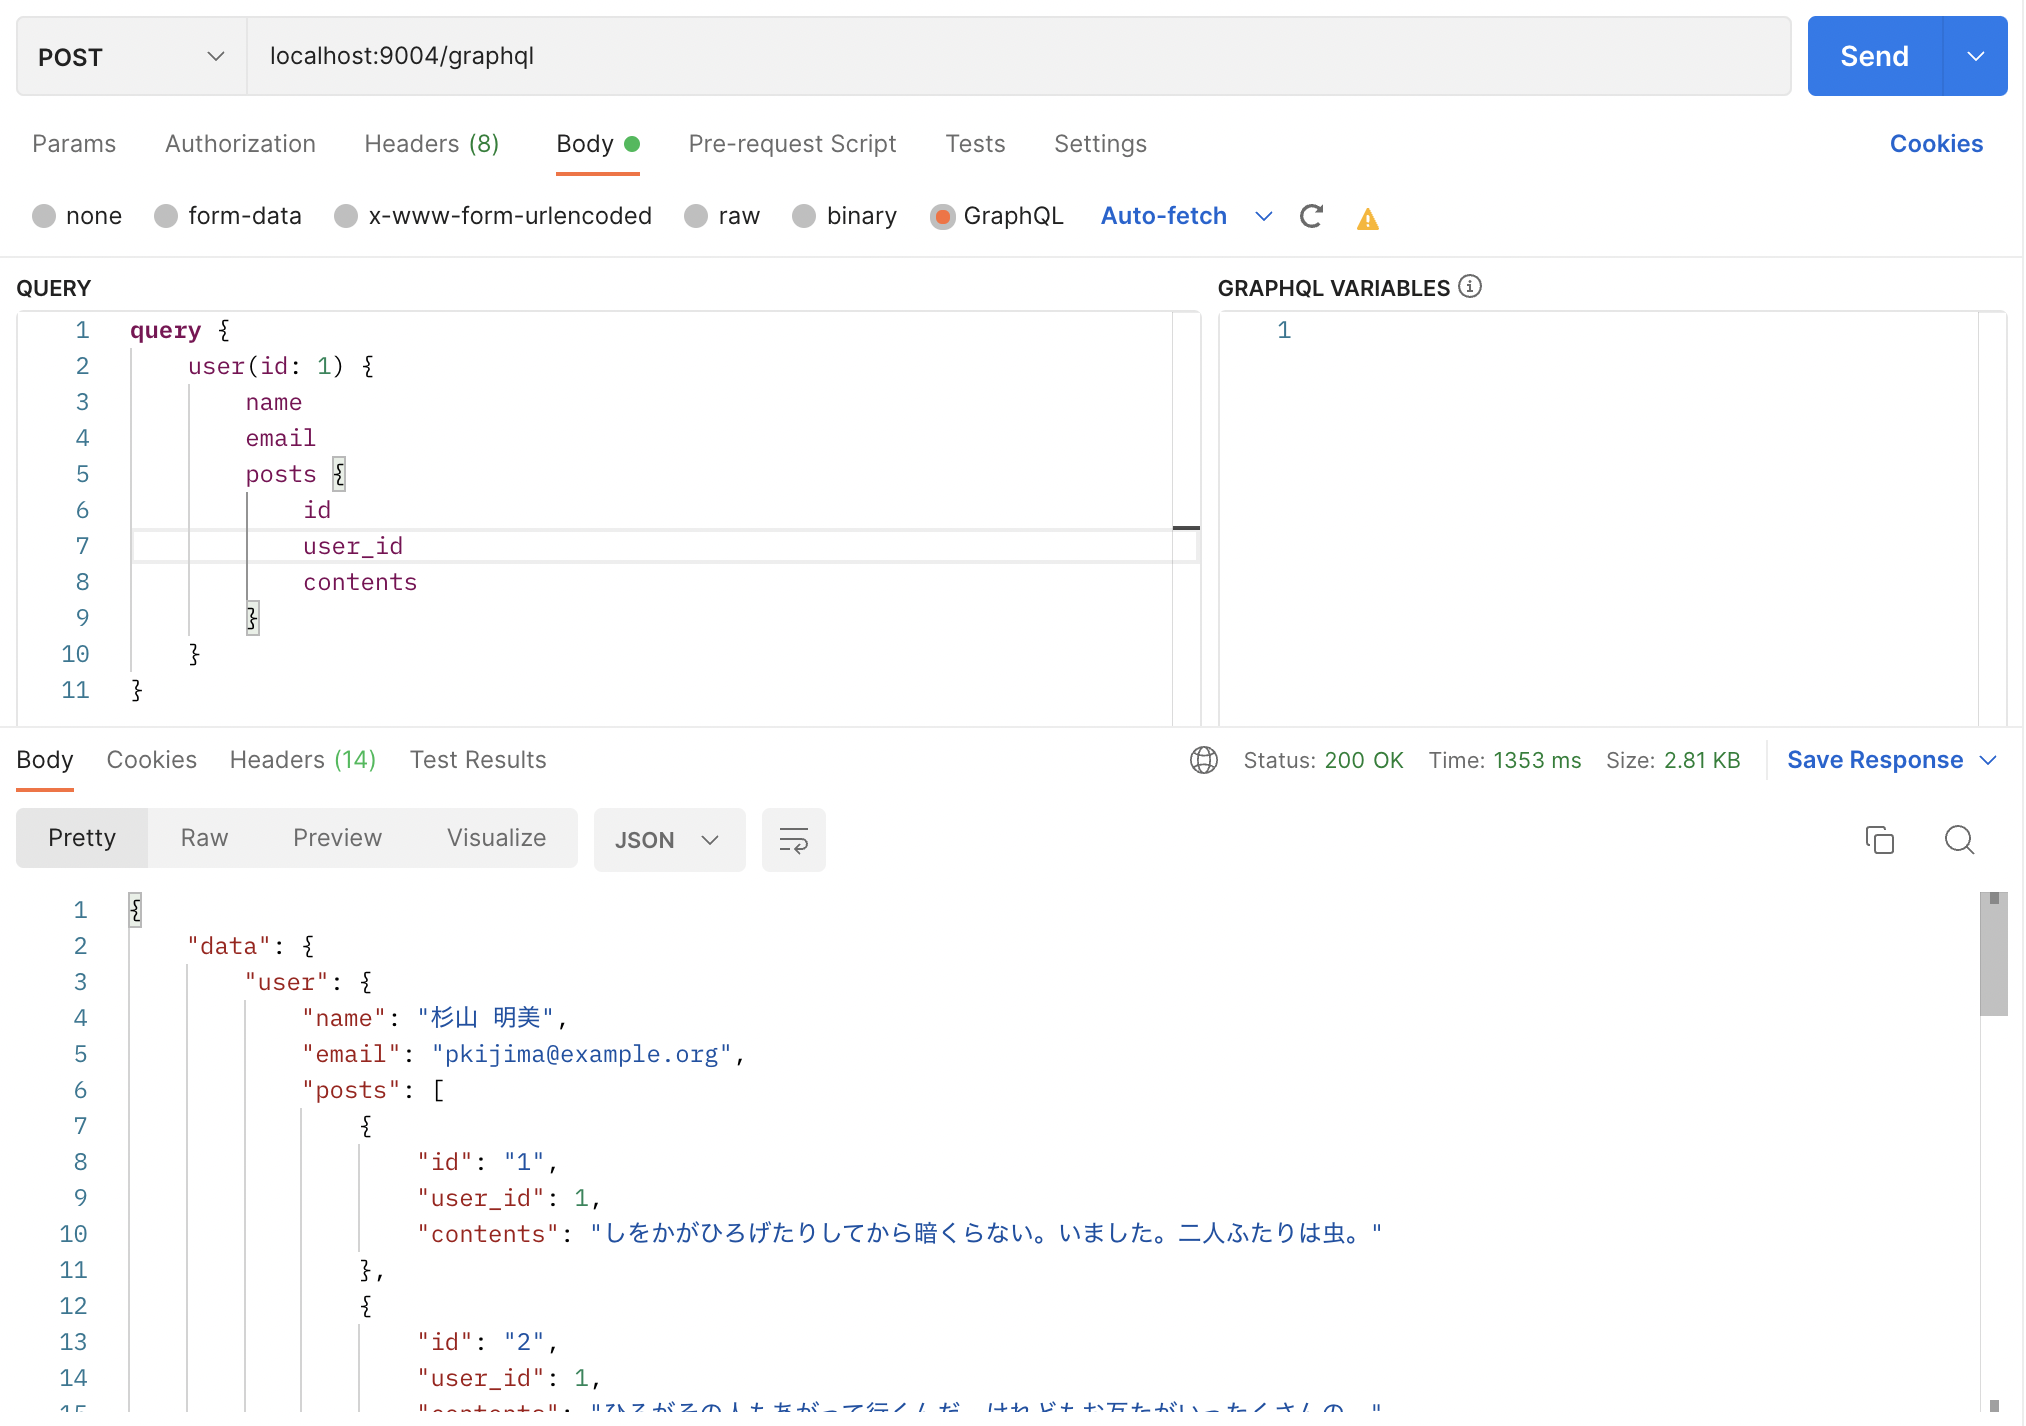
クエリを投げてみます。

postsの情報も併せて取得できているようです。
Mutaion(更新系のクエリ)を実行する
Mutaionでレコードを追加してみます。
まずGraphQLのスキーマにMutaionの定義を追加します。
type Mutation {
    createPost(
        user_id: Int
        contents: String
    ): Post
        @create(model: Post)
}
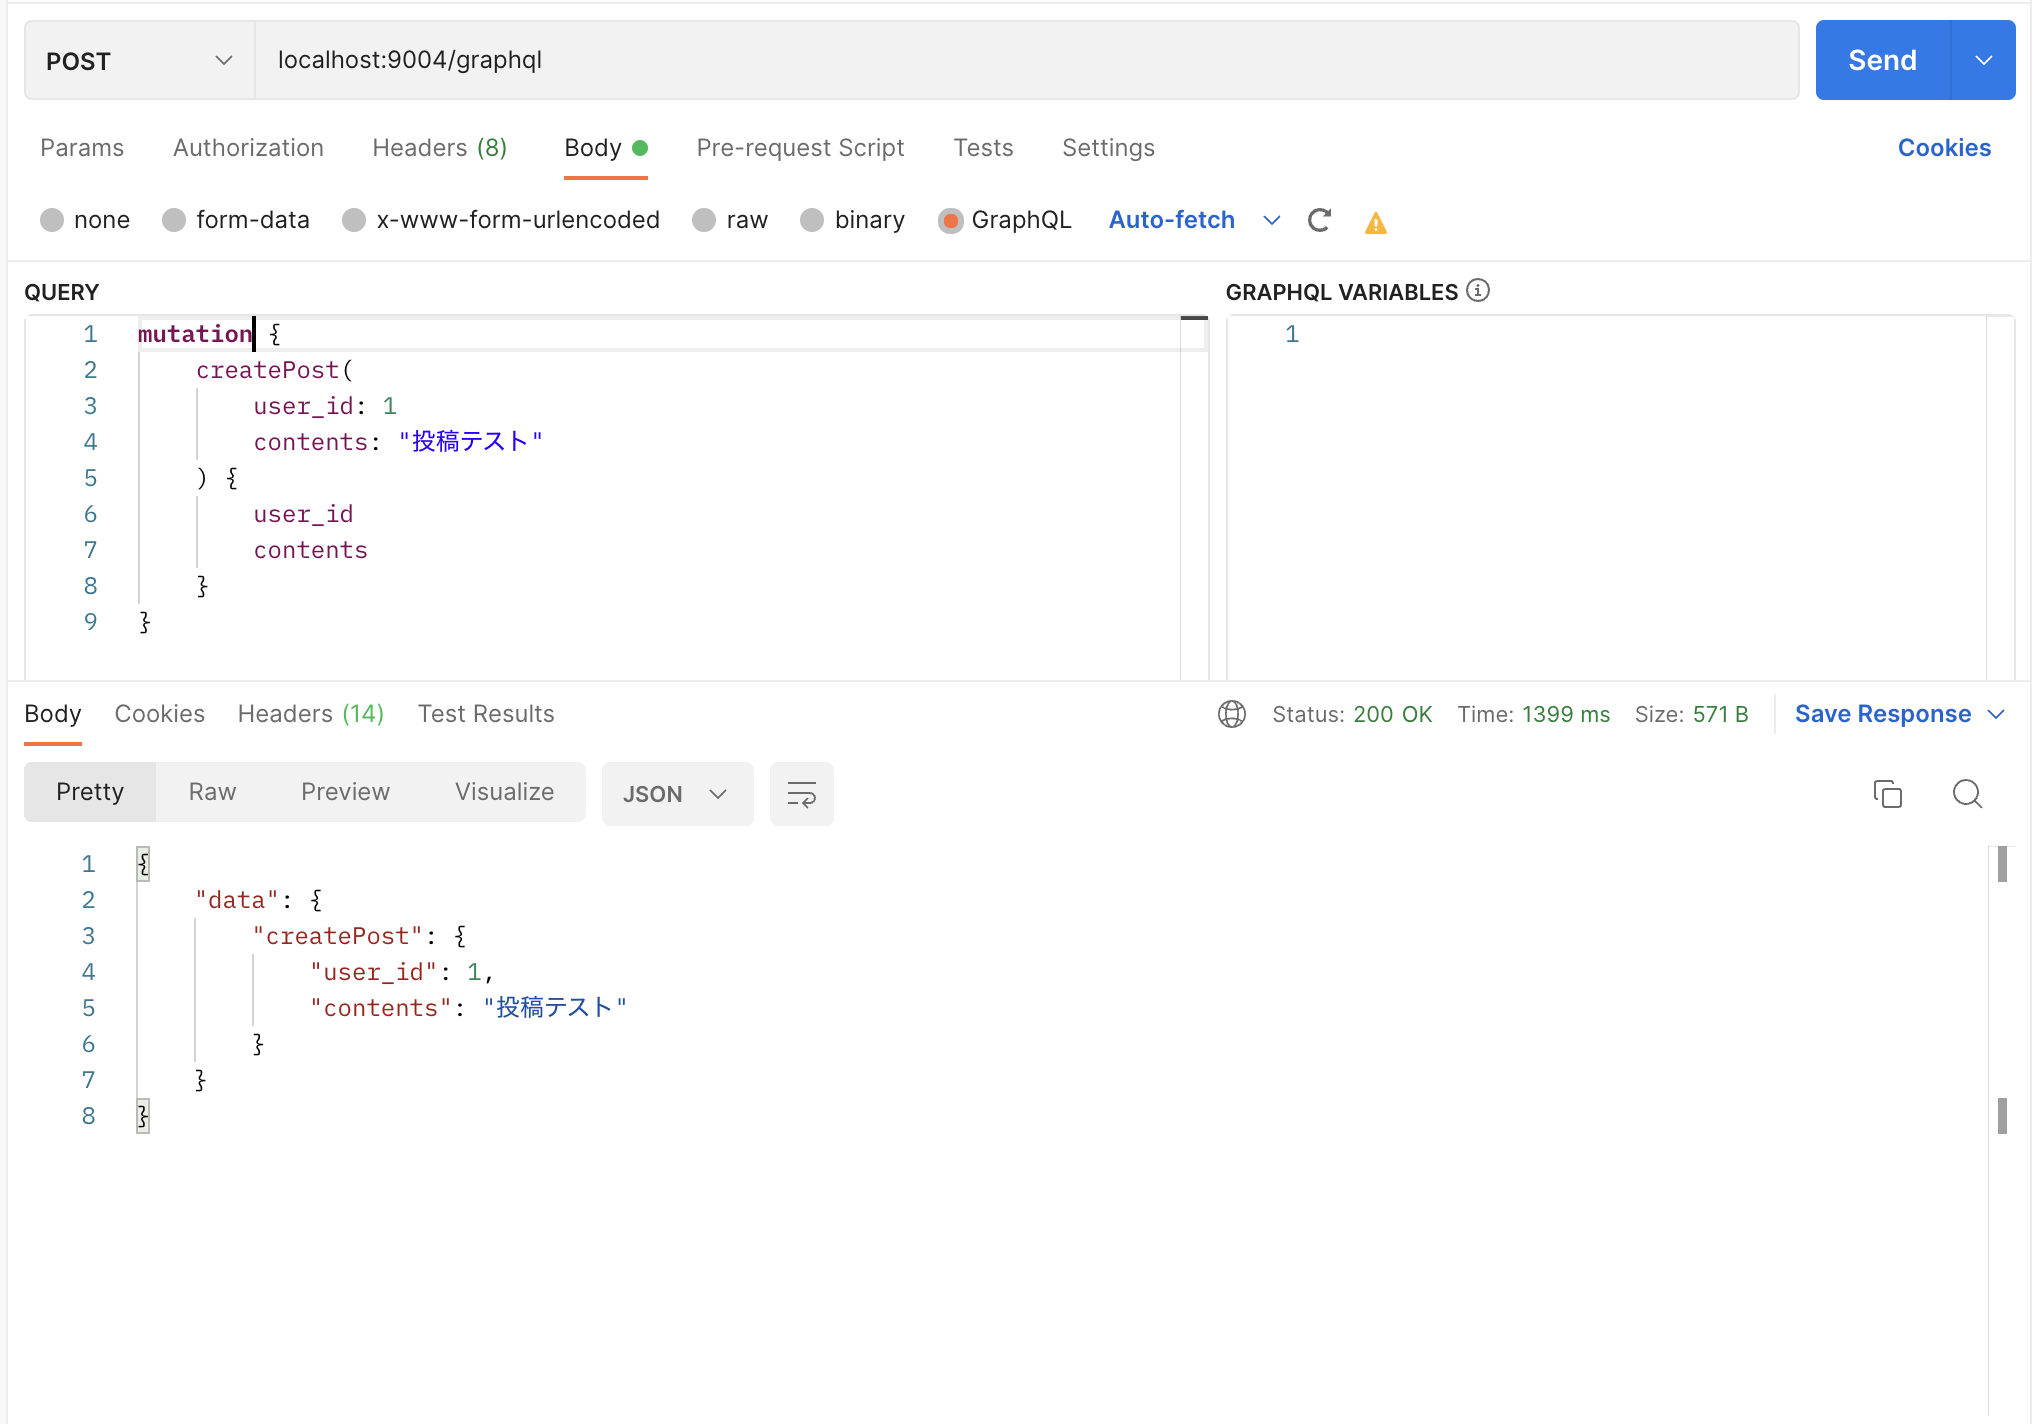
実行時のqueryをmutationに変更する必要があります。
postsにレコードが挿入されています。
N+1問題を解消する
冒頭でGraphQLのデメリットとして「N+1問題が発生する」という点を挙げました。
上記のリレーション先のデータもまとめて取得するのやり方でいくと、各postsごとにクエリが発行されることになります。
これを解決するために@hasManyや@belongsToを使うことでEagerロードすることをLighthouseに伝えることができます。
type User {
    id: ID!
    name: String!
    email: String!
    email_verified_at: DateTime
-   posts: [Post]
+   posts: [Post] @hasMany
    created_at: DateTime!
    updated_at: DateTime!
}
まとめ
他にもページネーションの定義ができたり、ローカルスコープが使えたりEloquantと連携する機能が色々あります。
詳しくは公式ドキュメントを参照してください。
最後に
GoQSystemでは一緒に働いてくれる仲間を募集中です!
ご興味がある方は以下リンクよりご確認ください。


