多機能ウエアラブル端末fitbit charge2!
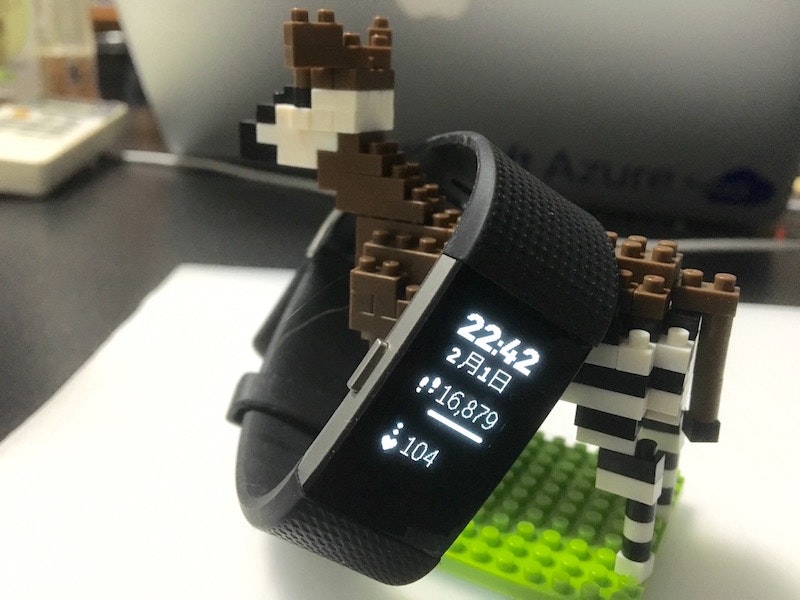
ひょんなことから最近話題のウエアラブル端末fitbit charge2をゲットしたので、これで遊んでみたいと思います。
fitbitは公式でAPIがあるので、これを活用して、心拍数をPythonで取得してグラフにするところまでやります。
【環境】
・ OS X EI Capitan
・ Python 3.5.2
APIの準備
APIに必要なIDなどを取得します
アプリケーションの作成
https://dev.fitbit.com/login に自身のfitbitアカウントでログインし、*REGISTER AN APP タブから新しくアプリケーションを作ります。
| 項目名 | 内容 |
|---|---|
| Application Name | アプリケーションの名前(適当) |
| Description | アプリケーションの説明(適当) |
| Application Website | アプリケーションのURL(適当) |
| Organization | 所属組織 |
| Organization Website | 所属組織のURL |
| OAuth 2.0 Application Type | アプリのタイプ(ClientかPersonalを選択) |
| Callback URL | http://127.0.0.1:8080/ と入力 |
| Default Access Type | ここではデータの変更は行わないのでRead-Onlyを選択 |
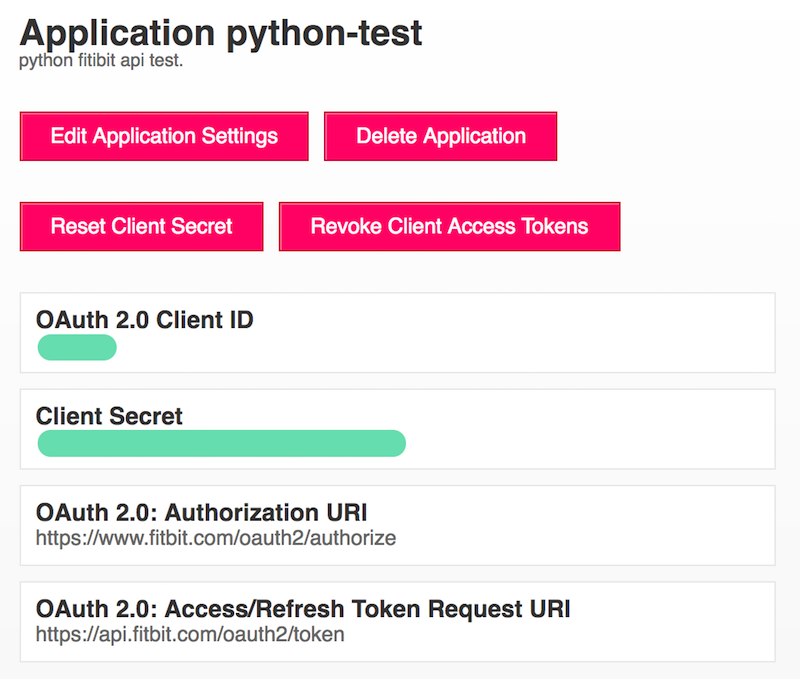
Client IDとClient Secretを取得
アプリケーションを作成すると、MANAGE MY APPS から(OAuth 2.0)Client IDとClient Secretを取得できるのでこれをメモする。
OAuth 2.0 Application TypeをPersonalに設定
MANAGE MY APPS から Edit Application Settings のページを開き、OAuth 2.0 Application TypeをPersonalに設定
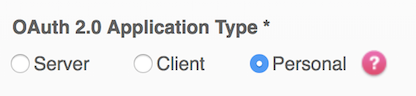
分単位などの時系列データを取得する場合はPersonalに設定する必要があります。
(参考: https://dev.fitbit.com/build/reference/web-api/activity/ )
Access TokenとRefresh Tokenを取得
ここから少し面倒。
ターミナルを起動。適当なディレクトリに移動し、下記コマンドをターミナルにコピペして実行。
git clone https://github.com/orcasgit/python-fitbit.git
ターミナルの使い方はこちら
gitコマンドでエラーが出る方はこちら
次に、下記コマンドをターミナルにコピペして実行。
【OAuth 2.0 Client ID】と 【Client Secret】は先程取得した値で置き換え。
すると、ブラウザが起動し、
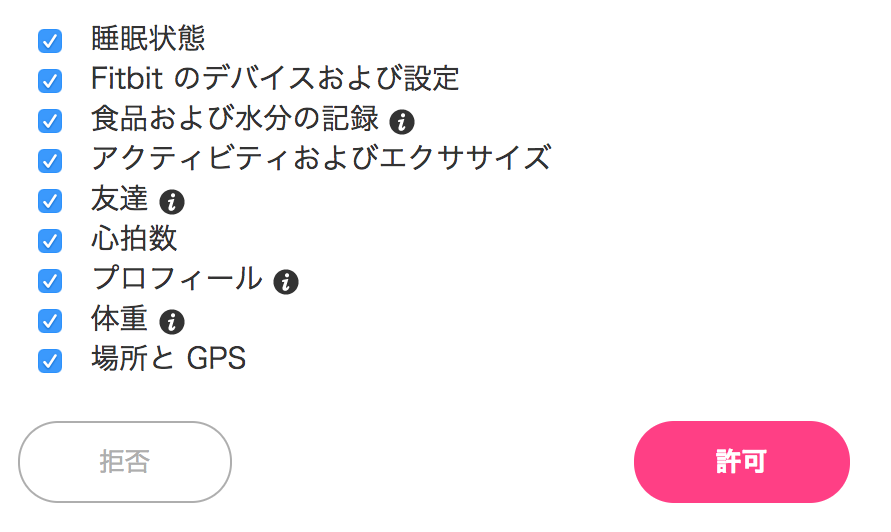
こんな認証画面が表示されるので、必要なものにチェックを入れて【許可】(とりあえず全部チェックした)。
ターミナルに戻ると、
access_token = XXXXXXXXXXXXXXXXXXXXXX
refresh_token == YYYYYYYYYYYYYYYYYYYYYYYYY
と表示されているのでこれをメモ。
取得した
・Client ID
・Client Secret
・Access Token
・Refresh Token
の値はメモして保存しておこう。
Pythonを使ってデータの取得
PythonのコーディングはJupyterで行いました。
python-fitbit ライブラリを使うので
pip install fitbit
しておく。
python-fitbit GitHub
python-fitbit 解説
import fitbit
import pandas as pd
import seaborn as sns
import matplotlib.pyplot as plt
import numpy as np
%matplotlib inline

# メモしたID等
CLIENT_ID =  "XXXXXXXXXXXXXXXXXXXXXXX"
CLIENT_SECRET  = "XXXXXXXXXXXXXXXXXXXXXXX"
ACCESS_TOKEN =  "XXXXXXXXXXXXXXXXXXXXXXX"
REFRESH_TOKEN =  "XXXXXXXXXXXXXXXXXXXXXXX"

# 取得したい日付
DATE = "2017-01-31"

# ID等の設定
authd_client = fitbit.Fitbit(CLIENT_ID, CLIENT_SECRET
                             ,access_token=ACCESS_TOKEN, refresh_token=REFRESH_TOKEN)
# 心拍数を取得(1秒単位)
data_sec = authd_client.intraday_time_series('activities/heart', DATE, detail_level='1sec') #'1sec', '1min', or '15min'
heart_sec = data_sec["activities-heart-intraday"]["dataset"]
heart_sec[:10]
[{'time': '00:00:02', 'value': 56},
 {'time': '00:00:07', 'value': 55},
 {'time': '00:00:12', 'value': 54},
 {'time': '00:00:17', 'value': 54},
 {'time': '00:00:32', 'value': 54},
 {'time': '00:00:37', 'value': 56},
 {'time': '00:00:42', 'value': 55},
 {'time': '00:00:52', 'value': 58},
 {'time': '00:01:07', 'value': 58},
 {'time': '00:01:09', 'value': 57}]
心拍数が取れてる!
深夜0時から24時間分のデータを取得しているが、全てをもらさずに毎秒データを取れているわけではない、むしろ取れている秒の方が少ないことに注意。
detail_level という引数を"1min","15min"にすることで、1分単位、15分単位で取得できます。
データを加工して、プロット
heart_df = pd.DataFrame.from_dict(heart_sec)
print(heart_df.shape)
heart_df.head()

dict型のデータを一発でdataframeに変換してくれる、from_dictはとても便利。
heart_df.index = pd.to_datetime([DATE + " " + t for t in heart_df.time])
heart_df.head()
 plotするときに楽なので、indexを時系列データに変換。
1.リスト内包表記で、日付と時間をつなげた文字列を作成
2.to_datetime で文字列リストをdatetimeIndexに変換。
3.dataframeのindexを変更する。
plotするときに楽なので、indexを時系列データに変換。
1.リスト内包表記で、日付と時間をつなげた文字列を作成
2.to_datetime で文字列リストをdatetimeIndexに変換。
3.dataframeのindexを変更する。
pandasのplot
heart_df.plot(y="value", figsize=(20,5))
heart_df.head()
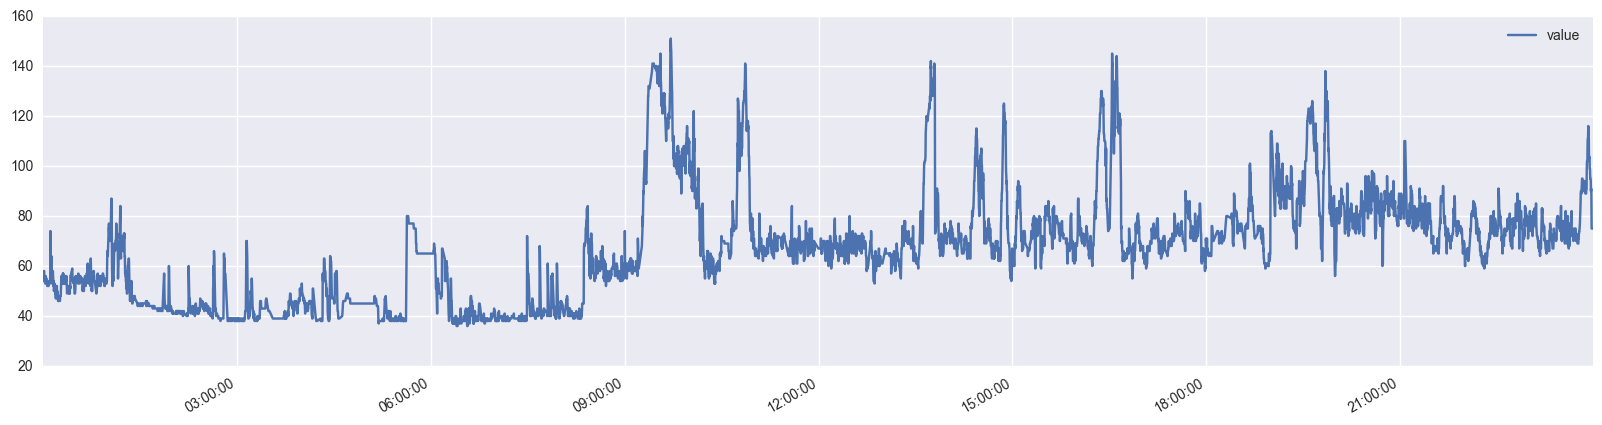
1時半から8時の睡眠中は心拍数が低いですねー
まあ分析はまた今度!
おすすめ
『1日に必要とされる野菜1/2が摂れるキムチ鍋』 @セブンイレブン