概要
定期的にDBの中身を掃除するという機能を実装するとき、Azure FunctionsのTimer triggerを使ってやろうということになりました。
デバッグ環境を作るのに少し手間取ったので次回以降スムーズにいけるように記録を取っておきたいと思います。
環境
❯ func --version
4.0.5530
vscode
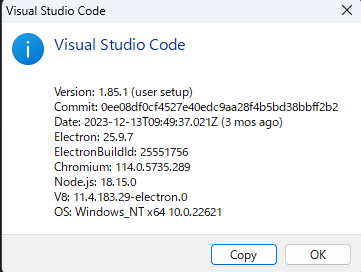
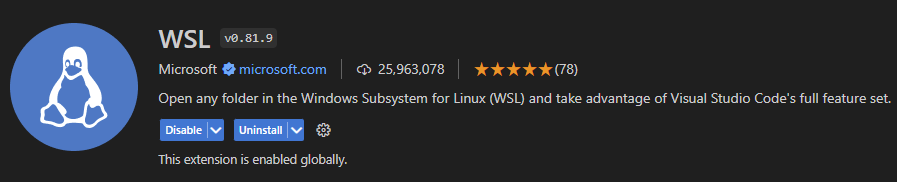
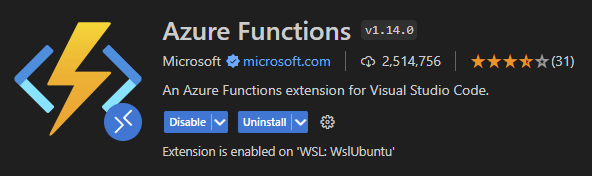
vscode extensions
おおまかな流れ
- functionsのローカルリソースを作る
- vscodeで設定する
functionsのローカルリソースを作る
$ func init func-time-trigger --python
func-time-triggerに移動します。
$ cd func-time-trigger
下記のようなディレクトリ構造になっていると思います。
$ tree
.
├── function_app.py
├── host.json
├── local.settings.json
└── requirements.txt
次にそこで Timer triggerテンプレートのリソースを作成します。
$ func new --template "Timer trigger"
すると下記の対話が始まりますが、一旦全部そのままで大丈夫だと思います。
$ func new --template "Timer trigger"
Function Name: [timer_trigger]
Schedule: [0 */5 * * * *]
Appending to /home/tester/temp/func-time-trigger/function_app.py
The function "timer_trigger" was created successfully from the "Timer trigger" template.
vscode で該当のディレクトリを開く
該当ディレクトリを開くと、vscodeが右下の方でAzure Functionsに最適化するかと聞いてきます。
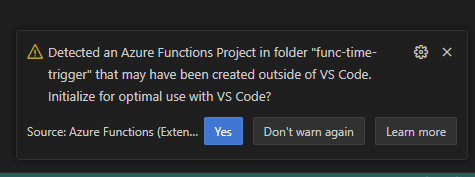
これをYesとすると、更にvscode上部でインタプリタを選ぶウィンドウが表示されます。
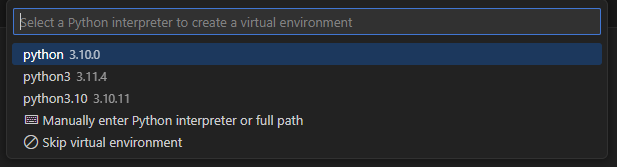
これを選ぶと.venvディレクトリと加えて.vscodeディレクトリにjson群が生成されます。
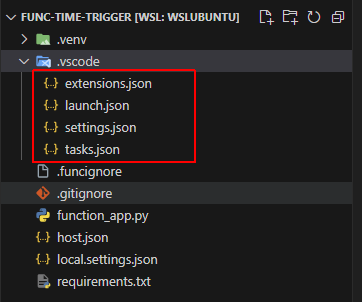
内容も一応記しておきます。
json群の内容
{
  "recommendations": [
    "ms-azuretools.vscode-azurefunctions",
    "ms-python.python"
  ]
}
{
  "version": "0.2.0",
  "configurations": [
    {
      "name": "Attach to Python Functions",
      "type": "python",
      "request": "attach",
      "port": 9091,
      "preLaunchTask": "func: host start"
    }
  ]
}
{
    "azureFunctions.deploySubpath": ".",
    "azureFunctions.scmDoBuildDuringDeployment": true,
    "azureFunctions.pythonVenv": ".venv",
    "azureFunctions.projectLanguage": "Python",
    "azureFunctions.projectRuntime": "~4",
    "debug.internalConsoleOptions": "neverOpen",
    "azureFunctions.projectLanguageModel": 2
}
{
  "version": "2.0.0",
  "tasks": [
    {
      "type": "func",
      "label": "func: host start",
      "command": "host start",
      "problemMatcher": "$func-python-watch",
      "isBackground": true,
      "dependsOn": "pip install (functions)"
    },
    {
      "label": "pip install (functions)",
      "type": "shell",
      "osx": {
        "command": "${config:azureFunctions.pythonVenv}/bin/python -m pip install -r requirements.txt"
      },
      "windows": {
        "command": "${config:azureFunctions.pythonVenv}\\Scripts\\python -m pip install -r requirements.txt"
      },
      "linux": {
        "command": "${config:azureFunctions.pythonVenv}/bin/python -m pip install -r requirements.txt"
      },
      "problemMatcher": []
    }
  ]
}
デバッグの開始
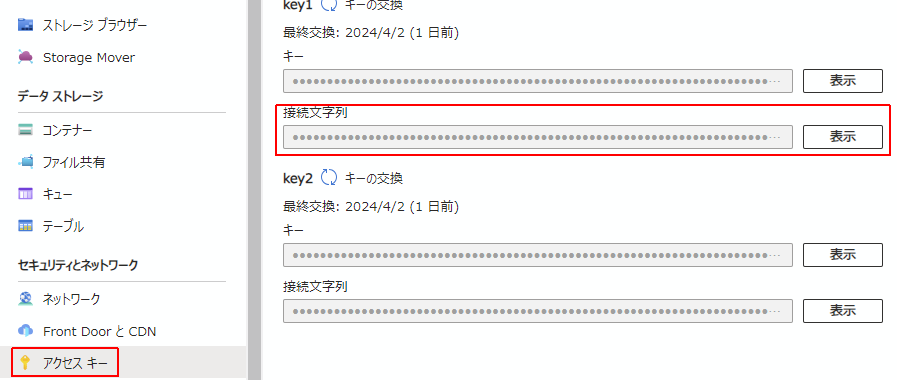
AzureWebJobsStorageの入力
デバッグを開始する前にlocal.settings.jsonのAzureWebJobsStorageの値を埋める必要があります。システムにエミュレーターがインストールされている場合、自分でなにかを記述しなくてもvscodeが勝手に入力してくれるみたいですが、私の場合それでは動かなかったので、Azureのストレージアカウントのアクセスキーの接続文字列を入力しました。
ステップ実行の確認
ではいよいよ、コードのステップ実行をします。
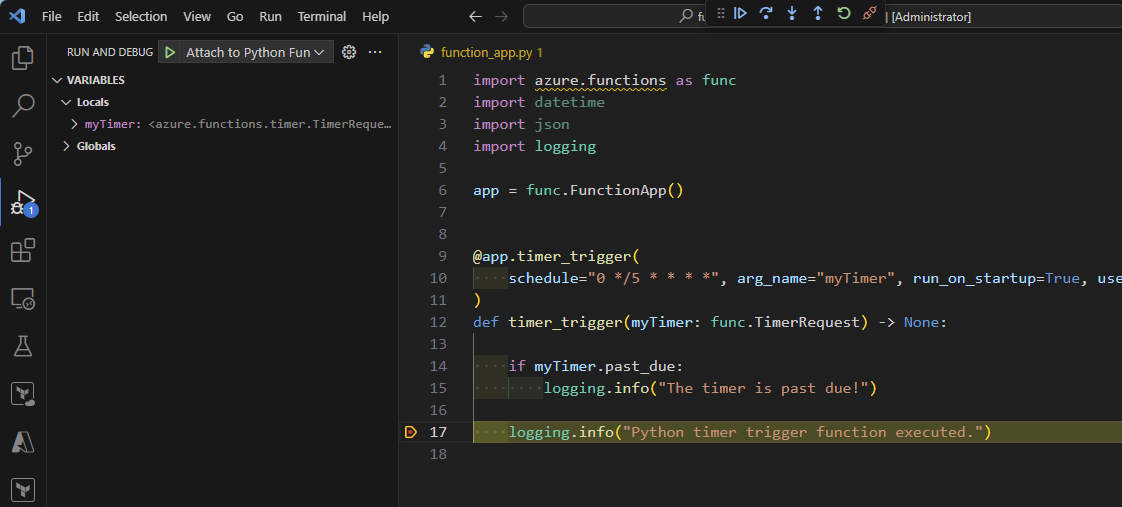
通常、時間によって実行されるスクリプトですが、run_on_startup引数をTrueに設定することで、起動直後に一発timer_trigger()が実行されることになります。
import azure.functions as func
import datetime
import json
import logging

app = func.FunctionApp()

@app.timer_trigger(schedule="0 */5 * * * *", arg_name="myTimer", run_on_startup=True,
              use_monitor=False)
def timer_trigger(myTimer: func.TimerRequest) -> None:

    if myTimer.past_due:
        logging.info('The timer is past due!')

    logging.info('Python timer trigger function executed.')
この状態で、任意の場所にブレイクポイントを設定して、デバッグの開始ボタンを押します。
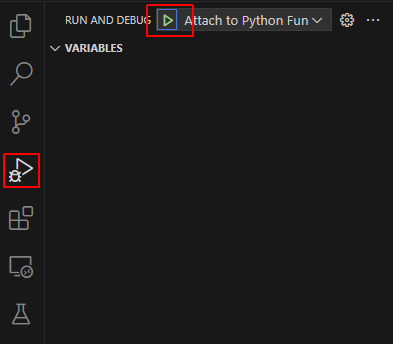
その後ターミナルに起動ログが流れて
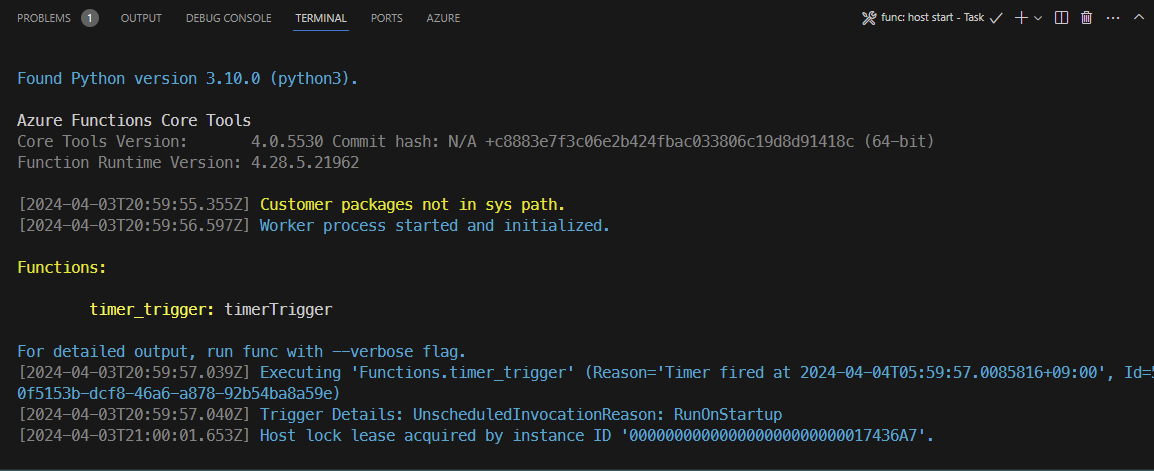
ブレイクポイントの位置でコード実行が止まります。
以上です。