Microsoft Learnを用いたMicrosoft Azure Administrator(AZ-104)の試験内容をまとめる投稿です。
この投稿ではMicrosoft Learnで学ぶ内容をできるだけ簡潔にまとめております。
Azureの勉強を一から始め、AZ-900取得後の資格としてAZ-104取得を目指している方の参考になれば幸いです。
※AZ-900の内容は本投稿では省略しております。再度復習したい方は下記をご参照ください。
Azure Fundamentals(AZ-900):試験合格に向けた学習内容のまとめ
今回の学習内容
◆「PowerShellによるAzureリソースの作成」
◇対応するMicrosoft Learn ラーニングパス
AZ-104:Azure 管理者向けの前提条件
◇対応するモジュール
Azure PowerShell でスクリプトを使用して Azure リソースを作成する
※前回の投稿は下記から確認できます。
Azure Administrator(AZ-104):Azure管理者向けの前提条件「PowerShellのコマンドレットとモジュール」
PowerShellによるAzureリソースの作成
Azureリソースの作成
◆Azureリソース作成のコマンド例(詳細は後述)
例)MS-Learnのサンドボックスで仮想マシンを作成する場合
Connect-AzAccount
Get-AzSubscription
Set-AzContext -Subscription 'Concierge Subscription'
Get-AzResourceGroup | Format-Table
New-AzVm `
 -ResourceGroupName [ResourceGroup名] `
 -Name "testvm-eus-01" `
 -Credential (Get-Credential) `
 -Location "East US" `
 -Image UbuntuLTS `
 -OpenPorts 22 `
 -PublicIpAddressName "testvm-01"
[ログイン用ユーザ名]
[ログイン用パスワード]
Get-AzVM -Name testvm-eus-01 -ResourceGroupName [ResourceGroup名]
サブスクリプションへの接続
①PowerShell上で「Connect-AzAccount」を入力すると、ブラウザにてAzure認証画面が表示
Connect-AzAccount
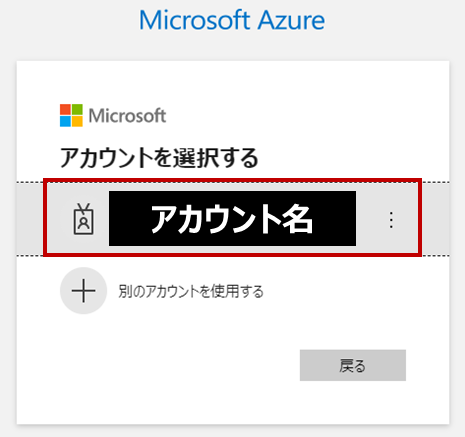
②アカウントを選択すると認証が行われ、認証に成功するとブラウザに下記が出力
Authentication complete. You can return to the application. Feel free to close this browser tab.
③接続が完了し、PowerShell上に現在接続しているサブスクリプションが出力
※TenantId:ユーザやアプリをまとめたAzure AD上のグループであるテナントのID

サブスクリプションの確認と接続の変更
④PowerShell上で「Get-AzSubscription」を入力し、アカウントのサブスクリプションをすべて表示
Get-AzSubscription

⑤接続しているサブスクリプションを変更する場合は、下記のコマンドを入力(今回はMS-Learnのサンドボックスに変更)
Set-AzContext -Subscription 'Concierge Subscription'
※コマンドの意味
・Set-AzContext –Subscription サブスクリプション名やID
指定したサブスクリプション名やIDのサブスクリプションに接続先を変更
(-SubscriptionIdや-SubscriptionNameで指定することも可能)
リソースグループの確認と作成
⑥PowerShell上で「Get-AzResourceGroup」を入力し、接続しているサブスクリプションのリソースグループをすべて表示
Get-AzResourceGroup | Format-Table
※コマンドの意味
・Command-1 | Command-2
「Command-1」の出力結果(オブジェクト)を「Command-2」に渡す
今回の場合は「Get-AzResourceGroup」の結果を「Format-Table」に渡して表として出力させている
・Format-Table
出力を表として書式設定
例)Format-Tableなし

例)Format-Tableあり

⑦リソースグループを作成する場合はPowerShell上で下記を入力
(サンドボックスを使用している場合は作成できないため省略)
New-AzResourceGroup -Name [リソースグループ名] -Location [リージョン]
リソースの作成
⑧PowerShell上で下記のコマンドを入力し、仮想マシンを作成
New-AzVm `
 -ResourceGroupName [ResourceGroup名] `
 -Name "testvm-eus-01" `
 -Credential (Get-Credential) `
 -Location "East US" `
 -Image UbuntuLTS `
 -OpenPorts 22 `
 -PublicIpAddressName "testvm-01"
[ログイン用ユーザ名]
[ログイン用パスワード]
※コマンドの意味
・New-AzVM
仮想マシン(VM)を作成するコマンド
・「`」
入力中に改行させるためのコマンド(省略する場合はすべて一行で記述)
・ResourceGroupName
VMを作成するリソースグループを指定
・Name
リソース名を指定
・Credential
VM管理アカウント用のユーザ名とパスワードを指定
-Get-Credential:ユーザ名とパスワードの入力後、値が資格情報オブジェクトに格納される
今回の場合は「New-AzVM」の入力後にユーザ名とパスワードを入力して指定できる
・Location
VMを作成するリージョンを指定
・Image
VMに使用するOSを指定
・OpenPorts
VMのNSGで開くポート番号を指定
今回の場合はSSH用の22番ポートを開けているため、VMにSSHが可能
・PublicIpAddressName
VMが使うパブリックIPアドレスの名前を指定
・ログイン用ユーザ名
「Get-Credential」に格納されるユーザ名を入力
・ログイン用パスワード
「Get-Credential」に格納されるパスワードを入力
作成したリソースの確認
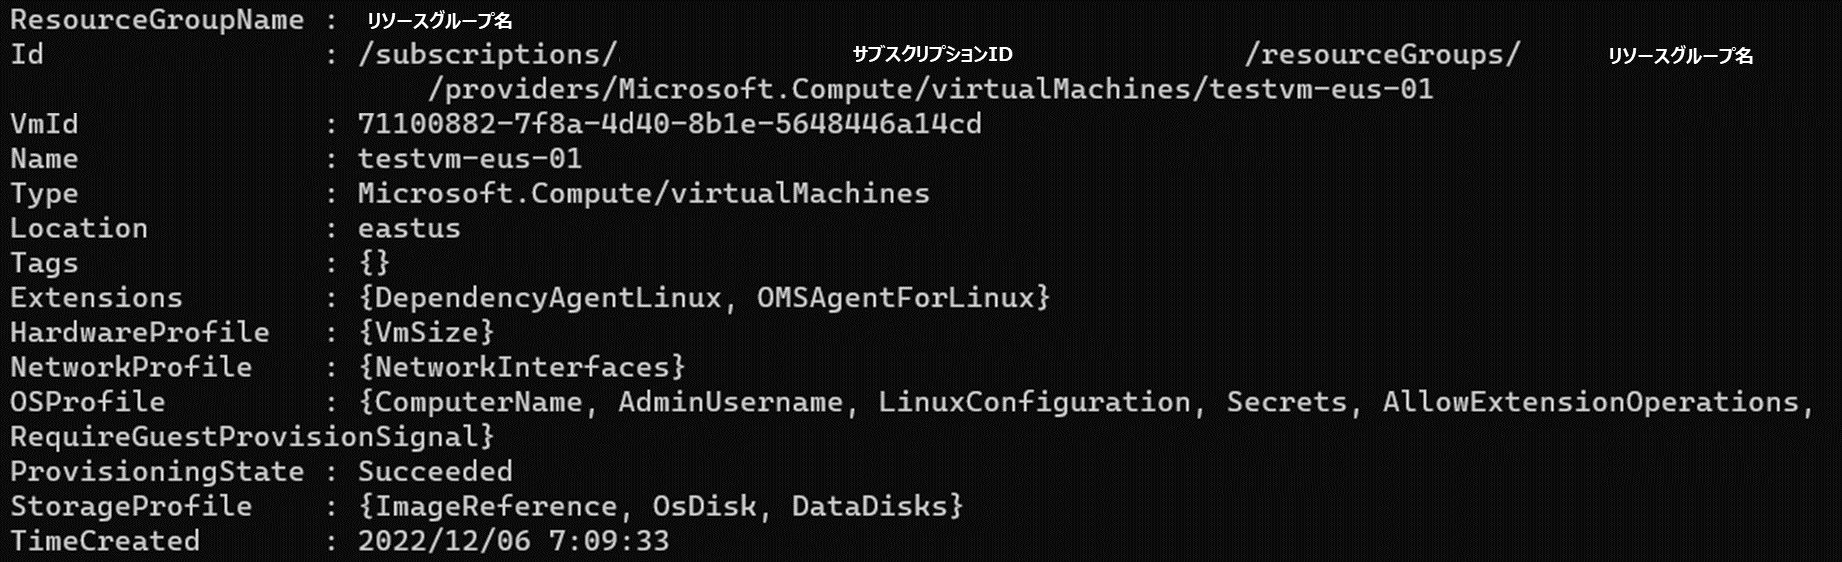
⑨PowerShell上で「Get-AzVM」を入力し、作成したVMを表示
Get-AzVM -Name testvm-eus-01 -ResourceGroupName [ResourceGroup名]
次の学習内容
◆PowerShellの変数とスクリプト
学習内容をまとめたページの一覧