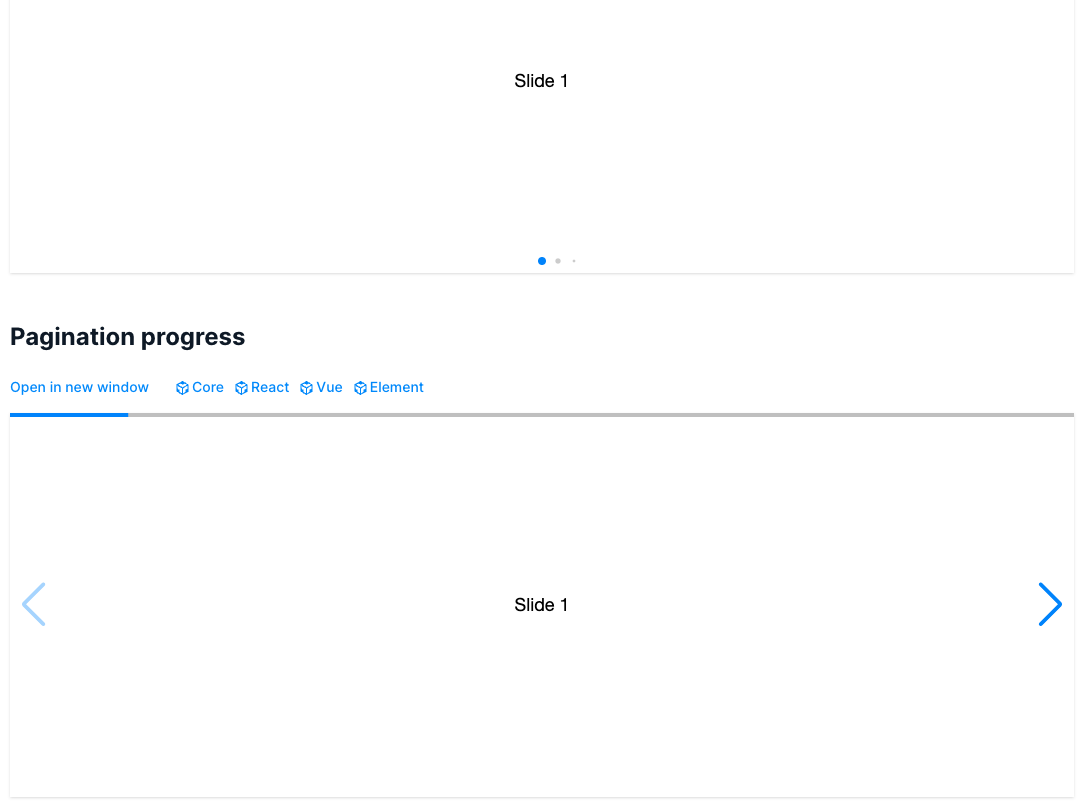
Swiper.jsとは
Swiper.js、使ってますか?
webページ内に簡単にスライドショーを導入できるライブラリです。
よくお世話になっていたのですがAngularのデモがversion9から無くなってしまっていました……。
↓以前はReact,Vueに並んでAngularもありました

使えなくなったわけではなく、今後はElementの導入方法で利用する必要があるようです
v9からのSwiperの導入
AngularCLIのバージョンは15.2.6,swiperのバージョンは9.2.4で動作確認していきます。
Elementの導入についてのドキュメントはこちら
まずはnpmでAngularプロジェクトにswiperをインストールします
$ npm i swiper
app.module
@NgModule({
  declarations: [AppComponent],
  imports: [BrowserModule, AppRoutingModule],
  providers: [],
  bootstrap: [AppComponent],
  schemas: [CUSTOM_ELEMENTS_SCHEMA], // 追加
})
app.components.ts
import { register } from 'swiper/element/bundle';
export class AppComponent implements OnInit {
  ngOnInit() {
    register();
  }
}
app.component.html
デモのElementからサンプルをコピーします。
<swiper-container
  class="mySwiper"
  pagination="true"
  pagination-dynamic-bullets="true"
>
  <swiper-slide>Slide 1</swiper-slide>
  <swiper-slide>Slide 2</swiper-slide>
  <swiper-slide>Slide 3</swiper-slide>
  <swiper-slide>Slide 4</swiper-slide>
  <swiper-slide>Slide 5</swiper-slide>
  <swiper-slide>Slide 6</swiper-slide>
  <swiper-slide>Slide 7</swiper-slide>
  <swiper-slide>Slide 8</swiper-slide>
  <swiper-slide>Slide 9</swiper-slide>
</swiper-container>
app.component.scss
swiper-container {
  width: 60%;
  height: 300px;
}

swiper-slide {
  width: 100%;
  height: 100%;
  text-align: center;
  font-size: 18px;
  background: #fff;
  display: flex;
  justify-content: center;
  align-items: center;
}
動かすだけであればこれで完了です。
イベントをtsファイル側で検知する
実際実装する時には何かとイベントを使って色々したいことがあったりするかと思います。
今回はスライドが変わった時のイベントを取得する例を紹介します。
<swiper-container
  #swiper
  class="mySwiper"
  pagination="true"
  pagination-dynamic-bullets="true"
>
#swiperを追加します
  @ViewChild('swiper') swiper: any = null;

  ngAfterViewInit(): void {
     this.swiper.nativeElement.addEventListener('slidechange', (event: any) => {
       console.log(event);
     });
  }
ViewChildでスワイパーにイベントを追加します。
追加できるイベントはここを参照してください

スライドを動かすたびにイベントが取得されているのが確認できます。
event.detail[0].activeIndexで現在表示中のスライドがどれなのかとかもわかりますね。
オプションを追加する
時には勝手に次のスライドに進んで欲しくないこともありますね。
  @ViewChild('swiper') swiper: any = null;
  ngAfterViewInit(): void {
    const options: SwiperOptions = {
      allowSlideNext: false, // 次のスライドに行くことを許可しない
    };
    Object.assign(this.swiper.nativeElement, options);
  }
これでスライドを勝手に動かせなくなりました。
任意のタイミングで動かしたいときはslideNextで…
使用できるメソッドなどはこちらを参考にしてください。
  goNext() {
    this.swiper.nativeElement.allowSlideNext = true; // 一旦オプションを解除する
    this.swiper.nativeElement.swiper.slideNext(1, 200); // スライドを動かす
    this.swiper.nativeElement.allowSlideNext = false; // オプションを戻す
  }
