この記事は UITableView の tableHeaderView/tableFooterView にAutoLayoutを利用する方法について書いていきます。
ちなみに元々は岸川さんのツイートを参考に(というか丸パクリ)した旨をツイートするとどこかに書いておいてくれとの依頼があった物です。
元々のコードはこちらです。
わかる人が見れば元のコードを見るだけで分かるかと思いますので、この記事ではどうしてこれで対応が可能なのか分からない人向けの説明をしようと思います。
headerView.translatesAutoresizingMaskIntoConstraints = false
tableView.tableHeaderView = headerView
NSLayoutConstraint.activate([
    headerView.topAnchor.constraint(equalTo: tableView.topAnchor),
    headerView.widthAnchor.constraint(equalTo: tableView.widthAnchor),
    headerView.centerXAnchor.constraint(equalTo: tableView.centerXAnchor)])
headerView.layoutIfNeeded()
tableView.tableHeaderView = headerView
上記のコードで気になるのは高さに関する制約が無いことです。
それによって最初に tableHeaderView に設定してAuto Layoutを有効化し、レイアウトを再計算する際に高さが自分自身の高さになります。
その後 tableHeaderView に再代入する際には headerView の高さが確定しているので正しい高さが表示されるということです。
また、こちらのツイートにあるように viewDidLayoutSubviews で headerView.layoutIfNeeded() を実行するだけで画面回転にも対応しています。
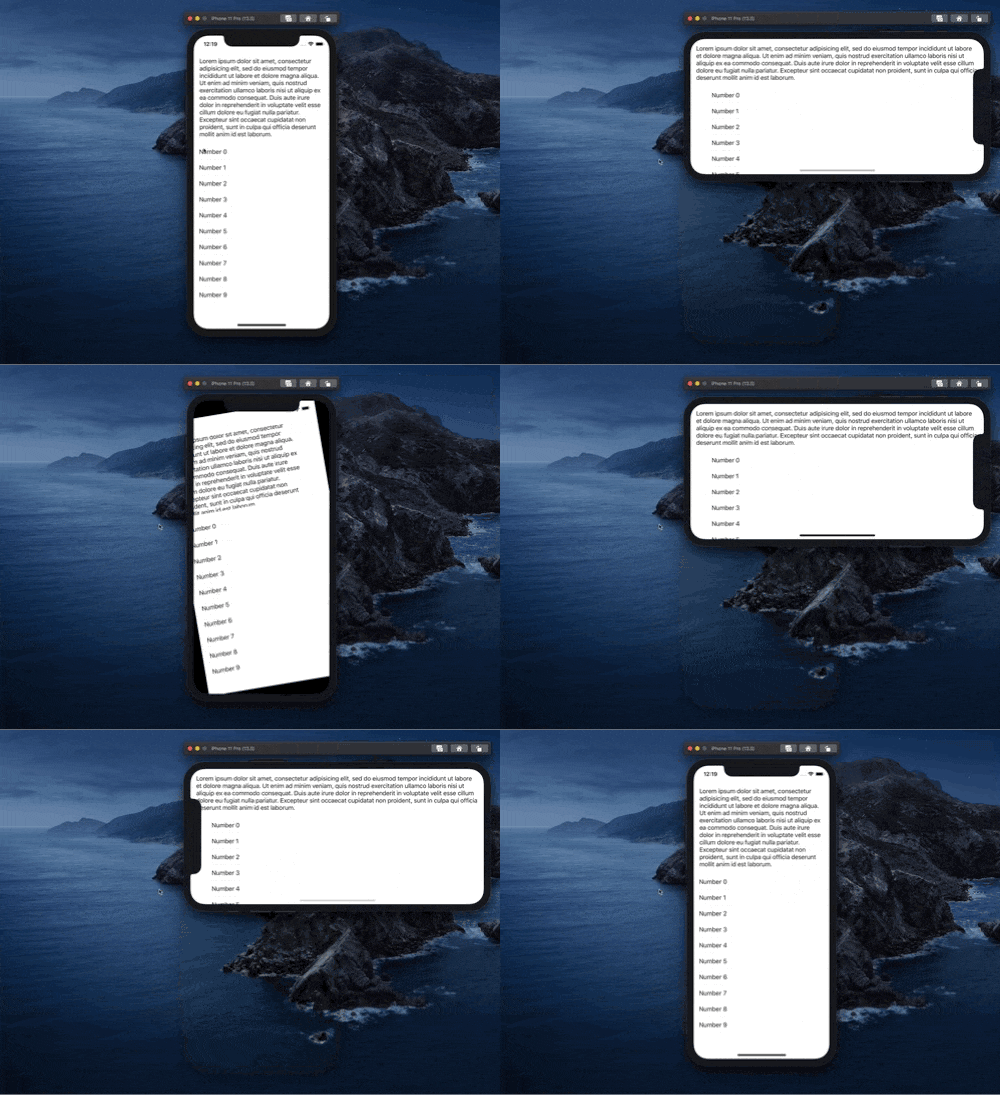
簡単なコードで検証してみましたが、画面回転にも対応しているということが分かるかと思います。
まとめ
tableHeaderView はこれまでは事前に高さを計算した上で
tableView.tableHeaderView = nil
tableView.tableHeaderView = headerView
のような指定をすることが多かったかと思います。
headerView にAuto Layoutを利用している場合はこちらの手法が有効そうですね。
最初にツイートをしてくれた@omochimetaruさん@k_katsumiさんありがとうございました。
