タップされたセルや、内部のボタンがクリックされたセルの情報を遷移先に伝える方法
前提
・ストーリーボードの基本的な使い方は理解している
・UITableviewの基本的な使い方は理解している
・カスタムセルの定義方法を理解している
プロジェクトの用意
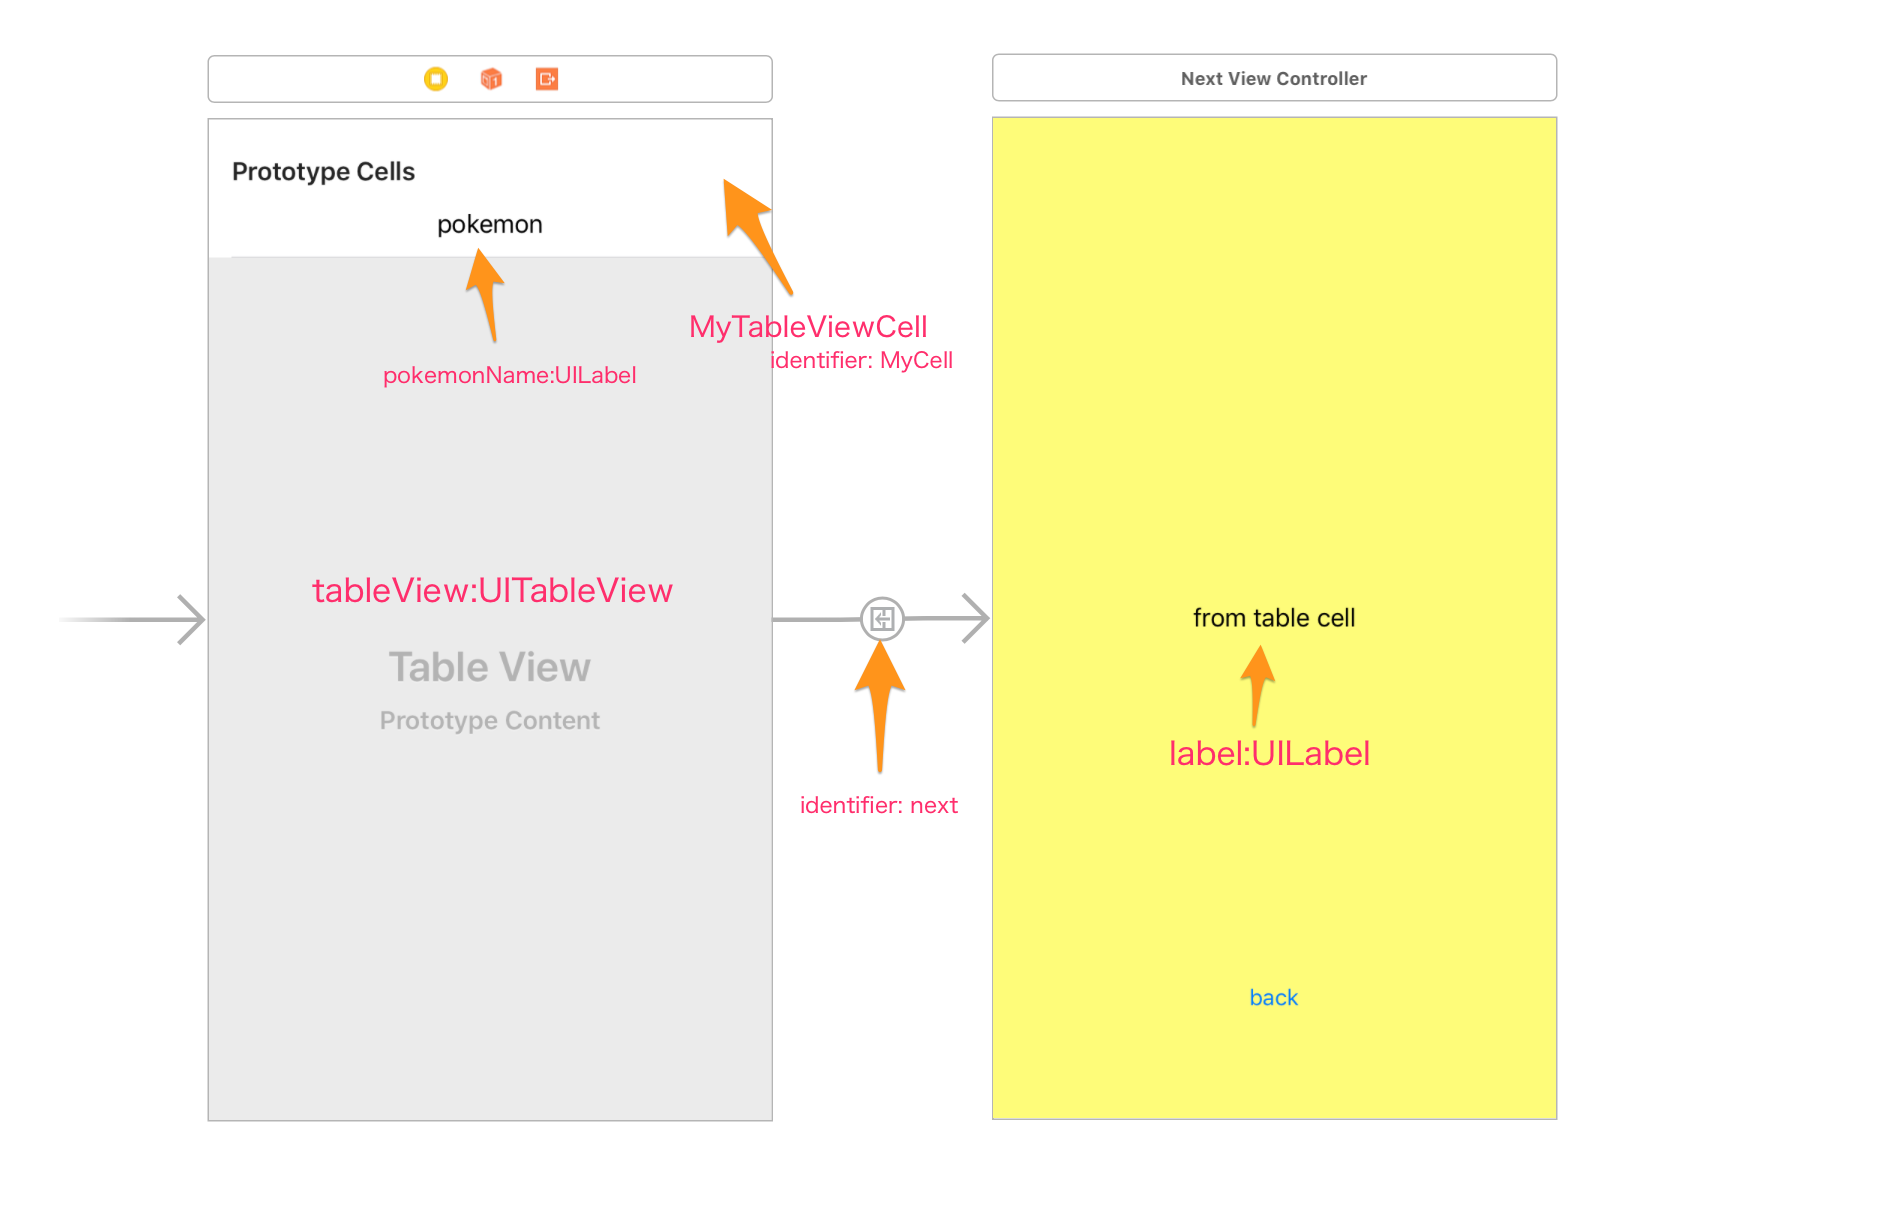
テスト用にテーブルビューを備えたプロジェクトを用意します。
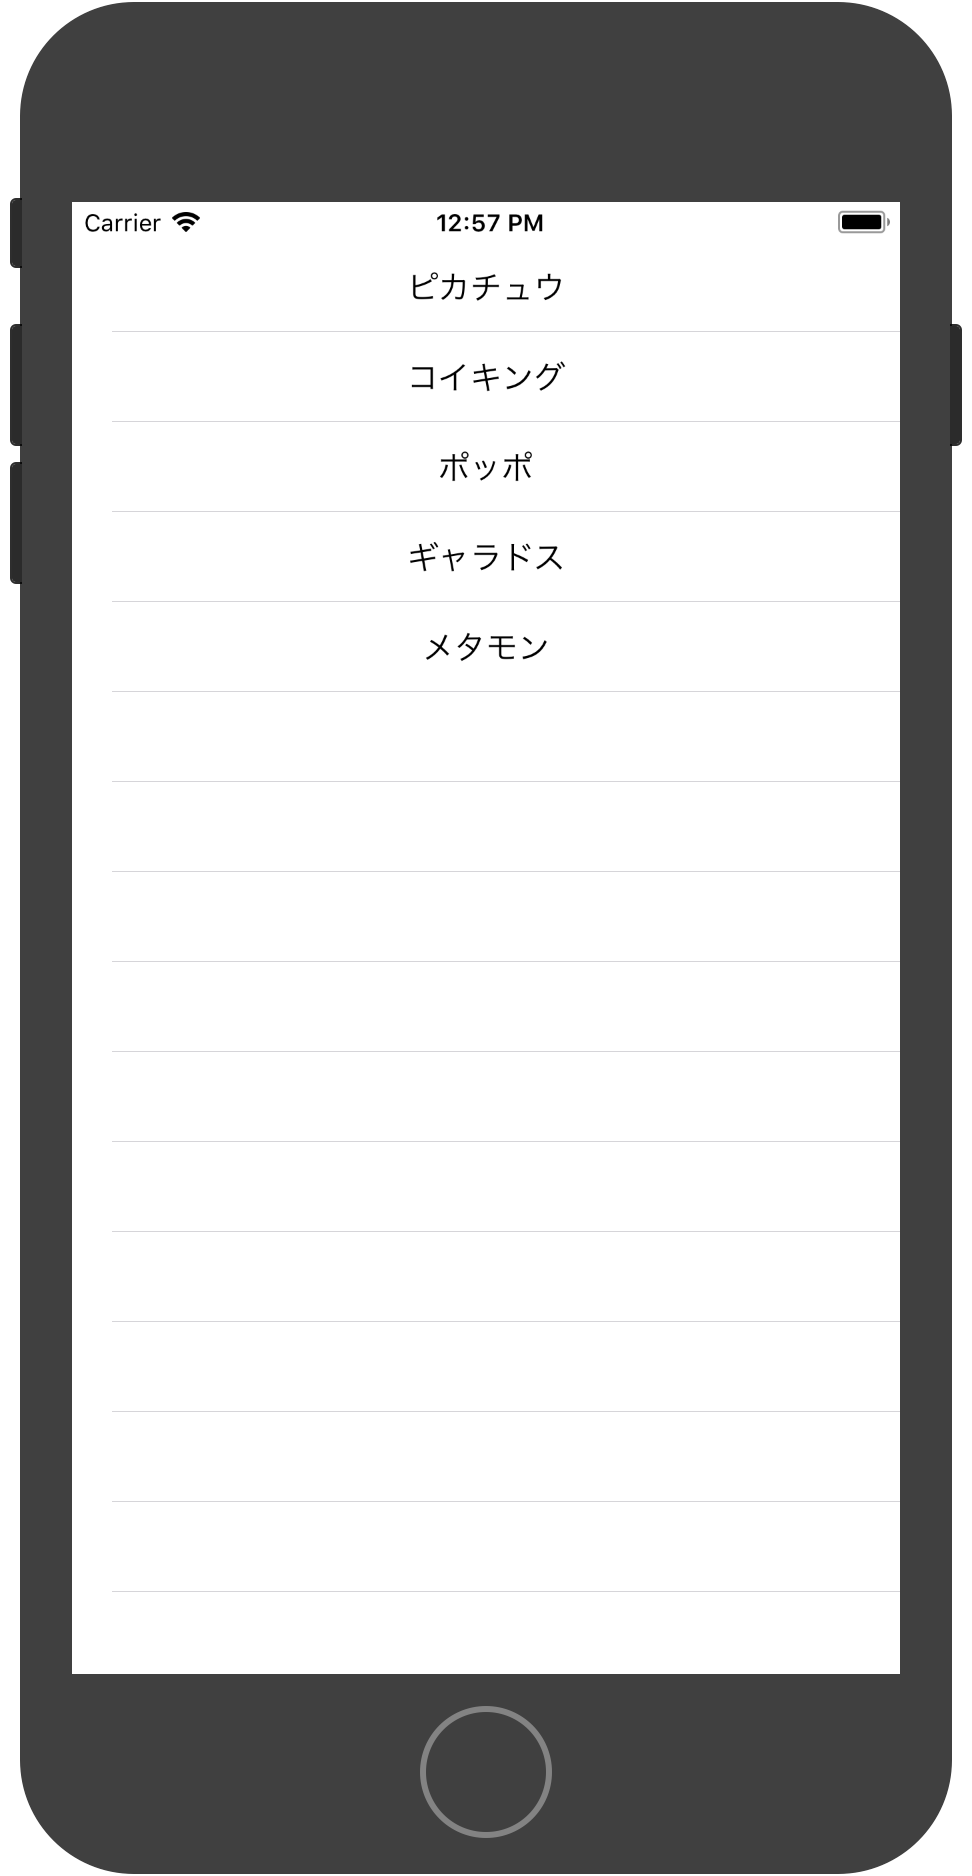
ポケモンの名前が一覧表示され、どれかを選択すると次の画面で選択したポケモンの名前を表示します。
Main.storyboard
アウトレット変数と識別子

ViewController.swift
import UIKit

class ViewController: UIViewController,UITableViewDelegate, UITableViewDataSource {

    let data = ["ピカチュウ","コイキング","ポッポ","ギャラドス","メタモン"]

    @IBOutlet weak var tableView:UITableView!

    // 戻り用。ストーリーボード上でcontrolを押しながらbackボタンからexitへつなぎ当関数を選択
    @IBAction func back(_ segue:UIStoryboardSegue){}

    override func viewDidLoad() {
        super.viewDidLoad()

        tableView.delegate = self
        tableView.dataSource = self

    }

    override func didReceiveMemoryWarning() {
        super.didReceiveMemoryWarning()
        // Dispose of any resources that can be recreated.
    }


    /// セルの個数を指定(UITableViewDataSource required)
    func tableView(_ tableView: UITableView, numberOfRowsInSection section: Int) -> Int {
        return data.count
    }

    /// セルに値を設定(UITableViewDataSource required)
    func tableView(_ tableView: UITableView, cellForRowAt indexPath: IndexPath) -> UITableViewCell {

        // セルを取得する
        let cell = tableView.dequeueReusableCell(withIdentifier: "MyCell", for: indexPath) as! MyTableViewCell
        // セルに表示する値を設定する
        cell.setPokemonName(data[indexPath.row])

        return cell
    }

    /// セル選択時(UITableViewDataSource optional)
    func tableView(_ tableView: UITableView, didSelectRowAt indexPath: IndexPath) {

        // 次の画面へ移動
        performSegue(withIdentifier: "next", sender: data[indexPath.row])
    }

    override func prepare(for segue: UIStoryboardSegue, sender: Any?) {

        let nextVC = segue.destination as! NextViewController
        let _ = nextVC.view // ラベルのインスタンス作成のため…ダサいw 他にいい手はないのか.

        nextVC.label.text = sender as! String
    }

}
NextViewController.swift
import UIKit

class NextViewController: UIViewController {

    @IBOutlet weak var label:UILabel!

    override func viewDidLoad() {
        super.viewDidLoad()

        // Do any additional setup after loading the view.
    }

    override func didReceiveMemoryWarning() {
        super.didReceiveMemoryWarning()
        // Dispose of any resources that can be recreated.
    }

}
MyTableViewCell.swift
import UIKit

class MyTableViewCell: UITableViewCell {

    @IBOutlet weak var pokemonName:UILabel!

    override func awakeFromNib() {
        super.awakeFromNib()
        // Initialization code
    }

    func setPokemonName(_ name:String) {
        self.pokemonName.text = name
    }
}
コイキングを選択すると…

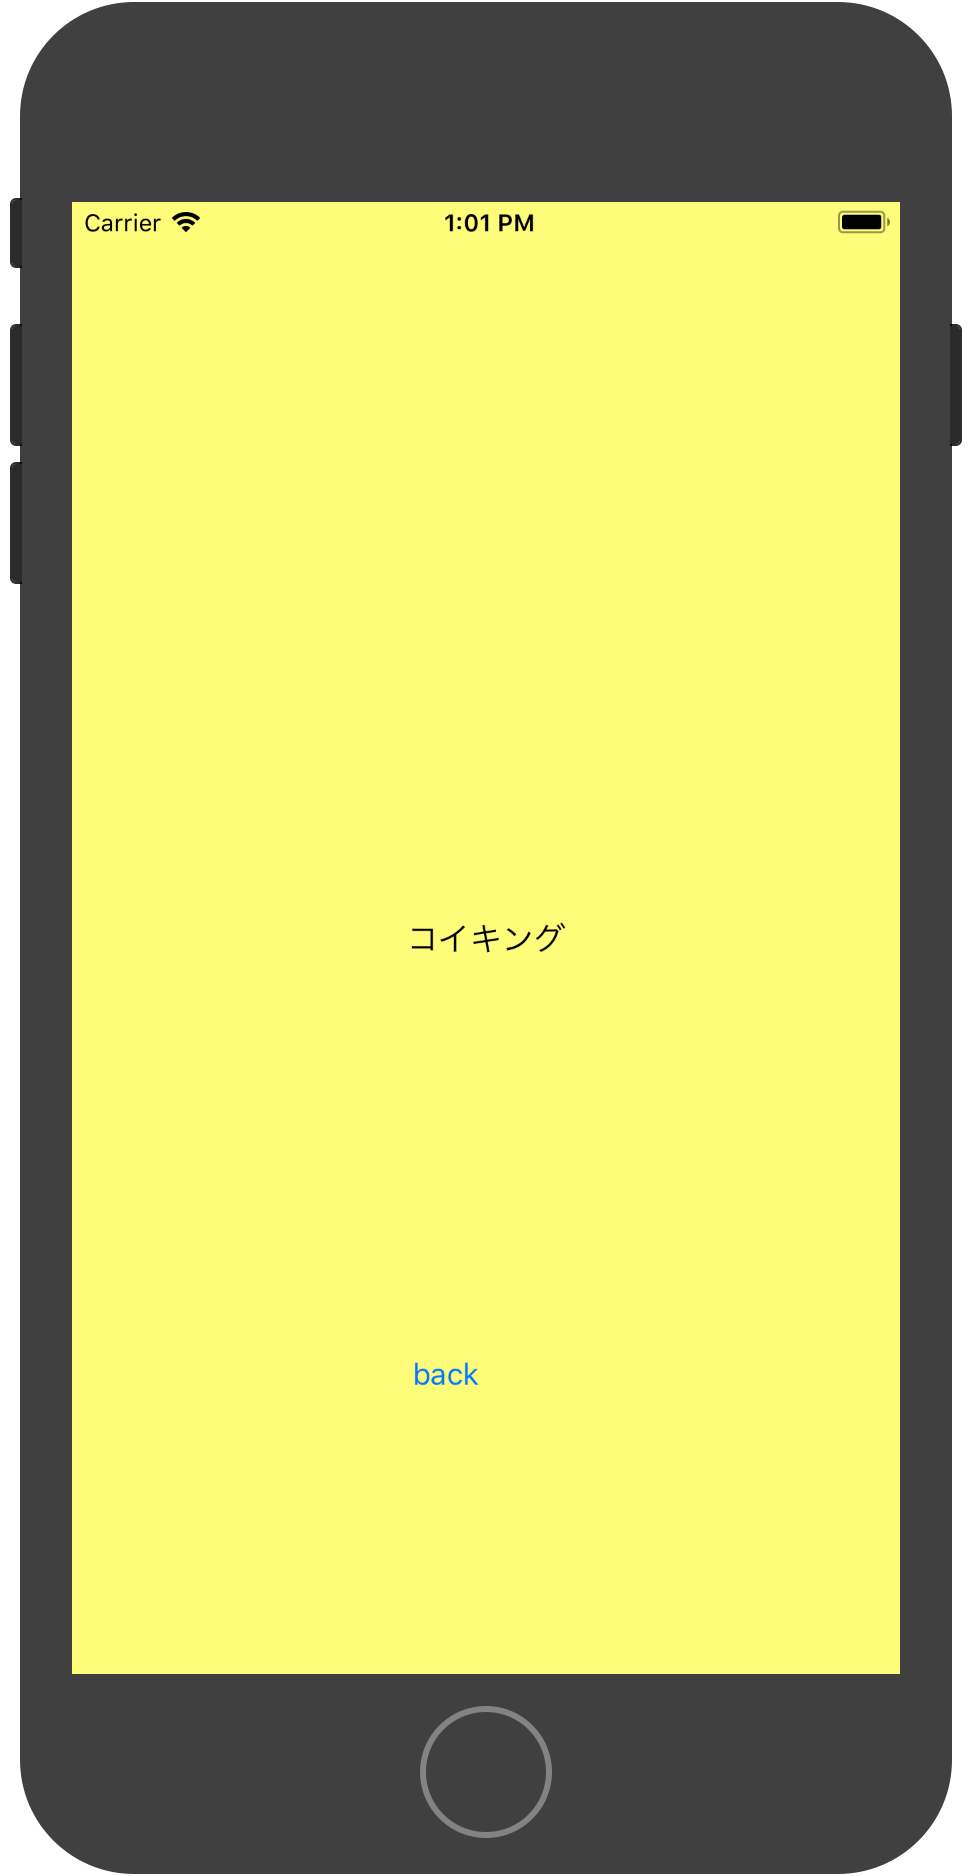
コイキングが表示された

さて、今回、選択されたポケモン名の受け渡し処理はどこに書かれているかというと、ViewControllerクラスに書かれています。セル選択時のデリゲートメソッドからperformSegueをコールしています。performSegueは遷移前にprepareを呼び出します。performSegueの第二引数(sender:Any?)にポケモン名をセットし、prepareで遷移先のViewControllerをインスタンスして該当するプロパティにポケモン名をセットしています。
    /// セル選択時(UITableViewDataSource optional)
    func tableView(_ tableView: UITableView, didSelectRowAt indexPath: IndexPath) {

        // 次の画面へ移動
        performSegue(withIdentifier: "next", sender: data[indexPath.row])
    }

    override func prepare(for segue: UIStoryboardSegue, sender: Any?) {

        let nextVC = segue.destination as! NextViewController
        print(nextVC.view) // ラベルのインスタンス作成のため…ダサいw 他にいい手はないのか.

        nextVC.label.text = sender as! String
    }
セルに設置されたボタンから遷移する
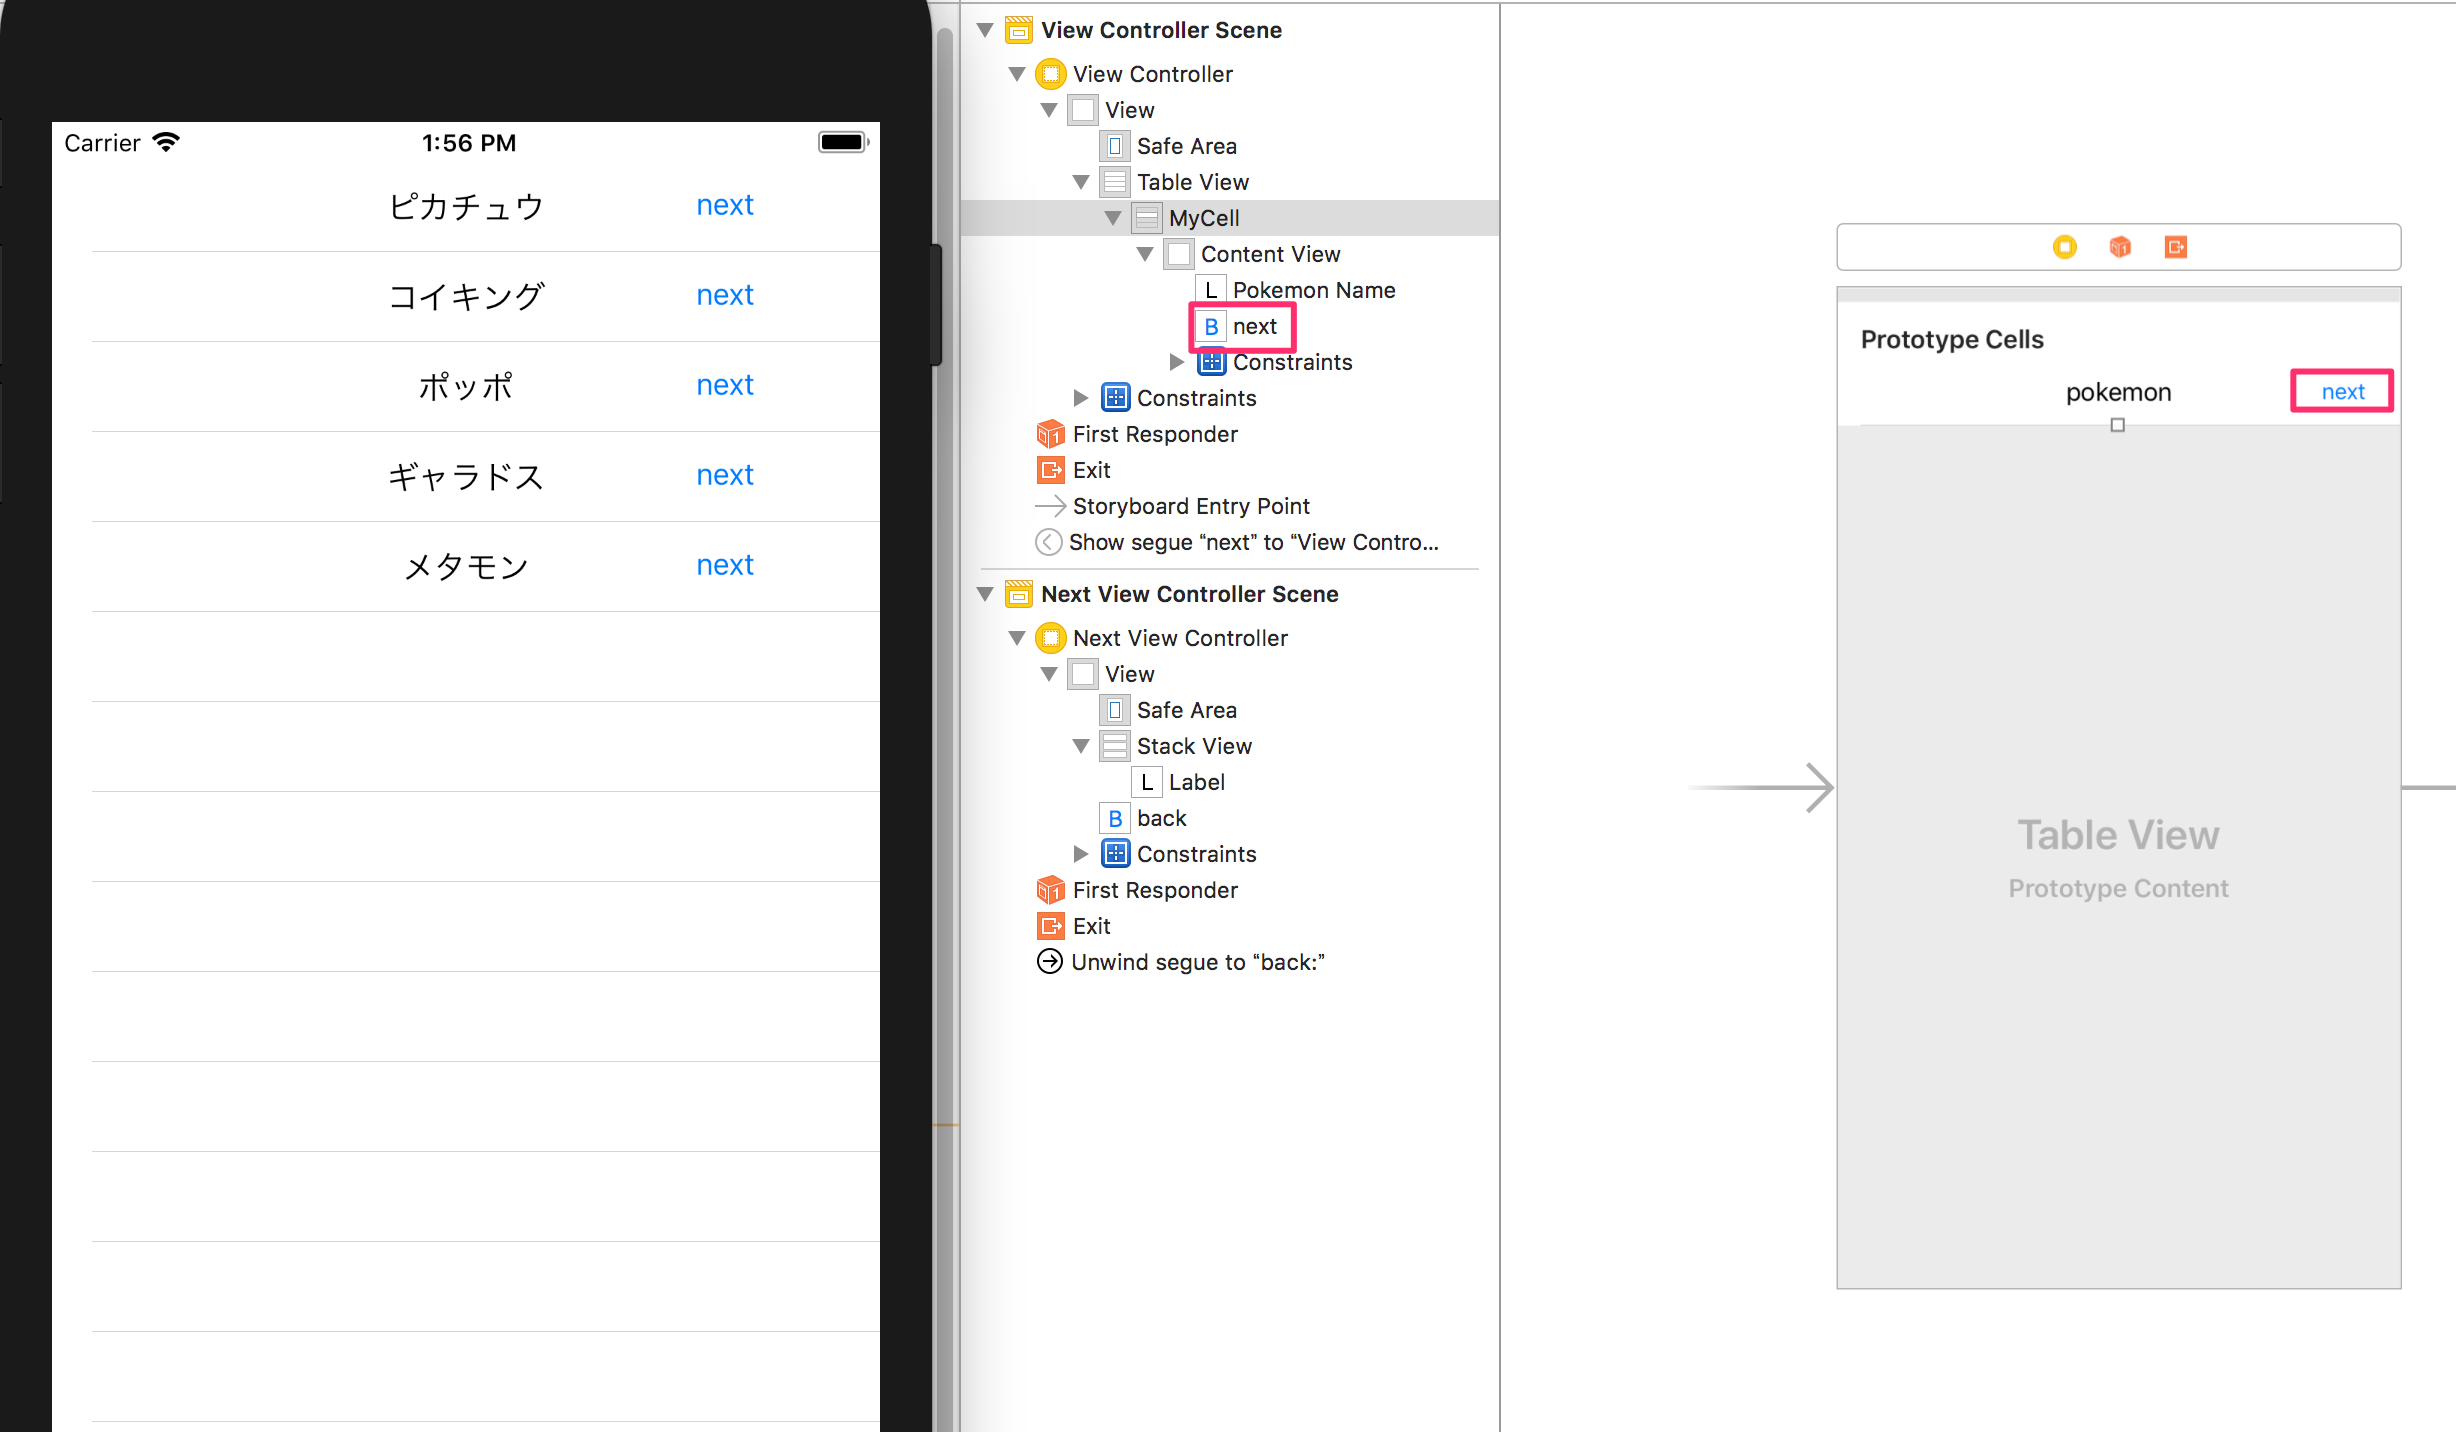
次に、セル内に設置されたボタンをクリックした時に画面遷移をするパターンを考えてみます。某エンジニア向けQAサイトなどでちょいちょい見かけるのがこのパターンからの画面遷移をどうすればよいかという質問ですね。ストーリーボード上のセル内にボタンを追加してソースに@IBAction(buttonPush)を用意して接続します。

MyTableViewCell.swift
import UIKit

class MyTableViewCell: UITableViewCell {

    @IBOutlet weak var pokemonName:UILabel!

    override func awakeFromNib() {
        super.awakeFromNib()
        // Initialization code
    }

    override func setSelected(_ selected: Bool, animated: Bool) {
        super.setSelected(selected, animated: animated)

        // Configure the view for the selected state
    }

    func setPokemonName(_ name:String) {
        self.pokemonName.text = name
    }

    // +++++++++++++ 追加 ++++++++++++++

    // nextが押された時の処理
    @IBAction func buttonPush(_ sender:UIButton) {

          // 画面遷移したいがperformSegueはUIViewControllerのメソッド

    }

    // +++++++++++++ 追加 ++++++++++++++

}
自身のクラスなのでプロパティ(ポケモン名)にアクセスするのは容易になりましたが、画面遷移の実行をどうしようかという問題が出てきます。performSegueはUIViewControllerのインスタンスメソッドです。
そこで…
ViewControllerのポインタを保持
上述の通り、performSegueはUIViewControllerのインスタンスメソッドであるなら、UIViewControllerのインスタンス.メソッド()というように呼び出してやれば他のクラスからも呼び出しが可能なはずです。MyTableViewCell.swiftとViewController.swiftを以下の通り修正します。
MyTableViewCell.swift
import UIKit

class MyTableViewCell: UITableViewCell {

    @IBOutlet weak var pokemonName:UILabel!

    var delegate:ViewController?

    override func awakeFromNib() {
        super.awakeFromNib()
        // Initialization code
    }

    override func setSelected(_ selected: Bool, animated: Bool) {
        super.setSelected(selected, animated: animated)

        // Configure the view for the selected state
    }

    func setPokemonName(_ name:String) {
        self.pokemonName.text = name
    }

    // ViewControllerのgoNextをコール
    @IBAction func buttonPush(_ sender:UIButton) {

        delegate?.goNext(pokemonName.text!)

    }

}
ViewController.swift
    〜略〜

    /// セルに値を設定(UITableViewDataSource required)
    func tableView(_ tableView: UITableView, cellForRowAt indexPath: IndexPath) -> UITableViewCell {

        // セルを取得する
        let cell = tableView.dequeueReusableCell(withIdentifier: "MyCell", for: indexPath) as! MyTableViewCell

        // セルに表示する値を設定する
        cell.setPokemonName(data[indexPath.row])

        cell.delegate = self  // ViewControllerのポインタをセット

        return cell
    }

    〜略〜

    // MyTableViewCellからコールされる
    func goNext(_ name:String) {
        performSegue(withIdentifier: "next", sender: name)
    }

    〜略〜
はい。一応動きはします。が、もしgoNext()がViewControllerクラスに実装されてなければ画面遷移ができませんので、プロトコル(約束事)を用意してデリゲートパタンを適用してみましょう。
MyTableViewCell.swift
import UIKit

protocol MyTableViewCellDelegate {
    func goNext(_ name:String)
}

class MyTableViewCell: UITableViewCell {

    @IBOutlet weak var pokemonName:UILabel!

    var delegate:MyTableViewCellDelegate?

    〜略〜
delegateの型が、ViewControllerからプロトコルの型(MyTableViewCellDelegate)になります。
ViewController.swift
import UIKit

class ViewController: UIViewController,
   UITableViewDelegate, UITableViewDataSource,MyTableViewCellDelegate {

   〜略〜
MyTableViewCellDelegateを批准(約束事に従う)します。この状態で、goNext()をコメントアウトすると「実装されていない」という旨のエラーで怒られます。実装がオプションである場合は、protocolのfuncの頭にoptionalをつけてあげます。何もなければrequiredになります。
protocol MyProtocol {
    required func f1()  // 実装必須
    func f2()           // 実装必須
    optional func f3()  // 実装任意
}