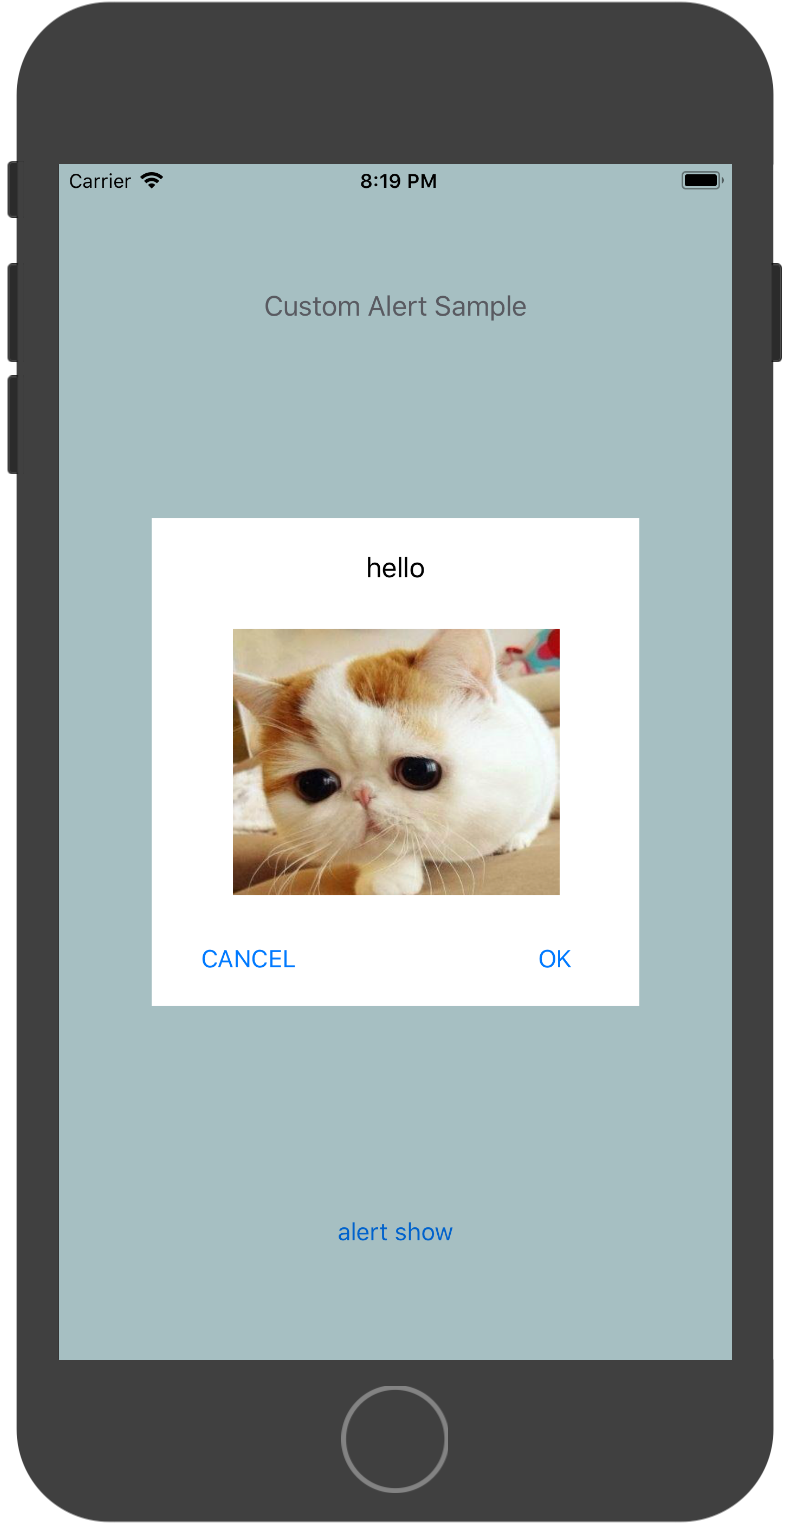
Sample
アラートをポップアップさせたところ。CANCELをタップするか、余白をタップすることでアラートを閉じます。
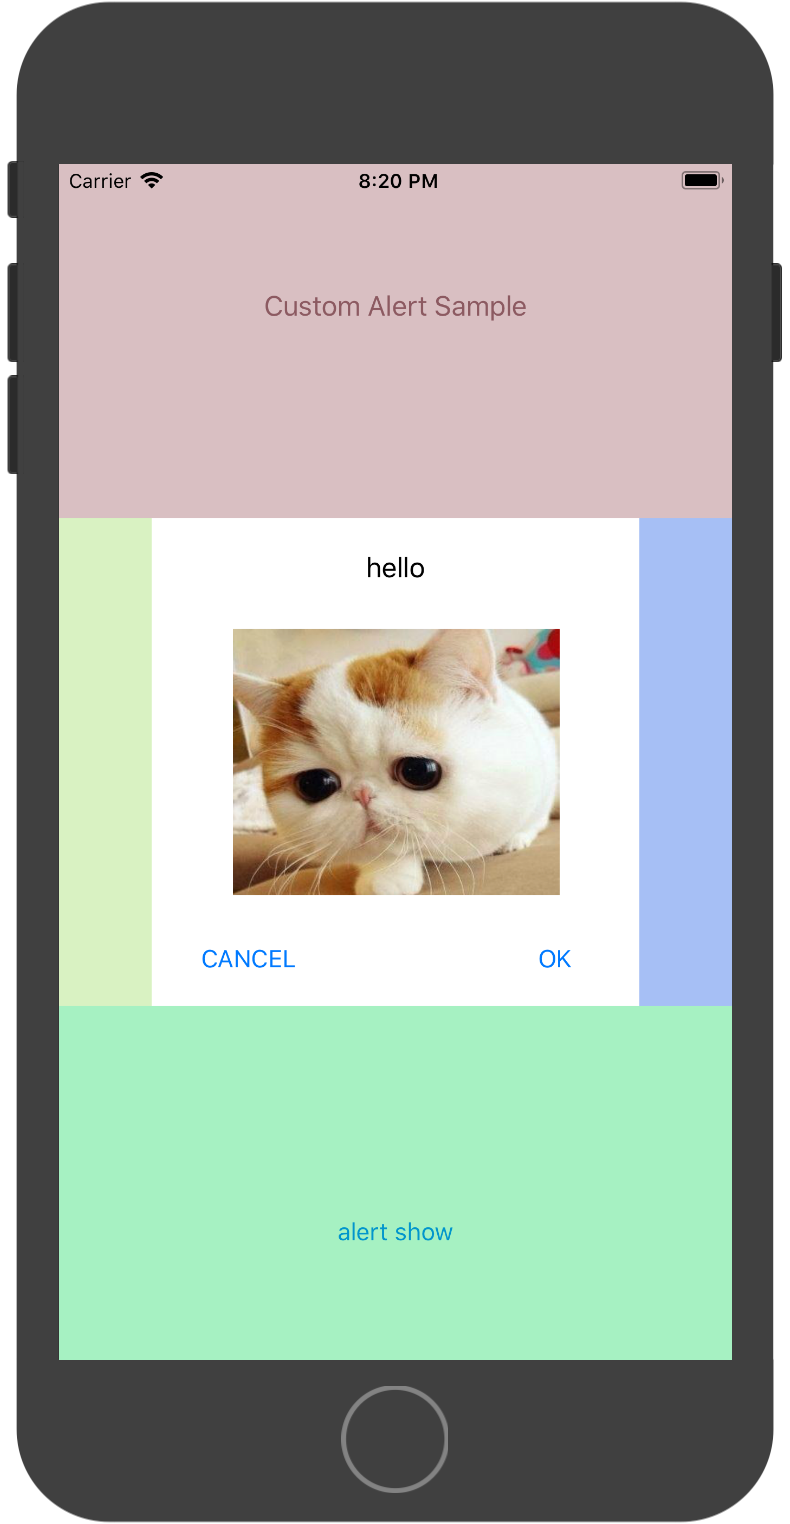
余白タップの判定方法
下図は余白エリアの背景色に色を設定したもの。アラートViewの座標(CGPoint)と縦横サイズ(CGSize)が定まれば、余白エリアを4つの矩形としてハンドルすることができます。それぞれのエリアにUITapGestureRecognizerを用いてタップイベントにViewを剥がす処理をあてがいます。
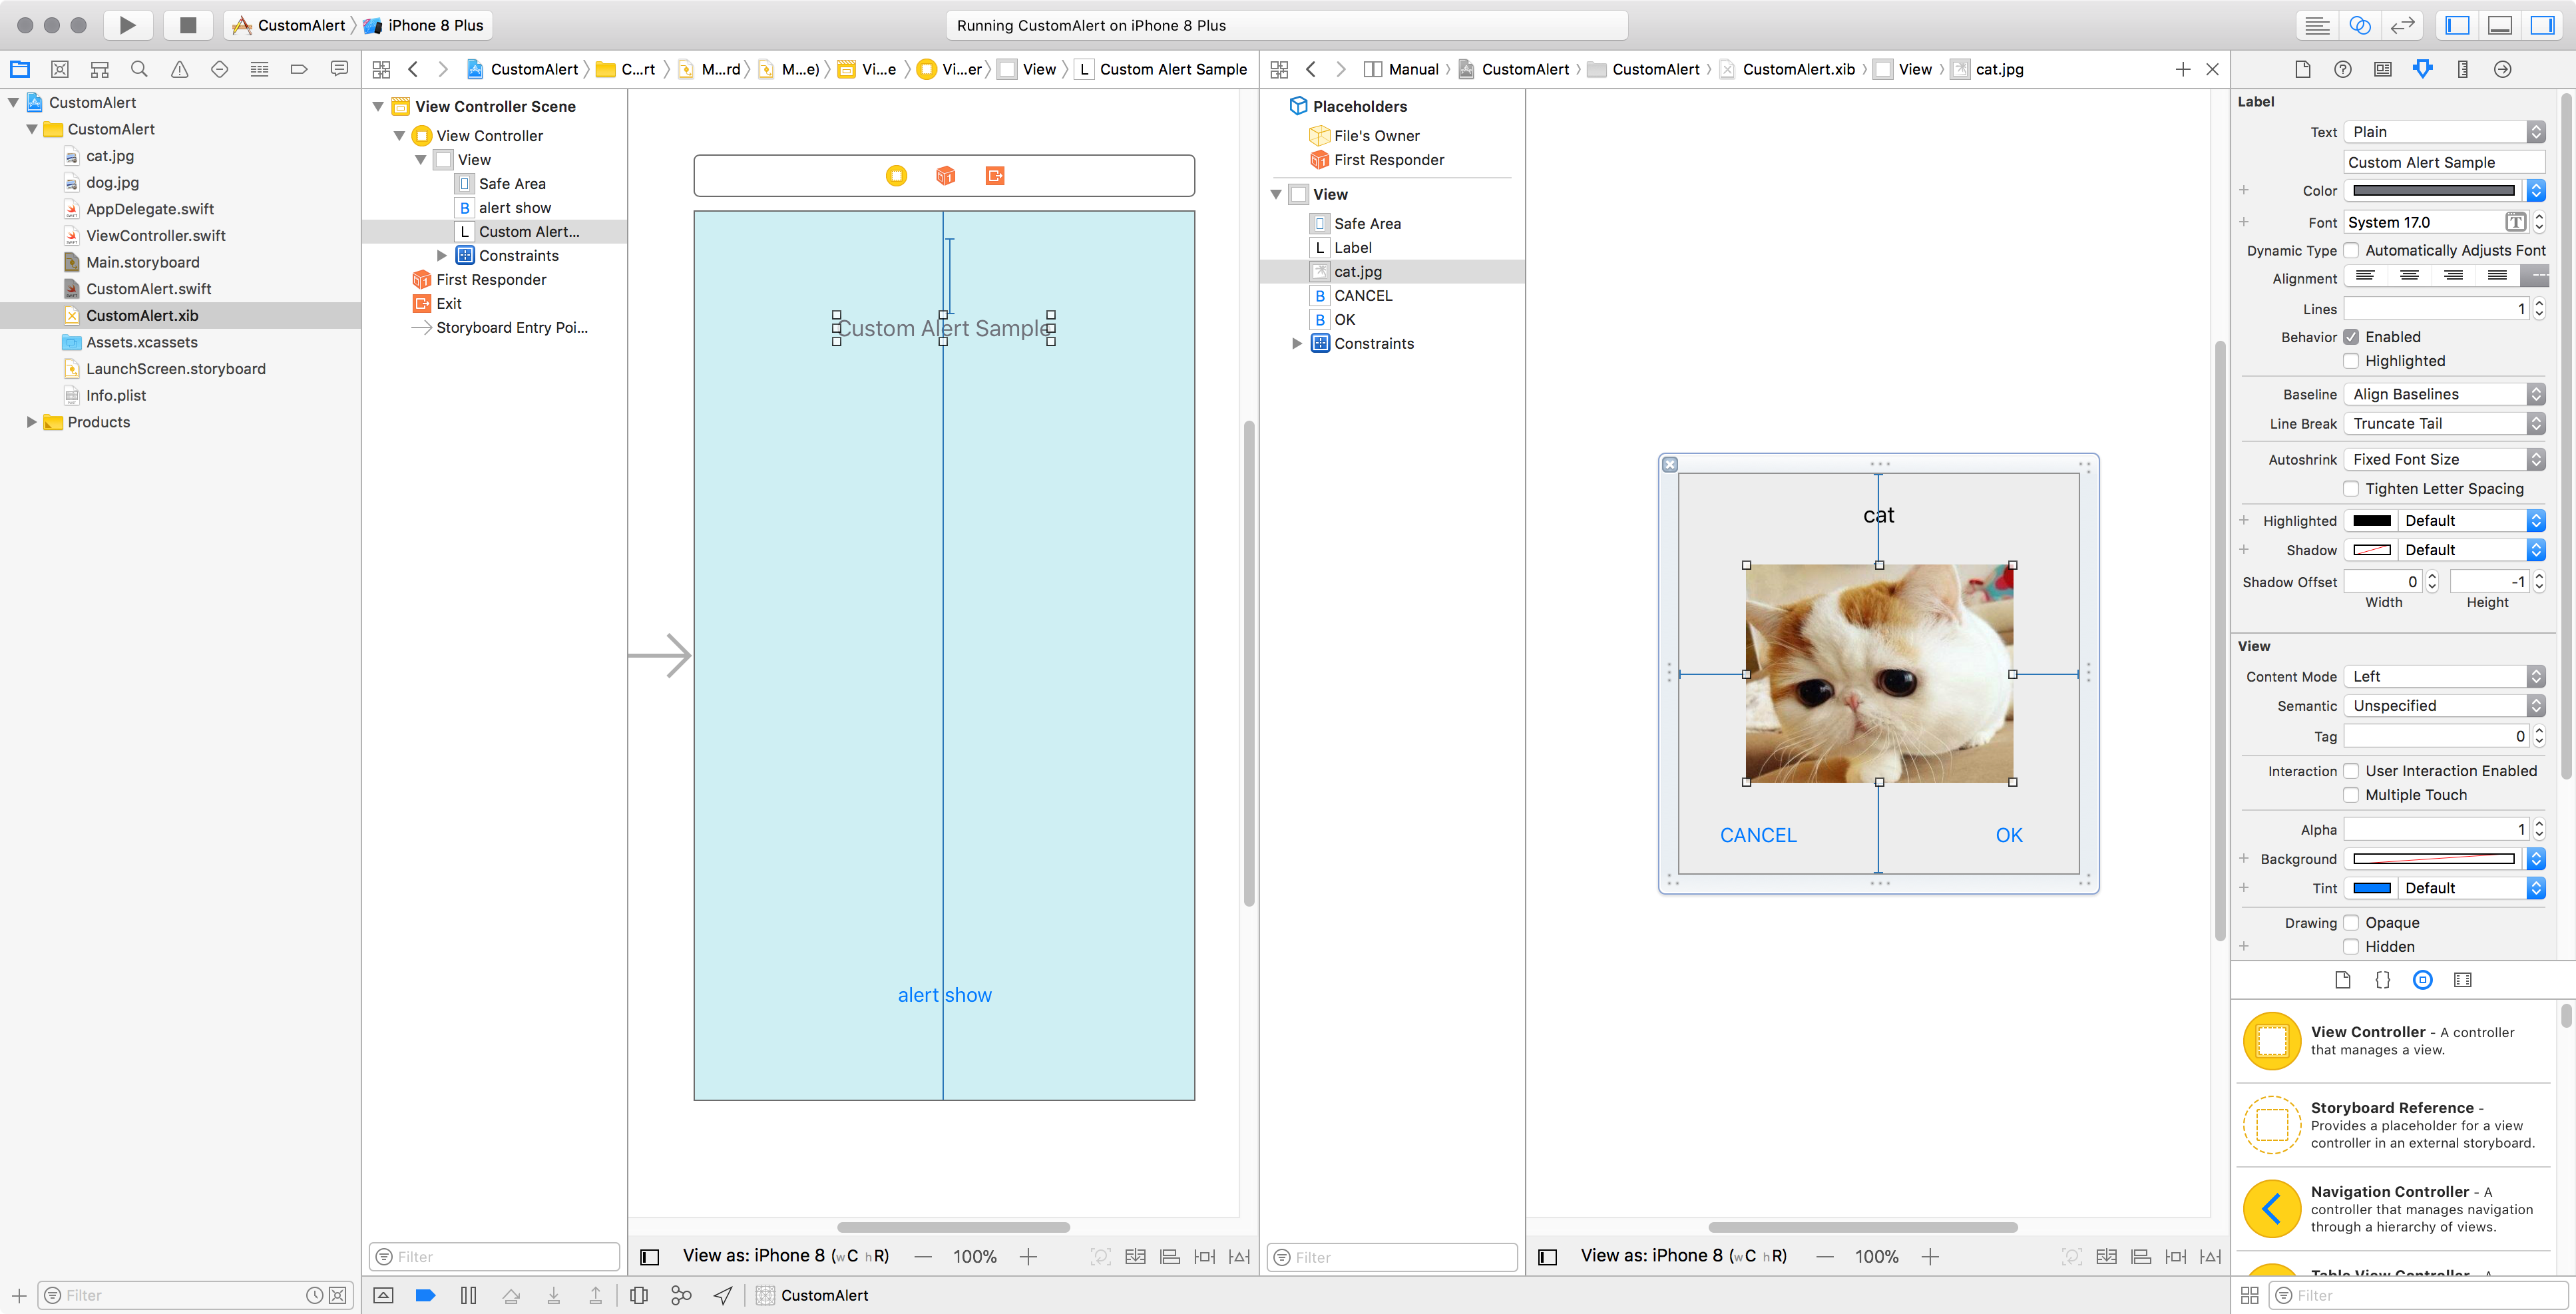
アラートViewの作成
アラートViewはInterfaceBuilderを用いて編集しています。 File's OwnerをCustomAlertに設定します。
カスタムアラートクラス
CustomAlert.swift
import UIKit

// OKクリック処理のデリゲート
protocol CustomAlertDelegate {
    func okTapped(_ alert:CustomAlert)
}

class CustomAlert: UIView {

    var customAlert:UIView!
    var parentView:UIView!
    var topView:UIView!
    var underView:UIView!
    var leftView:UIView!
    var rightView:UIView!
    var aroundOpacity:Float = 0.2

    var delegate:CustomAlertDelegate?

    @IBOutlet weak var label: UILabel!

    @IBAction func cannel(_ sender:UIButton) {
        self.dism()
    }

    // OKクリック後の処理内容はコール元で定義する
    @IBAction func ok(_ sender:UIButton) {
        delegate?.okTapped(self)
    }

    required init?(coder aDecoder: NSCoder) {
        super.init(coder: aDecoder)
    }

    // from Xib
    override init(frame: CGRect) {
        super.init(frame: frame)
    }

    func prepare(frame: CGRect, bgColor: UIColor,aroundOpacity:Float = 0.2) {

        customAlert = Bundle.main.loadNibNamed("CustomAlert", owner: self, options: nil)?.first as! UIView

        self.label.text = "cat"
        customAlert.backgroundColor = bgColor
        customAlert.layer.shadowOffset = CGSize(width:5,height:5)

        let app = UIApplication.shared.delegate as! AppDelegate
        parentView = app.window?.rootViewController?.view

        customAlert.center = parentView.center

    }

    func open(aroundAreaTappable:Bool = true) {

        self.label.text = "hello"

        // アラートView
        parentView?.addSubview(customAlert)

        // 上部余白エリア
        let topViewFrame = CGRect(x:0,y:0,width:(UIScreen.main.bounds.size.width),height:(customAlert.frame.origin.y))
        topView = UIView(frame:topViewFrame)
        topView.backgroundColor = UIColor.black
        topView.layer.opacity = aroundOpacity
        let tapGesTop:UITapGestureRecognizer = UITapGestureRecognizer(target: self, action: #selector(CustomAlert.dism))
        if aroundAreaTappable { topView.addGestureRecognizer(tapGesTop) }
        parentView?.addSubview(topView)

        // 下部余白エリア
        let underViewPos = CGPoint(x:0,y:(topView.frame.height + customAlert.frame.height))
        let underViewSize = CGSize(width:UIScreen.main.bounds.size.width,height:topView.frame.height)
        let underViewFrame = CGRect(origin: underViewPos, size: underViewSize)
        underView = UIView(frame:underViewFrame)
        underView.backgroundColor = UIColor.black
        underView.layer.opacity = aroundOpacity
        let tapGesUnder = UITapGestureRecognizer(target: self, action: #selector(CustomAlert.dism))
        if aroundAreaTappable { underView.addGestureRecognizer(tapGesUnder) }
        parentView?.addSubview(underView)

        // 左余白エリア
        let leftViewPos = CGPoint(x:0,y:(topView.frame.height))
        let leftViewSize = CGSize(width:(UIScreen.main.bounds.size.width/2)-(customAlert.frame.width/2) , height:customAlert.frame.height)
        let leftViewFrame = CGRect(origin:leftViewPos,size:leftViewSize)
        leftView = UIView(frame:leftViewFrame)
        leftView.backgroundColor = UIColor.black
        leftView.layer.opacity = aroundOpacity
        let tapGesLeft:UITapGestureRecognizer = UITapGestureRecognizer(target: self, action: #selector(CustomAlert.dism))
        if aroundAreaTappable { leftView.addGestureRecognizer(tapGesLeft) }
        parentView?.addSubview(leftView)

        // 右余白エリア
        let rightViewPos = CGPoint(x:(leftView.frame.width + customAlert.frame.width) , y:topView.frame.height)
        let rightViewSize = CGSize(width:leftView.frame.width,height:leftView.frame.height)
        let rightViewFrame = CGRect(origin:rightViewPos,size:rightViewSize)
        rightView = UIView(frame:rightViewFrame)
        rightView.backgroundColor = UIColor.black
        rightView.layer.opacity = aroundOpacity
        let tapGesRight:UITapGestureRecognizer = UITapGestureRecognizer(target: self, action: #selector(CustomAlert.dism))
        if aroundAreaTappable { rightView.addGestureRecognizer(tapGesRight) }
        parentView?.addSubview(rightView)

    }

    // View非表示
    @objc private func dism() {
        topView.removeFromSuperview()
        underView.removeFromSuperview()
        leftView.removeFromSuperview()
        rightView.removeFromSuperview()
        customAlert.removeFromSuperview()
    }

    /*
    // Only override draw() if you perform custom drawing.
    // An empty implementation adversely affects performance during animation.
    override func draw(_ rect: CGRect) {
        // Drawing code
    }
    */

}
エントリポイント(呼び出し方)
ViewController.swift
import UIKit

class ViewController: UIViewController {

    // カスタムアラートのインスタンス①
    let customAlert = CustomAlert()

    @IBAction func openView(_ sender:UIButton) {
        // aroundAreaTappable = falseの場合、余白のタップが無効になる=モーダルアラートとなる
        customAlert.open(aroundAreaTappable:true)
    }
    override func viewDidLoad() {
        super.viewDidLoad()
        // Do any additional setup after loading the view, typically from a nib.

        // カスタムアラートのサイズ・背景を設定 ②
        customAlert.prepare(frame:CGRect(x:0,y:0,width:300,height:300),
                            bgColor: UIColor.white,
                            aroundOpacity: 0.6)
        // デリゲート設定③
        customAlert.delegate = self

    }

    override func didReceiveMemoryWarning() {
        super.didReceiveMemoryWarning()
        // Dispose of any resources that can be recreated.
    }

}

// カスタムアラート「OK」クリック時の処理④
extension ViewController:CustomAlertDelegate {
    func okTapped(_ alert:CustomAlert) {
        alert.label.text = "OK tapped!"
    }
}
①カスタムアラートのインスタンスを作成します。
②カスタムアラート表示前処理・・・・カスタムアラートのサイズ、背景色、余白エリアの透過度を指定します。
③デリゲートの設定・・・・コール元のポインタをセット
④デリゲートメソッドの実装・・・・okTapped()にてOKボタンタップ時の処理を定義します。引数のalertはカスタムアラートのインスタンス。
github => fromageblanc/CustomAlert