環境や条件など
・mac
・PHP ver8
・Laravel ver10
Laravelのインストール
下記のコマンドでLaravelプロジェクトを作成する。
$ composer create-project laravel/laravel (プロジェクト名)
プロジェクト作成が完了したら、プロジェクトのディレクトリに移動した状態で
下記コマンドでローカルサーバーを立ち上げて動くかテストしてみる。
$ php artisan serve
ターミナルに、URLが出るのでここにアクセス。
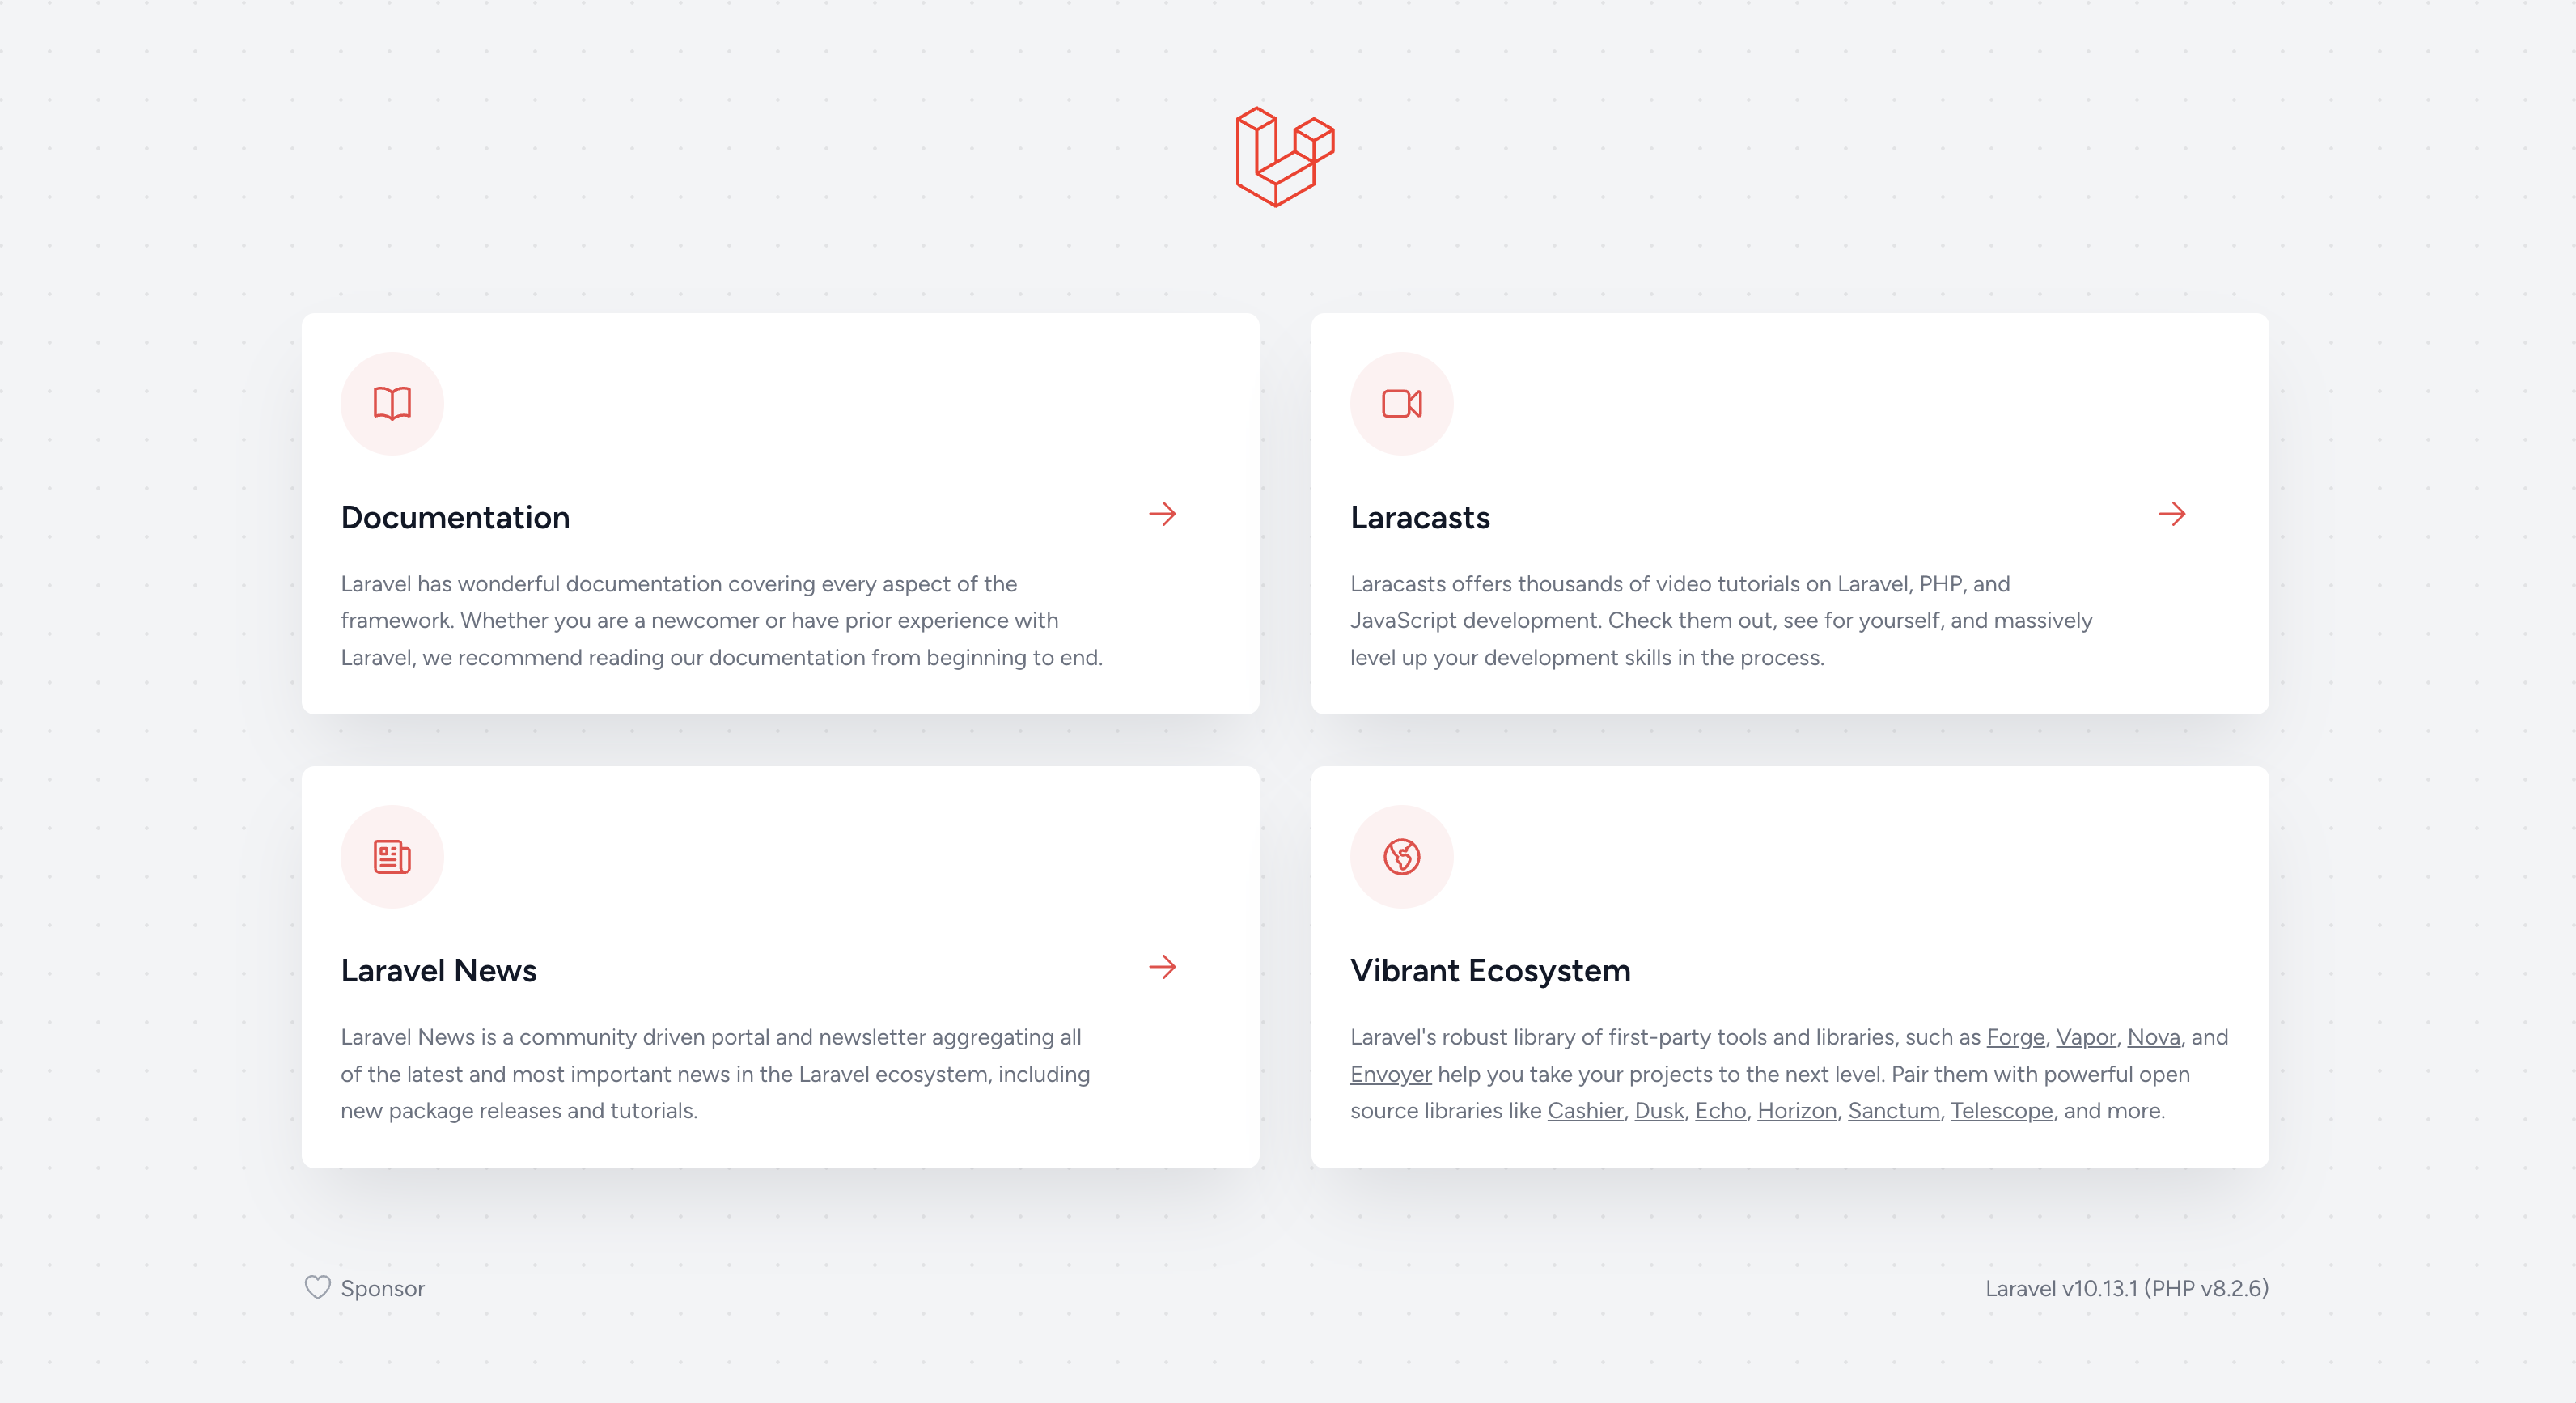
下記のような画面が表示されればOK。

Reactのインストール
Reactを使用できるように下記コマンドで、laravel/uiをインストールする。
$ composer require laravel/ui
composer installもしておく
$ composer install
続いて、Reactを使用するように下記コマンドで設定。
$ php artisan ui react
必要なパッケージのインストール。
$ npm install
※自分の環境では、npm installでエラーが発生した。
オプションを付けて、"npm install --legacy-peer-deps"にて実行すると成功した。
プロジェクトのビルド。
$ npm run dev
npm run devを実行した後、ターミナルが開発モードに入るので
いったんキーボードより'control'+'c'で抜ける。
Viteの設定
Laravel9のバージョン9.2からデフォルトのビルドツールがWebpack(Laravel Mix)から
Viteに変更になっているので、設定をしていく。
まずViteでReactを利用するために@vitejs/plugin-reactのインストールする。
npm install @vitejs/plugin-react --save-dev
※自分の環境ではエラー出たので、
npm install @vitejs/plugin-react --legacy-peer-depsにて実行。
vite.config.jsを開き、編集する。
import { defineConfig } from 'vite';
import laravel from 'laravel-vite-plugin';
import react from '@vitejs/plugin-react';

export default defineConfig({
    plugins: [
        laravel({
            input: [
                'resources/sass/app.scss',
                //'resources/js/app.js',
                  'resources/js/app.jsx', //←.jsから.jsxに変更
            ],
            refresh: true,
        }),
        react(),
    ],
});
また、"resources"ディレクトリ>"js"ディレクトリのapp.jsの拡張子をapp.jsxに変更する。
設定が完了したらnpm run devコマンドを実行する。
$ npm run dev
Reactでのフロントエンド実装確認
ここまでできたら、app.jsxファイルにReactのコードを記述する。
/**
 * First we will load all of this project's JavaScript dependencies which
 * includes React and other helpers. It's a great starting point while
 * building robust, powerful web applications using React + Laravel.
 */

import './bootstrap';

/**
 * Next, we will create a fresh React component instance and attach it to
 * the page. Then, you may begin adding components to this application
 * or customize the JavaScript scaffolding to fit your unique needs.
 */

import './components/Example';
import ReactDOM from "react-dom/client";
import { render } from 'react-dom';

function App() {
    return <h1>Hello World</h1>;
}

const root = ReactDOM.createRoot(document.getElementById("app"));
root.render(<App />);
このAppコンポーネントを表示できるようにする。
下記のコードの部分に注目する。
const root = ReactDOM.createRoot(document.getElementById("app"));
"document.getElementById("app")"の部分でHTMLタグのid名で'app'をターゲットにして、
appというid名をもつタグの中にコンポーネントをjsで描画するイメージ。
bladeのビューを作成し、その中にid名appをもつタグを書けば、Appコンポーネントを表示できる。
"resource"ディレクトリ>"views"ディレクトリの中に追加でbladeビューを作成する。
(デフォルトでwelcome.blade.phpというビューが用意されているがいじらずそそままにしておく。)
app.balde.phpという名前で"views"ディレクトリにファイルを追加する。
そして、下記のようにコードを書く。
<!DOCTYPE html>
<html lang="en">
<head>
    <meta charset="UTF-8">
    <meta http-equiv="X-UA-Compatible" content="IE=edge">
    <meta name="viewport" content="width=device-width, initial-scale=1.0">
    @viteReactRefresh
    @vite(['resources/css/app.css', 'resources/js/app.jsx'])
    <title>APP</title>
</head>
    <body>
        <div id="app"></div>
    </body>
</html>
中身は非常にシンプルで、htmlの枠組みにdivタグが一つあるだけ。
このdivタグはidにappが付与されている。このdivの中にAppコンポーネントが追記される。
続いて、"route"ディレクトリの中のweb.phpを下記のように編集する。
// ↓もとから書かれてたコード。削除かコメントアウトする。
// Route::get('/', function () {
//     return view('welcome');
// });

// 追記
Route::get('{any}', function () {
    return view('app');
})->where('any','.*');
{any}でどんなURLのアクセスがきても、app.balde.phpを返すようになっている。
SPAはページをそれぞれ作って画面遷移するのではなく一つのページをjsで書き換えて
あたかも画面遷移しているように見せている。
では、ローカルサーバーをphp arisan serveで立ち上げて、
http://127.0.0.1:8000にアクセスする。
Appコンポーネントで"Hello World"が表示できた。
ここまでで、Laravel(ver.10)でReactの導入ができた。
React Routerの導入
Raect Routerをインストールする。
普通にnpm install react-router-domでインストールしようとしたら、
ライブラリの依存関係でエラーが出てインストールできないため、オプションで"--legacy-peer-deps"
をつけてインストールした。
npm install react-router-dom --legacy-peer-deps
ちなみに、バージョンはv6でインストールしている。
コンポーネントを作成し、ルーティングを試す
resources > js > componentsディレクトリにコンポーネントを作って
ページの切り替え(表示するコンポーネントの切り替え)をできるようにする。
コンポーネント作成
componentsディレクトリに下記のコンポーネントを作成する。
- NavBarコンポーネント(NavBar.jsx)
- Homeコンポーネント(Home.jsx)
- Aboutコンポーネント(About.jsx)
import React from 'react';
import { NavLink } from 'react-router-dom';

function NavBar(){
    return(
        <div>
            <h1>NavBar</h1>
            <NavLink to="/about" activeClassName="active">About</NavLink>
            <NavLink to="/home" activeClassName="active">Home</NavLink>
        </div>
    );
}

export default NavBar;
import React from 'react';


function Home(){
    return(
        <div>
            <h1>Home</h1>
            <p>これはHomeコンポーネントです。</p>
        </div>

    );
}

export default Home;
import React from 'react';


function About(){
    return(
        <div>
            <h1>About</h1>
            <p>これはAboutコンポーネントです。</p>
        </div>

    );
}

export default About;
まずは、先ほどのapp.jsxを以下のように書き換える
/**
 * First we will load all of this project's JavaScript dependencies which
 * includes React and other helpers. It's a great starting point while
 * building robust, powerful web applications using React + Laravel.
 */

import './bootstrap';

/**
 * Next, we will create a fresh React component instance and attach it to
 * the page. Then, you may begin adding components to this application
 * or customize the JavaScript scaffolding to fit your unique needs.
 */

import './components/Example';
+ import NavBar from './components/NavBar'; //追加(外部からインポート)
+ import Home from './components/Home'; //追加(外部からインポート)
+ import About from './components/About'; //追加(外部からインポート)
import ReactDOM from "react-dom/client";
import { render } from 'react-dom';
+ import { BrowserRouter, Routes, Route } from 'react-router-dom'; //追加(ルーター読み込み)

- //↓削除
- function App() {
-    return <h1>Hello World</h1>;
- }

const root = ReactDOM.createRoot(document.getElementById("app"));

- root.render(<App />);
+ //render()の<App />を消し、以下のように書き換え
+ root.render(
+   <>
+      <BrowserRouter>
+           <NavBar />
+           <Routes>
+               <Route path="/about" element={<About />} />
+               <Route path="/about" element={<Home />} />
+           </Routes>
+       </BrowserRouter>
+   </>
+ );
ローカルサーバを立ち上げて確認する。

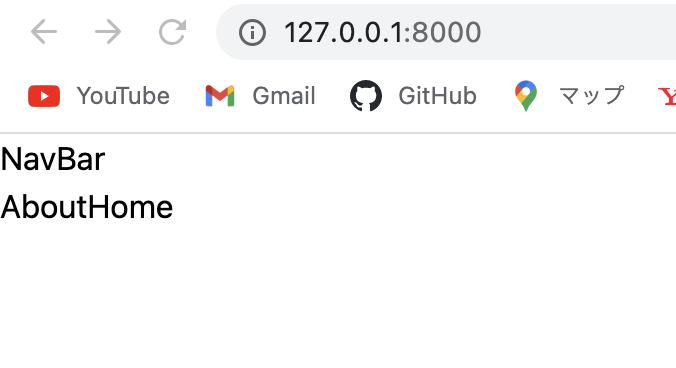
このように、NavBarコンポーネントのみが表示されている。
AboutやHomeのリンクをクリックすると、それぞれのコンポーネントに切り替わる。
以上で、Laravel(ver.10)とReactでSPAで環境構築とページ遷移が完了!

