SPAでlaravel 10 + JWT +Reactでパスワードリセット機能を実装します。
調べてもあんまり情報がなくて困ったり、
個人的に詰まったりしたところもあったので今後の参考に記事に残します。
APIの実装
laravelでPasswordResetControllerコントローラを作成する。
ターミナル
php artisan make:controller PasswordResetController
作成されたPasswordResetController.phpを下記のように編集する
PasswordResetController.php
<?php

namespace App\Http\Controllers;

use Illuminate\Http\Request;
use Illuminate\Support\Facades\Password; //←パスワードリセットの通知メールを送る処理に必要
use Illuminate\Auth\Events\PasswordReset; //←パスワードリセットDB更新処理に必要
use Illuminate\Support\Facades\Hash; //←パスワードリセットDB更新処理に必要
use Illuminate\Support\Str; //←パスワードリセットDB更新処理に必要

class PasswordResetController extends Controller
{
    //
    /**
     * パスワードリセットの通知メール送信
     * ↓↓公式のリファレンスをそのまま参照↓↓
     * https://readouble.com/laravel/8.x/ja/passwords.html
    */
    public function sendemail(Request $request){

        $request->validate(['email' => 'required|email']);

        $status = Password::sendResetLink(
            $request->only('email')
        );

        return $status === Password::RESET_LINK_SENT
            ? back()->with(['status' => __($status)])
            : back()->withErrors(['email' => __($status)]);
    }

    /**
     * パスワードリセットのフォームのビューで使うtokenを返す。
     * ↓↓公式のリファレンスを変更し、SAP用にviewを返さないように改変↓↓
     * https://readouble.com/laravel/8.x/ja/passwords.html
     * SPAではいらない??
    */
    public function resetform($token){
        return response()->json([
            'token' => $token,
        ]);
    }


    /**
     * パスワードリセット処理(DBのパスワード更新)
     * ↓↓公式のリファレンスをそのまま参照↓↓
     * https://readouble.com/laravel/8.x/ja/passwords.html
    */
    public function passwordreset(Request $request){
        $request->validate([
            'token' => 'required',
            'email' => 'required|email',
            'password' => 'required|min:8|confirmed',
        ]);

        $status = Password::reset(
            $request->only('email', 'password', 'password_confirmation', 'token'),
            function ($user, $password) {
                $user->forceFill([
                    'password' => Hash::make($password)
                ])->setRememberToken(Str::random(60));

                $user->save();

                event(new PasswordReset($user));
            }
        );

        return $status === Password::PASSWORD_RESET
            //ここの”->route('***')”の***部分でルート名の指定がないとエラー出る。デフォは'login'になってるので
            //アプリケーションの仕様に合わせて変更すること
            ? redirect()->to('/')->with('status', __($status))
            : back()->withErrors(['email' => [__($status)]]);
    }
}
Reactなどで作ったパスワードリセットフォームへの移動するためのメールのリンクは
デフォルトではアクセスがうまくいかないのでリンクをカスタマイズする必要がある。
app/Providersの中のAuthServiceProvider.phpのbootメソッドを編集する。
公式ドキュメントを参考にしています。
https://readouble.com/laravel/10.x/ja/passwords.html
AuthServiceProvider.php
<?php

namespace App\Providers;

use Illuminate\Support\Facades\Gate;
use Illuminate\Foundation\Support\Providers\AuthServiceProvider as ServiceProvider;
+ use App\Models\User;
+ use Illuminate\Auth\Notifications\ResetPassword;
+ use use Illuminate\Support\Facades\Request;// 現在のドメイン部分を取得するためRequestヘルパーを使用

class AuthServiceProvider extends ServiceProvider
{
    /**
     * The model to policy mappings for the application.
     *
     * @var array<class-string, class-string>
     */
    protected $policies = [
        //
    ];

    /**
     * Register any authentication / authorization services.
     */
    public function boot(): void
    {

+        $this->registerPolicies();
+        ResetPassword::createUrlUsing(function (User $user, string $token) {
+        $currentUrl = Request::root(); // 現在のドメイン部分を取得
+            return $currentUrl . '/password/reset?token=' . $token . '&email=' . $user->email;
+        });
    }
}
続いて、api.phpに下記を追加
api.php
//中略
+ use App\Http\Controllers\PasswordResetController;
//中略

Route::middleware(['api'])->group(function ($router){

//中略

+    //パスワードリセットのリクエストのメール送信
+    Route::post('/password/forgot',[PasswordResetController::class,'sendemail']);
+    //パスワードリセット処理
+    Route::post('/password/reset',[PasswordResetController::class,'passwordreset'])->name('password.reset');

//中略

});
APIの実装はこれでOK。
React側でのビューを作成
パスワードリセットページのリンクをメール送信する画面と、
新しいパスワードを入力してリセットする画面の2つを作ります。
見た目のデザインは、Laravelの標準のbladeビューを真似しています。
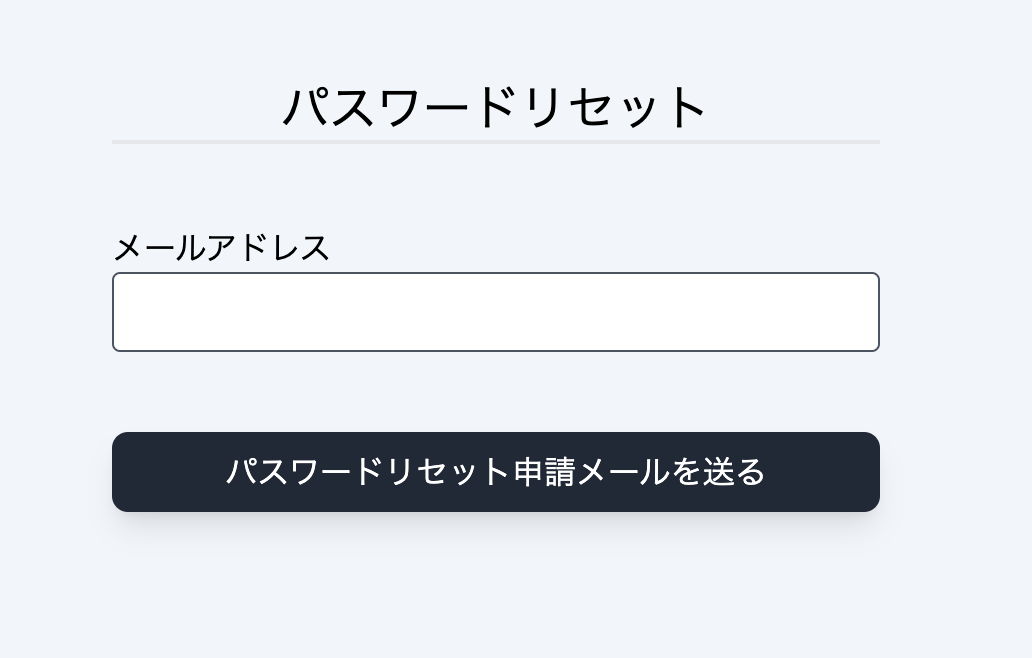
リンクをメール送信する画面(PasswordForgot.jsx)
PasswordForgot.jsx
import React, { useState} from 'react';
import axios from 'axios';

function PasswordForgot(){
    const [email, setEmail] = useState();

    const handleInput = (e) => {

        //イベントハンドラが実行された後にオブジェクトのプロパティにアクセスする必要がある場合は、e.persist() を呼ぶ必要がある
        e.persist();

        setEmail(e.target.value);
    }


    const ResetSubmit = (e) =>{
        //フォームデータ送信時に画面を再更新しないようにする処理
        e.preventDefault();

        const data = {
            email: email,
        }

        axios.post('http://127.0.0.1:8000/api/password/forgot', data).then(function (response) {
            // 送信成功時の処理
            alert('メール送信成功');

        })
        .catch(function (error) {
            // 送信失敗時の処理
            alert('NG');
            console.log('通信に失敗しました');
        });

    }

    return (
        <div className="w-96 ml-auto mr-auto">

            <h1 className="w-full border-b-2 text-center text-2xl mt-10 mb-10">パスワードリセット</h1>

            <form onSubmit={ResetSubmit}>
                <div>
                    <p>メールアドレス</p>
                    <input type="email" name="email" value={email}
                        onChange={handleInput}
                        className="block w-full h-10 border border-gray-600 rounded pl-2"
                    />
                </div>
                <button
                    type="submit"
                    className="block mt-10 bg-gray-800 w-full h-10 text-white ml-auto mr-auto rounded-lg shadow-lg font-medium text-1xl">
                    パスワードリセット申請メールを送る
                </button>
            </form>
        </div>
    );

}


export default PasswordForgot;
こんな感じのイメージになります。
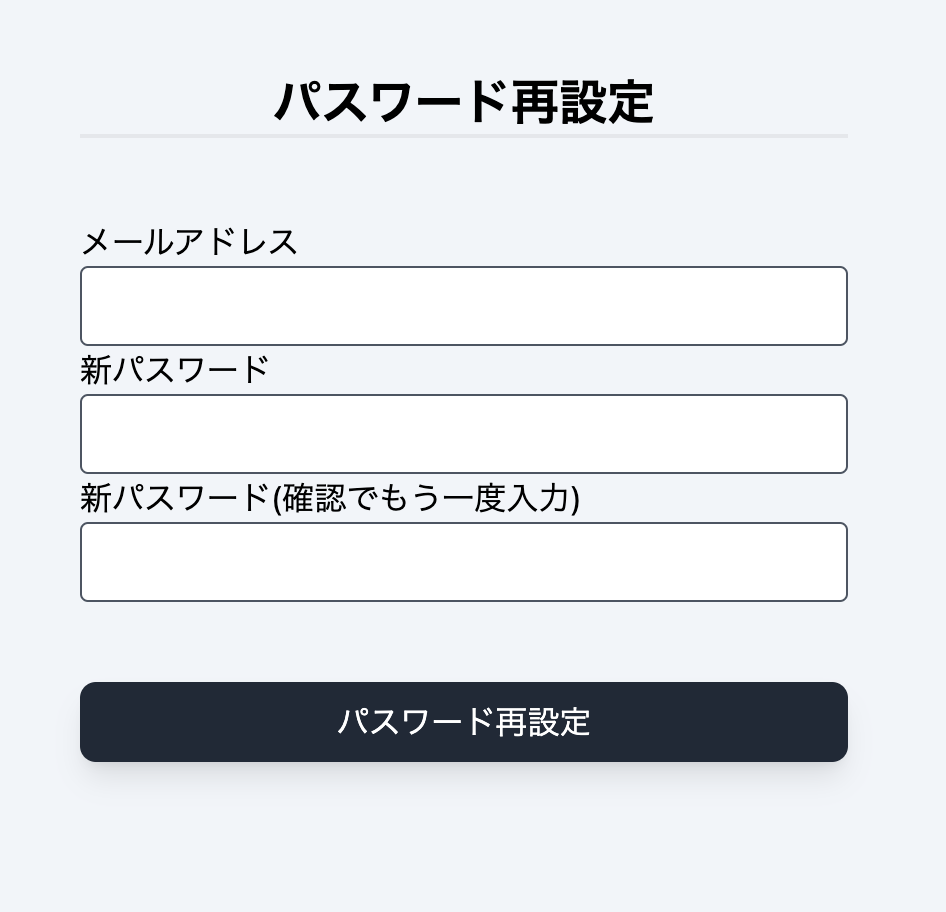
新しいパスワードを入力する画面(PasswordReset.jsx)
PasswordReset.jsx
import { useLocation } from 'react-router-dom';
import React, { useState} from 'react';
import axios from 'axios';


function PasswordReset(props){

    //パスワードリセットURLのGETパラメータよりトークンとメールアドレスを抽出し変数に保存
    const queryParameters = new URLSearchParams(window.location.search)
    const email = queryParameters.get("email");
    const token = queryParameters.get("token");

    const [resetPass, setResetPass] = useState({
        email : email,
        token : token,
        password : '',
        password_confirmation : '',
    });

    const [responseData, setResponse] = useState({
        error_email : '',
        error_password : '',
        error_password_confirmation : ''
    });


    const handleInput = (e) => {

        //イベントハンドラが実行された後にオブジェクトのプロパティにアクセスする必要がある場合は、e.persist() を呼ぶ必要がある
        e.persist();

        setResetPass({...resetPass, [e.target.name]: e.target.value });
    }

    const ResetSubmit = (e) => {

        //フォームデータ送信時に画面を再更新しないようにする処理
        e.preventDefault();

        //イベントハンドラが実行された後にオブジェクトのプロパティにアクセスする必要がある場合は、e.persist() を呼ぶ必要がある
        e.persist();

        const data = {
            email : resetPass.email,
            password : resetPass.password,
            password_confirmation : resetPass.password_confirmation,
            token : resetPass.token,
        }

        axios.post('http://127.0.0.1:8000/password/reset', data).then(function (response) {
            // 送信成功時の処理
            alert('パスワードが変更されました');
            console.log(response);

        })
        .catch(function (error) {
            // 送信失敗時の処理
            alert('NG');
            console.log(error);

            setResponse({
                error_email : error.response.data.errors.email,
                error_password : error.response.data.errors.password,
            });


        });

    }

    return(
        <div className="w-96 ml-auto mr-auto">

            <h1 className="w-full border-b-2 text-center text-2xl mt-10 mb-10 font-bold">パスワード再設定</h1>

            <form onSubmit={ResetSubmit}>

                <div>
                    <p>メールアドレス</p>
                    <p>{responseData.error_email}</p>
                    <input type="email" name="email" value={resetPass.email}
                        onChange={handleInput}
                        className="block w-full h-10 border border-gray-600 rounded pl-2"
                    />
                </div>

                <div>
                    <p>新パスワード</p>
                    <p>{responseData.error_password}</p>
                    <input type="password" name="password" value={resetPass.password}
                        onChange={handleInput}
                        className="block w-full h-10 border border-gray-600 rounded pl-2"
                    />
                </div>

                <div>
                    <p>新パスワード(確認でもう一度入力)</p>
                    <input type="password" name="password_confirmation" value={resetPass.password_confirmation}
                        onChange={handleInput}
                        className="block w-full h-10 border border-gray-600 rounded pl-2"
                    />
                </div>


                <button type="submit" className="block mt-10 bg-gray-800 w-full h-10 text-white ml-auto mr-auto rounded-lg shadow-lg font-medium text-1xl">
                    パスワード再設定
                </button>
            </form>
        </div>
    );


}

export default PasswordReset;
こんな感じのイメージになります。
以上。