はじめに
どうも、freddiです。最近はScroll Viewを弄って遊んでいるのが楽しいです。
Scroll ViewでのページングUIでのページを、Stack ViewとAuto Layoutを利用して簡単に追加できるようにする話をします。
UIScrollViewのisPagingEnabledをtrueにすれば簡単にScroll ViewをページングUIとして利用することができます。
ですが、ページングを利用するとき、ページViewのレイアウトの設定が面倒になることがありました(ページをaddSubViewするごとにサイズを変えないといけないとか)。
そこをStack Viewで解決してみたので、個人的なメモがてら書き残しておきます。
実装
実装の流れとしては、以下の通りです。
- 親ビュー及びScroll Viewの作成
- Stack Viewの作成、ページ数の設定とAuto Layoutの設定
- ページのビューの作成と、Stack Viewへの追加
では順に説明します。
1. 親ビュー及びScroll Viewの作成
まず、Scroll Viewの作成の前に、親Viewを作成します。
UIViewController直下のViewを使うなら、親Viewの作成は必要ないです。
ポップアップ風にしたいなら他のViewを作って、それを親として利用します。
今回は後者でやってみます。新しいViewを作成し、AutoLayoutを利用して中央に配置しました。
以下の例だと、ストーリーボードを使用して行いました。コードで実装しても良いです。
次に、Scroll Viewを親ViewのサブViewとして追加します。
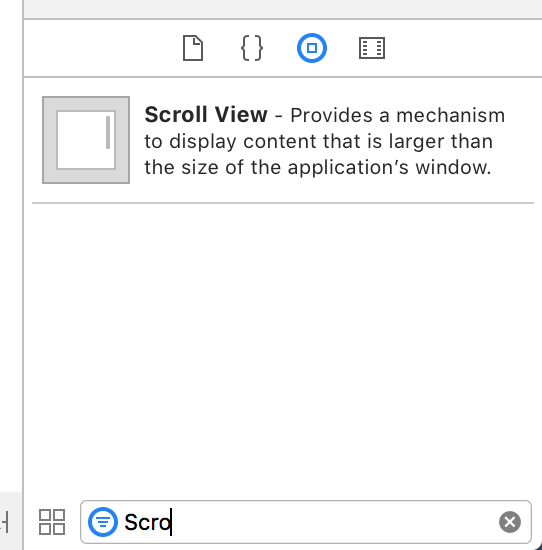
Xcodeの右下端でScroll Viewを選び、親Viewに追加します。
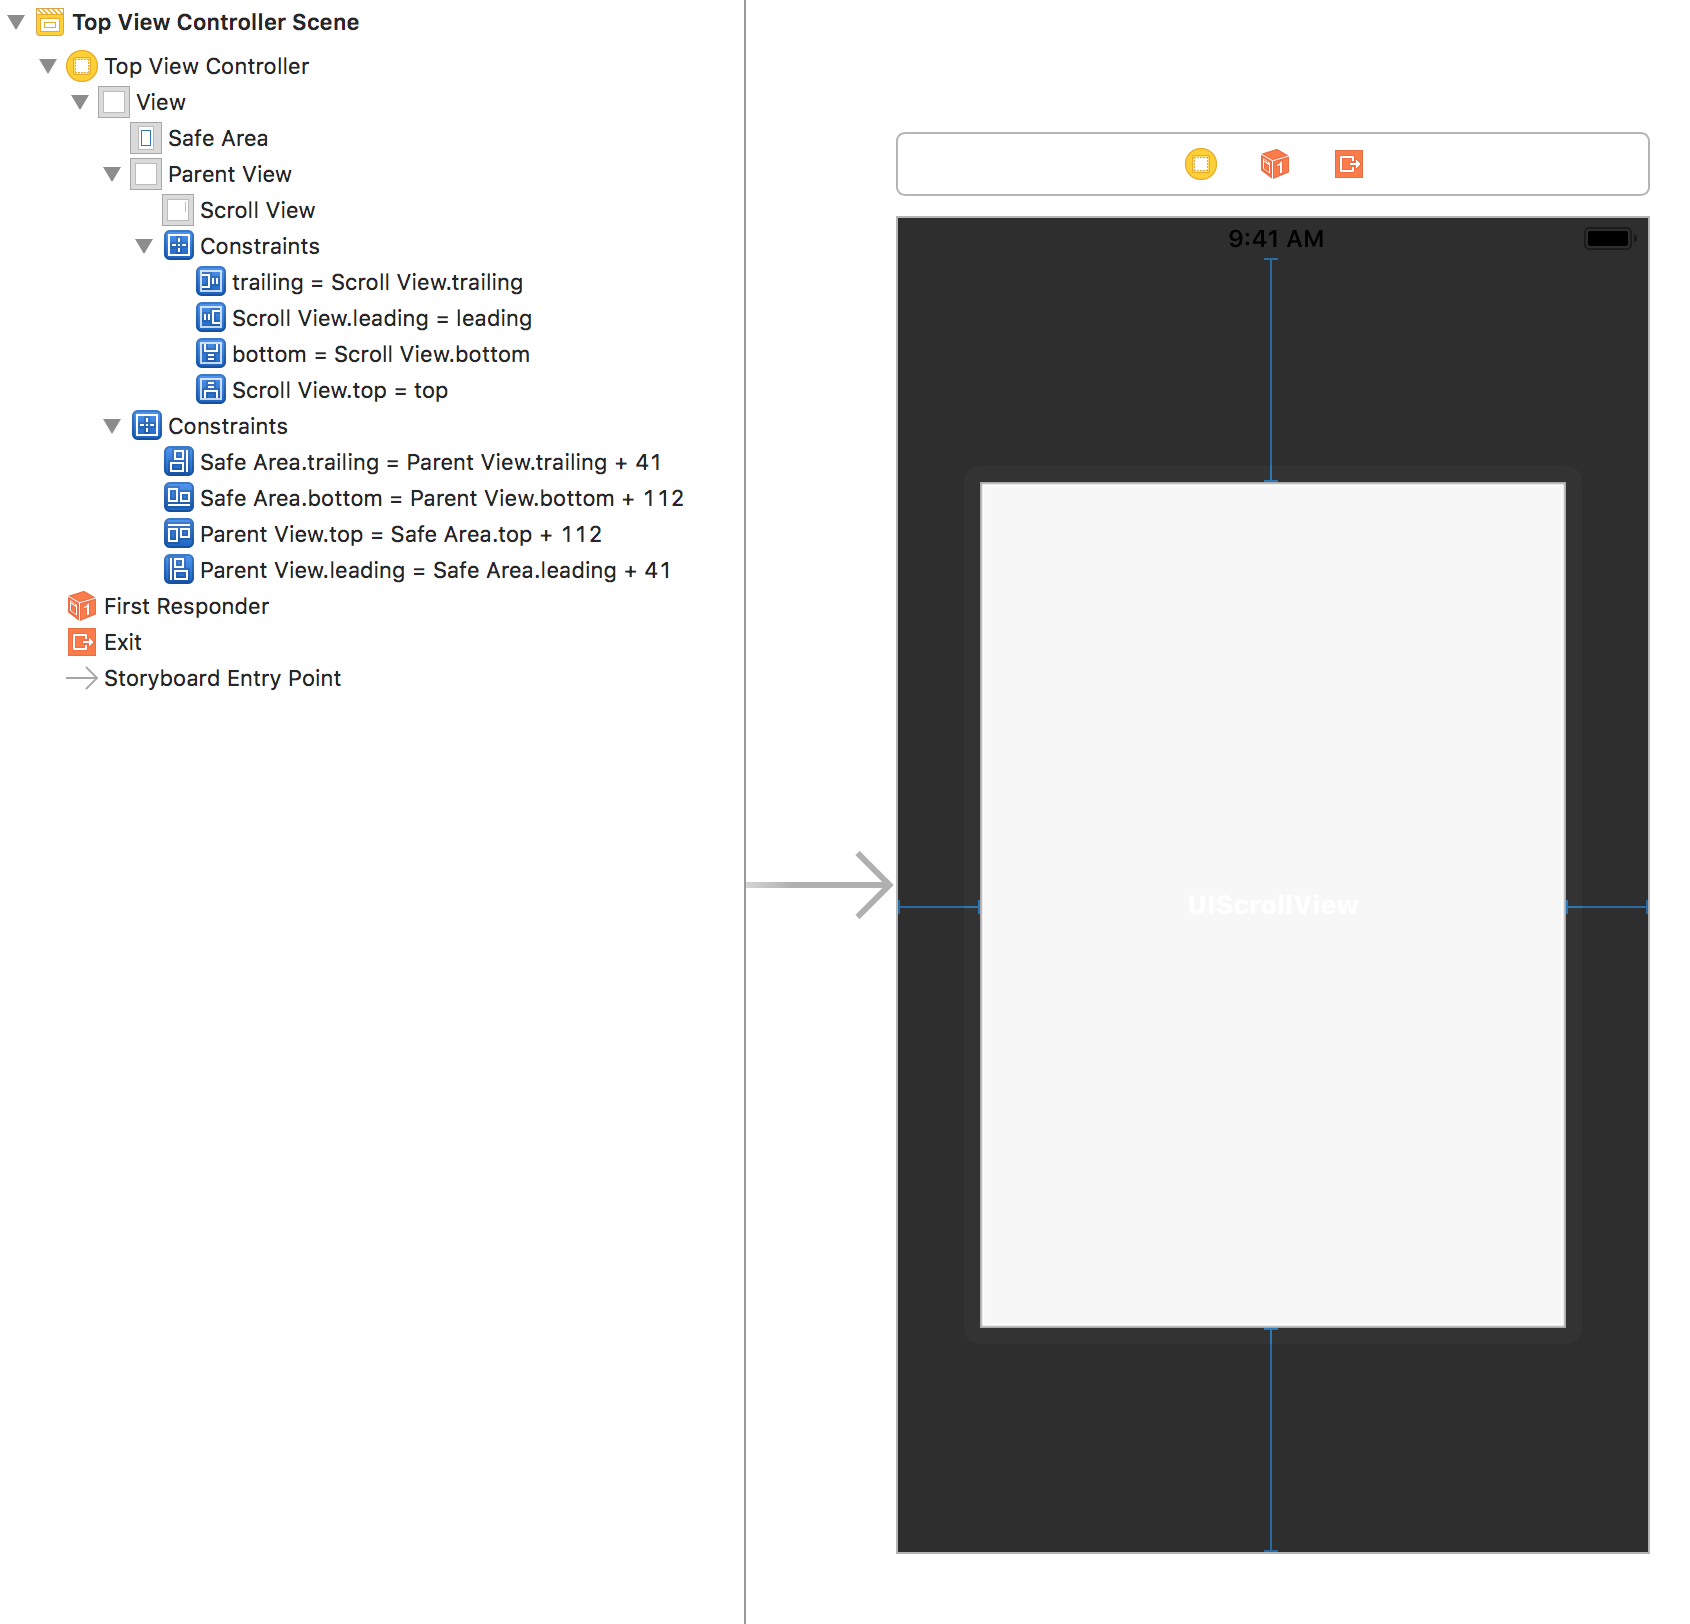
その後、Auto Layoutを利用して、Scroll Viewの
- Top
- Bottom
- Leading
- Trailing
を0にしてください。
ここまで終われば、ストーリーボード上だと下のような感じになります。
2. Stack Viewの作成、ページ数とAuto Layoutの設定
ここからはコード上で解説します。
- まず、ViewControllerクラスにページ数を設定するプロパティを用意します。(
pageCountと命名)
- 今回は2ページにしましょう。
- ストーリーボード上のScroll ViewをSwiftのコード上に紐づけ(
scrollViewと命名)、didSetで設定をします
- わからない人向け -> https://swift-ios.keicode.com/ios/outlet.php
-
scrollViewのisPagingEnabledをtrueにして、ページングを有効にします。
- Stack View作成し、設定します。(Stack Viewは
contentViewと命名)
// ViewController内

// 1. ページ数
let pageCount = 2

// 3. StackViewの作成
let contentView = UIStackView()


// 2. 紐づけたScroll View
@IBOutlet weak var scrollView: UIScrollView! {
    didSet {
        // 2. ページングをON
        scrollView.isPagingEnabled = true
    }
}


func viewDidLoad() {

  ...

  // 3.
  // 以下のようにすると横向きのページングとして使用することができ、追加されたページのレイアウトもStack Viewが揃えてくれる
  // 以下のプロパティの説明は、https://qiita.com/tasanobu/items/6908c956b758547ccf6c を参照
  contentView.spacing = 0.0
  contentView.axis = .horizontal
  contentView.alignment = .fill
  contentView.distribution = .fillEqually

  scrollView.addSubview(contentView)
  contentView.translatesAutoresizingMaskIntoConstraints = false
contentView.alignment = .fillですが、追加するページによっては変更しないといけないかもしれません。
詳しくは、https://qiita.com/tasanobu/items/6908c956b758547ccf6c を参照してください。
作成したStack ViewのAuto Layoutを以下のように設定します。重要な部分です。
横幅は、Scroll Viewの横幅をページ分倍になるように設定します。
// 先程のソースのviewDidLoad内での続き
// かなり重要
NSLayoutConstraint.activate([
    // Top Bottom Leading TrailingはすべてScroll Viewに合わせる
    contentView.topAnchor.constraint(equalTo: scrollView.topAnchor),
    contentView.leadingAnchor.constraint(equalTo: scrollView.leadingAnchor),
    contentView.bottomAnchor.constraint(equalTo: scrollView.bottomAnchor),
    contentView.trailingAnchor.constraint(equalTo: scrollView.trailingAnchor),

    // HeightはscrollViewに合わせる。
    contentView.heightAnchor.constraint(equalTo: scrollView.heightAnchor),
    // WidthはscrollView.widthAnchor x ページ数
    contentView.widthAnchor.constraint(equalTo: scrollView.widthAnchor, multiplier: CGFloat(pageCount))
])
これで準備は一通りできました。あとは追加したいページを、contentViewに追加するだけです。
Stack ViewなのでaddArrangedSubviewを利用しましょう。
3. ページのビューの作成と、StackViewへの追加
試しに、赤ページと青のページを追加してみましょう。
// viewDidLoadでの続き

let redView = UIView()
redView.backgroundColor = .red
// Stack Viewへの追加なのでaddArrangedSubview
contentView.addArrangedSubview(redView)

let blueView = UIView()
blueView.backgroundColor = .blue
contentView.addArrangedSubview(blueView)
Stack Viewを使えば、このようにaddArrangedSubviewするだけでページを簡単に追加できます。
ページを追加するときは、pageCountの数を守って追加してください。じゃないとレイアウトが崩れます。
3ページとかにしたいんだったらpageCount = 3 とかに設定し直してください。
おわりに
ページとして追加したいViewをまとめた配列を受け取るイニシャライザを作ると、再利用できるViewControllerが作れますので、やってみるのも良いと思います。(配列の長さ = pageCountにするとか....)
なにかミス等があれば、ご連絡お願いします。
ありがとうございました。


