- UiPathでExcelファイルに罫線を引く方法。
手順
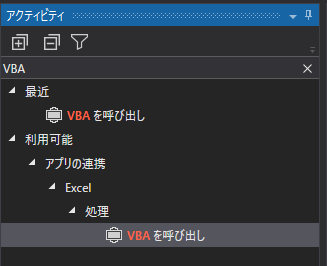
1.アクティビティ「Excelアプリケーションスコープ内」に「VBAを呼び出し」を配置
2.任意の場所にVBAコードを記載したファイルを配置
拡張子はなんでもいいみたい
keisen.txt
Sub DrawOutlineCell(argRowIndex as Integer)
	Dim rng as Range
	Dim rngStr as String

	rngStr = "A1:A" + CStr(argRowIndex)
	Set rng = Range(rngStr)

	With rng.Borders
		.LineStyle = xlContinuous
		.Color = vbBlack
		.Weight = xlThin
	End With

	Columns("A:A").EntireColumn.AutoFit
End Sub
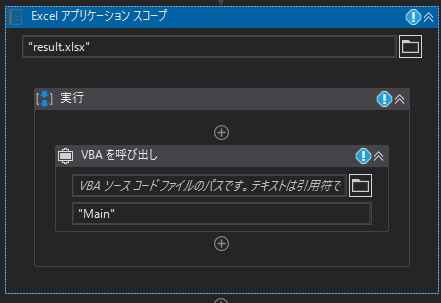
3.「VBAを呼び出し」アクティビティを編集
- 呼び出すメソッド名だけ記載する。引数はプロパティのエントリメソッドのパラメータで設定する。{}付きで記載すること。
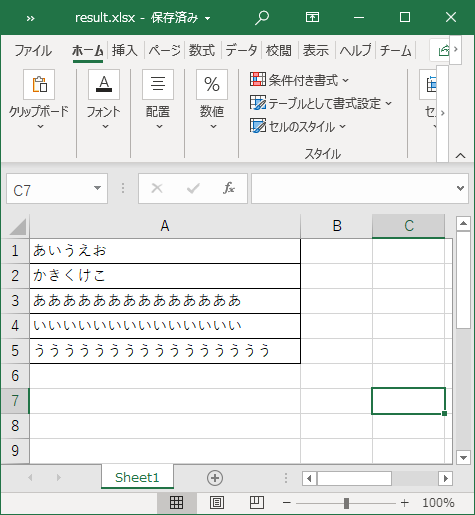
4.実行後
-
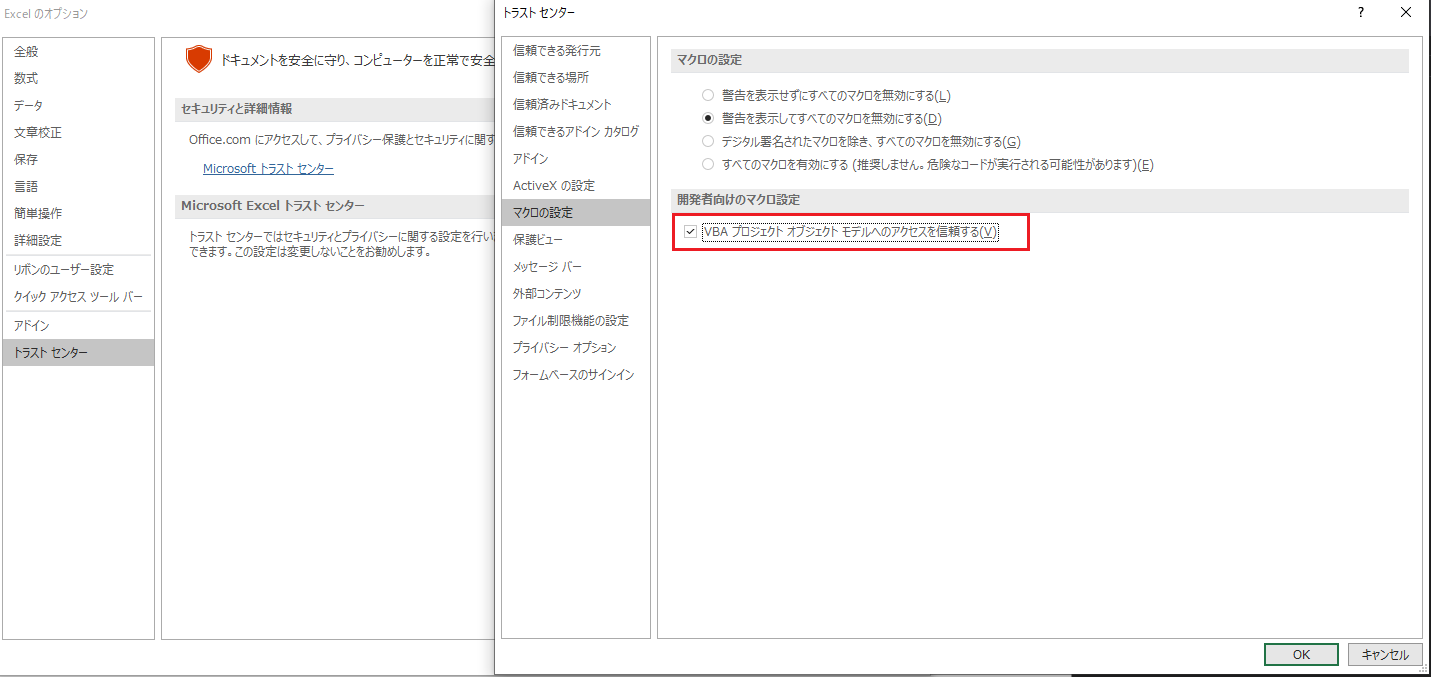
Excelを開き、ファイル→オプション→トラストセンター→トラストセンターの設定→マクロの設定 から「VBAプロジェクト オブジェクトモデルへのアクセスを信頼する」にチェック。

-
この設定で正常に実行される。
(追記)
引数は使わなくてもできますね。
【汎用的なマクロ】
Sub DrawOutlineCell()
    Dim rng As Range
    Dim rngStr As String

    Set rng = Range("A1").CurrentRegion

    With rng.Borders
        .LineStyle = xlContinuous
        .Color = vbBlack
        .Weight = xlThin
    End With

    rng.Columns.EntireColumn.AutoFit
End Sub


