新卒ゆるゆるアドベントカレンダー16日担当です!
今年もあと半月になりましたね
はじめに
-
書くこと
- DockerとDjango,Django-rest-apiを使ってみた話
-
書かないこと
- Dockerの環境構築
- DjangoRestFrameworkを使った
-
実装環境
-
macOS Catalina 10.15.1
-
Docker desktop 2.1.6.0
-
Docker Compose 1.25.0
今回使うもの
Django
Djangoの公式ドキュメントにはこのように記載されています
Django is a high-level Python Web framework that encourages rapid development and clean, pragmatic design. Built by experienced developers, it takes care of much of the hassle of Web development, so you can focus on writing your app without needing to reinvent the wheel. It’s free and open source.
つまり,PythonでWebページを作ることができるフレームワークです
DjangoRestFramework
Djangoを使ってWeb apiを作ることを手助けしてくれるフレームワーク
公式サイト
これを使って嬉しかったこと
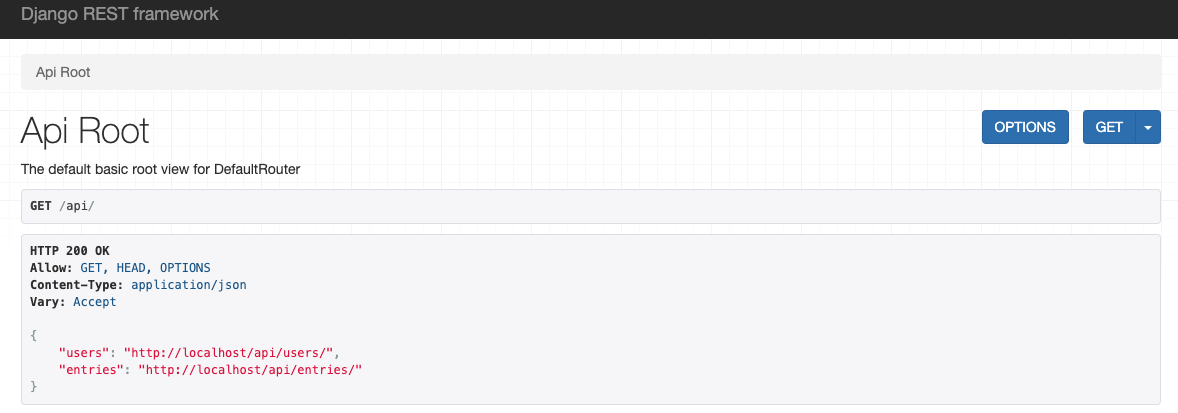
上記のようなコンソールを使って状態を把握できるので結果を見ながら作成することができます
早速実践
今回の実装はこちらDjango REST Frameworkを使って爆速でAPIを実装するの記事を参考に作成させていただきました
また,ソースコードはgithubこちらに置いてあります
ファイル構成
.
├── django_project
│   ├── blog
│   │   ├── __pycache__
│   │   └── migrations
│   │       └── __pycache__
│   └── django_rest_test
│       └── __pycache__
├── nginx
│   └── conf
├── python
└── static
APIを作成する(今回はこちらの記事のものを使わせていただきました)
docker-compose.ymlを作成する
version: '3'

services:
  nginx:
    image: nginx
    container_name: api.nginx
    ports:
      - "80:80"
    volumes:
      - ./nginx/conf:/etc/nginx/conf.d
      - ./nginx/uwsgi_params:/etc/nginx/uwsgi_params
      - ./static:/static
    depends_on:
      - python

  python:
    build: ./python
    container_name: api.python
    command: uwsgi --socket :8001 --module django_rest_test.wsgi
    volumes:
      - ./django_project:/code
      - ./static:/static
    expose:
      - "8001"
Docker-composeはこのように作成しました
細かいところは別途書きますが,
nginxとpythonをdepends_onを使ってpythonが立ち上がってから起動するようにしています
(uwsgiの関係)
nginxのconfigファイルを作成
先に記述したpythonのcommandのuwsgi --socket :8001 --module django_rest_test.wsgi
にあるように8001番のportを使ってやりとりを行います
upstream django {
    ip_hash;
    server python:8001;
}

# configuration of the server
server {
    # the port your site will be served on
    listen      80;
    # the domain name it will serve for
    server_name 127.0.0.1;
    charset     utf-8;

    # max upload size
    client_max_body_size 75M;

    location /static {
        alias /static;
    }

    # Finally, send all non-media requests to the Django server.
    location / {
        uwsgi_pass  django;
        include     /etc/nginx/uwsgi_params;
    }
}
uwsgi_params
uwsgi_param  QUERY_STRING       $query_string;
uwsgi_param  REQUEST_METHOD     $request_method;
uwsgi_param  CONTENT_TYPE       $content_type;
uwsgi_param  CONTENT_LENGTH     $content_length;

uwsgi_param  REQUEST_URI        $request_uri;
uwsgi_param  PATH_INFO          $document_uri;
uwsgi_param  DOCUMENT_ROOT      $document_root;
uwsgi_param  SERVER_PROTOCOL    $server_protocol;
uwsgi_param  REQUEST_SCHEME     $scheme;
uwsgi_param  HTTPS              $https if_not_empty;

uwsgi_param  REMOTE_ADDR        $remote_addr;
uwsgi_param  REMOTE_PORT        $remote_port;
uwsgi_param  SERVER_PORT        $server_port;
uwsgi_param  SERVER_NAME        $server_name;
下記したものは/python/Dockerfileです
From python:3.6

RUN mkdir /code
WORKDIR /code
ADD requirements.txt /code/
RUN pip install -r requirements.txt
ADD . /code/
RUN pip install -r requirements.txt
でrequirements.txtに書かれたライブラリをpipを使ってインストールすることができます
Django==2.1
uwsgi==2.0.17.1
djangorestframework==3.9.4
django-filter==2
Djangoの静的ファイルを作成
APIを動かすためにstaticファイルを生成するコマンドを使う
エラーがなければ./staticの下にファイルが作られる
docker-compose run python ./manage.py collect static
最後にファイルができたら
docker-compose up -d
問題なく動いたらlocalhost/apiに接続してみましょう
さいごに
今回は,Dockerを使ってDjangoRestFrameforkを立ち上げました
初めて書いたので,読み難かったり,間違っている部分が多くあるかもしれません
(優しく指摘していただけると嬉しいです)