はじめに
Google Drive APIを用いて、PythonからGoogel Driveにアクセスする手順を紹介していきます。
公式が用意してくれているクイックスタートが大変わかりやすいため、特に引っかかるところはないかと思いますが、例に取り上げながら紹介していきます。
やりたいこと
- ローカルのPythonのプログラムからGoogle Driveにアクセスする
使うもの
- Python
- Google Drive API
- Google Cloud
今回は公式のクイックスタート、Pythonを例に取り上げて紹介します。
前提
- Google Cloudの基本的な設定が完了している
- ローカルでPythonが使用できる状態
手順
1. Drive APIを有効化する
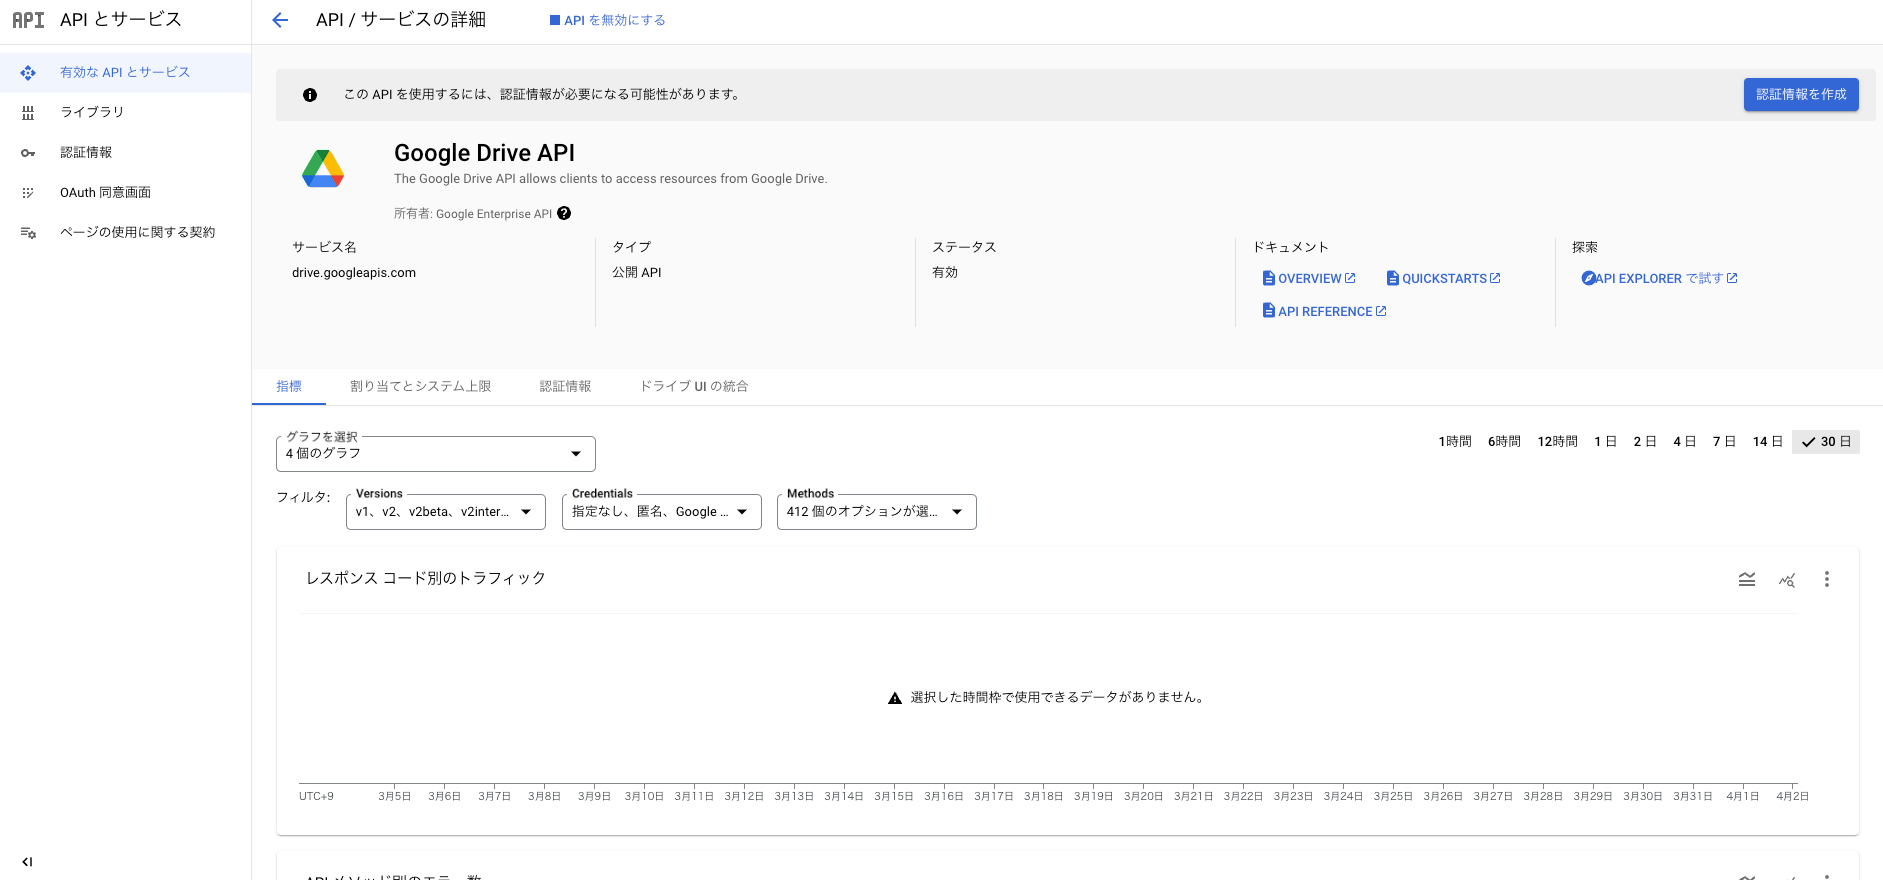
まずは、Google Cloudのプロジェクト内で、Drive APIを有効化します。
[有効にする] をクリックします。
これでDrive APIが使えるようになりました。
2. 認証情報を作成する
[APIとサービス] -> [OAuth同意画面] に移動します。
[作成] を押して必要な情報を入力してください。
公開するアプリケーションではないので適当で問題ないです。
テスト状態であれば公開しておいてください。
完了したら、 [APIとサービス] -> [認証情報] を開きます。
上部の [認証情報を作成] から [OAuthクライアントID] を選択します。
[デスクトップアプリ] を選択して [作成] します。
作成後の画面からJSONをダウンロードしておきます。
3. プログラムの作成
作業用のディレクトリを用意します。
ライブラリがなければインストールしておきます。
$ pip install --upgrade google-api-python-client google-auth-httplib2 google-auth-oauthlib
quickstart.pyを作成して下記をコピーします。
import os.path

from google.auth.transport.requests import Request
from google.oauth2.credentials import Credentials
from google_auth_oauthlib.flow import InstalledAppFlow
from googleapiclient.discovery import build
from googleapiclient.errors import HttpError

# If modifying these scopes, delete the file token.json.
SCOPES = ["https://www.googleapis.com/auth/drive.metadata.readonly"]


def main():
  """Shows basic usage of the Drive v3 API.
  Prints the names and ids of the first 10 files the user has access to.
  """
  creds = None
  # The file token.json stores the user's access and refresh tokens, and is
  # created automatically when the authorization flow completes for the first
  # time.
  if os.path.exists("token.json"):
    creds = Credentials.from_authorized_user_file("token.json", SCOPES)
  # If there are no (valid) credentials available, let the user log in.
  if not creds or not creds.valid:
    if creds and creds.expired and creds.refresh_token:
      creds.refresh(Request())
    else:
      flow = InstalledAppFlow.from_client_secrets_file(
          "credentials.json", SCOPES
      )
      creds = flow.run_local_server(port=0)
    # Save the credentials for the next run
    with open("token.json", "w") as token:
      token.write(creds.to_json())

  try:
    service = build("drive", "v3", credentials=creds)

    # Call the Drive v3 API
    results = (
        service.files()
        .list(pageSize=10, fields="nextPageToken, files(id, name)")
        .execute()
    )
    items = results.get("files", [])

    if not items:
      print("No files found.")
      return
    print("Files:")
    for item in items:
      print(f"{item['name']} ({item['id']})")
  except HttpError as error:
    # TODO(developer) - Handle errors from drive API.
    print(f"An error occurred: {error}")


if __name__ == "__main__":
  main()
ディレクトリに先ほどダウンロードしておいた認証情報のJSONをcredentials.jsonにリネームしておいておきます。
では、実行してみます。
$ python3 quickstart.py
初回実行時は認証画面に遷移するので認証を完了してください。
一度実行するとトークンが発行されますので、次回以降は手動の認証をスキップできます。
はい、めちゃくちゃ簡単でしたね。これで完了です。
4. サンプルコードの解説
サンプルコードを実行すると、Google Driveに保存されているファイル名とIDが10件出力されたかと思います。
軽く解説していきます。
SCOPES = ["https://www.googleapis.com/auth/drive.metadata.readonly"]


# ...他のコード

  creds = None
  if os.path.exists("token.json"):
    creds = Credentials.from_authorized_user_file("token.json", SCOPES)
  if not creds or not creds.valid:
    if creds and creds.expired and creds.refresh_token:
      creds.refresh(Request())
    else:
      flow = InstalledAppFlow.from_client_secrets_file(
          "credentials.json", SCOPES
      )
      creds = flow.run_local_server(port=0)
    with open("token.json", "w") as token:
      token.write(creds.to_json())

# ...他のコード
まず、重要な部分です。
サンプルコードでは、この部分でスコープの設定を行っています。
初回実行時はトークンがないので、定数で規定した権限を認証情報として求めます。
なので、"https://www.googleapis.com/auth/drive.metadata.readonly"以外の権限が必要になれば、その旨を追記してもう一度トークンを発行する必要があるわけです。
例えば下記のコードを実行したいとします。
import os.path

from google.auth.transport.requests import Request
from google.oauth2.credentials import Credentials
from google_auth_oauthlib.flow import InstalledAppFlow
from googleapiclient.discovery import build
from googleapiclient.errors import HttpError
from googleapiclient.http import MediaFileUpload

SCOPES = ["https://www.googleapis.com/auth/drive.file"]

def upload_file(creds, filename):
    try:
        service = build("drive", "v3", credentials=creds)

        file_metadata = {"name": filename}
        media = MediaFileUpload(filename, resumable=True)
        file = service.files().create(body=file_metadata, media_body=media, fields="id").execute()
        print(f"File ID: {file.get('id')}")

    except HttpError as error:
        print(f"An error occurred: {error}")
        file = None

def main():
    creds = None
    if os.path.exists("token.json"):
        creds = Credentials.from_authorized_user_file("token.json", SCOPES)

    if not creds or not creds.valid:
        if creds and creds.expired and creds.refresh_token:
            creds.refresh(Request())
        else:
            flow = InstalledAppFlow.from_client_secrets_file(
                "credentials.json", SCOPES
            )
            creds = flow.run_local_server(port=0)
        with open("token.json", "w") as token:
            token.write(creds.to_json())

    filename = input("Enter the filename: ")
    if os.path.isfile(filename):
        upload_file(creds, filename)
    else:
        print("Not found.")

if __name__ == "__main__":
    main()
これはサンプルコードをもとに作成したコードです。
実行すると、入力したファイル名と一致する同じディレクトリ内のテキストファイルをGoogle Driveにアップロードするプログラムです。
先ほどquickstart.pyを実行して取得したトークンをそのまま使ってみると、エラーが発生します。
なぜならquickstart.pyで取得した認証情報には"https://www.googleapis.com/auth/drive.metadata.readonly"の権限しかないためです。
ですので、スクリプトから権限を設定する場合は、必要な権限が変わるたびに手動の認証が必要になります。
ではquickstart.pyに戻ります。
  try:
    service = build("drive", "v3", credentials=creds)

    results = (
        service.files()
        .list(pageSize=10, fields="nextPageToken, files(id, name)")
        .execute()
    )
    items = results.get("files", [])

    if not items:
      print("No files found.")
      return
    print("Files:")
    for item in items:
      print(f"{item['name']} ({item['id']})")
  except HttpError as error:
    print(f"An error occurred: {error}")
実際に動作を行っている部分ですね。
前半部分で取得したcredsを用いてファイルのリストを出力しています。
他のdriveの動作を行い方は、リファレンスを参照してください。
流石にGoogleのAPIだけあってかなり詳細に書かれています。
ここまで読んでいただいた方はすでにお分かりかと思いますが、すごく出来のいい(偉そうですみません...)サンプルコードですよね。
Drive APIを使ったプログラムを作成する際は、このサンプルコードを雛形にするのもいいかと思います。
参考
- Python のクイックスタート (Google Cloud公式)


